Today was another printing day at the studio, this time printing the first out of two colors of the second layer of woodblocks.
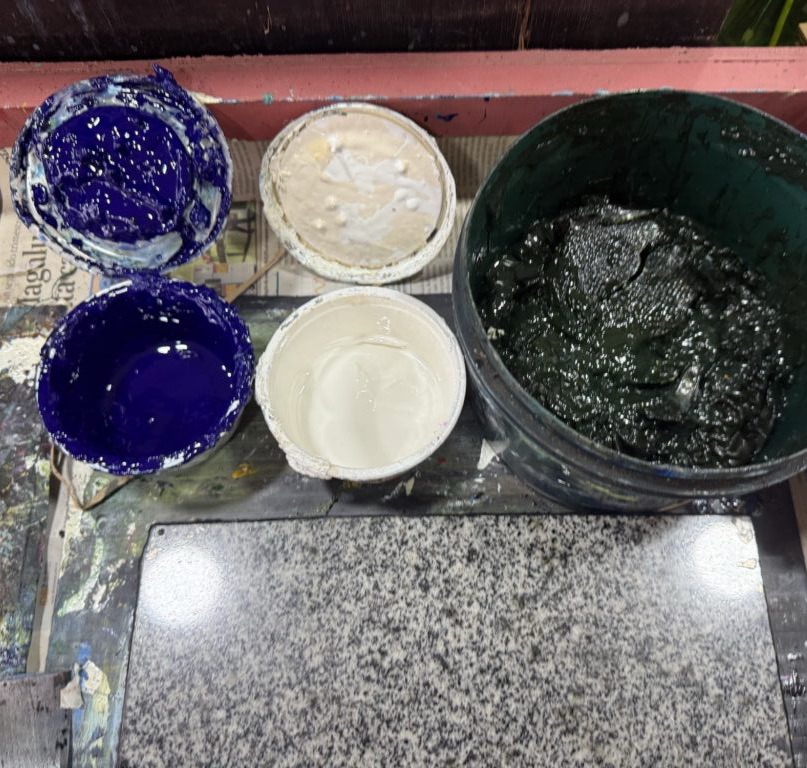
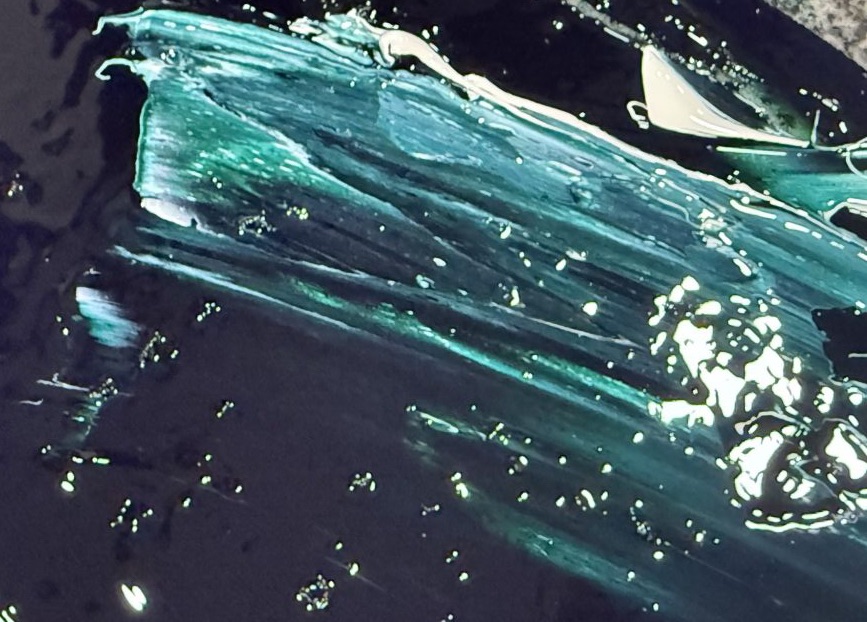
I jumped right in, grabbing my dry prints from last week and all the supplies to create the needed turquoise paint.
After carefully adding more and more paint until I got to the correct tone, I tried pulling my first print on my worst copy from last week since it was my first trial aligning the layers. I always organize my prints from worst to best in the hopes of getting better with the experience and optimizing my chances of getting at least a few “perfect” prints.
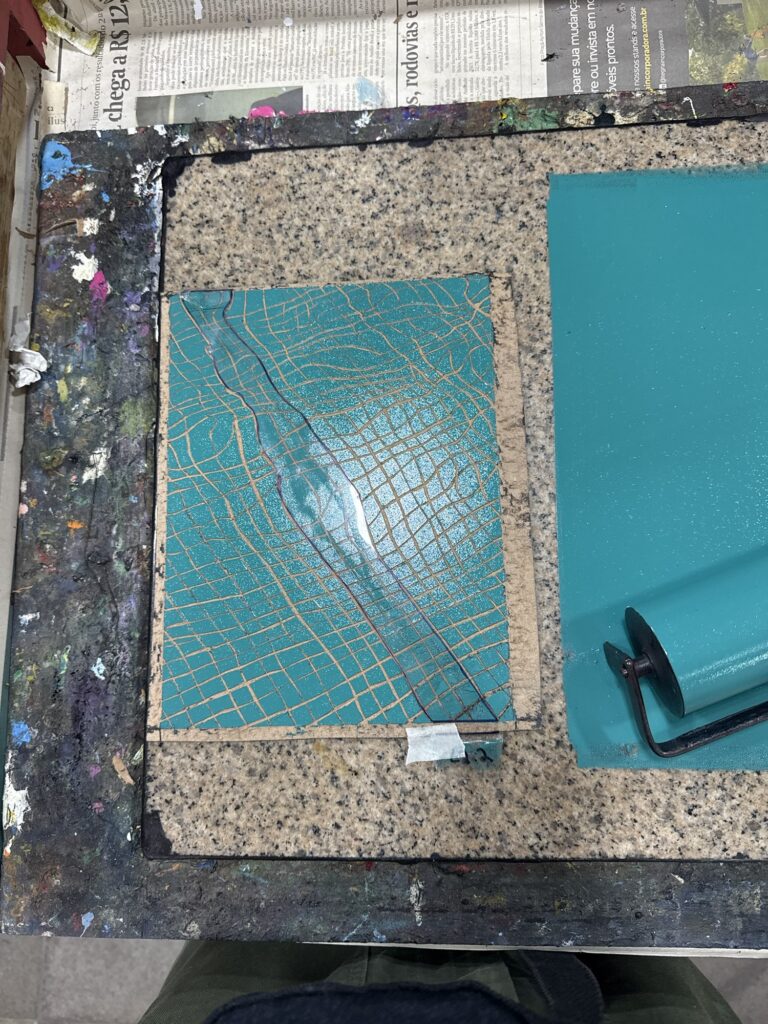
I taped the mask (which was a long vertical strip in this case) to the top of the board from the back so I could flip the mask back when I inked the board and flip it back forward, sticking it in place. I had another tape in the bottom facing up from the back of the board just to secure the mask on the bottom, although the ink does a pretty good lob at keeping the acetate in place.
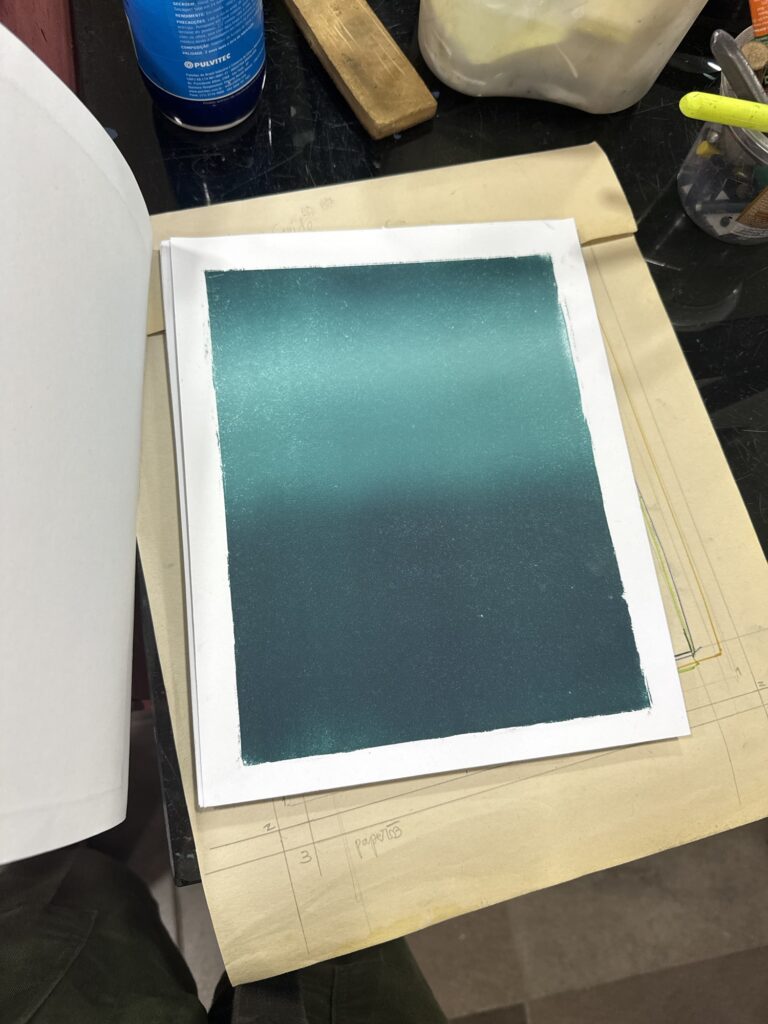
My first print came out really nice! I love the result of the gradient underlay! It came out just like I planned it and it was great to be able to see it go from digital to real life. It made me have hope in this whole process and excited to continue. I was really happy and mesmerized with it.
As I was printing this and other copies, the unique results were bringing in a lot of attention from curious studio mates. At first I was welcoming the feedback and tips but people were more judgmental than I was being with my results, and to be honest that threw me off a bit. The main negative comments I was getting were about the “dirty” edges I was getting from not cleaning up my board edges well enough; and about my miss aligned layers. The later bothered me more than the first. I was just not getting the “layer down of the paper” correctly, test after test. And the worst is that I only had 4 of the linear gradients and 2 of the experimental bases to print on, and as I kept pulling them I kept getting things misprinted.
I was annoyed at myself that after such hard work planning things out I was not getting aligned prints. I was also overwhelmed to have to deal with peoples opinions while I was still processing my own. I kept trying to clean up the boarders and get the alignment right. As the prints ran out and my results did not improve a lot I started to get frustrated. The last two prints were even worse: The experimental backgrounds did not have as much of an effective result as the linear gradient. I felt like that gradient background was really pretty and now it was lost forever… All that bummed me out and overwhelmed me.
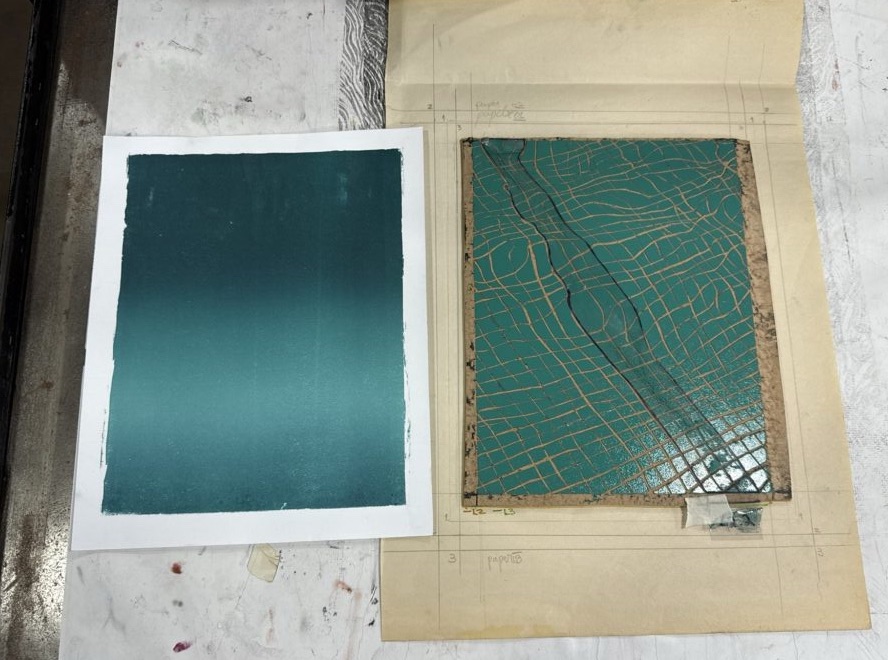
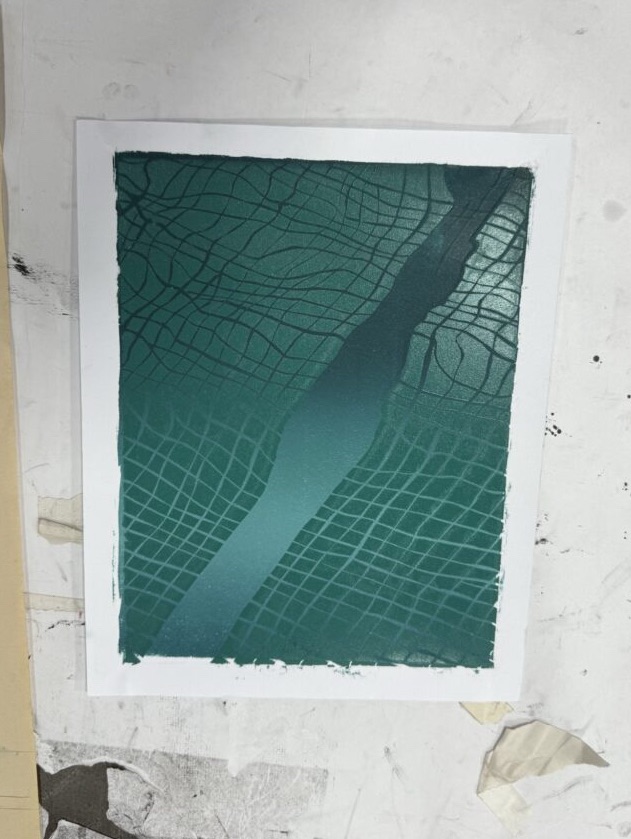
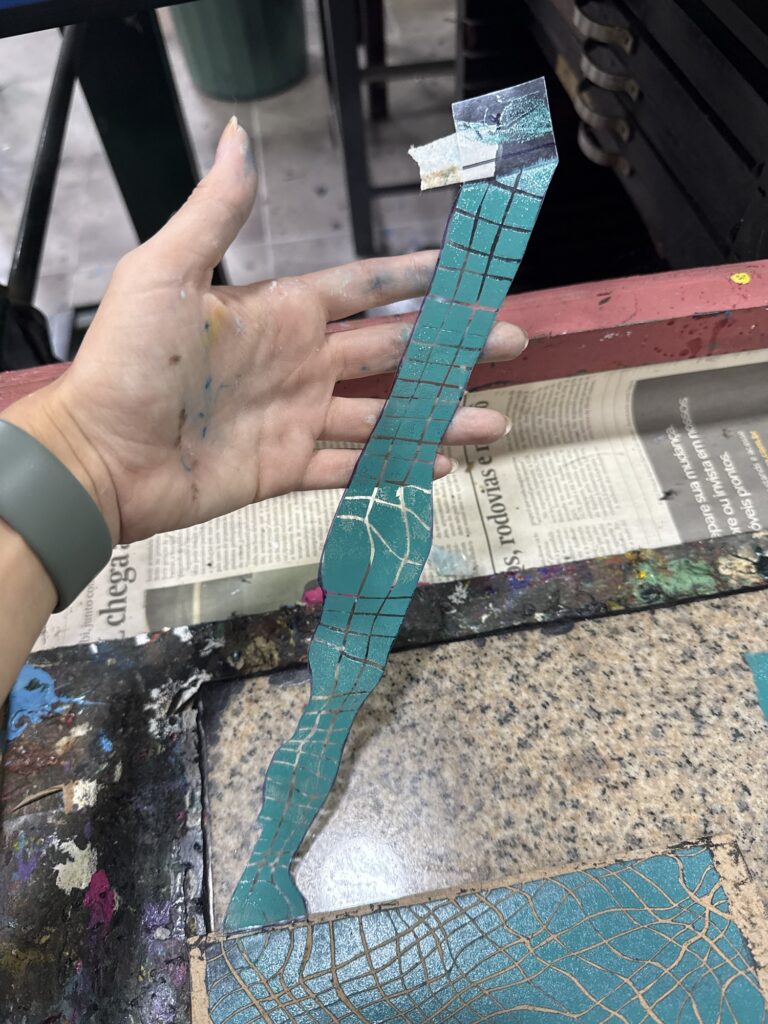
I was 4 prints in when I finally ask for help. Bebeto reminded me of the trick of using styrofoam corners to help lay the paper. I glued it wrong the first time and got mediocre results, but Bebeto helped me again and the last print came out perfectly aligned. At least there was some hope.
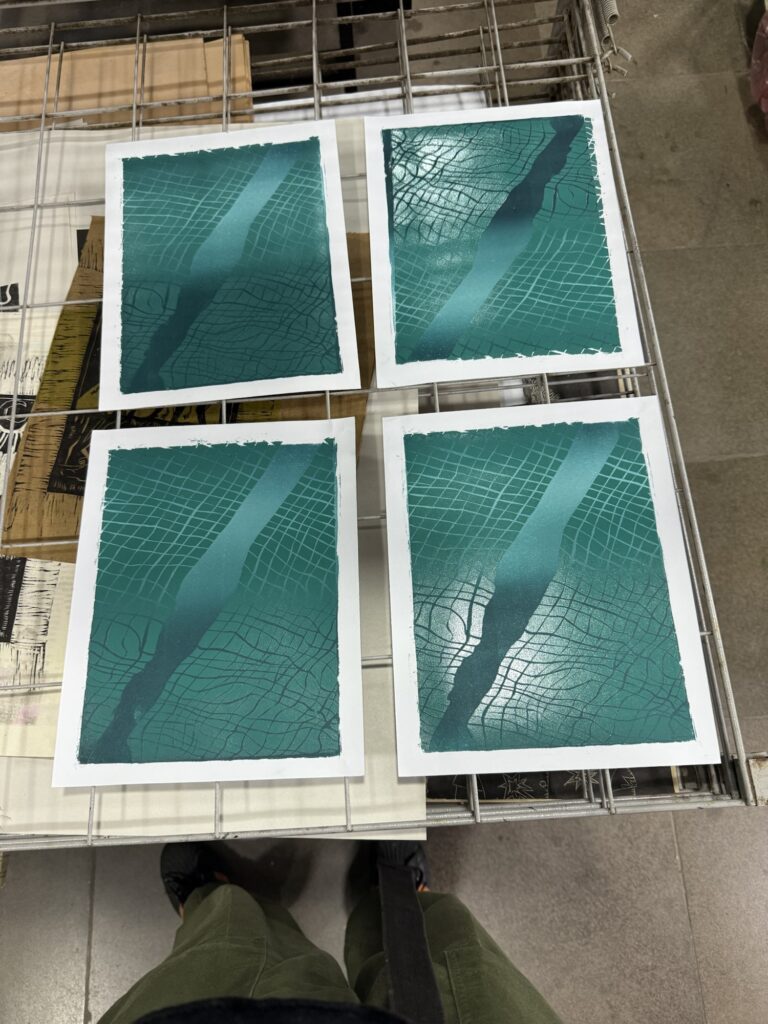
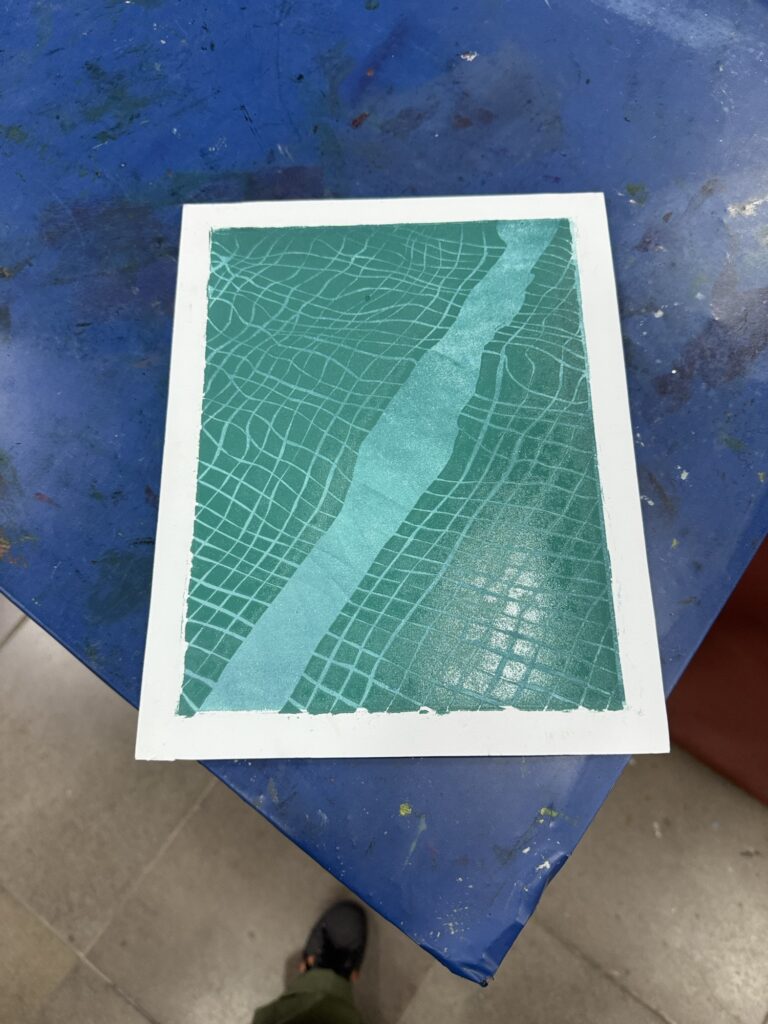
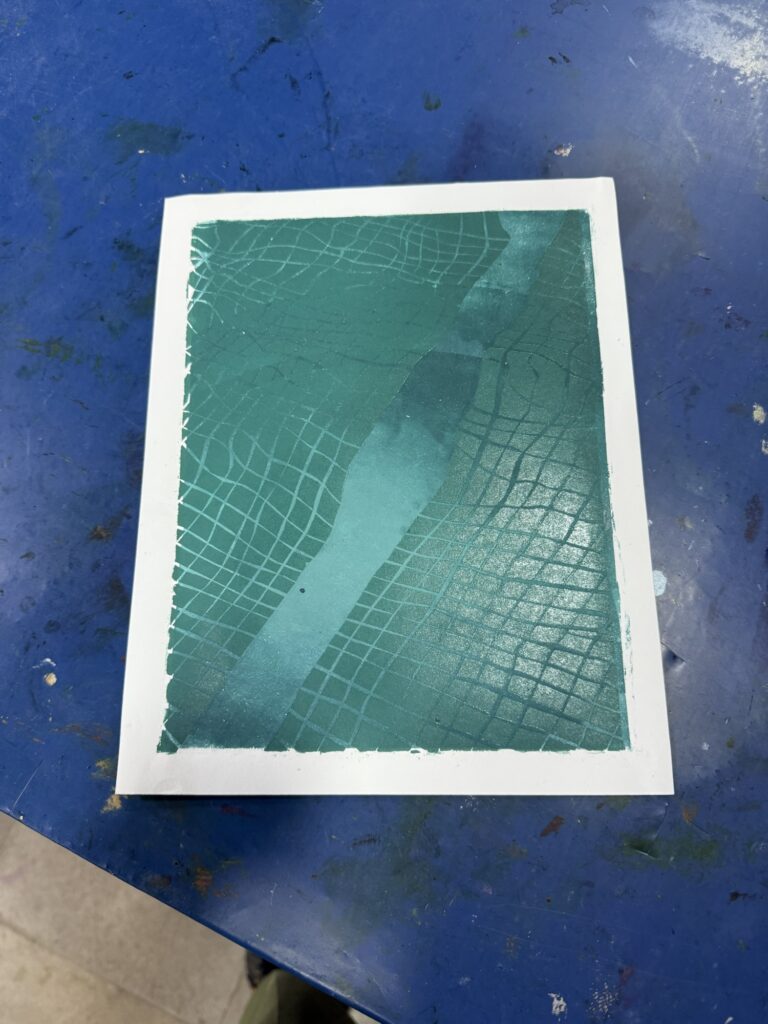
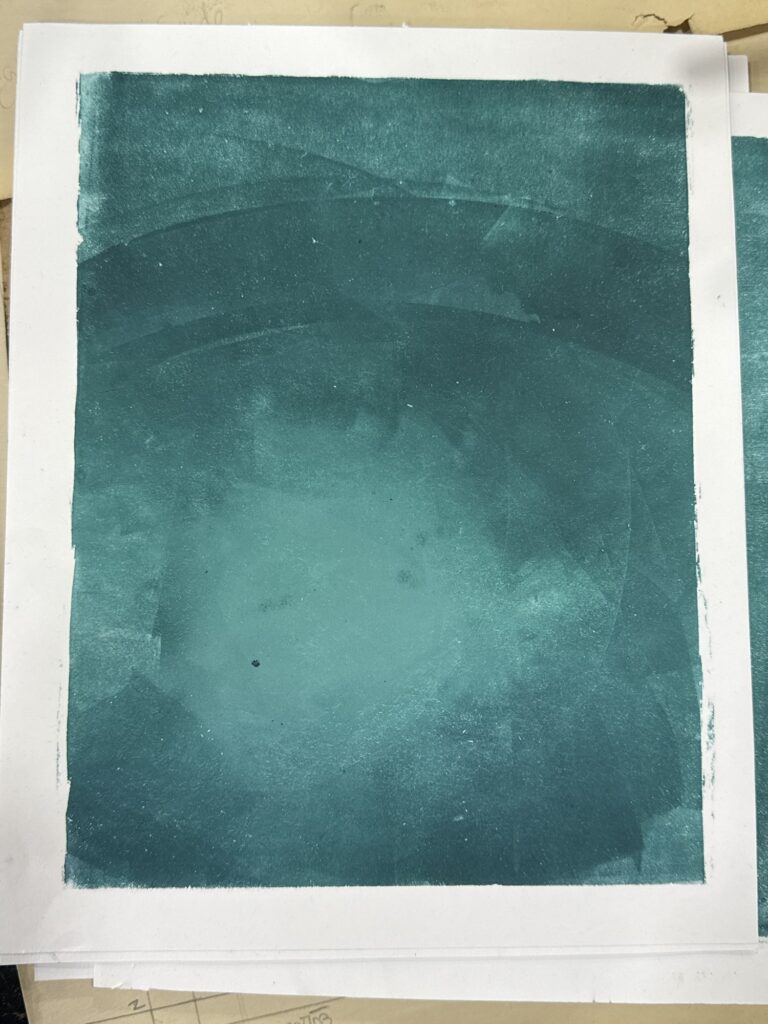
Note that on these pictures the light is reflecting on the fresh ink layer and giving the impression of a gradient, but that’s is incorrect. Here is a more realistic look on how the colors look in real life and will look like once it dries out:
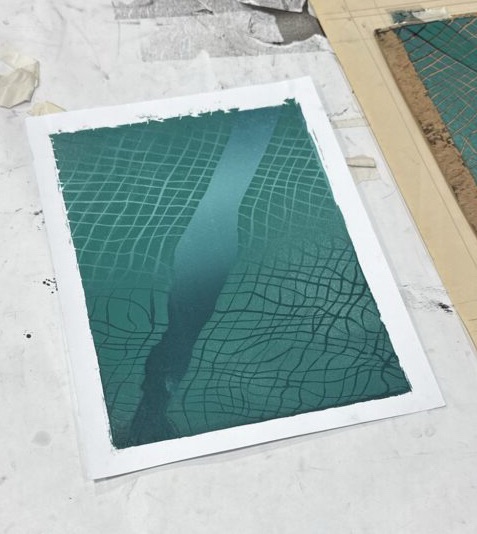
Overall it was a bit of a chaotic day, with big ups and downs. After some time alone regulating myself I was able to come around and realize that this was a great test run. The effect of the design was amazing and I was super excited for the possible results of this print.
I decided to go ahead and continue all 6 of these prints as my trial of the process and in the future I will do an official pull, improved by my learned mistakes.
Let’s see how layer 3 comes together next week, and if my new improved guide will grant me better results.
Check out last week’s studio log:
Context note: “Xilo is a nickname in Portuguese for woodblock printing. It’s a prefix related to wood, and it has Greek roots.“
‘Till next week, crafters!