I went to the studio yesterday after taking a two-week break due to a holiday and a personal trip to Rio. This is all the woodblock printing work I’ve done since my last studio visit:
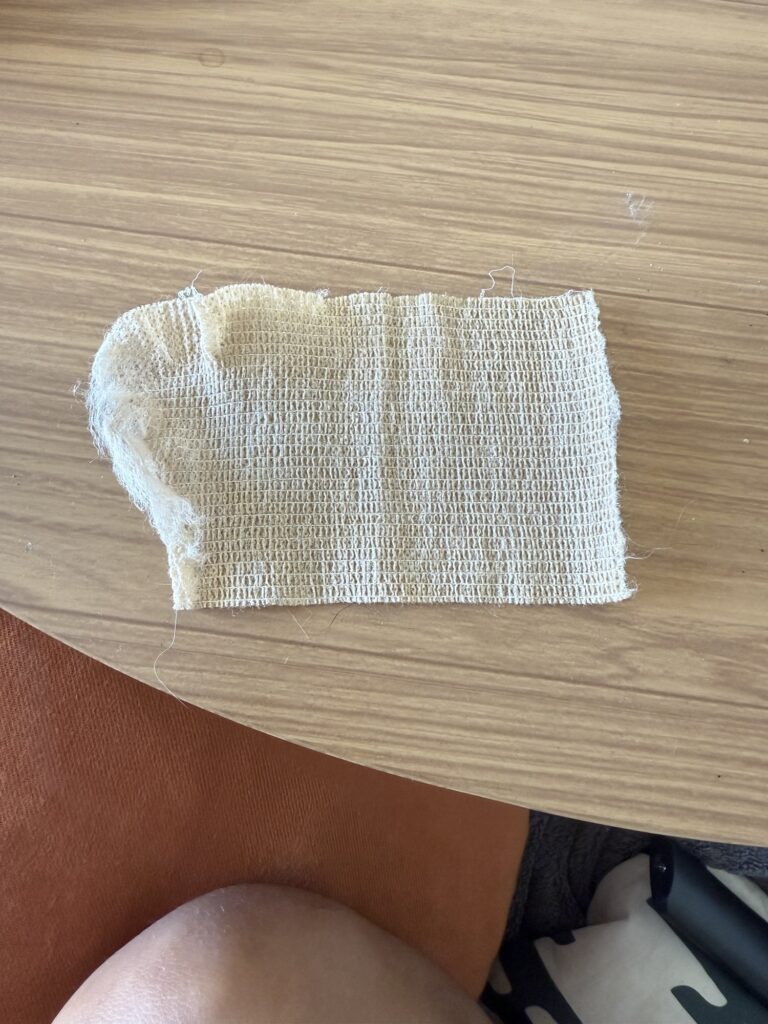
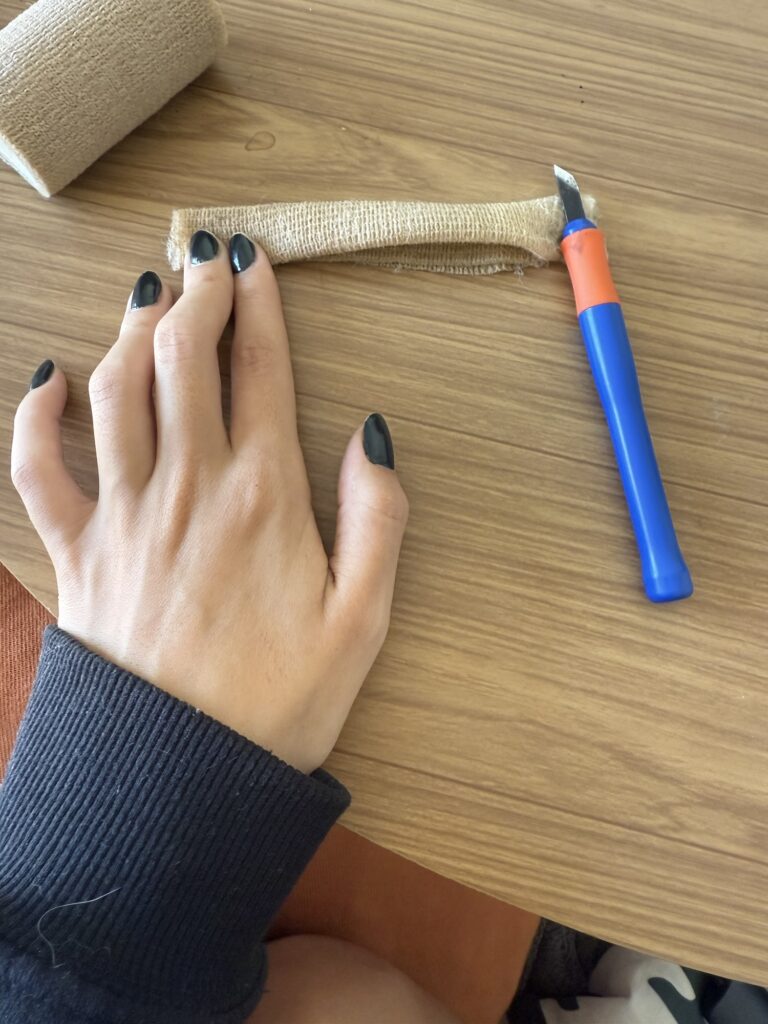
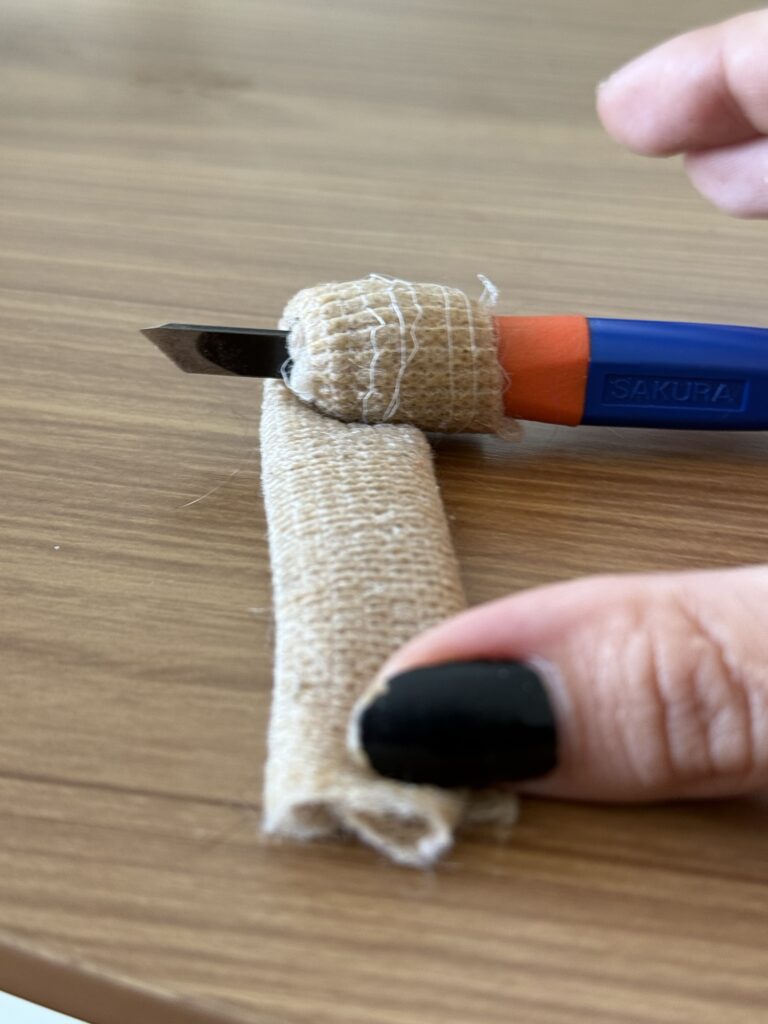
- The first thing I did was to improve my straight edge carving tool to be more comfortable and prevent blisters. I used some of those surgical/athletic tapes to wrap the area where I grip the tool, which gives me more stability and a soft surface to hold onto. It’s not pretty or a permanent solution, but it helps.
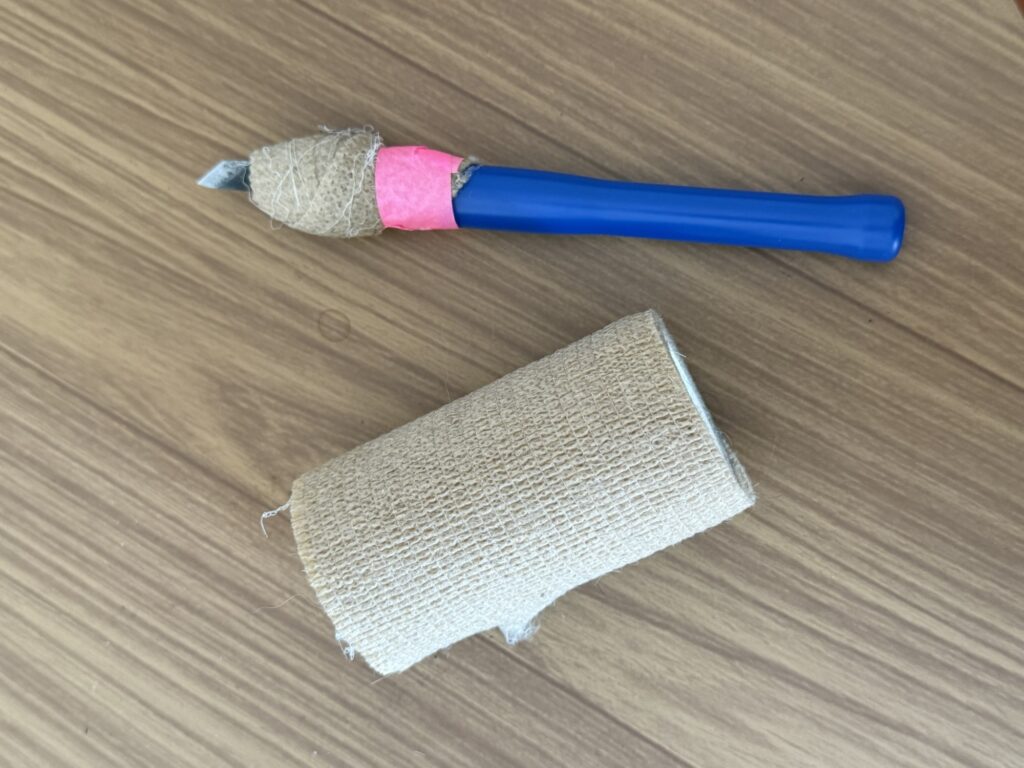
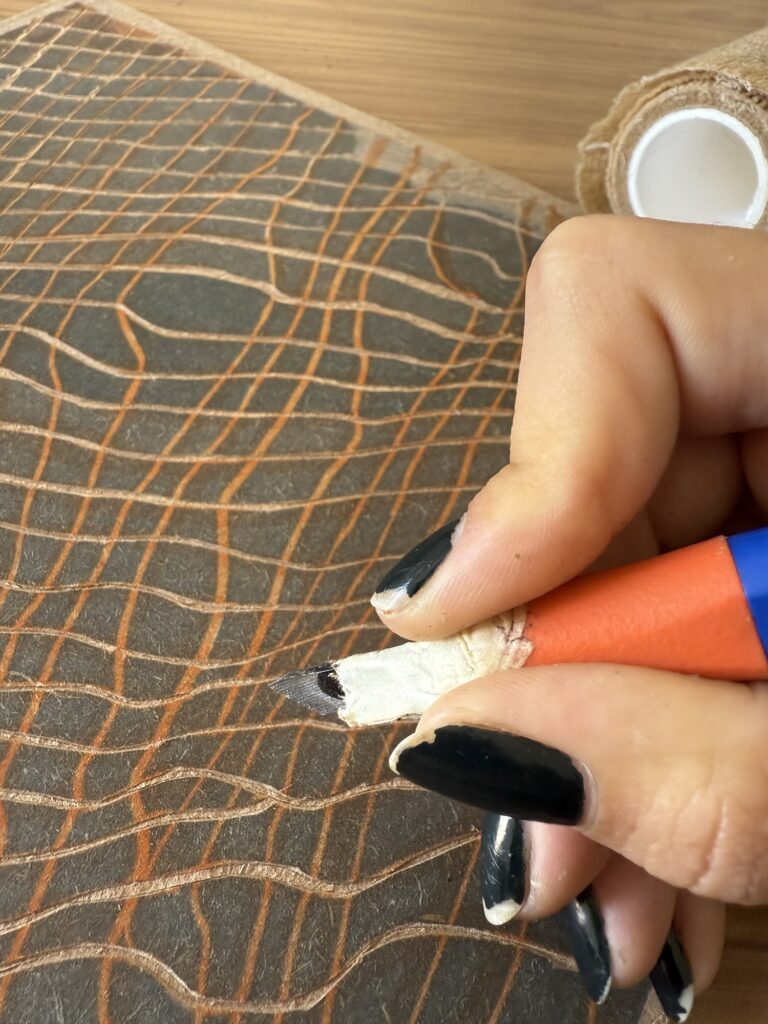
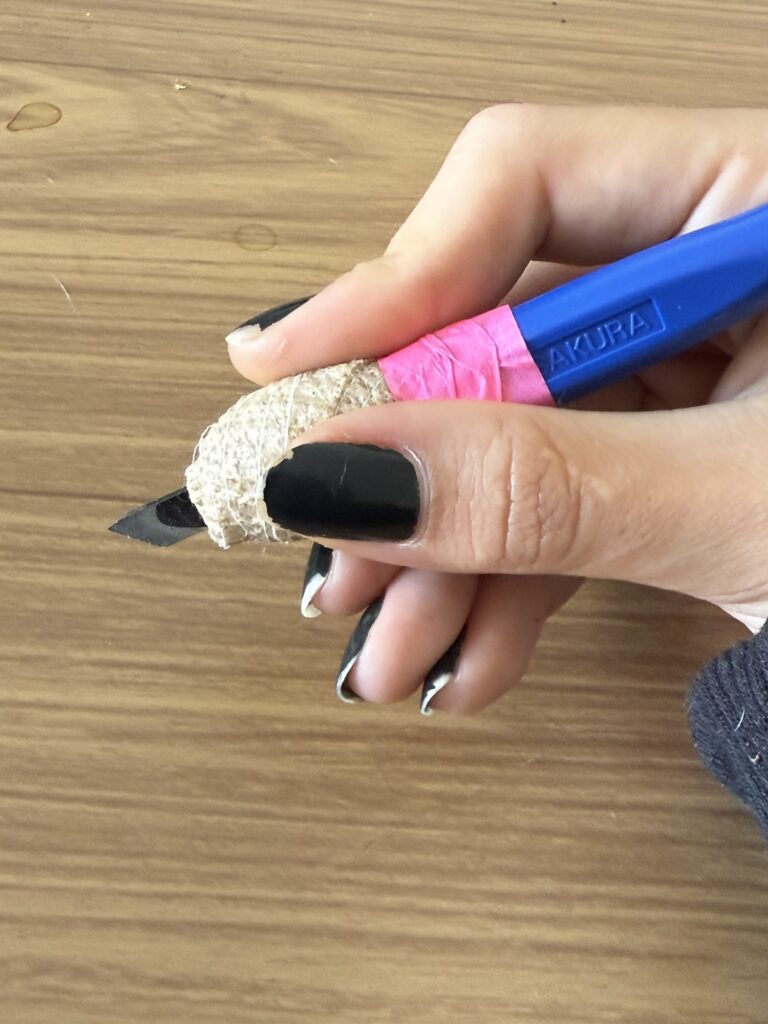
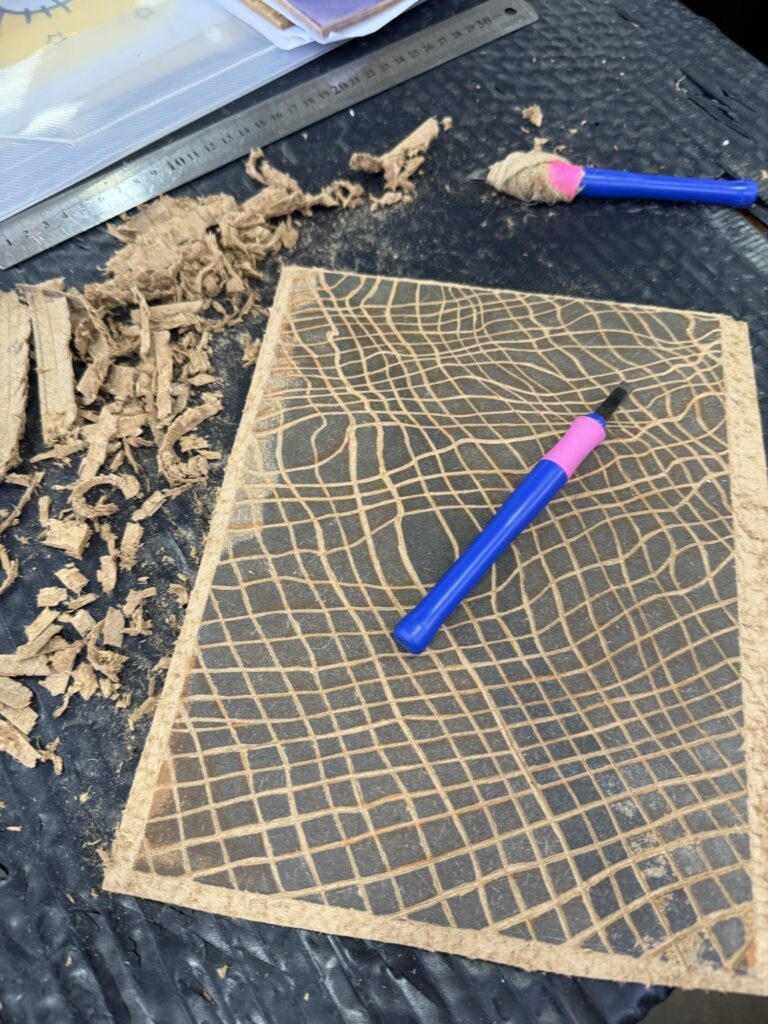
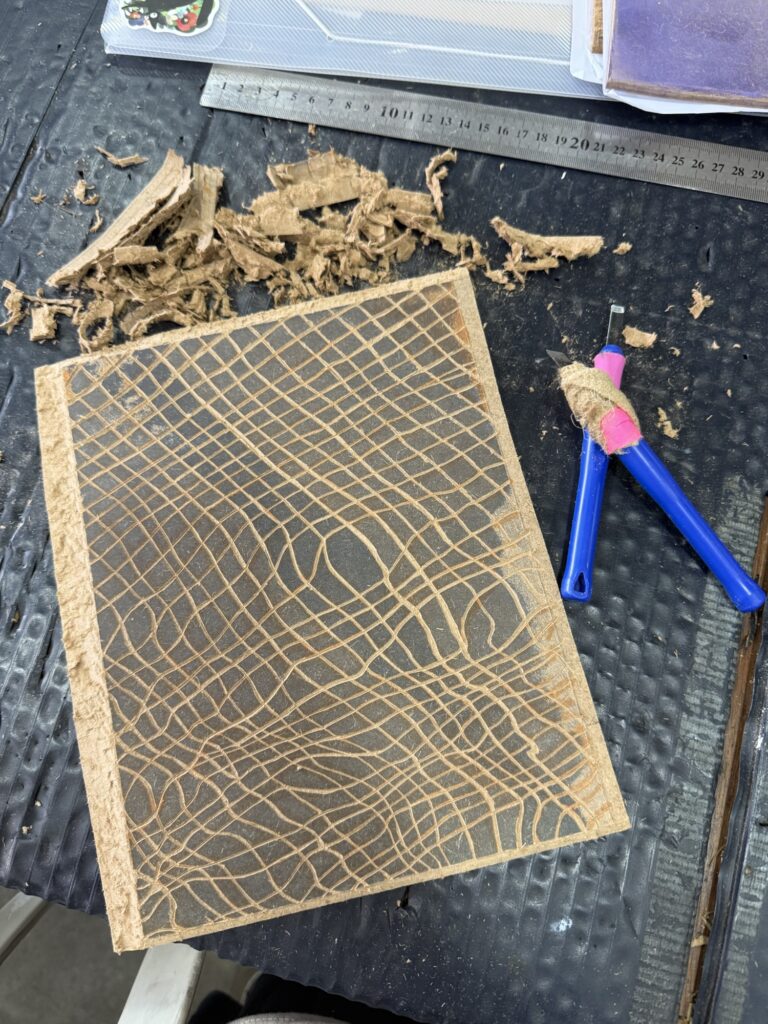
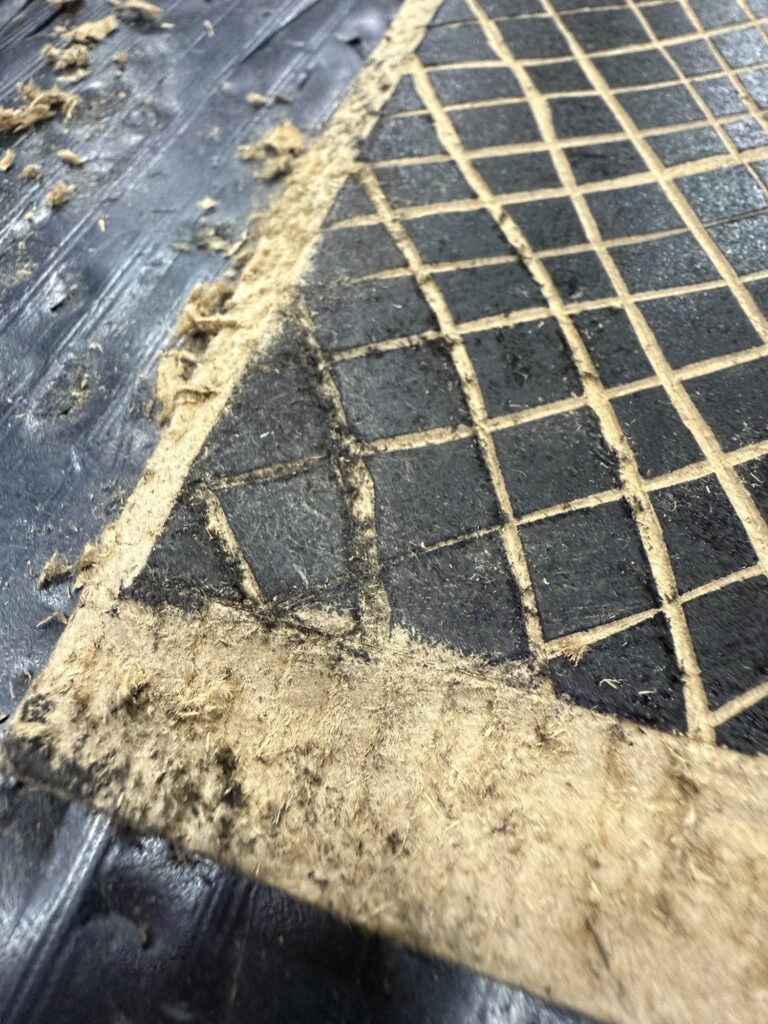
2. With my improved tool and still at home, I finished carving the second layer of my project. I left the outer edges to be removed in the studio so as not to force my hand or damage my tables – this process is usually a little messy!
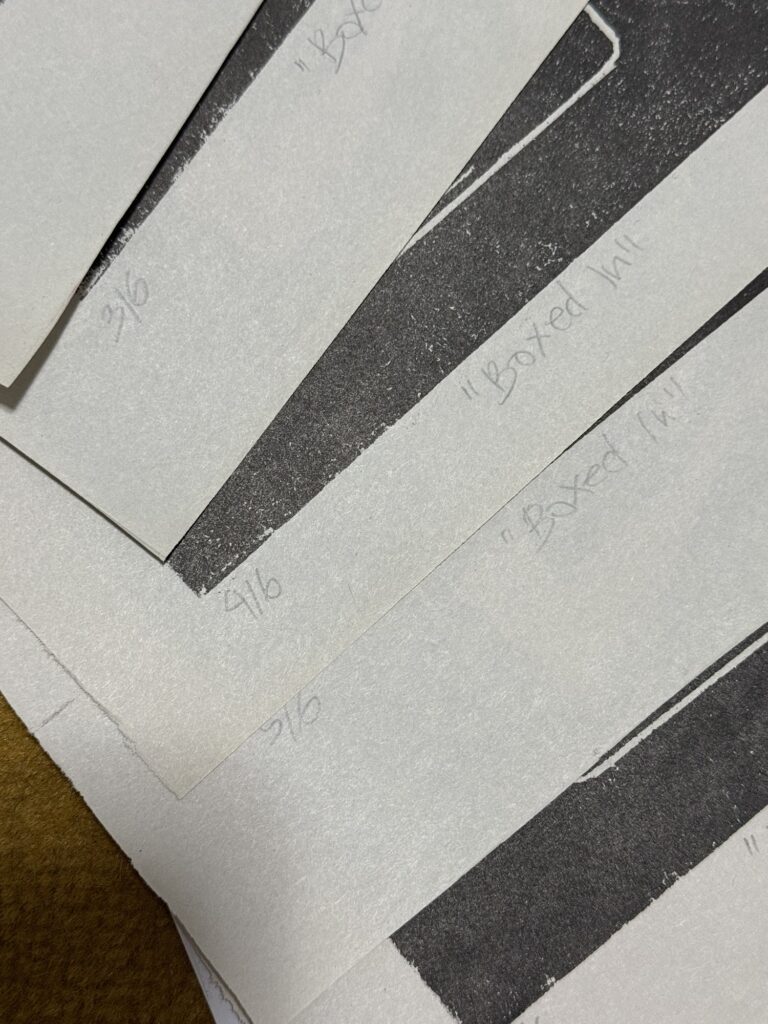
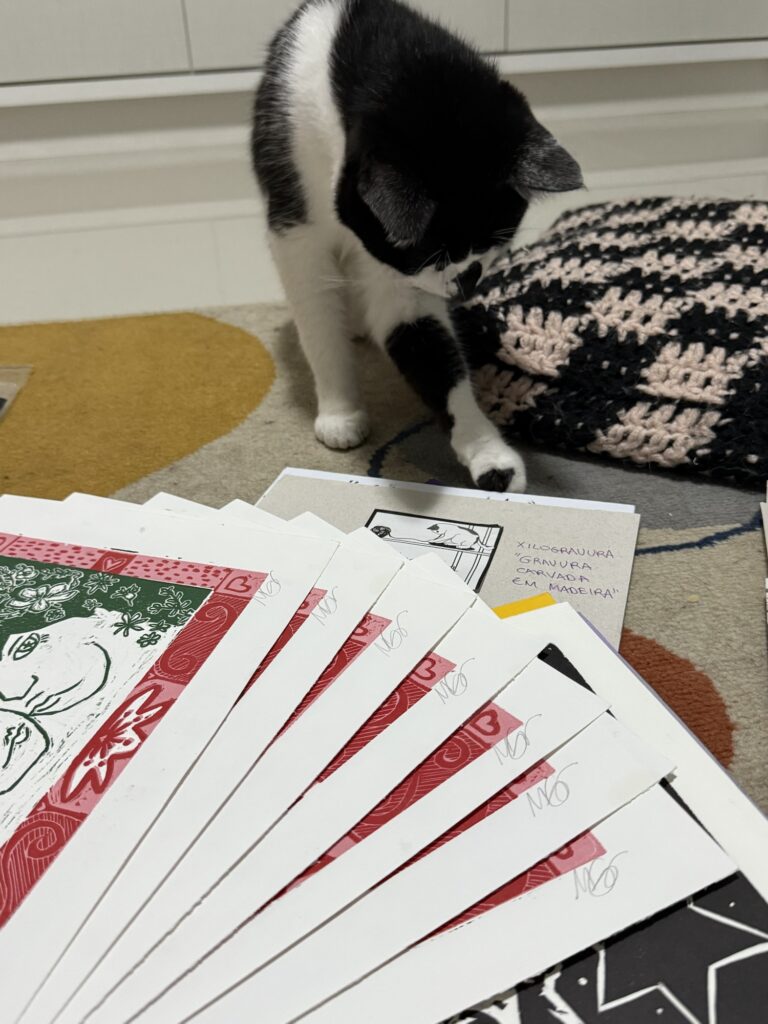
3. I also took this time to catch up on some maintenance work I had to: I organized my past work into files with all test and printing materials, and I titled, numbered, and signed some pieces. I’m very happy that everything is organized and up to date now, and I am grateful to have enough space to organize it all. Maybe I can do a studio tour sometime…
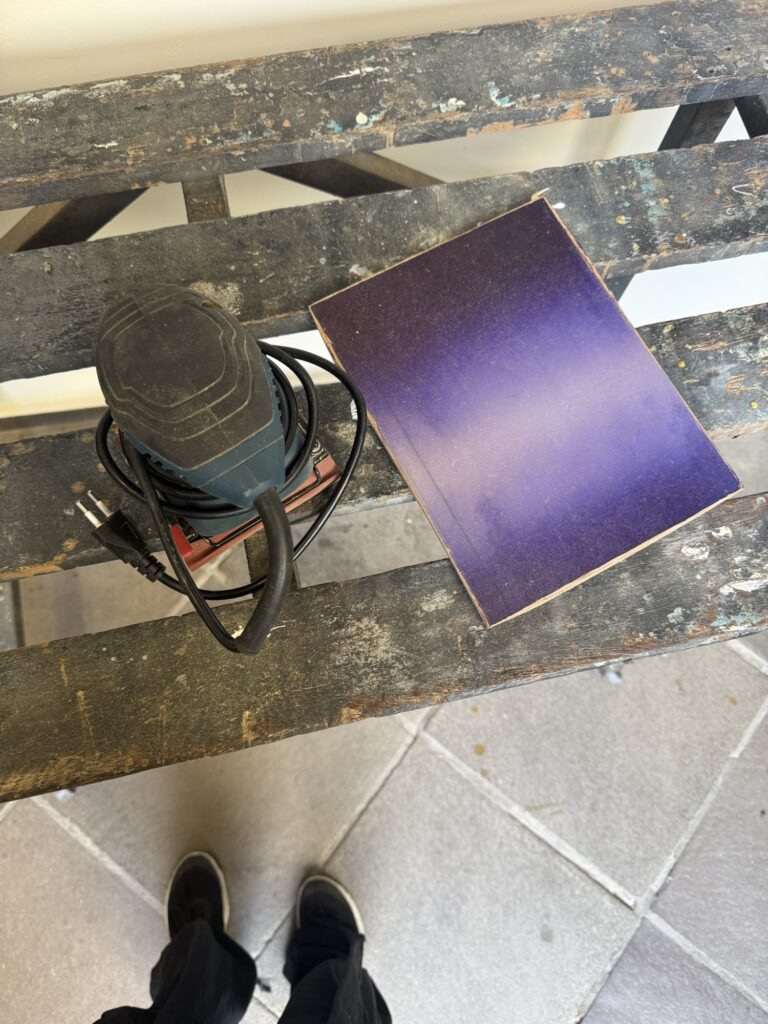
4. Finally, at the studio, I started the day by filing down this layer (the first one) since it came out textured on my first test print. I made it as smooth as possible, carefully keeping it all leveled out to maintain solid colors and sharp lines.
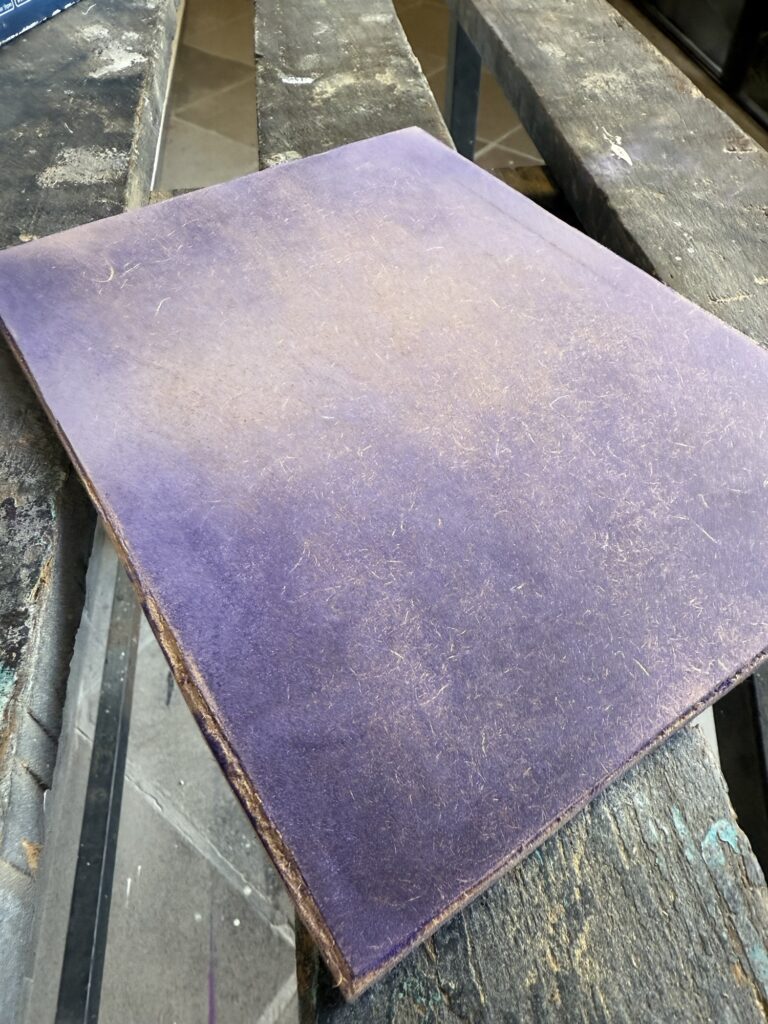
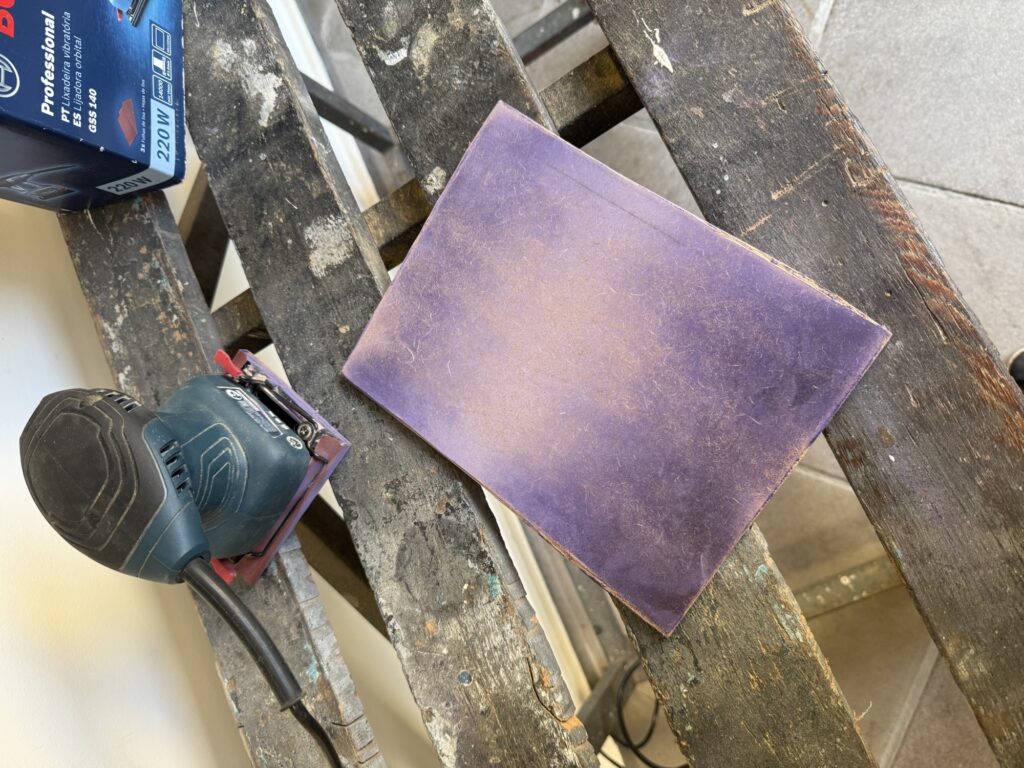
5. Then, I cleaned out the edges of the second layer while chit-chatting with an old friend from the studio. I marked the edges of the image with the “knife” blade tool and then carved out a lot of the wood with a straight edge tool, always working outwards from my piece.
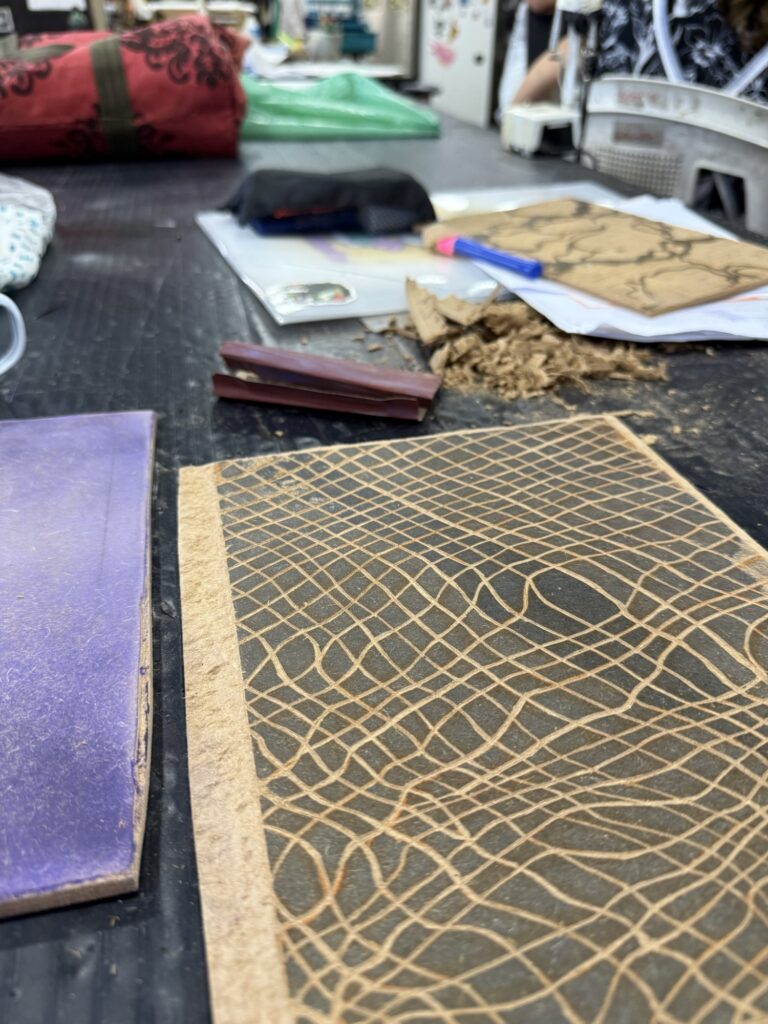
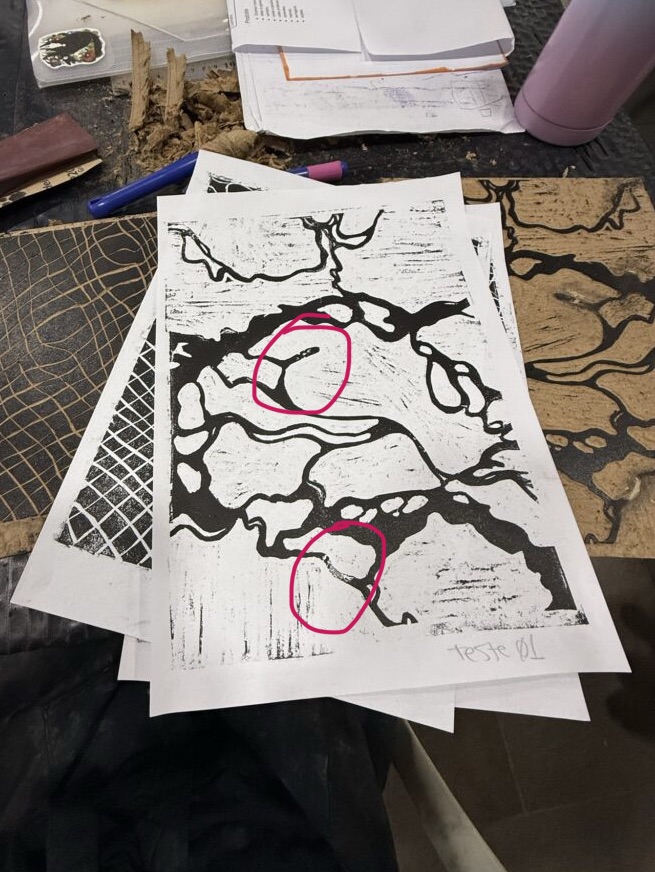
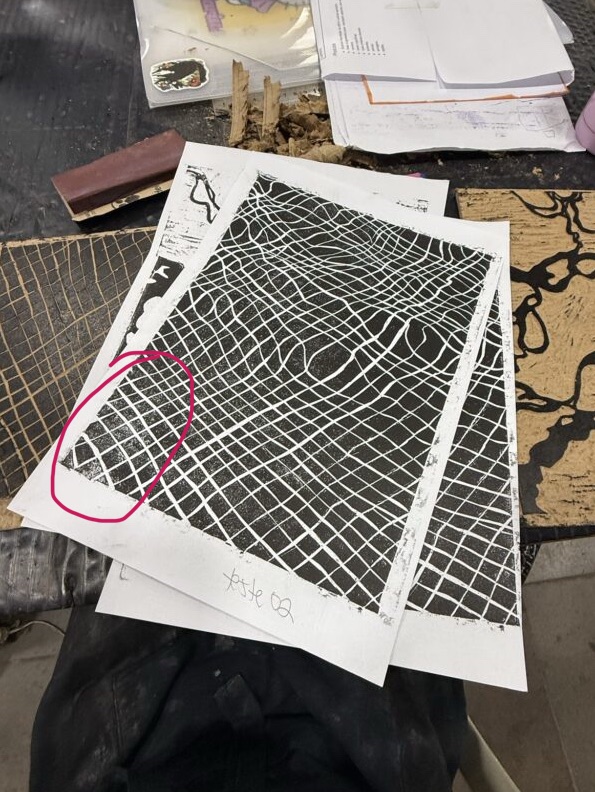
6. It was finally time to test out layers 2 and 3. I used the black ink that was already out by my studio mates, and did a couple of prints of layer 2 and one of layer 3. They came out with a few imperfections (listed below), but overall, I was very happy with the results. I especially love layer 3, and I think I should do a few prints of this design by itself, too.
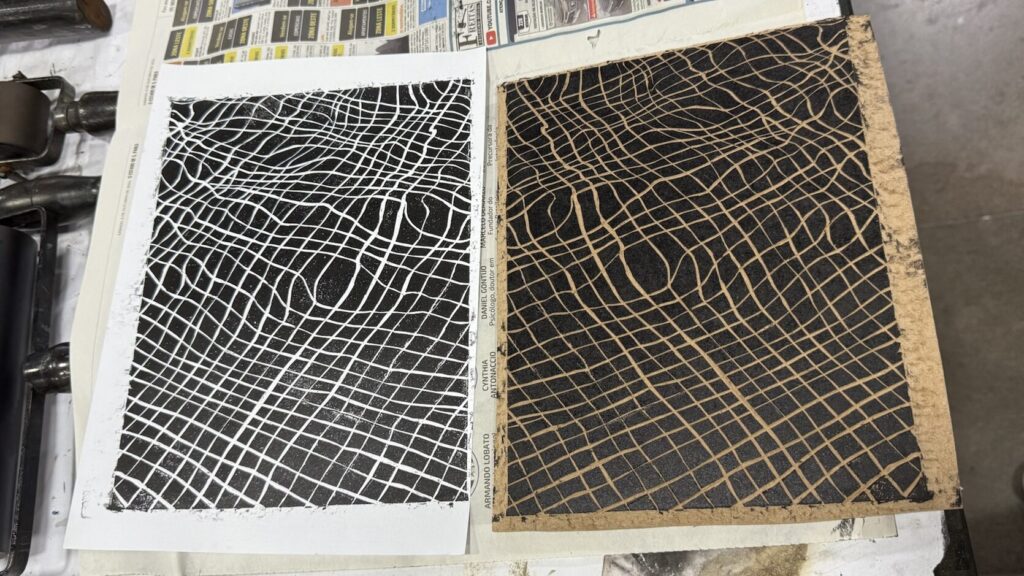
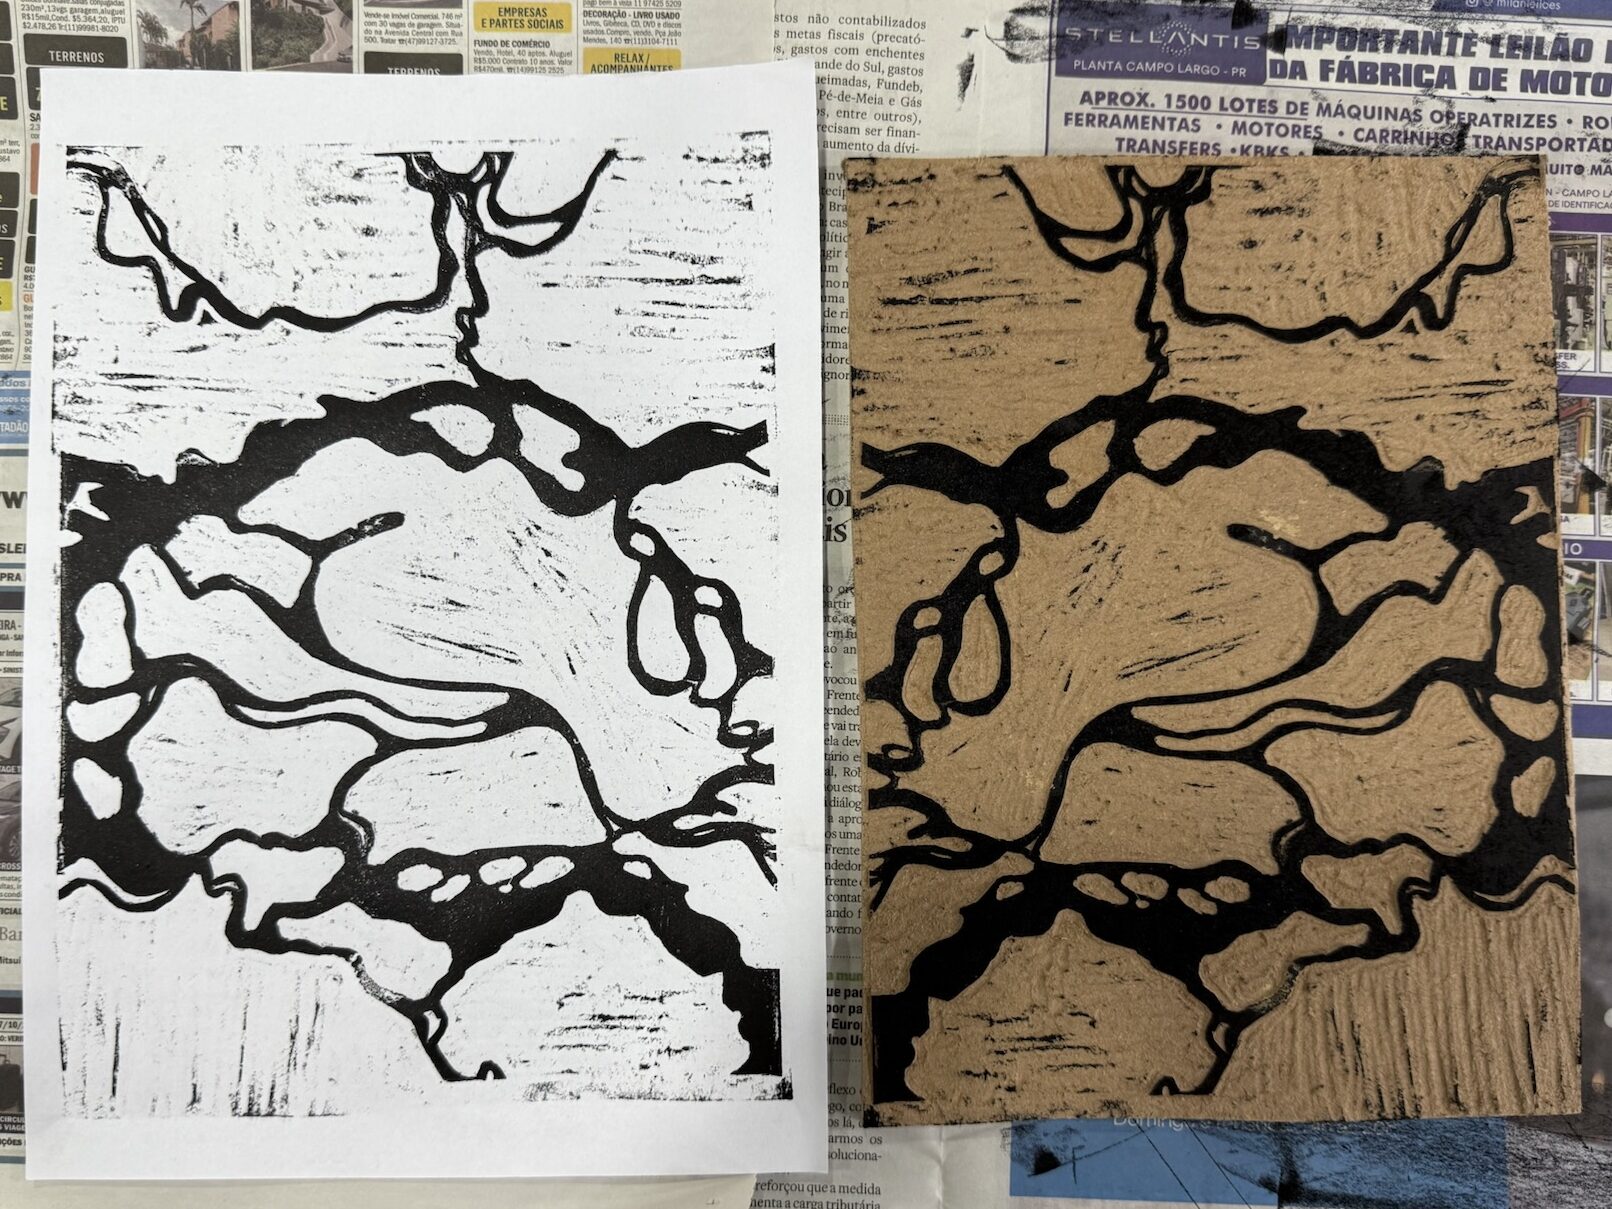
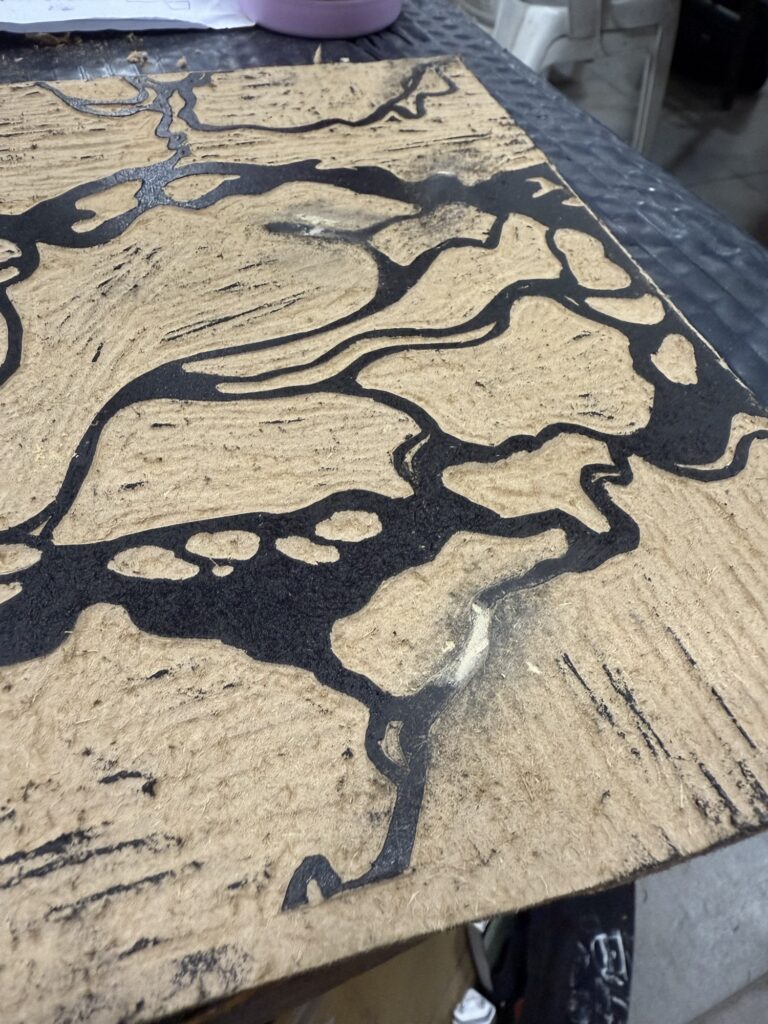
7. To fix the imperfections of these layers (see the images below), I need to file down any texturized pieces. On layer 3 (on the left), the texture comes from some leftover wood putty I apparently did not sand down enough.
Next week I’ll test it out all layers again and make any necessary adjustments The only 2 things to be done before I can actually print the whole piece out are: 1. Create an acetate mask so I can print two colors on the second layer and 2. figurie out and build a registration guide so the layers come out aligned. I might need Bebeto’s help for this last part since the boards have different sizes.
I will try to get the mask done at home before next week’s visit, so I have more time to work on this guide and start printing the first layer again! Hopefully I’ll get the colors of the gradient right on the first (second) try! There’s a lot of trial and error to come soon… Stay tuned to see what I come up with!
Check out last week’s studio log:
Context note: “Xilo is a nickname in Portuguese for woodblock printing. It’s a prefix related to wood, and it has Greek roots.“
‘Till next week, crafters!