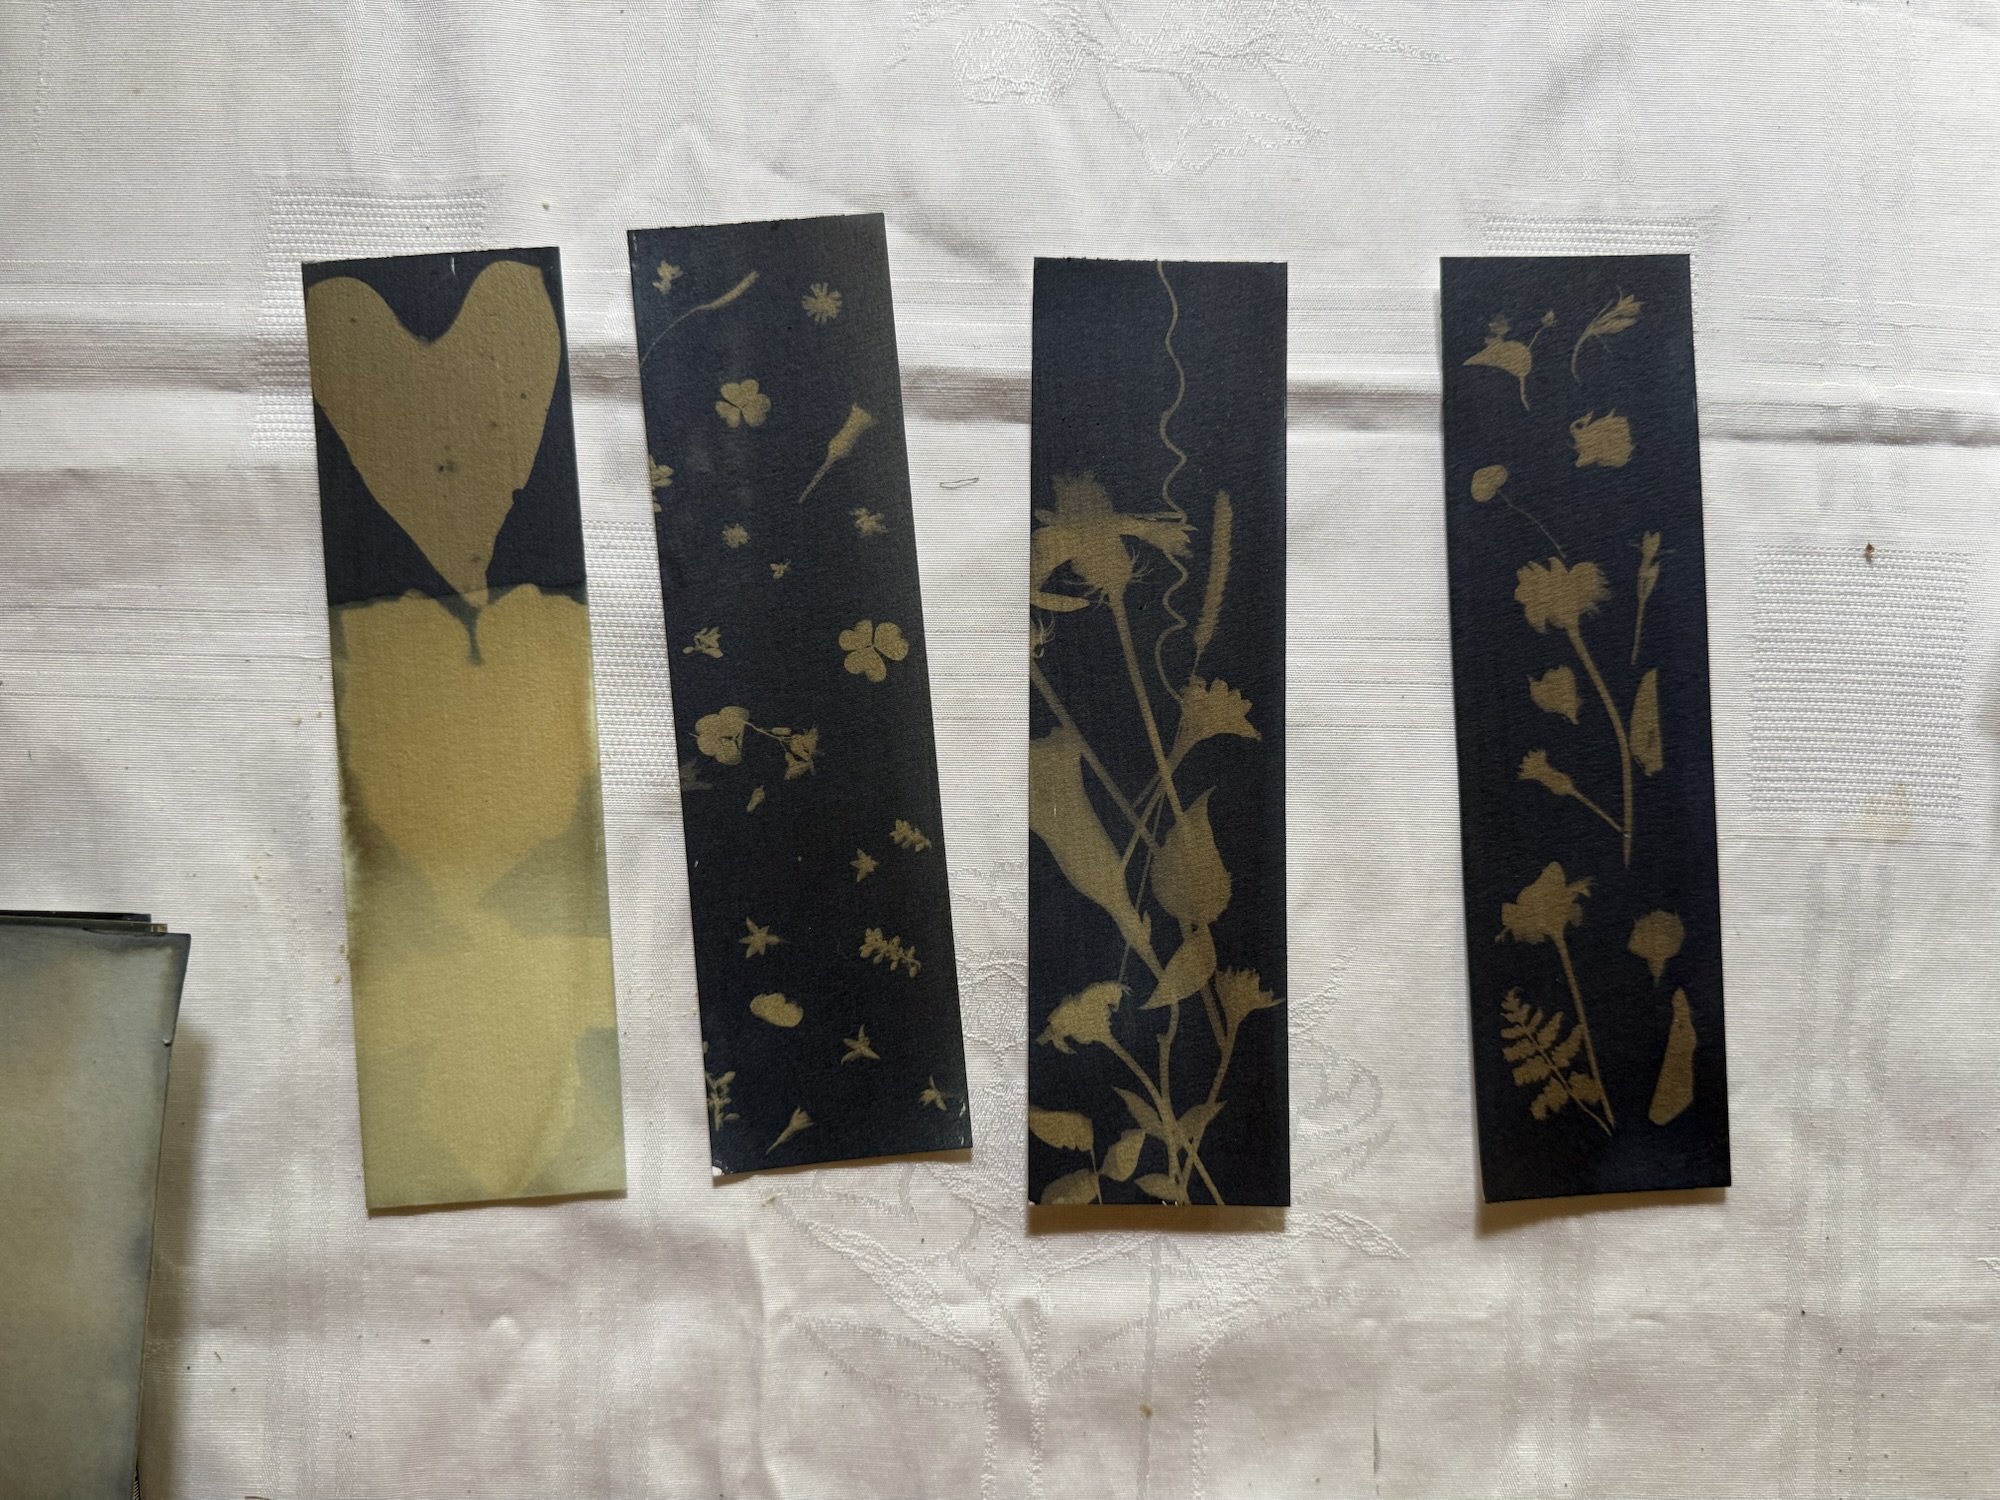
This christmas morning, my mom and I decided to experiment with cyanoptype, a medium of shared interest that we’ve been meaning to play with for a while now. I had bought the kit a few months ago and we were just waiting for a good opportunity: This was it! We had tons of fun and learned a lot! Here is how it went:
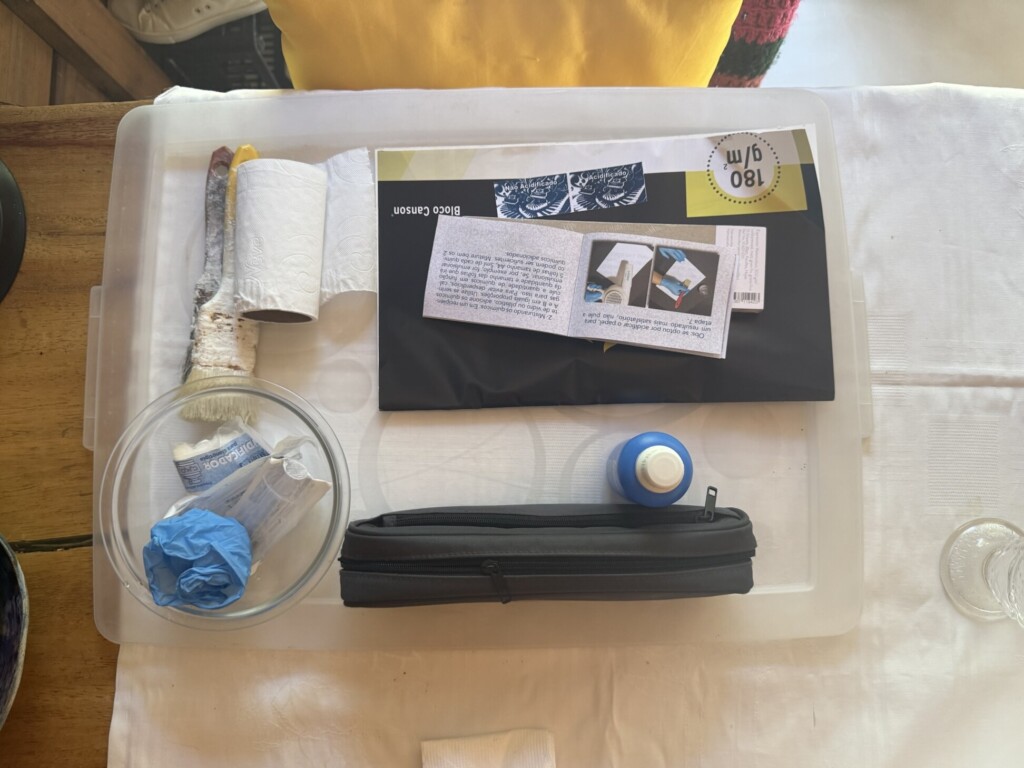
We started by reading the instructions that came in the kit, and gathering the needed materials and supplies. Then the fun part: going treasure foraging the garden for flowers, leaves and organic bits of all interesting shapes!
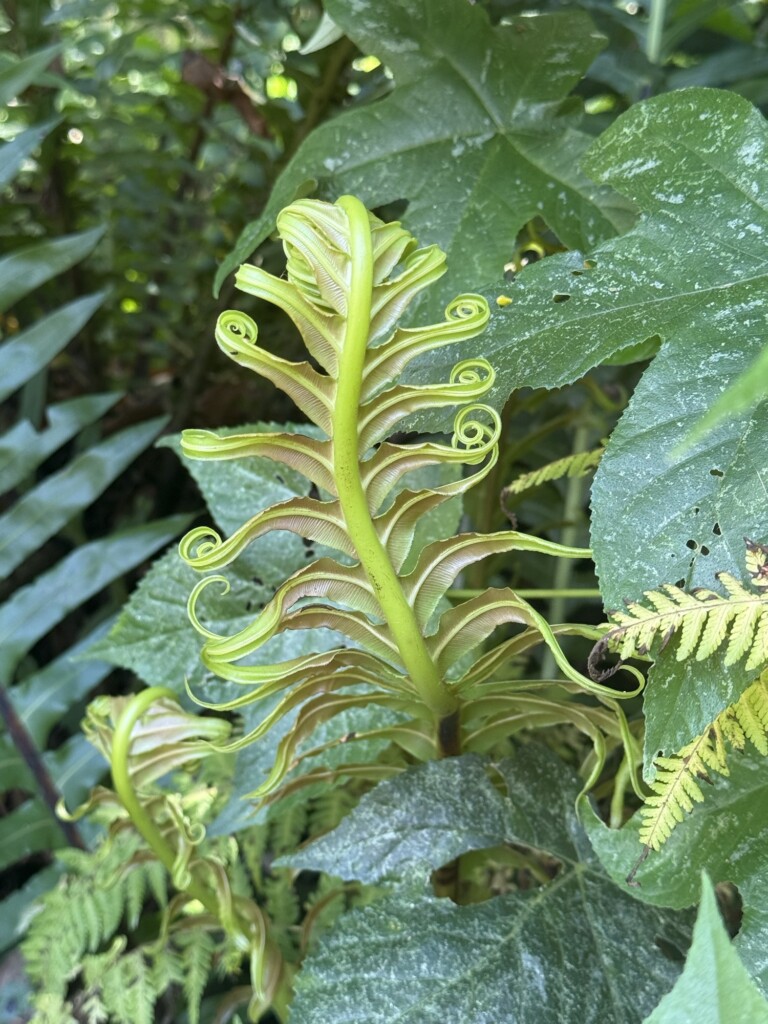
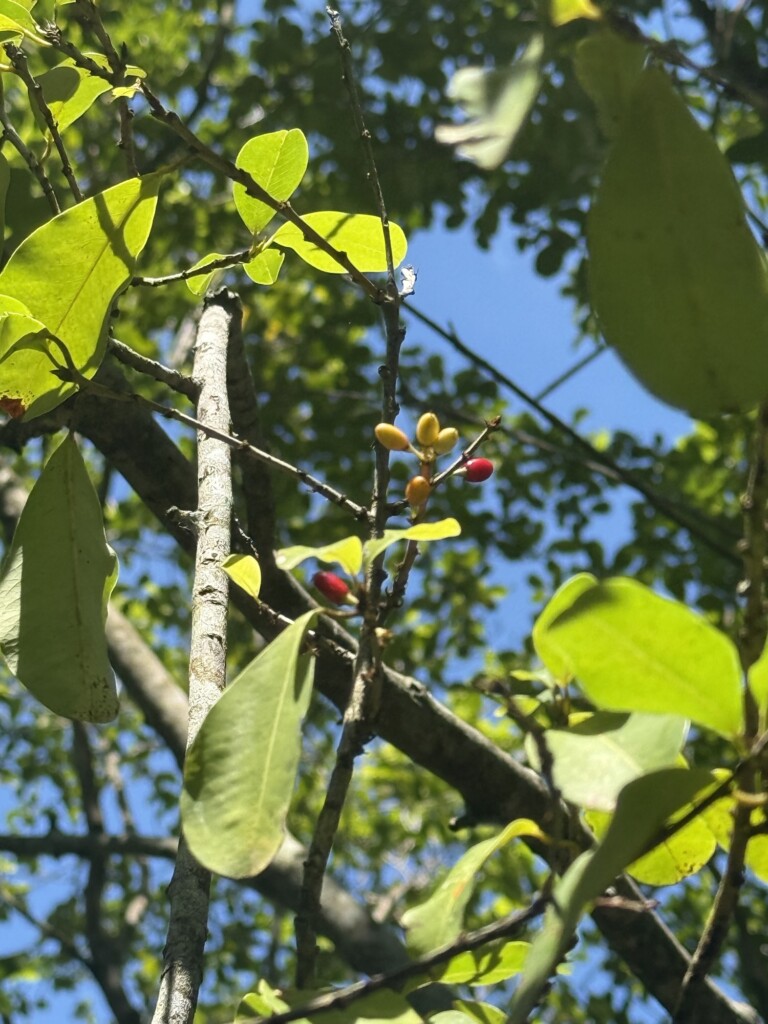
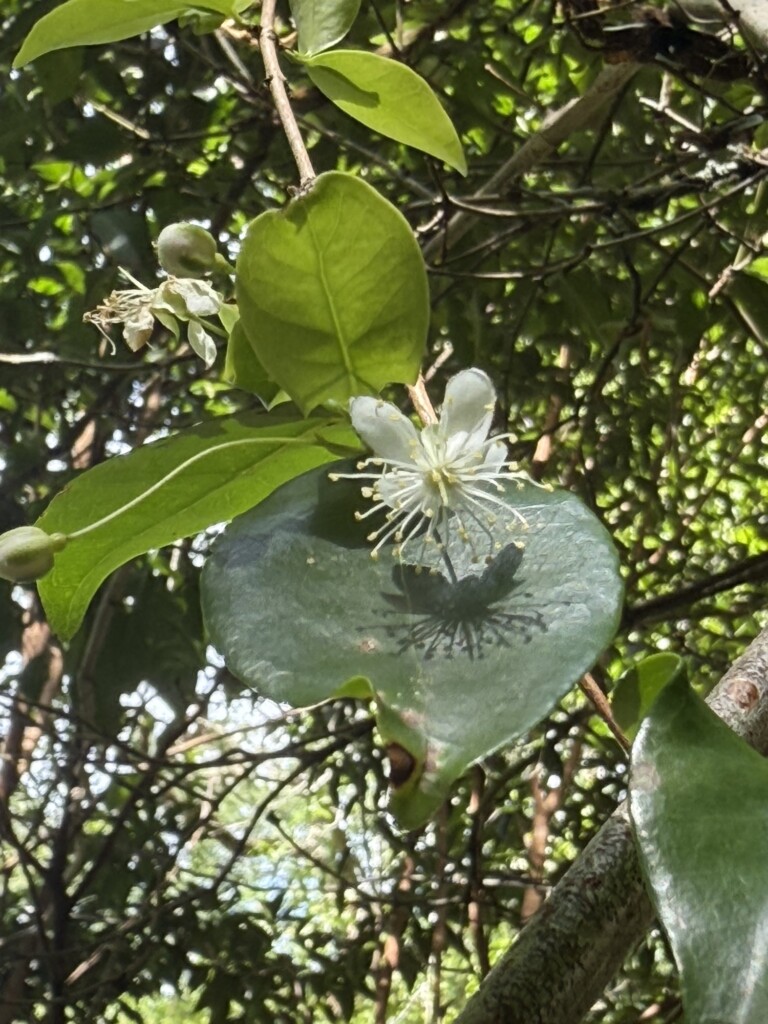
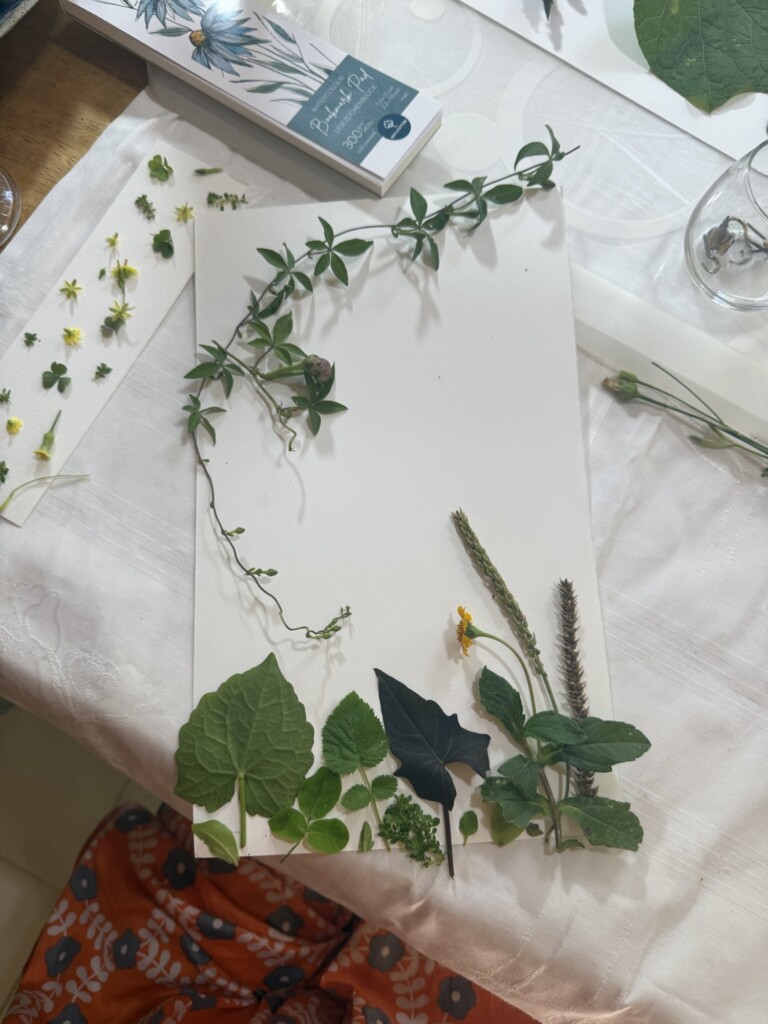
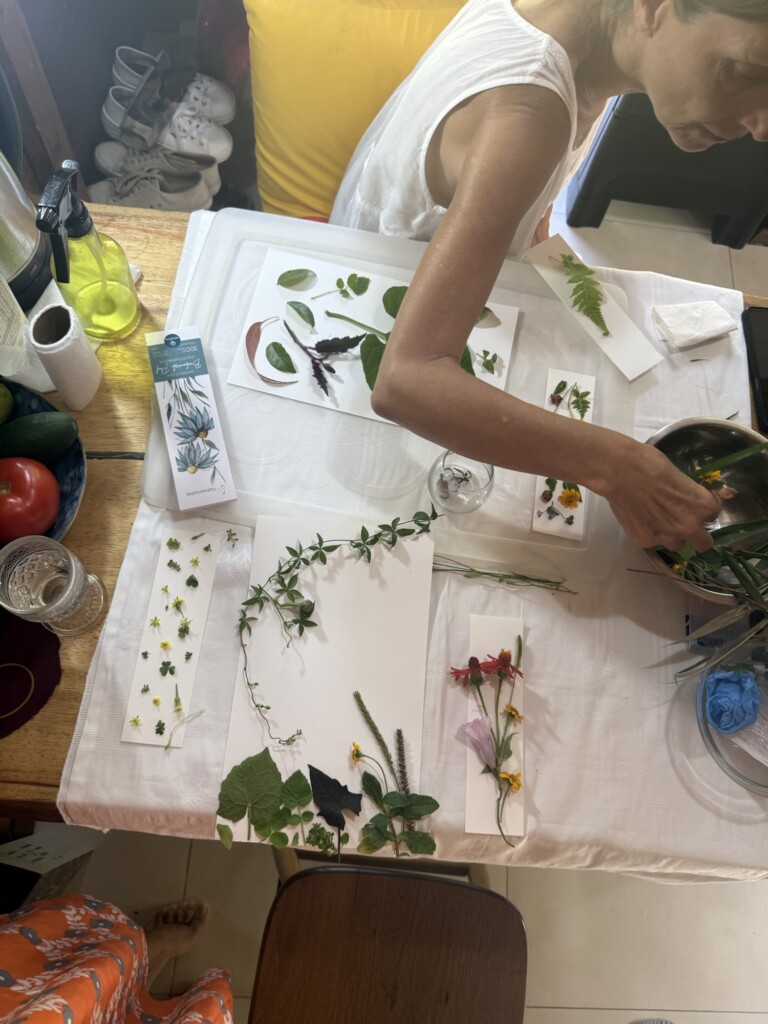
Inside, we laid-out our designs on dry paper to have an idea of what we wanted to do (and not rush it when the dye started developing). Here are some of our “pre-designs”:
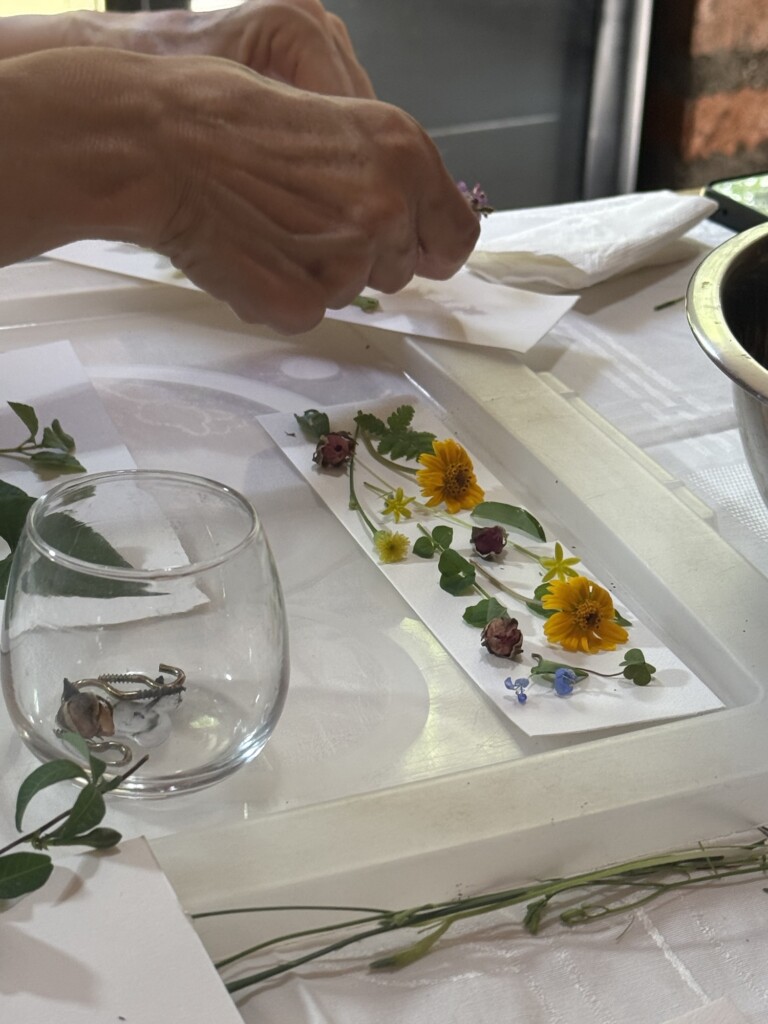
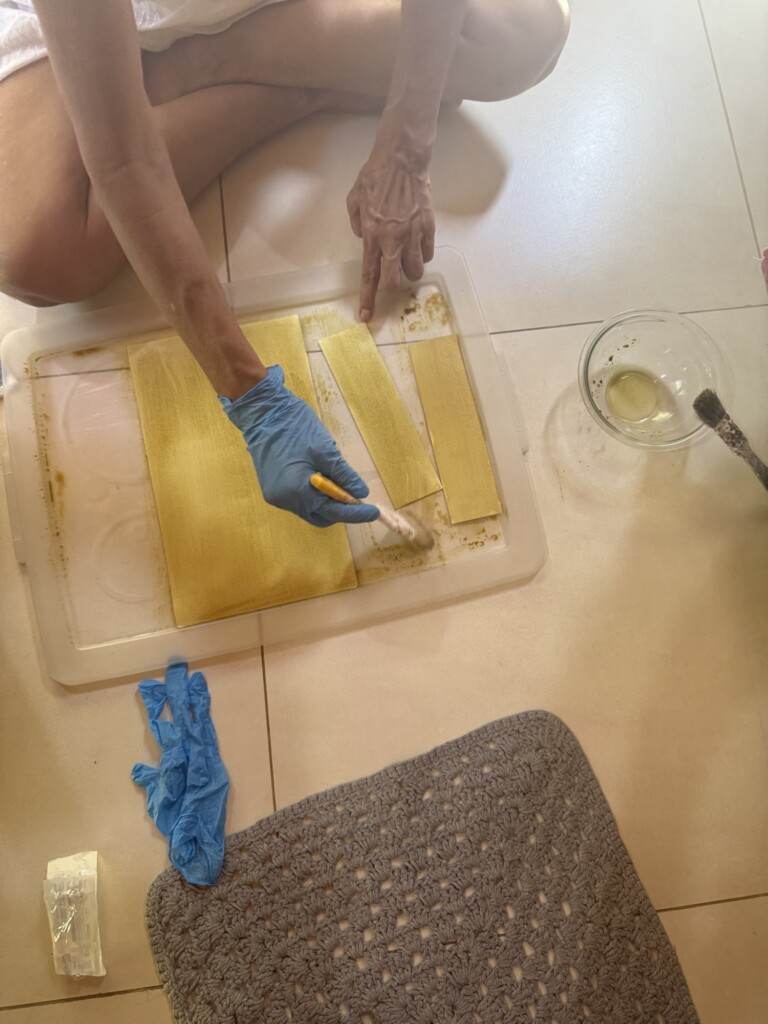
Continued following the given instructions we prepped the papers: We mixed the two parts into a bowl and carefully painted the pages fully with one thin coat. (The kit came with syringes and the two agents needed). At this point, the paper looked like a light mossy green. We left the papers hidden in a dark place to dry while we took a nice break in the sun, sipping kombuchas.
Once the papers were dry, we laid-out the plants back onto them, trying to recreate our initial designs. We had a few extra pages too we prepped using the leftover mixture. We freestyle a couple designs on those.
We left the designs in sunspots to activate the chemicals:
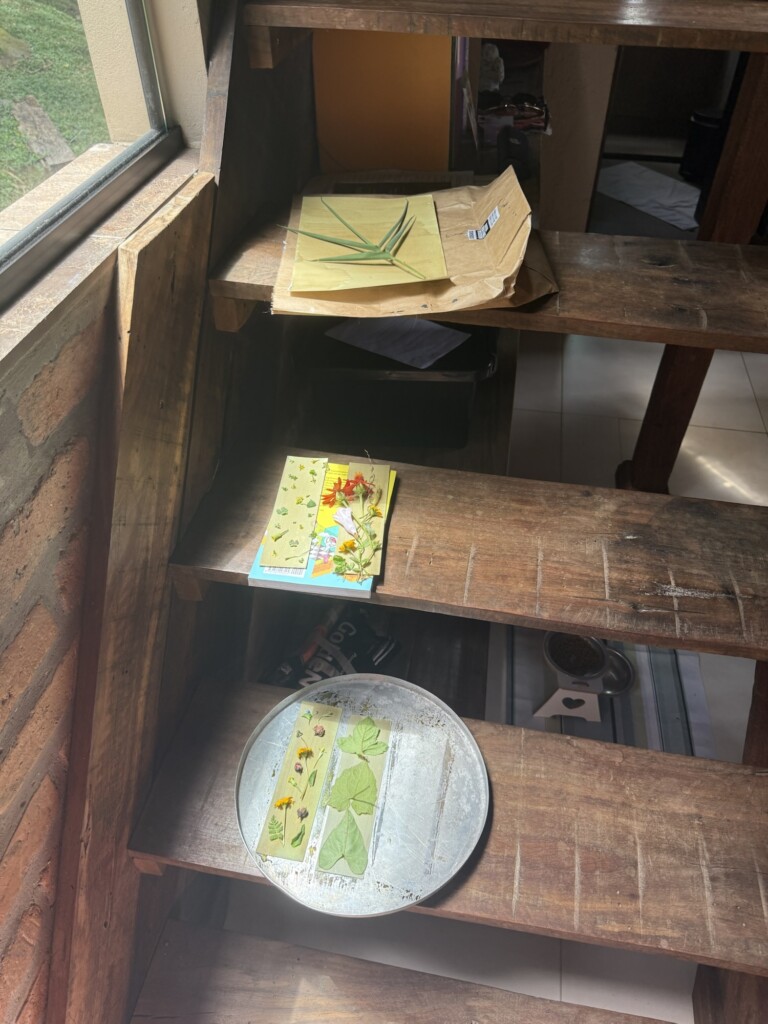
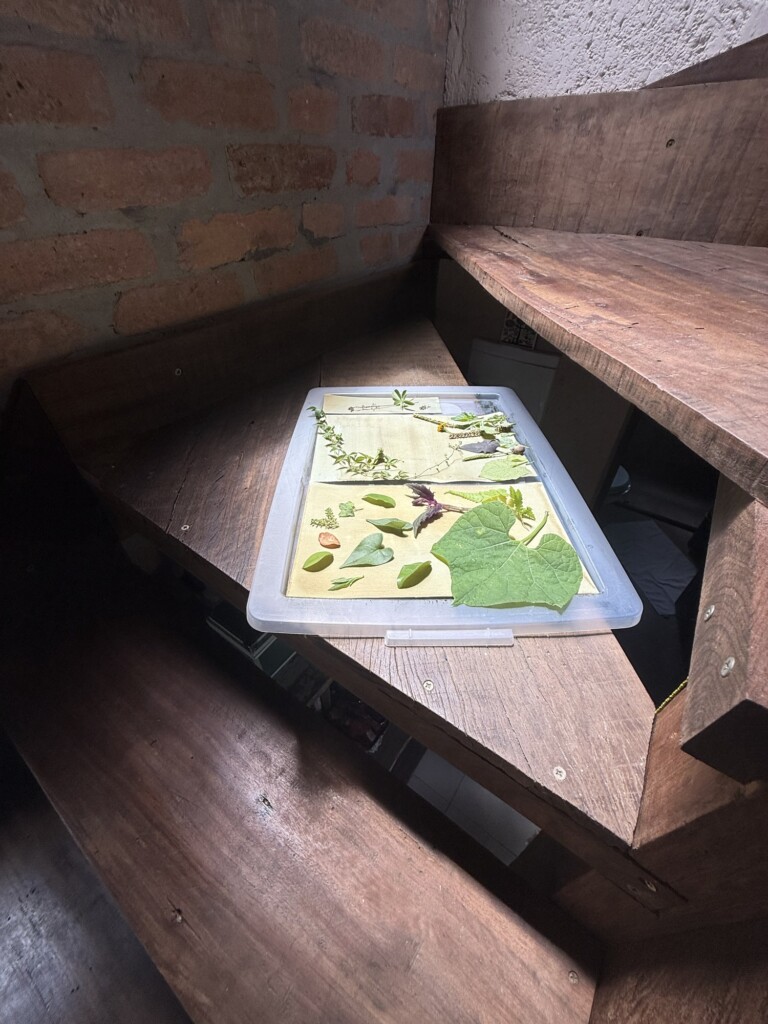
We’ve might been a bit too eager and took out some of our designs too early. We got excited when we saw the magic of this technique coming to life: The outlines of the selected florals perfectly captured onto the paper.
There was a difference in the color of the papers that were in the sun for longer, they became a darker blue instead of a paler green. This is a big lesson for the future, it is best to leave it out for around 10 minutes or so, and it’s safer to leave it out longer than not – although I don’t know what happens if it stays out for too long in the sun.
Then came the “washing the dye away” part which was tricky and emotional. The instructions said to wash it out under running water. I did that with one of my (favorite) designs and saw the whole thing wash away… (I’m glad I took a picture at least, I guess). Then we tried using hydrogen peroxide to clean the chemicals-out instead, which seemed to give better results but still took a lot of the color and contrast away. This was specified in the instructions as an optional step, to be done after the washing.

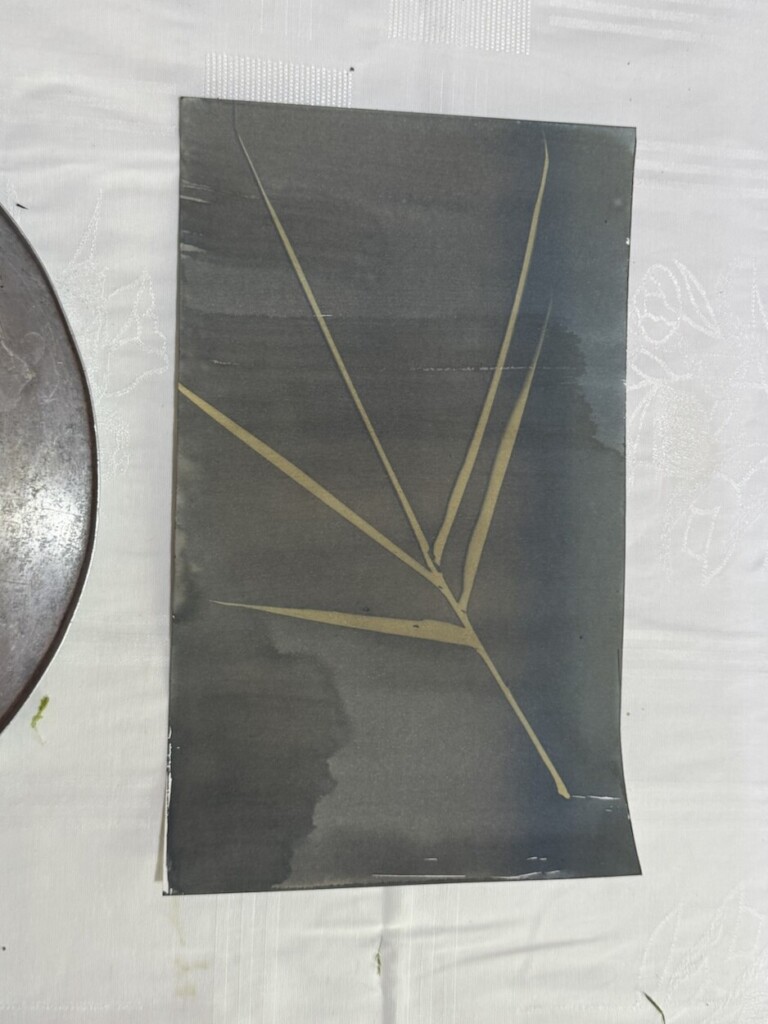
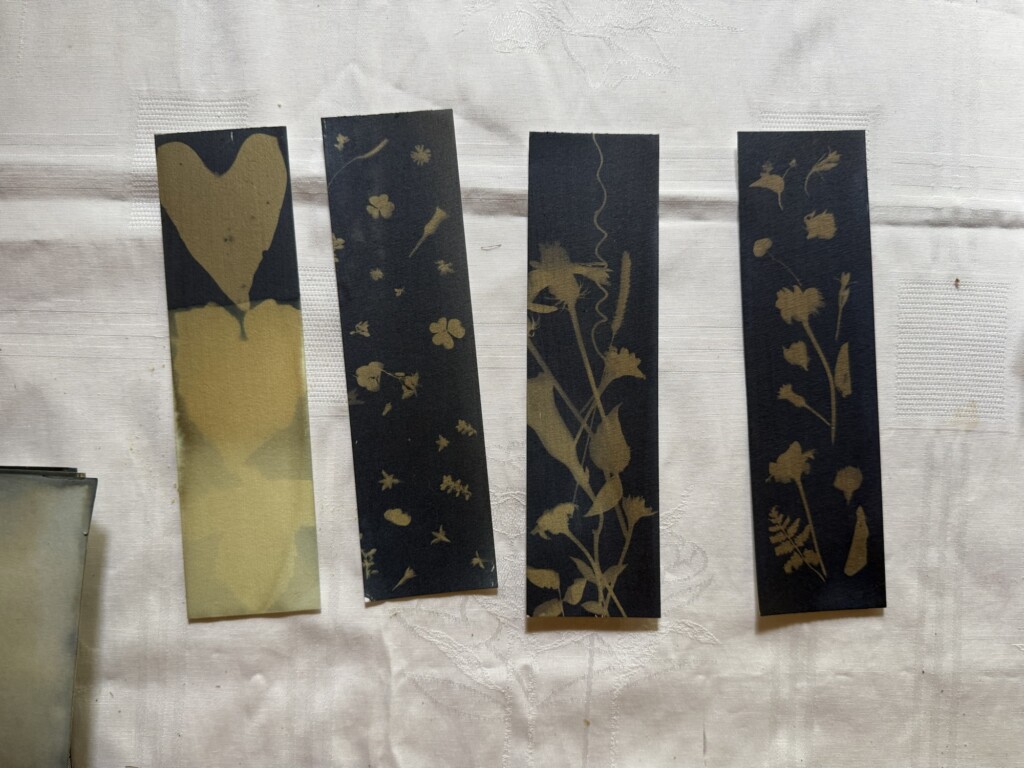
We got mixed results from our imperfect tests; it’s hard to say if the designs washed away because they did not “cure” for long enough in the sun or another mistake in the process. The hydrogen peroxide had a reaction to the blue, making it a bit darker but since it was mixed with water it also did more harm than good, generally. The instructions did say to use running water but I’m not sure about that.
For sure there is a lot more to test with this technique and the different variables that go into this chemical reaction. At the end we left most of our work “uncleaned” to preserve the patterns we had made. We don’t know if that means it will rub off or fade out with time but this was all a fun experiment anyway! I’ve learned a lot and I now have a lot of questions and research topics I can get into before giving this absolutely delicious technique another go. I hope you give it a try too and share what you’ve learned!
Happy crafting!