Category: Uncategorized

  • Floral Experiments in Cyanotype Printing

    Floral Experiments in Cyanotype Printing

    This christmas morning, my mom and I decided to experiment with cyanoptype, a medium of shared interest that we’ve been meaning to play with for a while now. I had bought the kit a few months ago and we were just waiting for a good opportunity: This was it! We had tons of fun and learned a lot! Here is how it went:

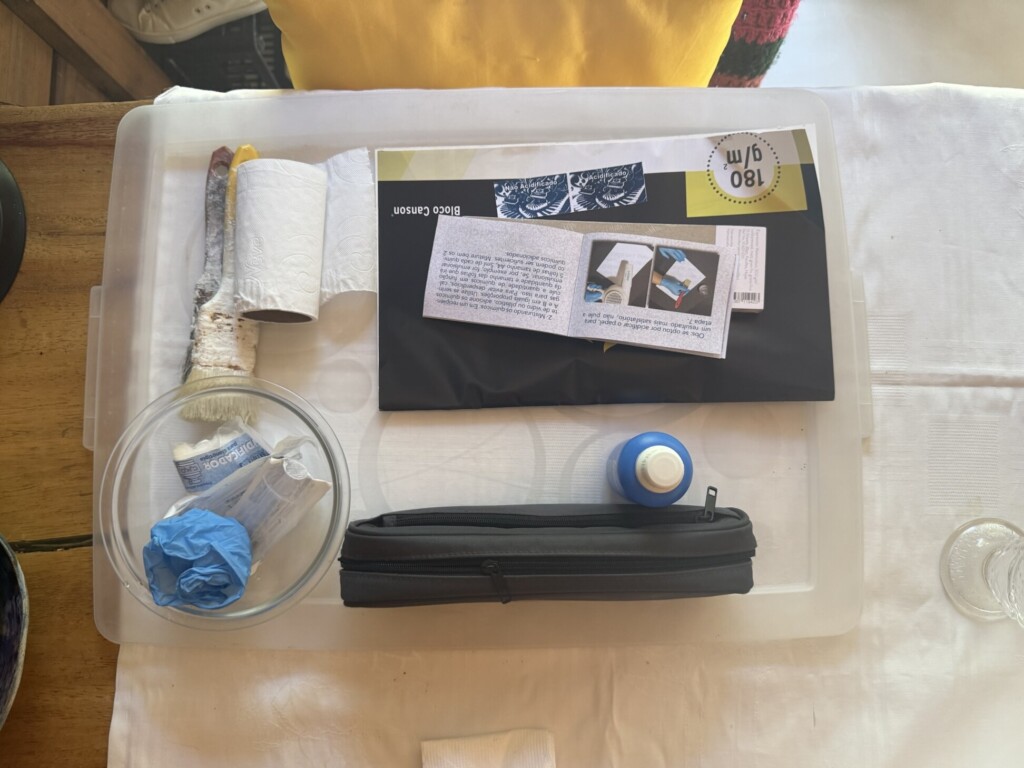
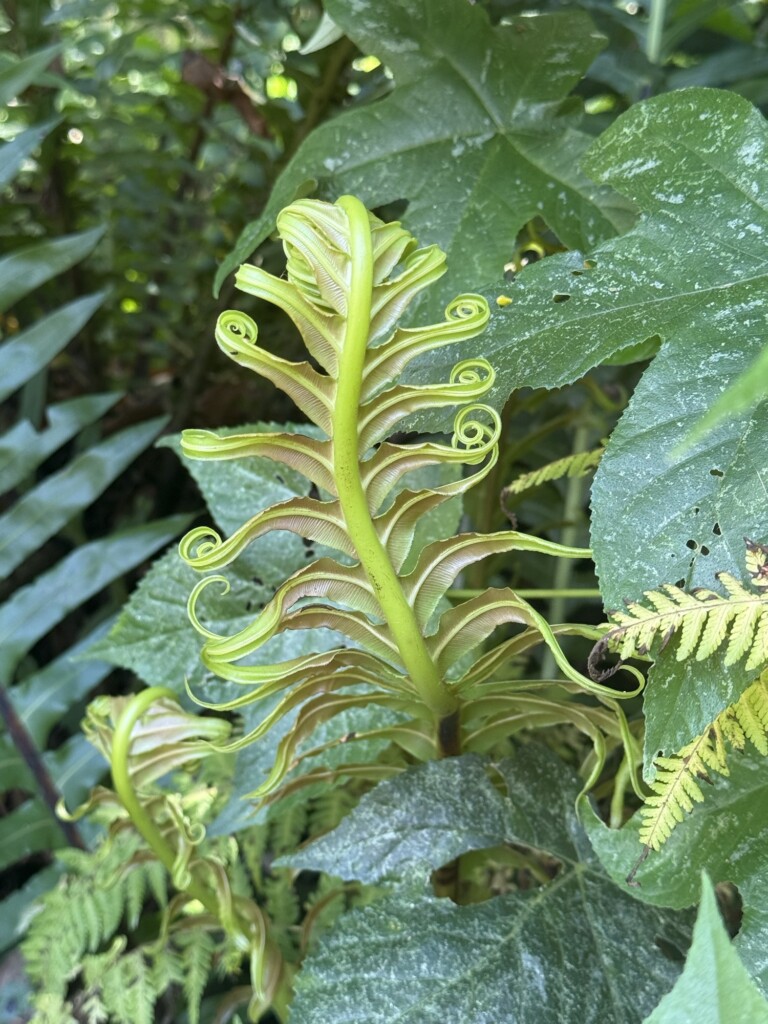
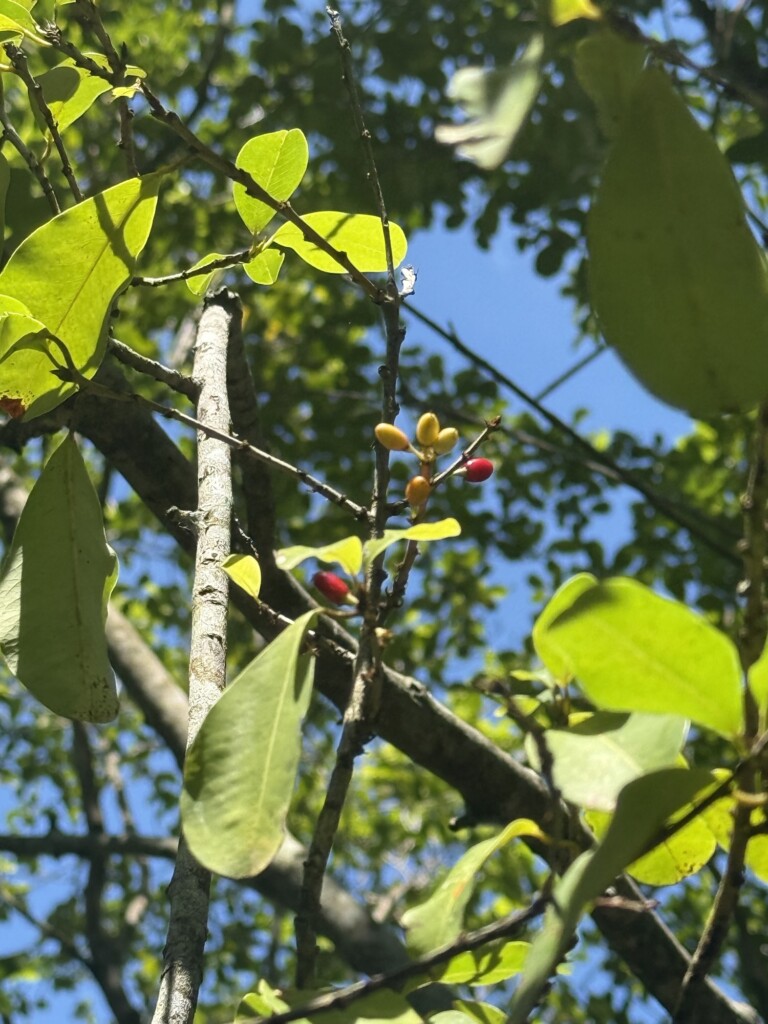
    We started by reading the instructions that came in the kit, and gathering the needed materials and supplies. Then the fun part: going treasure foraging the garden for flowers, leaves and organic bits of all interesting shapes!
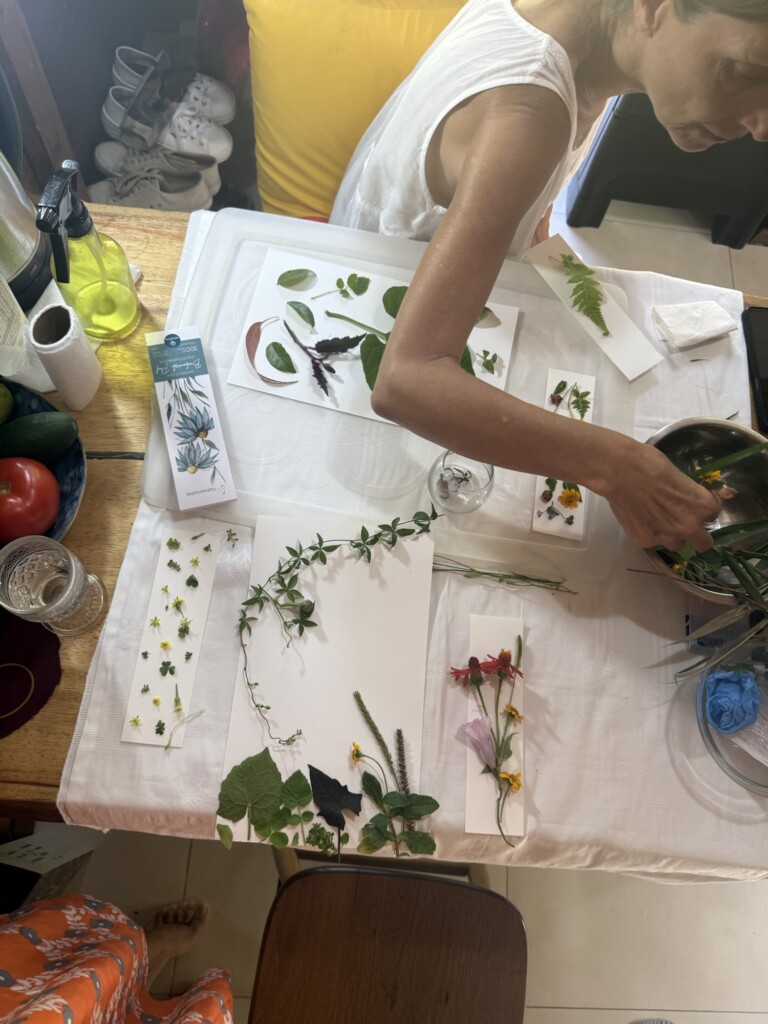
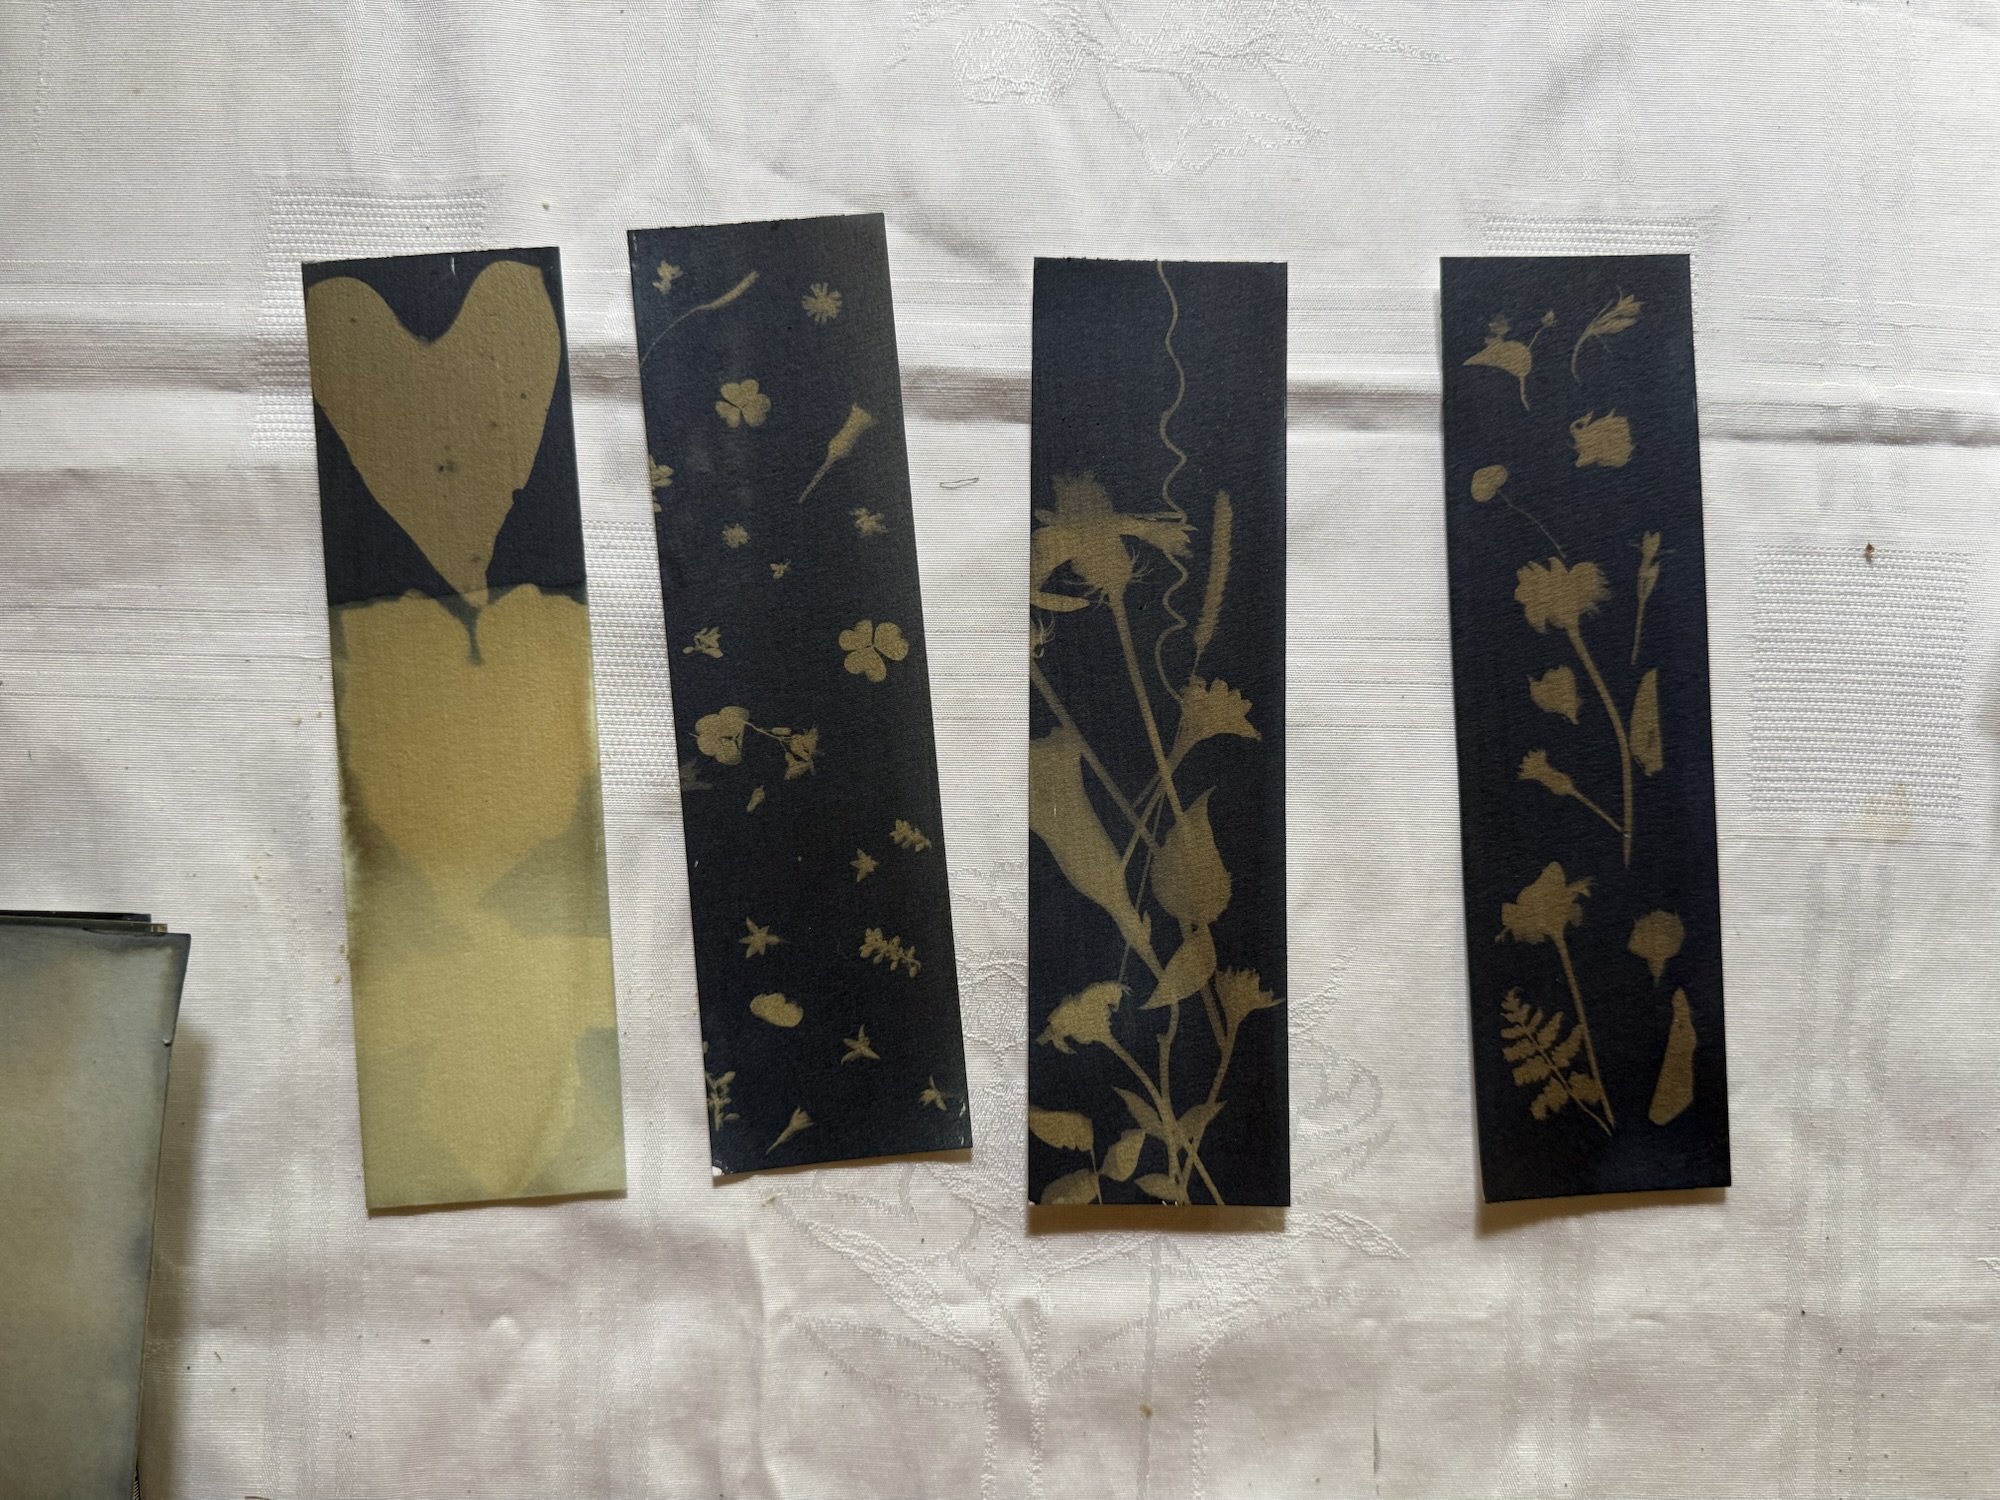
    Inside, we laid-out our designs on dry paper to have an idea of what we wanted to do (and not rush it when the dye started developing). Here are some of our “pre-designs”:
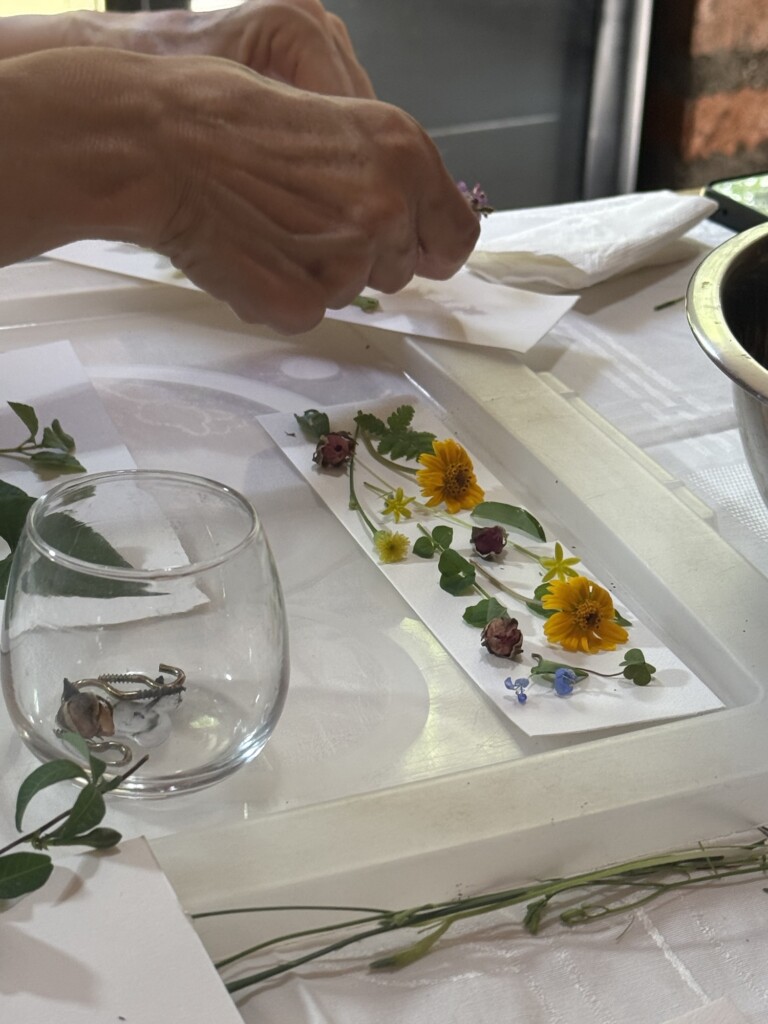
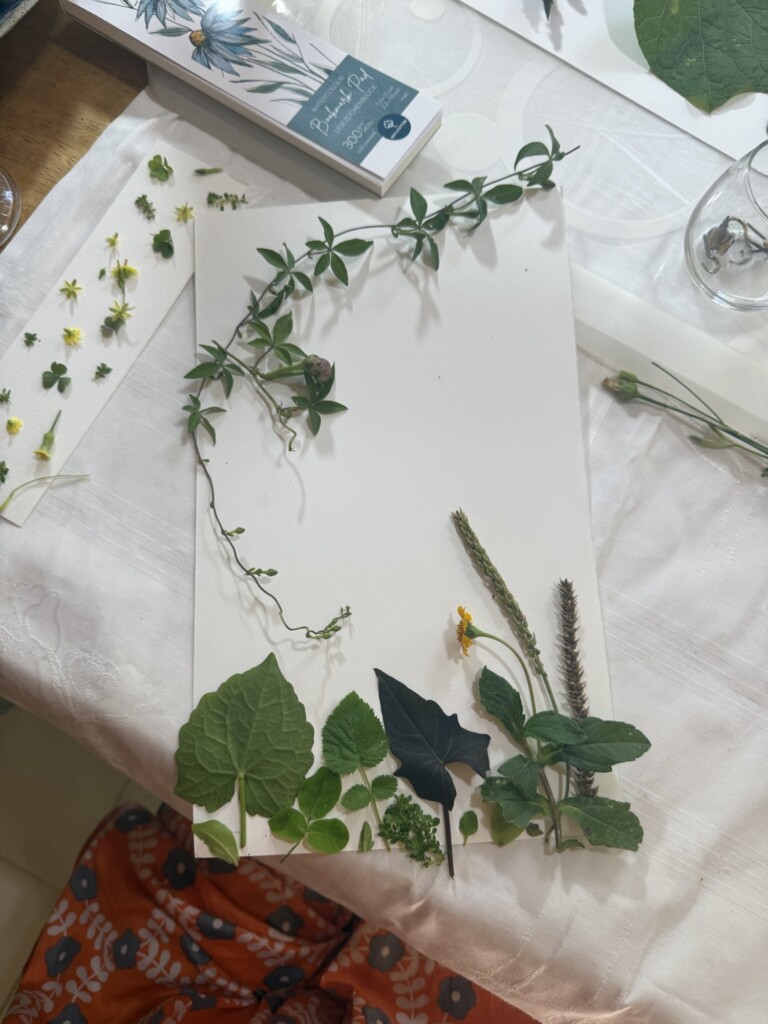
    Continued following the given instructions we prepped the papers: We mixed the two parts into a bowl and carefully painted the pages fully with one thin coat. (The kit came with syringes and the two agents needed). At this point, the paper looked like a light mossy green. We left the papers hidden in a dark place to dry while we took a nice break in the sun, sipping kombuchas.
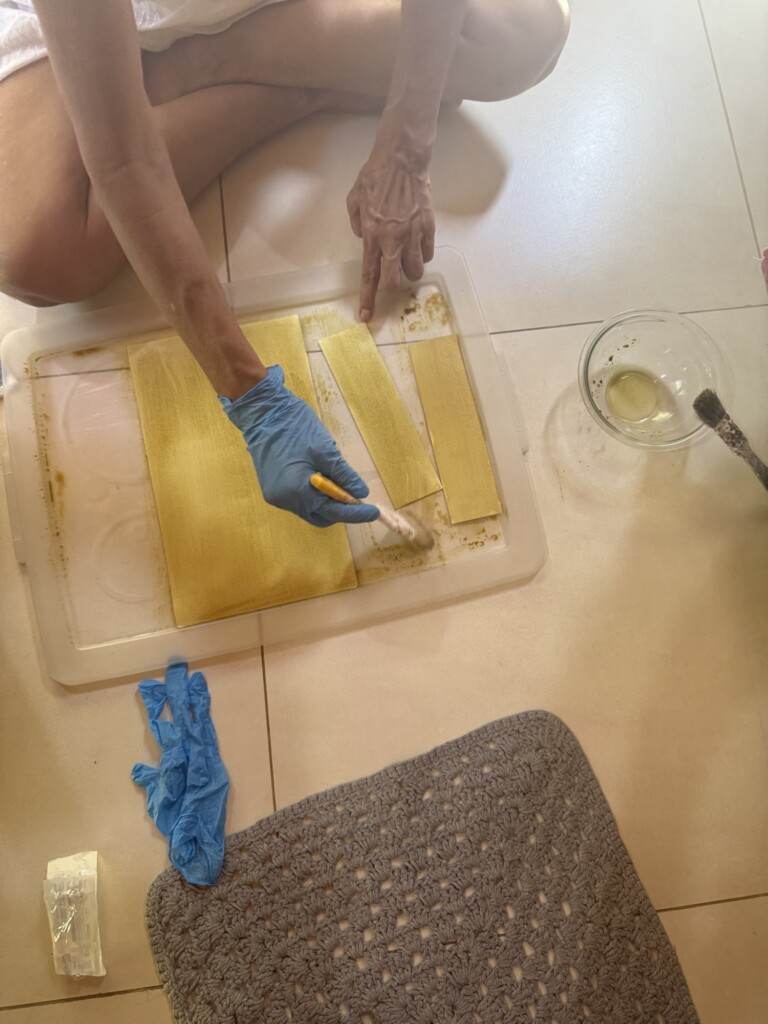
    Once the papers were dry, we laid-out the plants back onto them, trying to recreate our initial designs. We had a few extra pages too we prepped using the leftover mixture. We freestyle a couple designs on those.

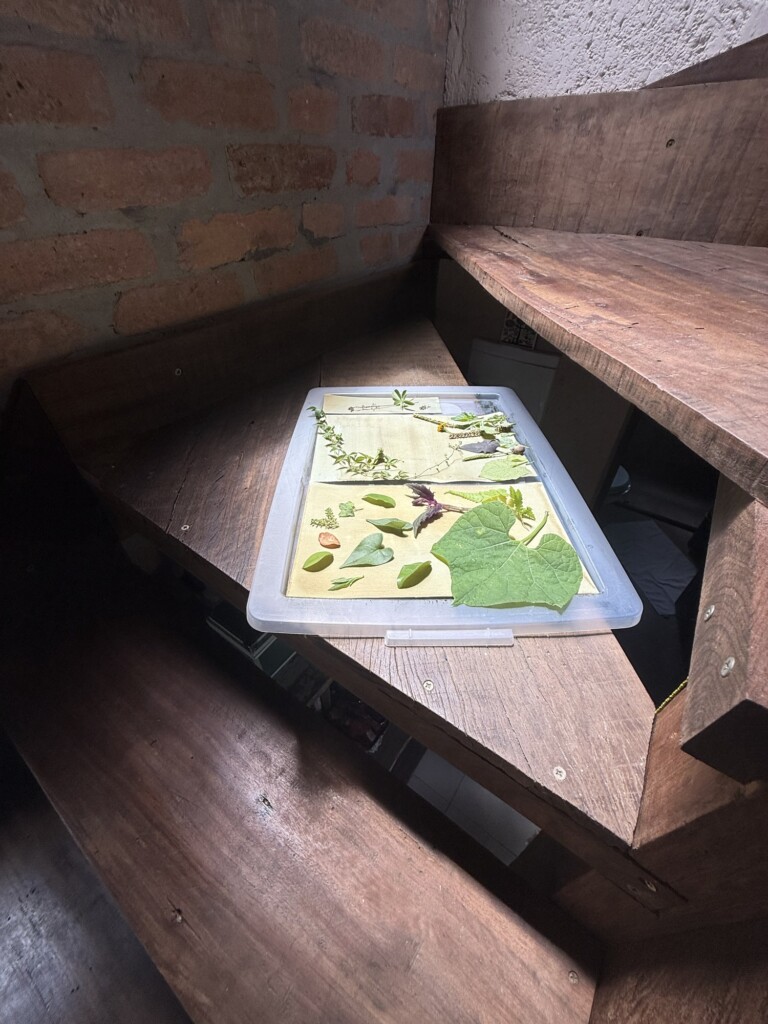
    We left the designs in sunspots to activate the chemicals:
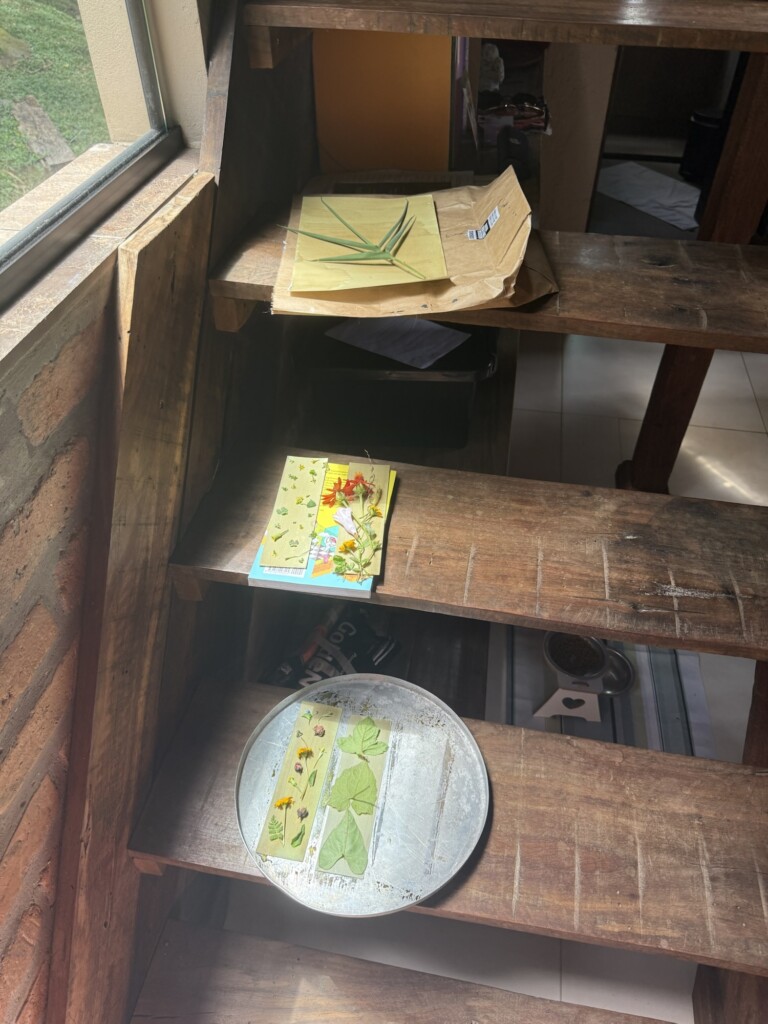
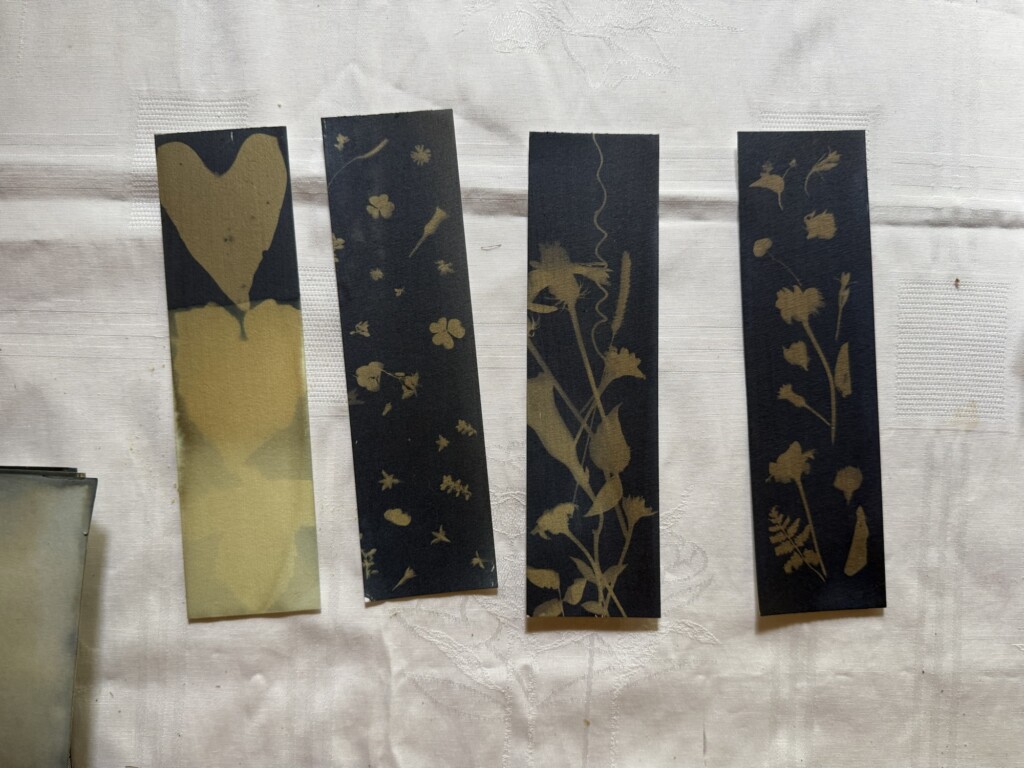
    We’ve might been a bit too eager and took out some of our designs too early. We got excited when we saw the magic of this technique coming to life: The outlines of the selected florals perfectly captured onto the paper.

    There was a difference in the color of the papers that were in the sun for longer, they became a darker blue instead of a paler green. This is a big lesson for the future, it is best to leave it out for around 10 minutes or so, and it’s safer to leave it out longer than not – although I don’t know what happens if it stays out for too long in the sun.

    Then came the “washing the dye away” part which was tricky and emotional. The instructions said to wash it out under running water. I did that with one of my (favorite) designs and saw the whole thing wash away… (I’m glad I took a picture at least, I guess). Then we tried using hydrogen peroxide to clean the chemicals-out instead, which seemed to give better results but still took a lot of the color and contrast away. This was specified in the instructions as an optional step, to be done after the washing.

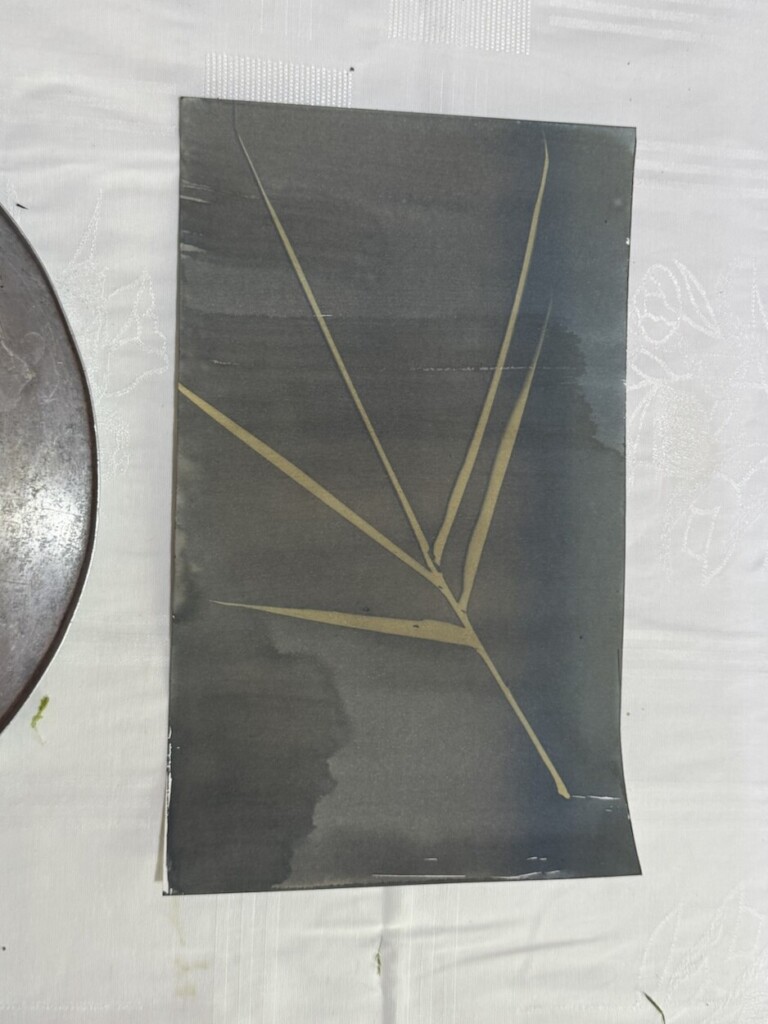
    We got mixed results from our imperfect tests; it’s hard to say if the designs washed away because they did not “cure” for long enough in the sun or another mistake in the process. The hydrogen peroxide had a reaction to the blue, making it a bit darker but since it was mixed with water it also did more harm than good, generally. The instructions did say to use running water but I’m not sure about that.

    For sure there is a lot more to test with this technique and the different variables that go into this chemical reaction. At the end we left most of our work “uncleaned” to preserve the patterns we had made. We don’t know if that means it will rub off or fade out with time but this was all a fun experiment anyway! I’ve learned a lot and I now have a lot of questions and research topics I can get into before giving this absolutely delicious technique another go. I hope you give it a try too and share what you’ve learned!

    Happy crafting!
  • Mini Zines

    Mini Zines

    @queer.on.a.beer

    Mini #zine 03 – I don’t like my birthdays anymore

    ♬ Goth (Sped up + Reverb) – Sidewalks and Skeletons
    @queer.on.a.beer

    Mini #zine 02 – untitled//nature collection

    ♬ So Easy (To Fall In Love) – Olivia Dean
    @queer.on.a.beer

    Mini #zine 01 – Sushi, Crochet and Tarot

    ♬ miffy cafe – sakuracloud

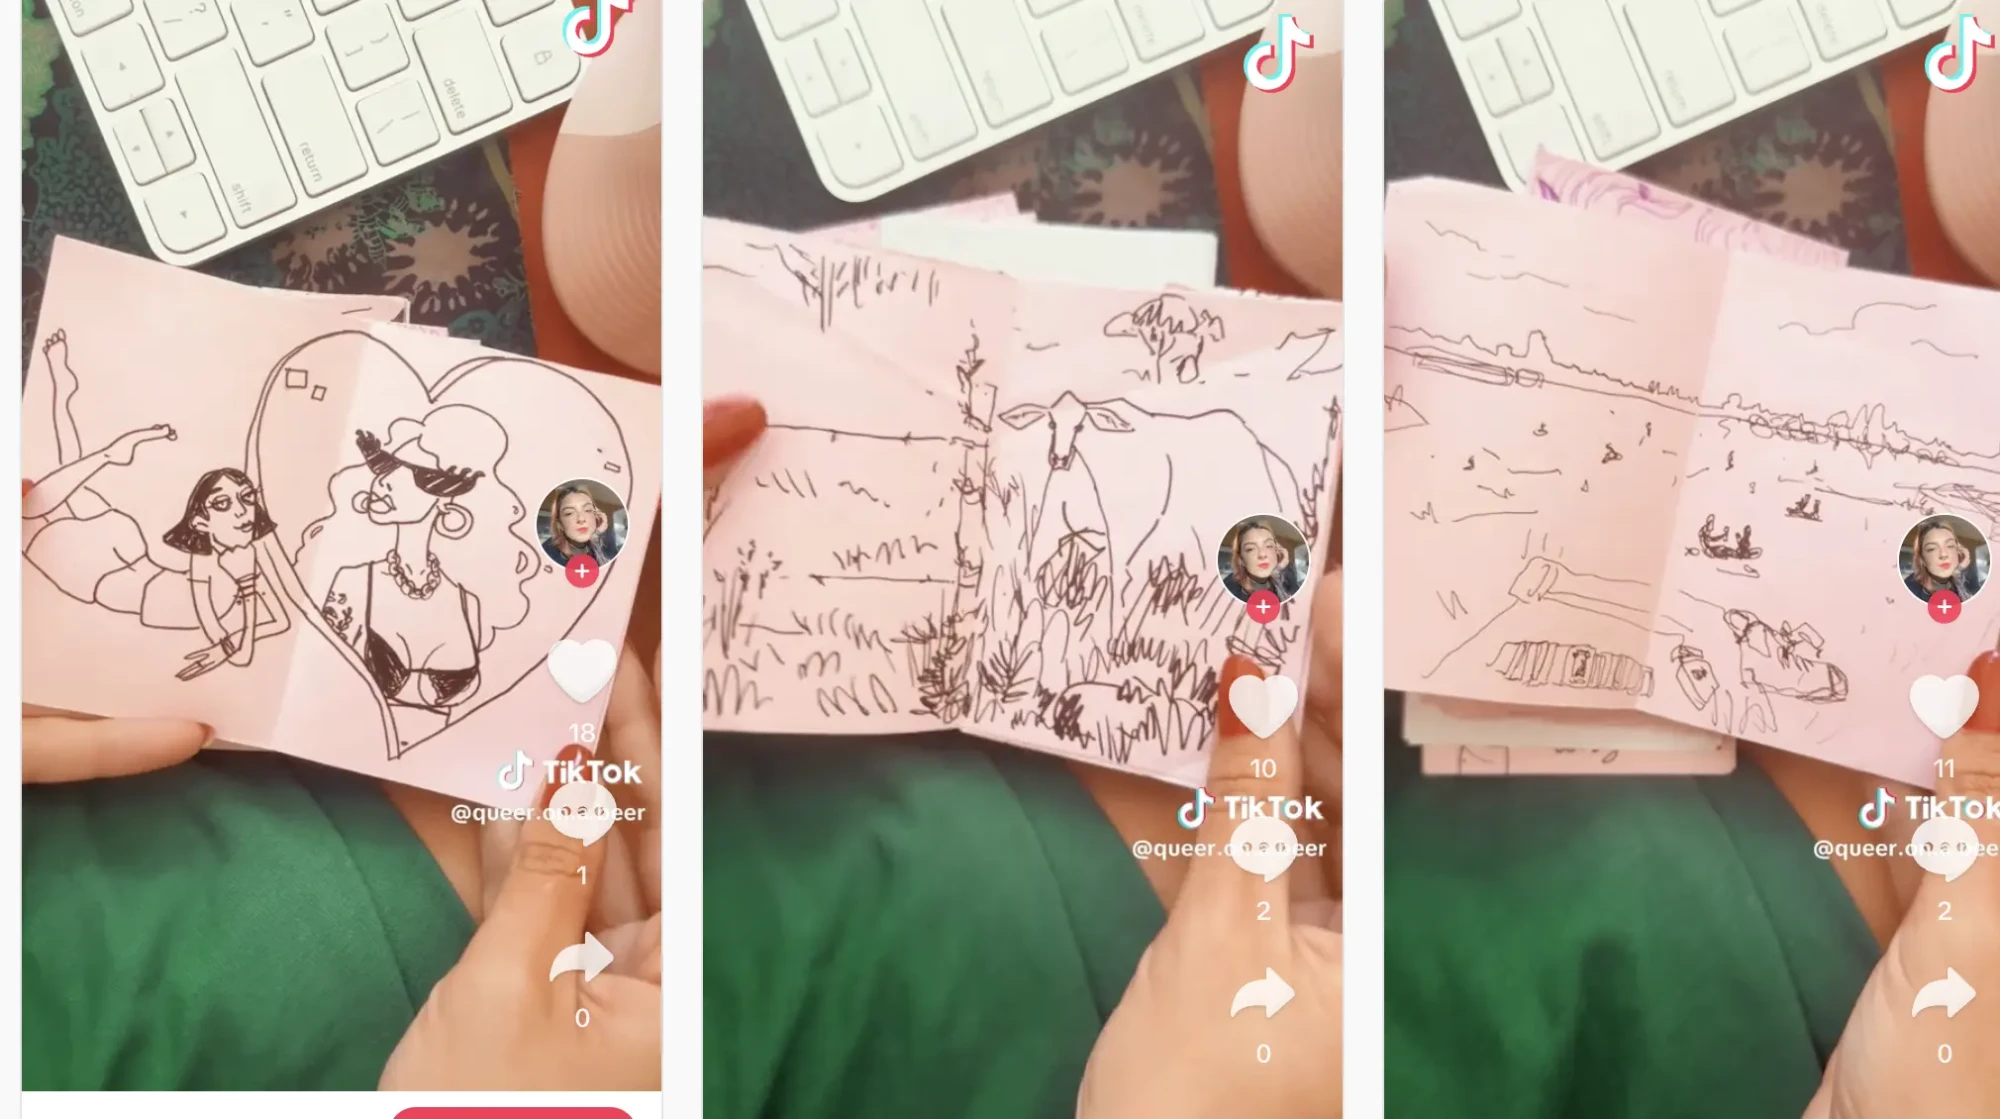
    I fell in love with zines before I even knew what they were. I’ve always been drawn to interactive paper, collage, and “informational” art — the kind that feels playful, personal, and a little unconventional. Over the years, I’ve made quite a few zines, with varying levels of intention, polish, and seriousness.

    While going through a bag of old mini zines recently, three of them stood out to me in particular. They’re definitely on the very-silly, low-effort end of the spectrum, but somehow they still manage to hold a lot of feeling. In a funny way, they capture complex emotions more honestly than some of my more “serious” projects ever did.

    I’ve realized that my more carefully planned, highly produced zines often struggle to reach a true finished state — mostly because I place too many expectations on them. These tiny, scrappy ones don’t carry that pressure. They exist because I made them, and that’s enough.

    So I wanted to share them here. I hope they make you smile, and maybe even inspire you to make your own shitty little zine too. Honestly — it’s fun, freeing, and very much worth it.

    Happy holidays & happy crafting!


  • Supplies Haul

    Supplies Haul

    I was recently in the Boston area visiting family and celebrating my brother’s Bar Mitzvah. Of course, I couldn’t resist stopping by my favorite art stores to pick up a few supplies that are harder to find here in Brazil. In this post, I’m sharing some of my favorite new art materials, journaling goodies, and printmaking tools — plus a peek at what’s next in my creative projects!


    Favorites

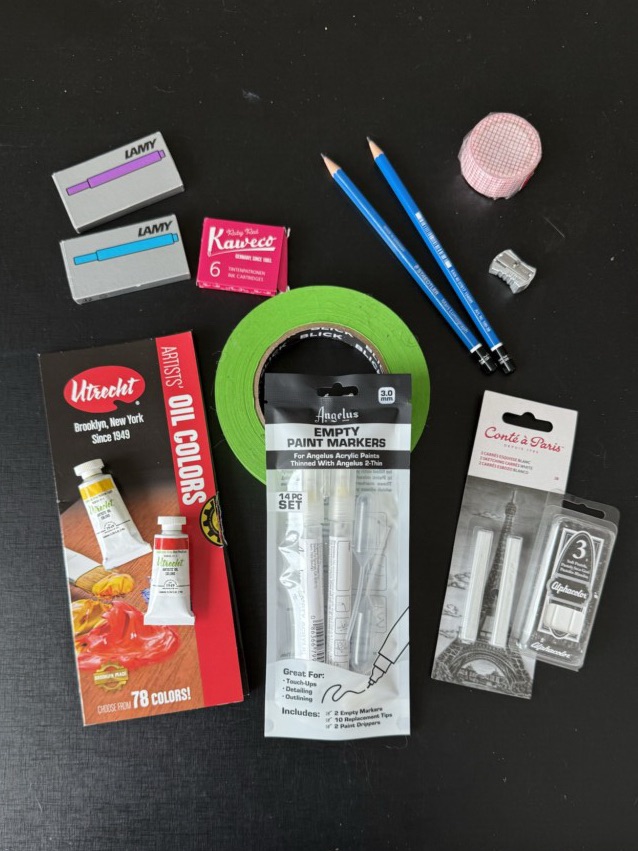
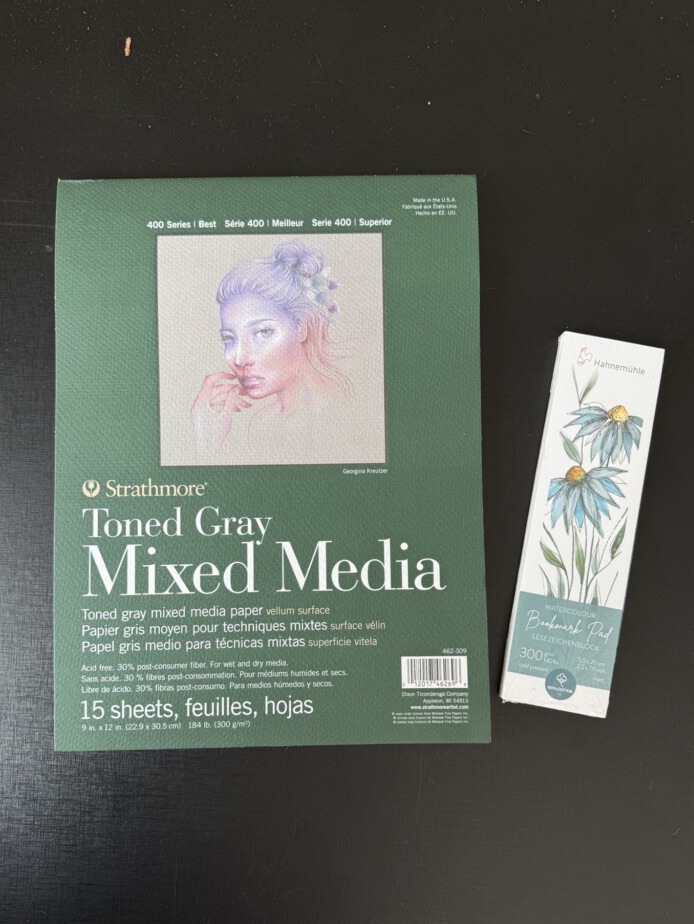
    I restocked on some basics (painter’s tape, pencils, and a sharpener), a few long-time favorites (gray-toned paper, colorful inks, cute washi tape, white Conté, and pastels), and some new materials to experiment with — like watercolor bookmark paper, refillable paint markers, and sample oil paints I got as a gift.

    Specs:

    • Painters tape: BLICK branded
    • Pencils: Stabler graphite, 2B + 3B
    • Pencil sharpener: Generic metallic one 🤷‍♀️
    • Paper: Strathmore Gray Toned Paper pad (love this brand) 15pcs, 9x12in sheets (300g/m2)
    • Ink-Cartridges (for fountain pens): Blue and Purple from LAMY (5pack of large cartridges); Pink from KAWECO (6pack of smaller cartridges)
    • Washi Tape: Mitsou Masking Tape, 20mmx7m
    • Conte: Conté à Paris – 2pcs, white.
    • Pastels: Alphacolor – Soft Pastel, 2pcs.
    • Bookmarks: Hahnemühle – Bookmark Pad, watercolor paper (300g/m2, 2.2×7.9in), 100% cotton.
    • Refillable Paint markers: Angelus Empty Paint Markers (14pc. set)
    • Sample oil paints; Utrecht Oil Colors samplers

    Journaling/Planner Supplies

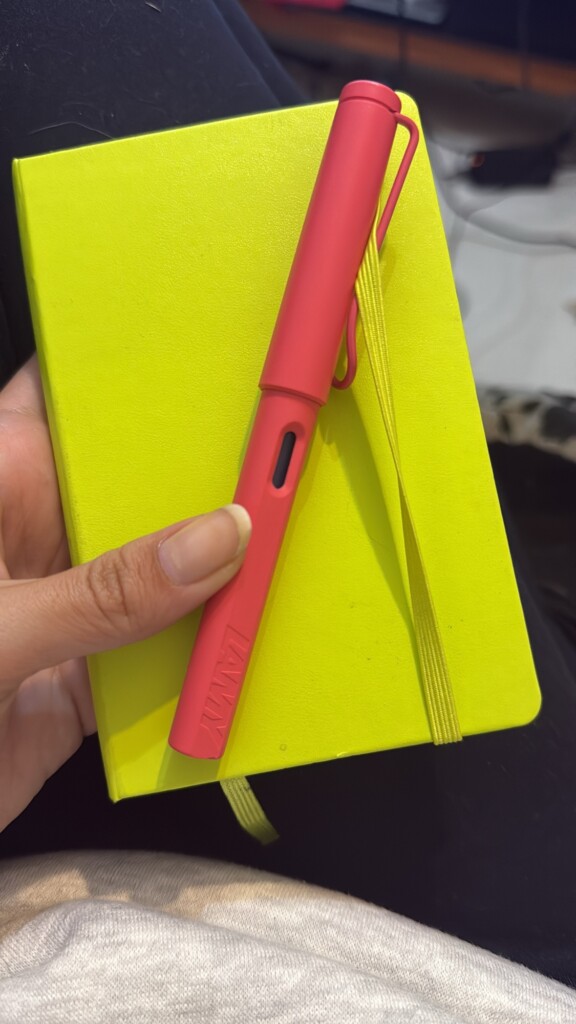
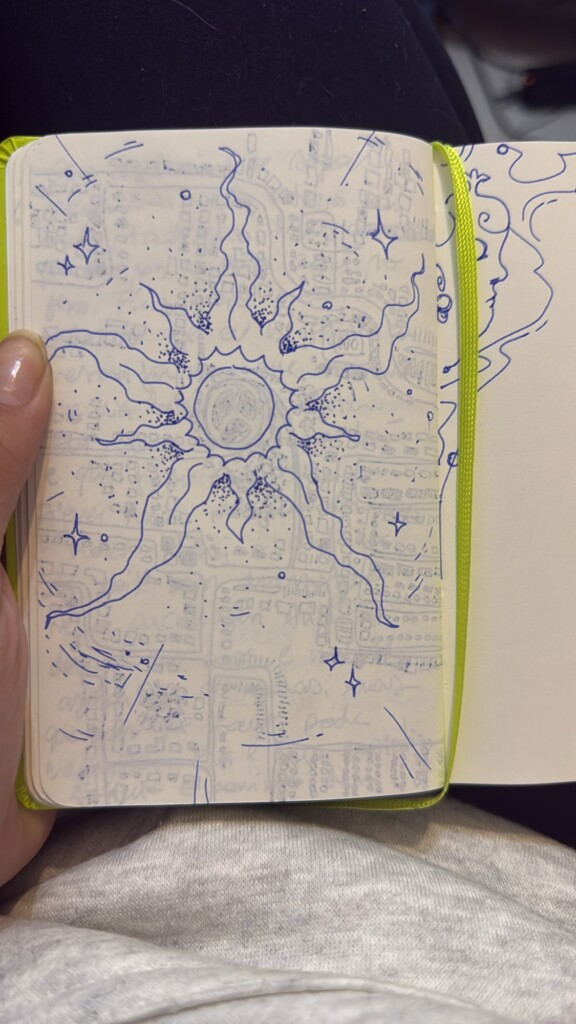
    I treated myself to a new notebook and fountain pen — and I’m obsessed with this adorable guava-colored duo! I’ve been journaling and doodling a lot more thanks to them. The pen writes so smoothly and feels perfect in my hand. Definitely a little splurge that’s been totally worth it.

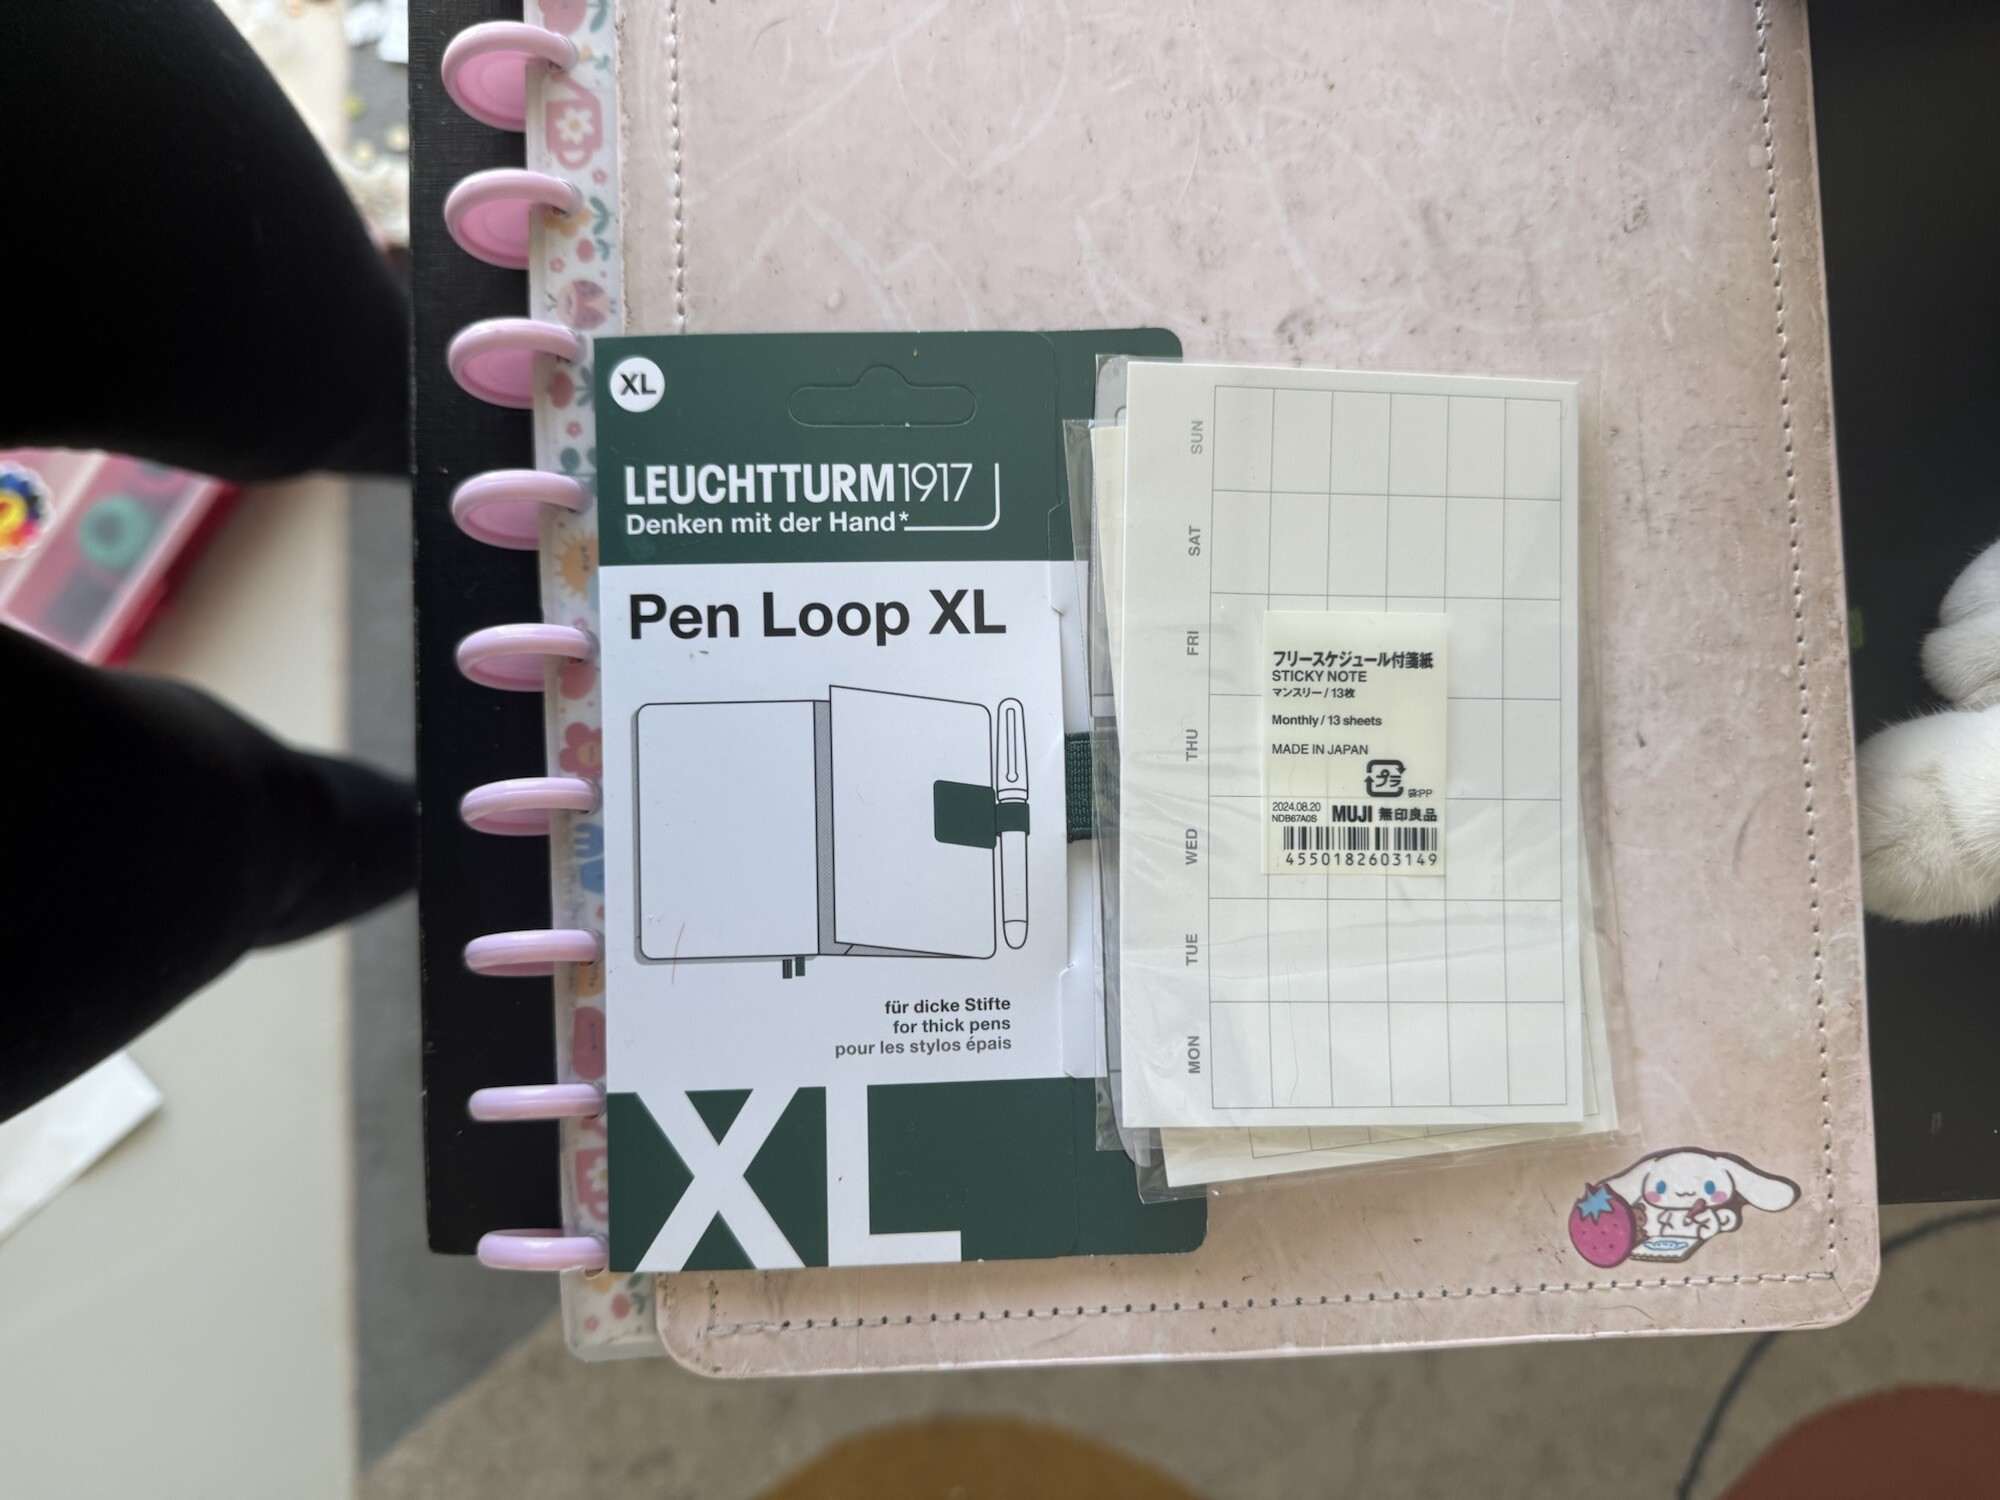
    I also picked up a few planner accessories like a pen loop and sticky calendar notes.

    Specs:

    • Notebook: Moleskine Classic Collection – pocket size; blank pages; hard cover; lime green
    • Pen: LAMY safari Fountain Pen in Sunset (with a Fine Tip)
    • Pen loop: Leuchtturm1917 Pen Loop XL in Forest Green
    • Calendar sticky notes: MUJI’s Monthly Sticky Note

    Printmaking

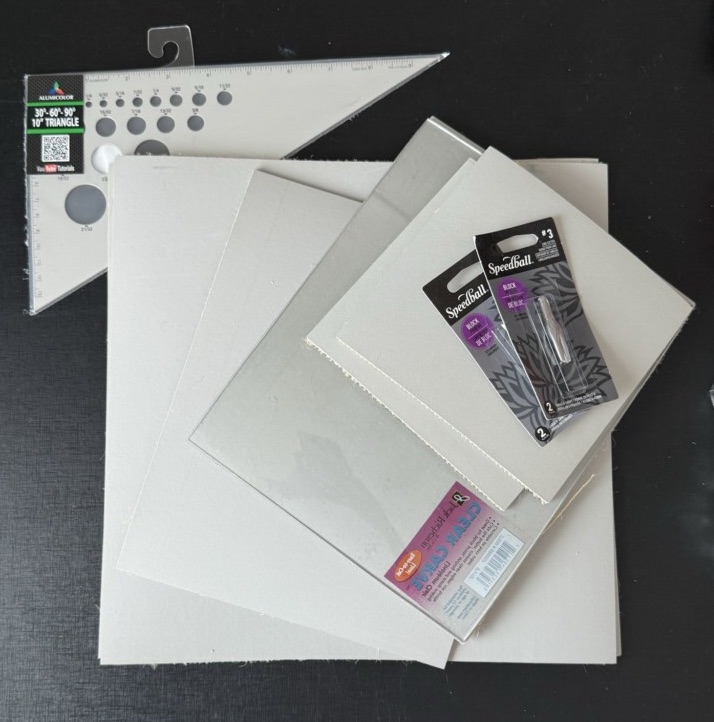
    My main goal for this haul was to find some affordable linoleum and new carving blades — and I got lucky!

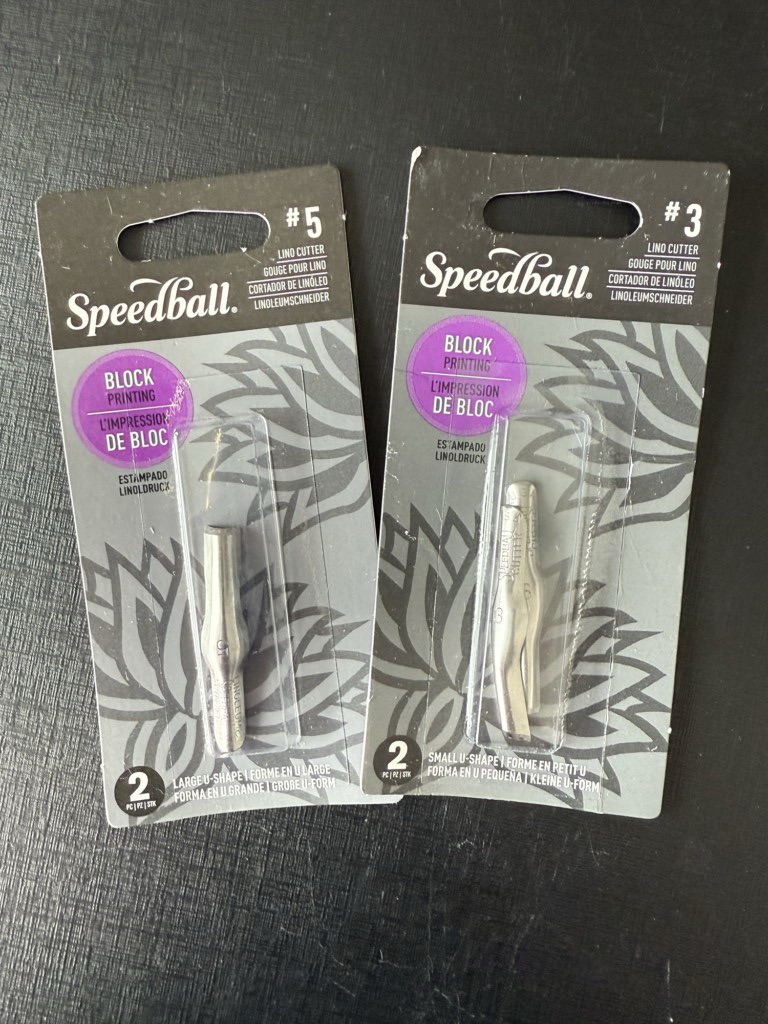
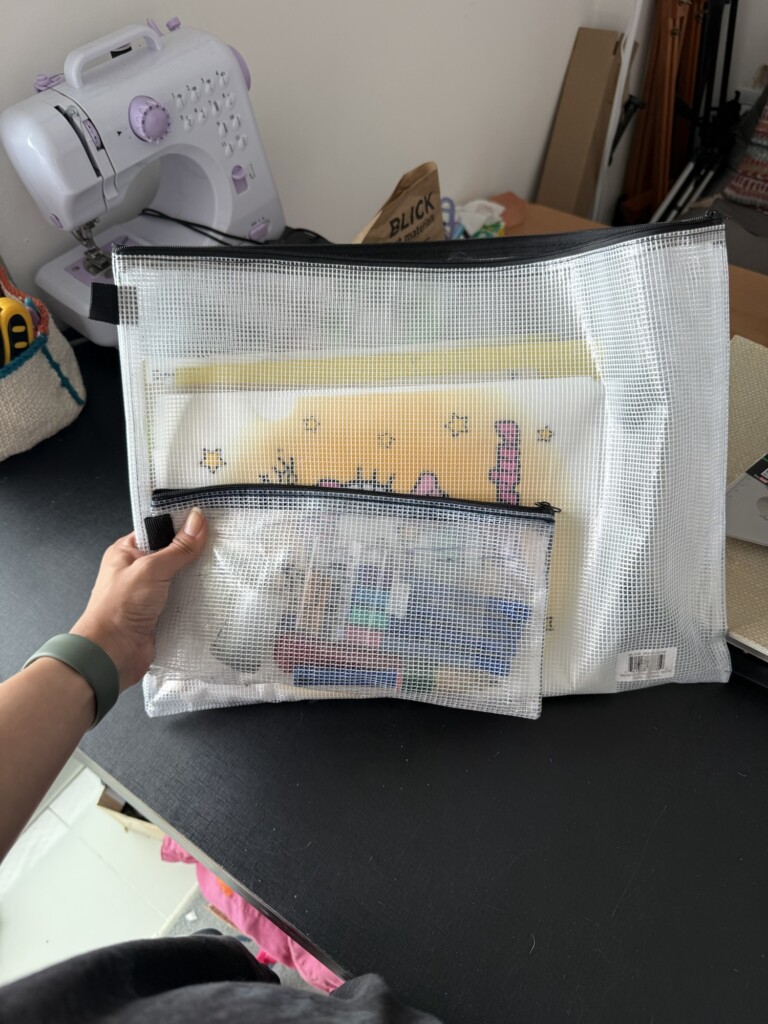
    I grabbed two sets of “V” blades (sizes #3 and #5) to replace my old rusted ones, though I’m still hunting for a 0.5 tip to replace my favorite. I also found a large BLICK pouch (12x16in) to carry my studio tools — a much-needed upgrade from my overstuffed plastic folder.

    For linoleum, I got a range of block sizes and one clear carve block, which I’ve used before and loved. Working on compressed wood has been hard on my hands lately, so I’m looking forward to testing these softer alternatives.

    These should keep me busy for quite a while! I’ll be sharing the results of my printmaking experiments soon — stay tuned for updates on my carving process here.

    Specs:

    • Blades: Speedball ‘lino cutters‘, in sizes #3 and #5
    • Pouches: BLICK branded 12×16 in.
    • Linoleum: BLICK branded, sizes: 6×6, 8×10, 12×12 in.
    • Clear Carve: Jack Richeson in 8×10 in.

    Sewing

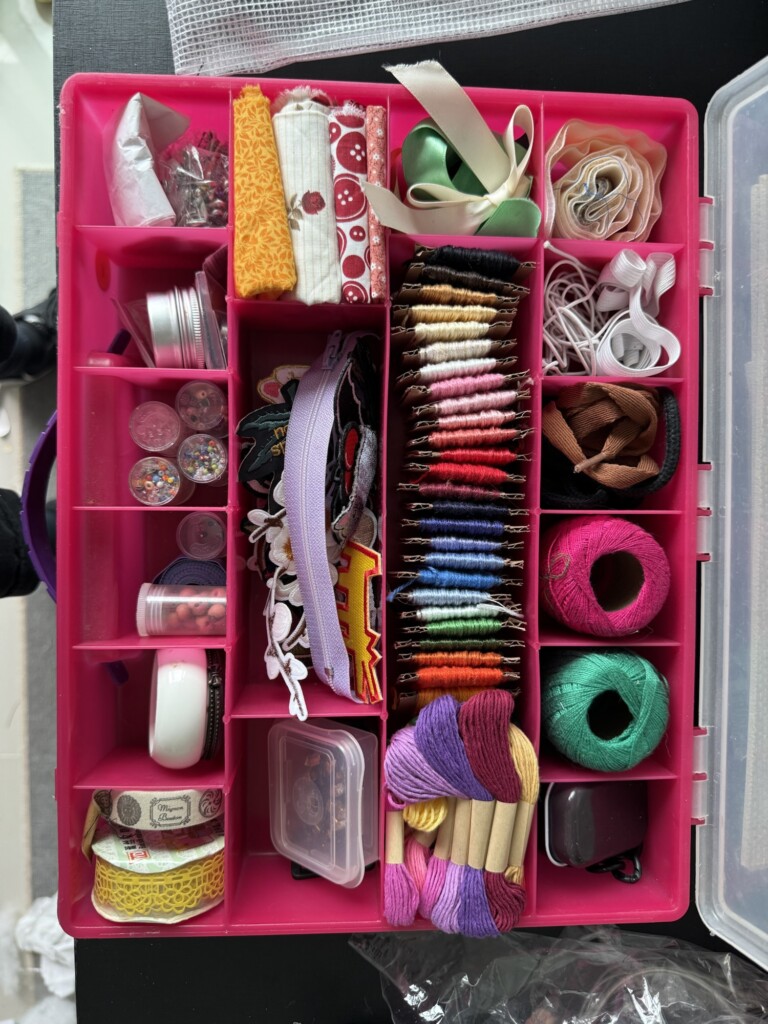
    This trip was also a big one for bringing back some of my things from my dad’s house — sketchbooks, planners, my comic collection, my guitar, and my sewing kit (finally reunited with it!).

    I’ve been reorganizing my sewing supplies and planning to post more about my collections soon — from stickers and postcards to old art, sketchbooks, and comics. It feels amazing to finally have most of my creative tools in one place for the first time in years.

    Specs:

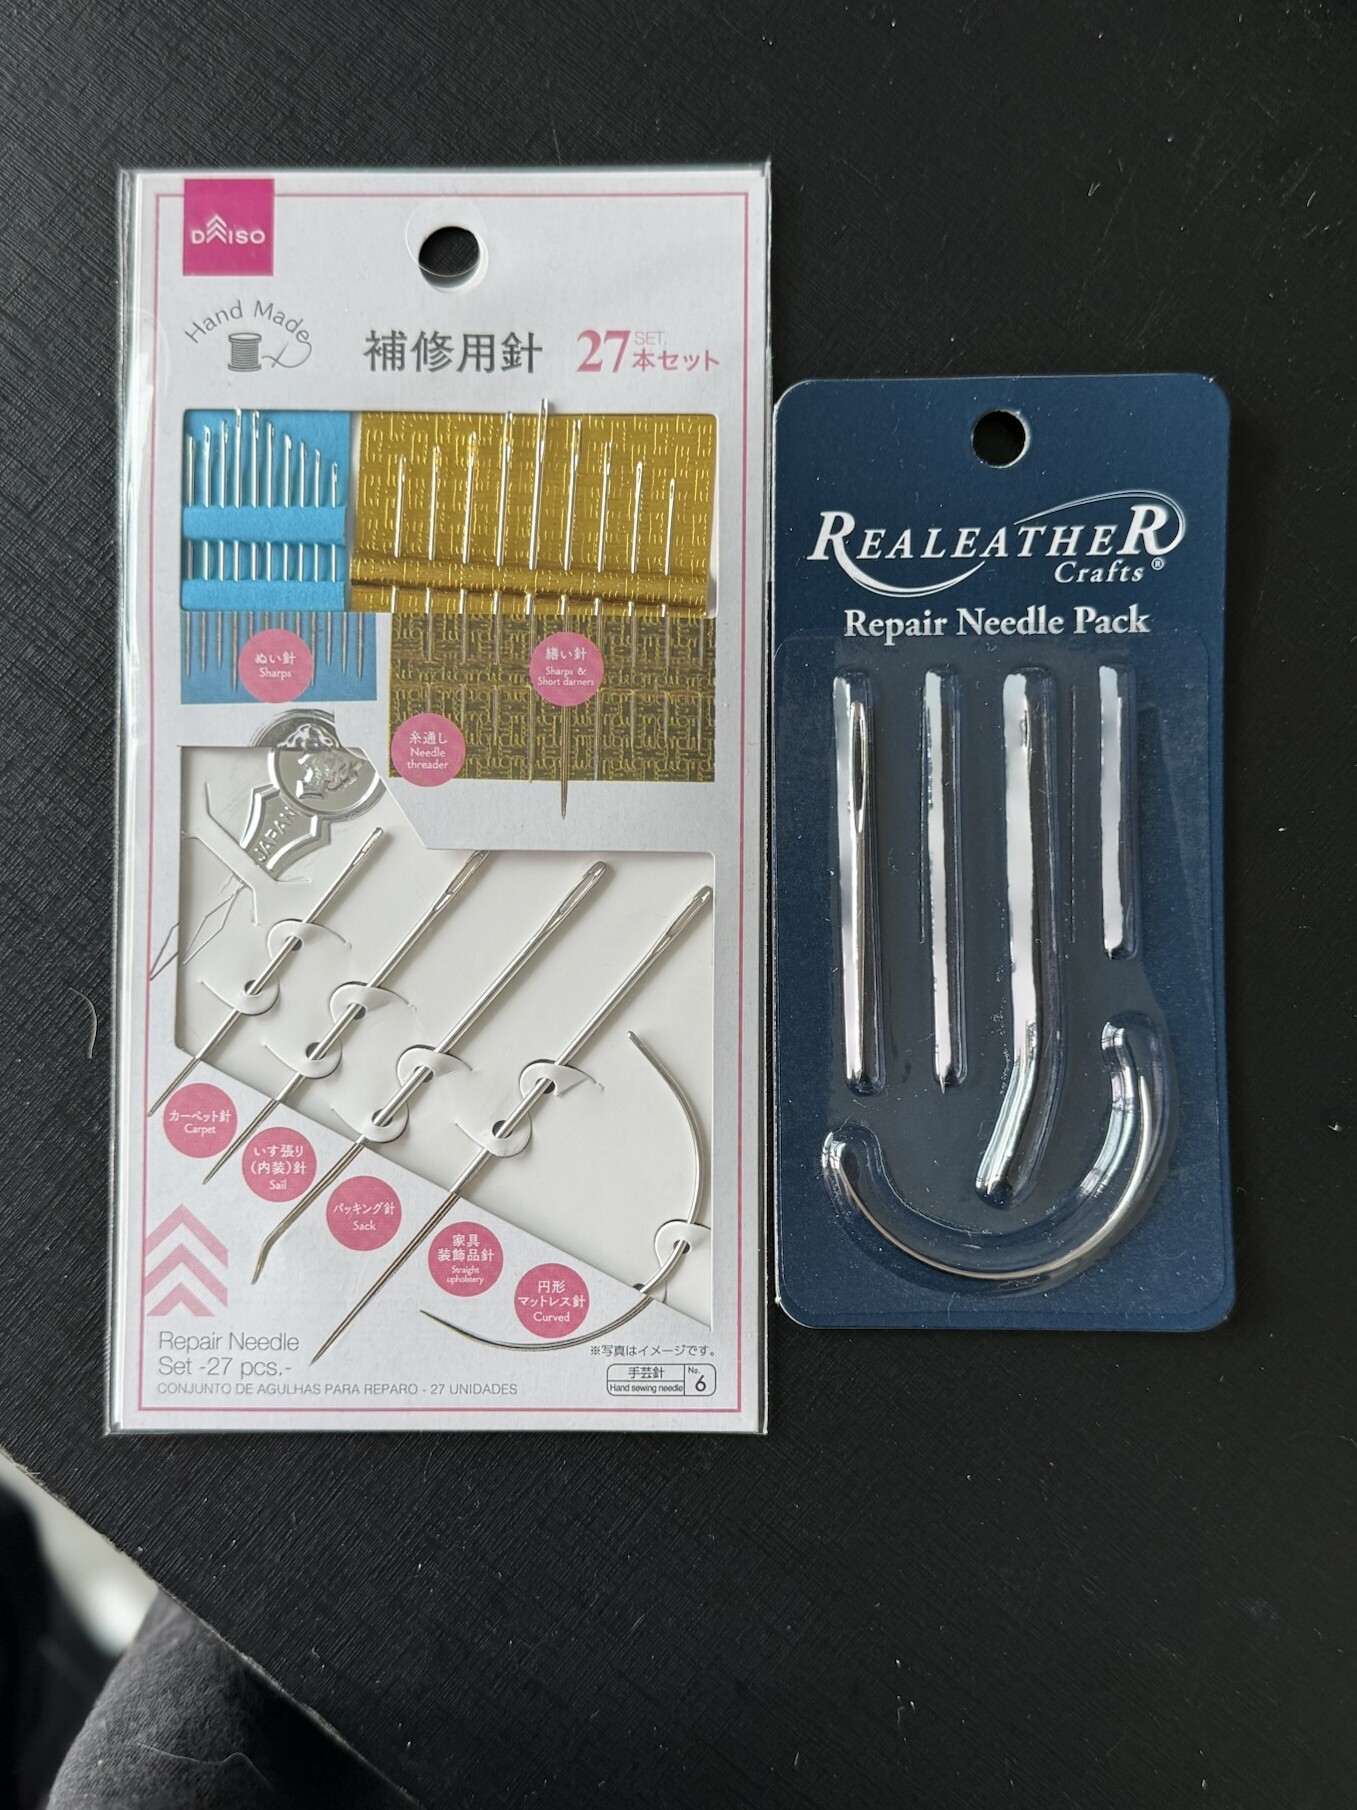
    • Spewing needles: Realeather Crafts – Repair Needle Pack; & DAISO – 27pc. Repair Needle Pack.

    There’s some really interesting projects and perhaps a interest shift coming real soon.

    Stay tuned or subscribe to learn more!

  • Hello Crafters!

    Hello Crafters!

    Hi readers,

    I am starting this blog to record my artistic process. I will share my ideas, some behind-the-scenes and final results, but what I am really interested in is the thought process and problem-solving through the creative issues; I plan on recording my solutions and findings for public and personal reference. I work with a lot of different mediums and I am always experimenting with new techniques. Keeping all my learning organized and even remembering what I did is quite hard without a system. I thought that making it digital and public might help a person or two… Let’s learn from my mistakes!

    Some of the things on my current “to craft” list are:

    1. Finishing a crochet fanny pack I promised a friend for their birthday MONTHS ago! It’s going to be great, but free-styling my way through has been quite challenging…

    2. I have been collecting lots of scrap paper to recycle into new luxury paper for my future printmaking projects

    3. I have two woodblocks to design and cut in the next few months before the studio I have access to opens up for the year 

    4. Build myself a personal organizer that I can drag around the house with all my “current project” supplies, work stuff, and other random items I carry with me like fidget toys or beauty products

    5. Lots of crochet projects like finishing my latest sweater up, some cat toys, some outfits for myself, a cute blanket for the winter… a lot of ideas saved up on Pinterest that we can brainstorm and plan for later

    6. I have lots of clothes to upcycle, customize or resize. I might need a sowing machine for this one though…

    7. This is not quite a project, but I want to get back into drawing more often and attending my local figure drawing meetups to keep those skills sharp

    8. Lots of zines to polish up, besides learning how to actually print them properly. This one is a hard one!

    I’m sure the list will keep growing but here are some of my priorities for the year so I hold myself accountable. 

    I hope to chat more soon,

    Take care!

    Mel G.