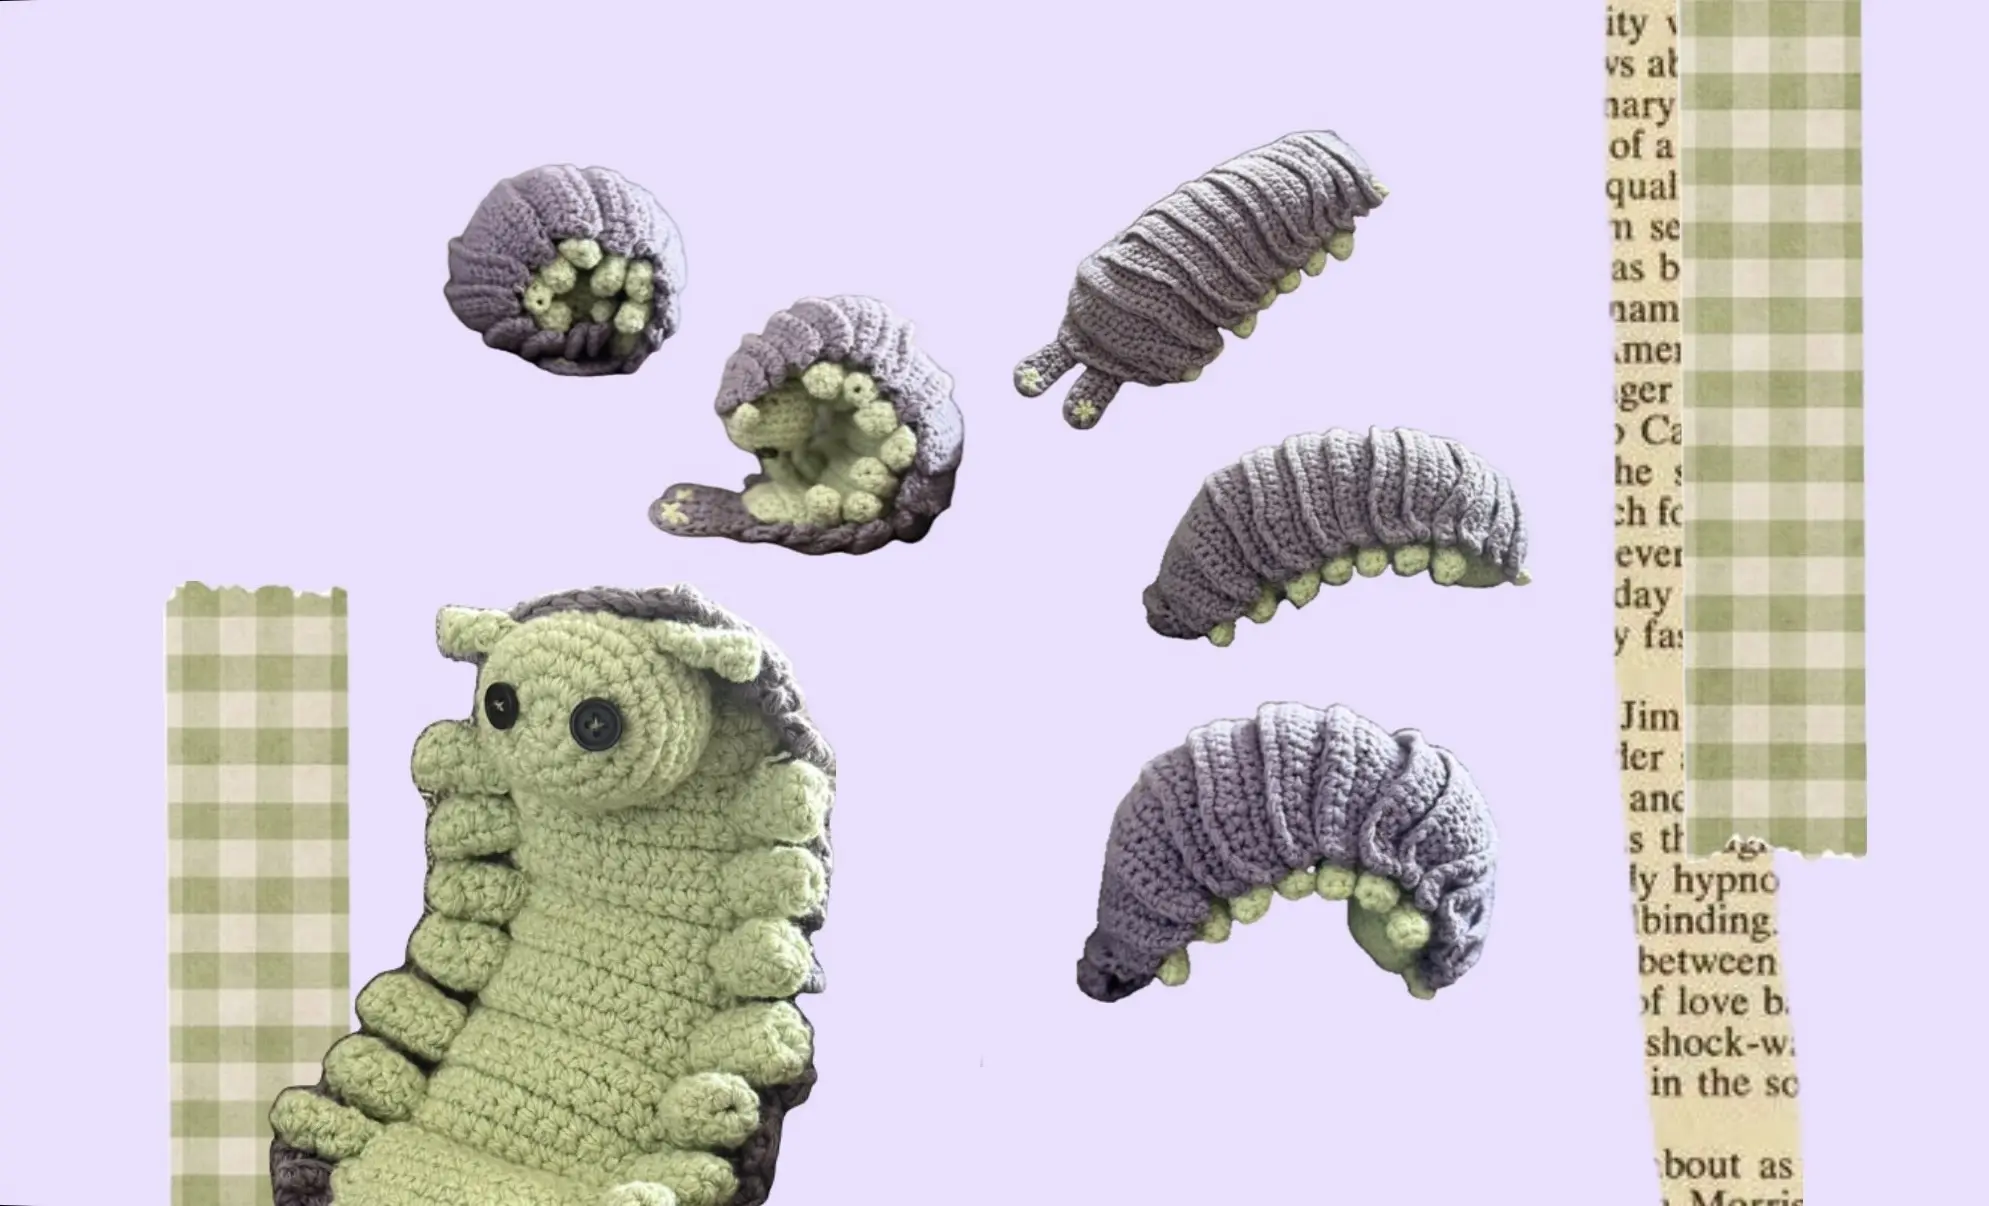
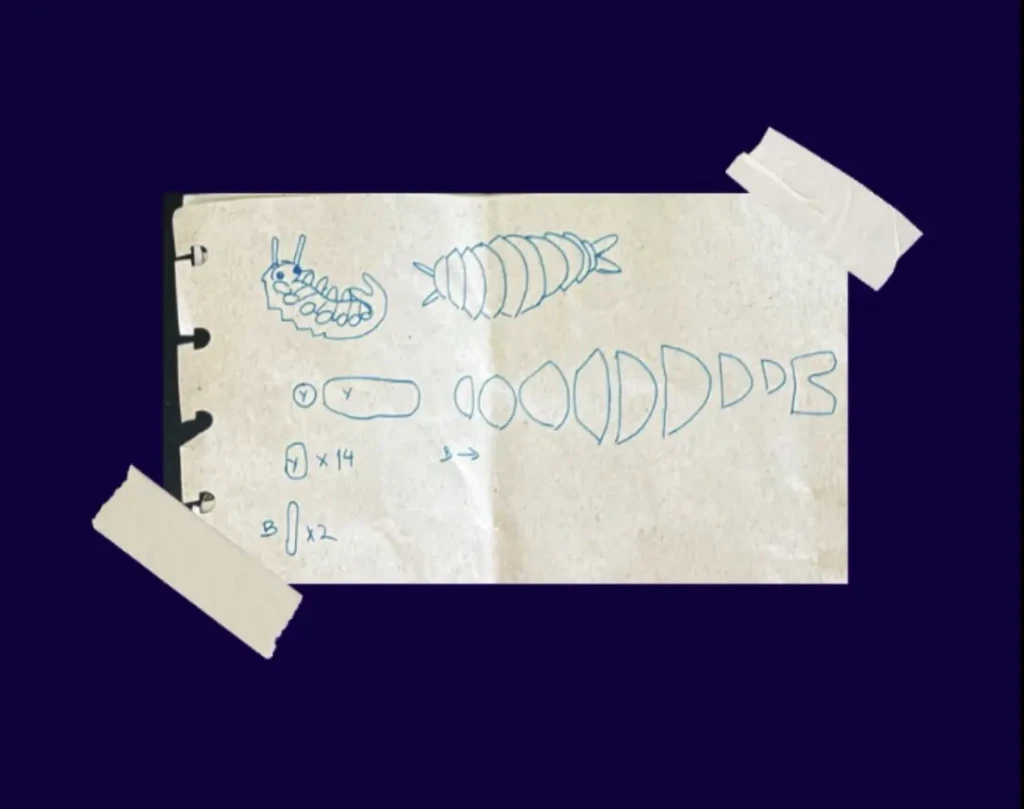
I was inspired by this piece by Tumannart for this project, and although I expected it would be a little tricky with all the pieces it requires, I was not expecting the level of complexity this little dude would have. It ended up being one of those projects where you just have to trust the process and figure out the details as you go. This is how the process went:
The base
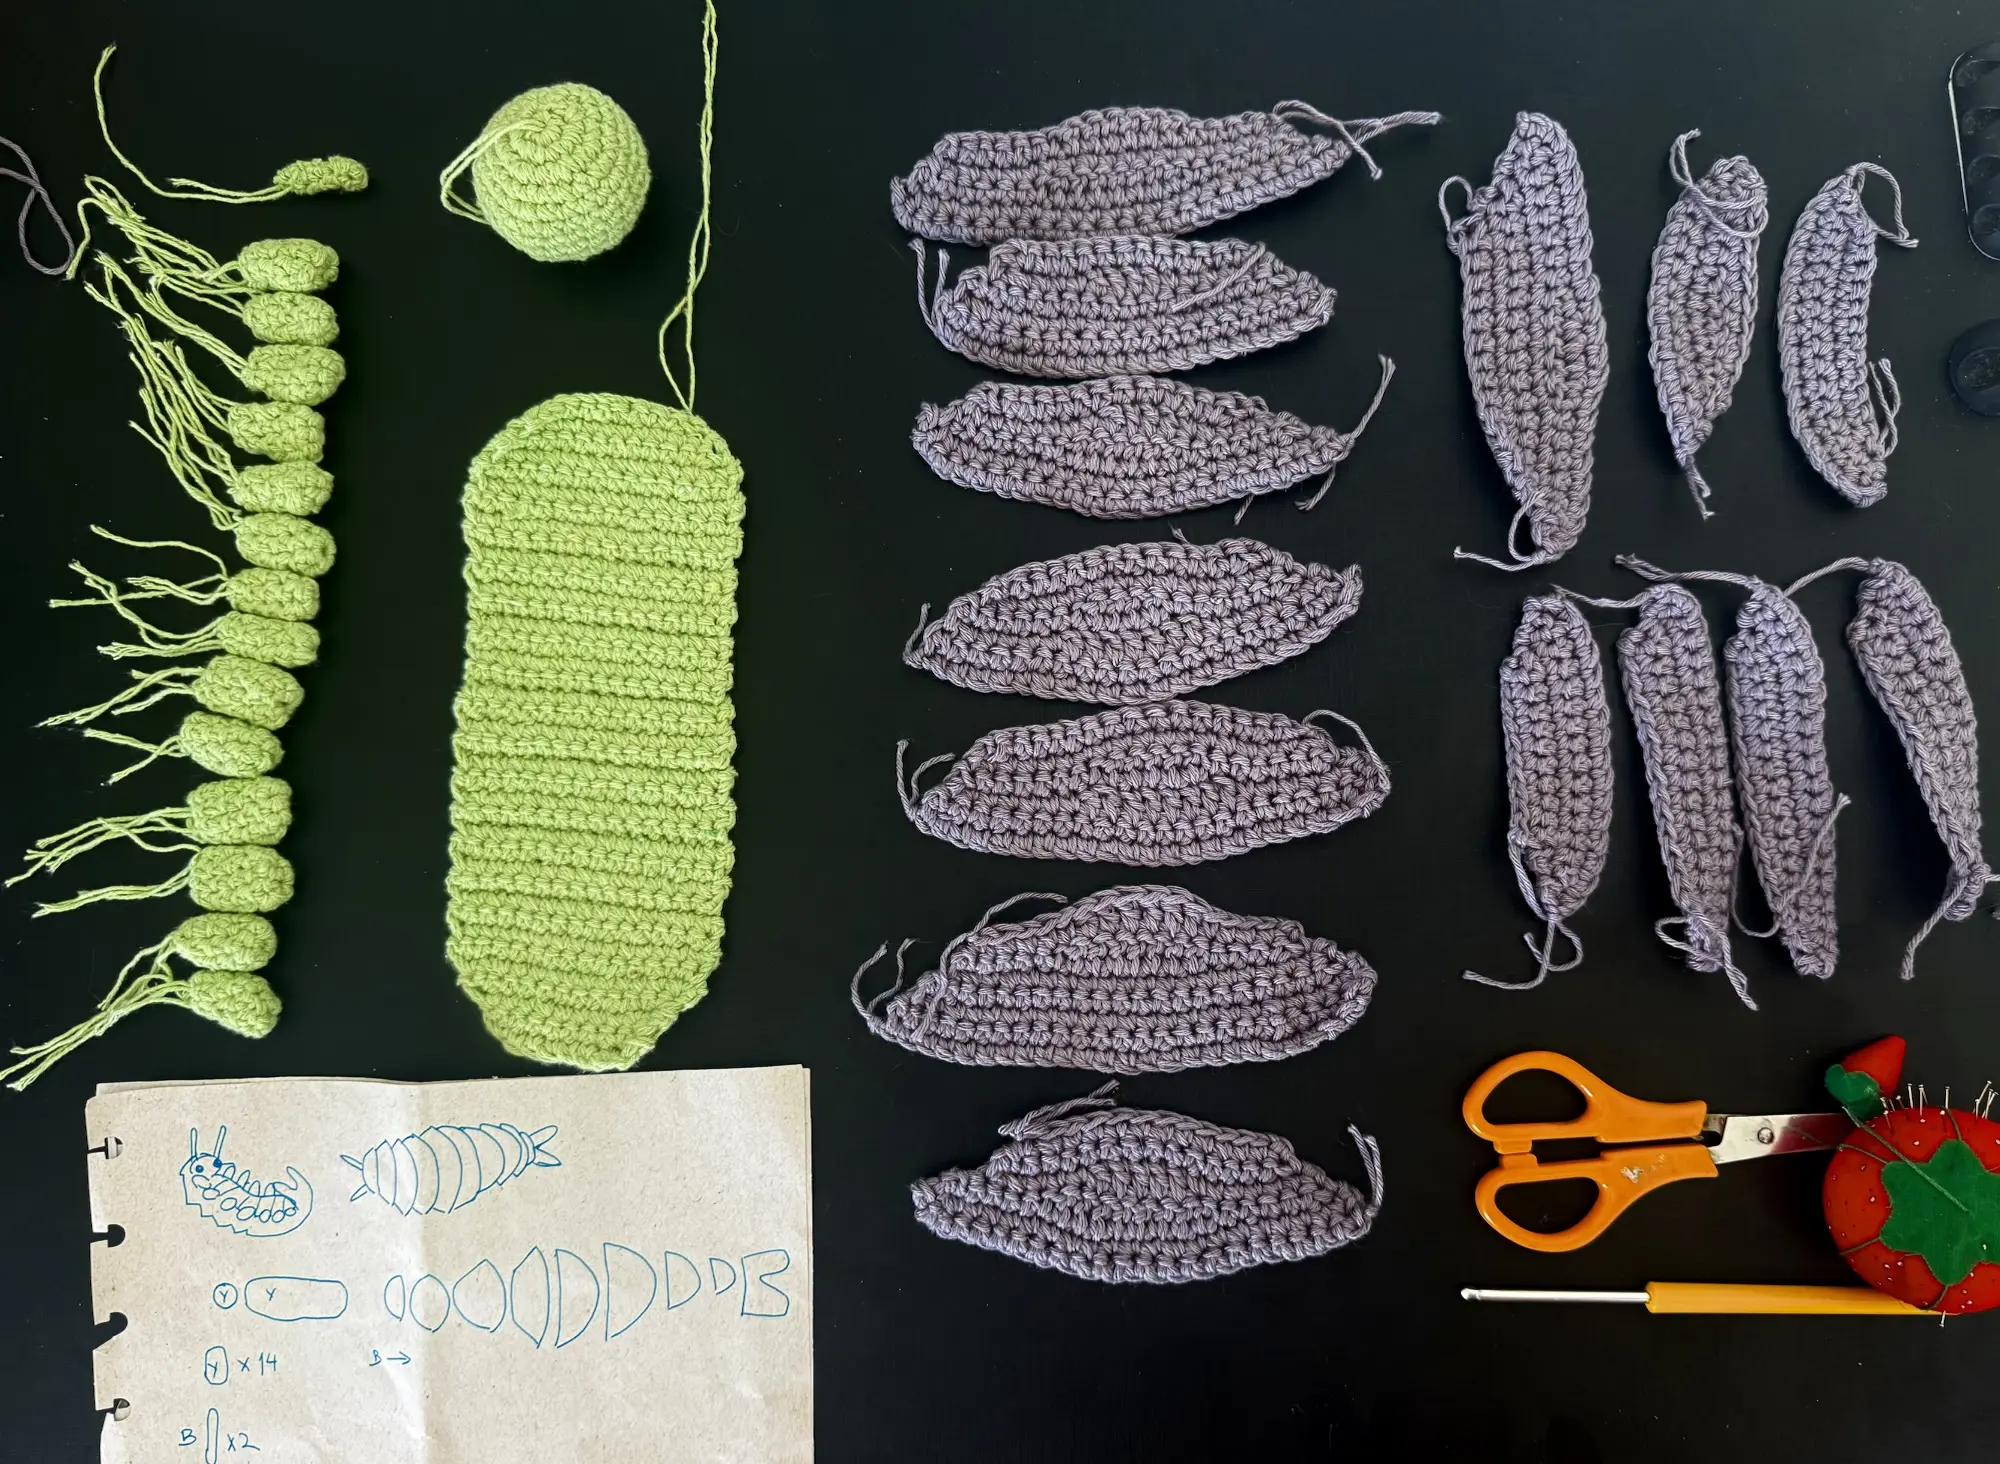
The first piece I made was the inner body (or the “belly,” as I call it), since it would determine the scale of the entire project. I wanted it to be small, but not so tiny that it would make the project unnecessarily difficult.
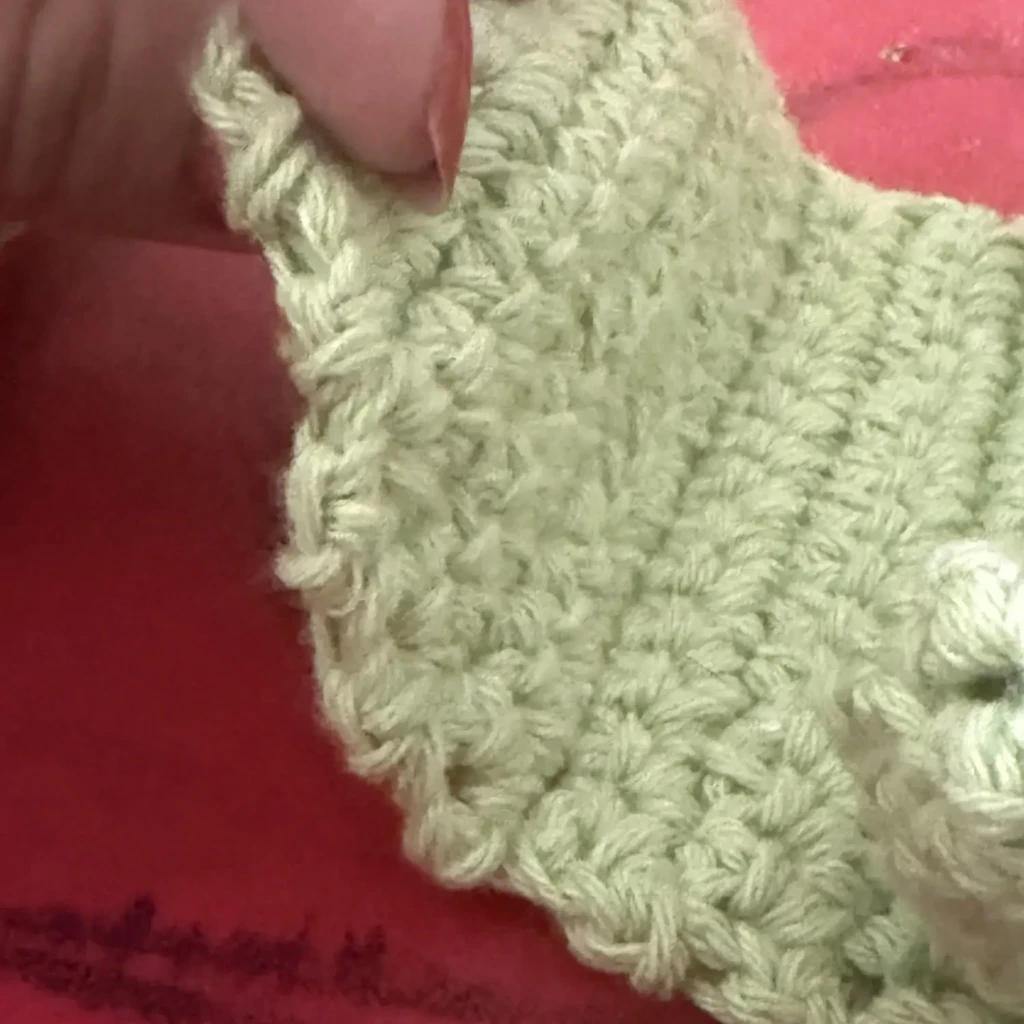
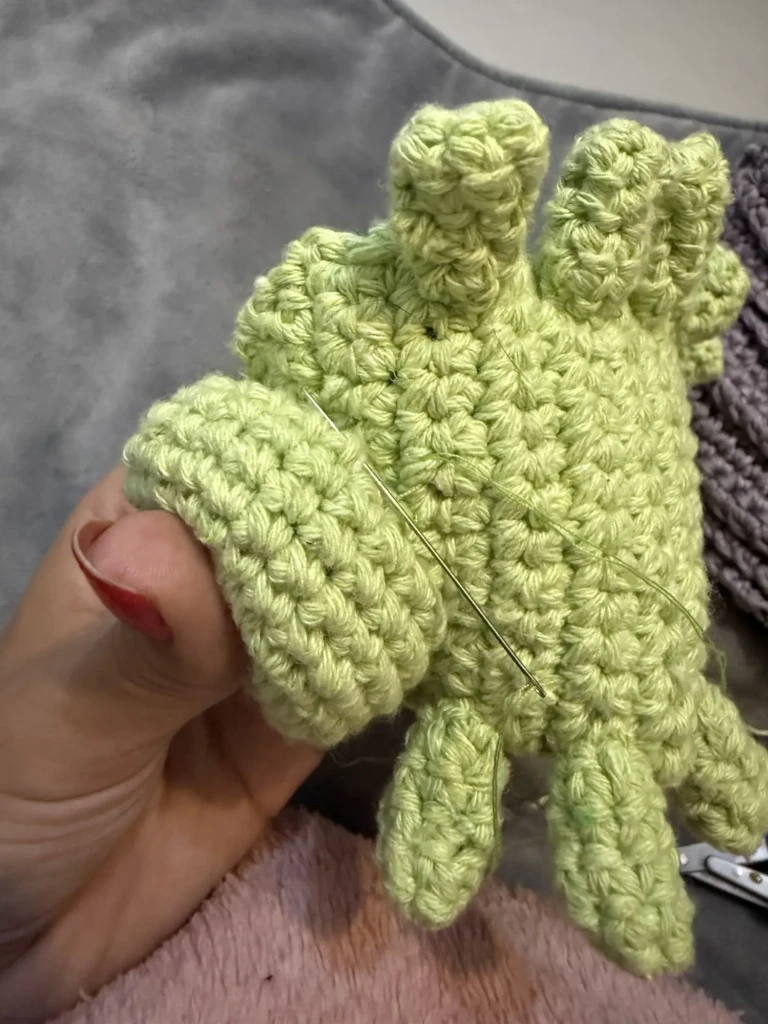
I noticed in the reference image how the body was sectioned off, and I figured that was meant to help the plush roll up once finished. So I made sure to replicate that in my design by alternating back-loop-only rows every few rows. I also carefully planned the size of each section: large enough to later attach the little feet, but small enough that I could fit multiple pairs without making the body look too long. I ended up with five inner sections plus the two end sections.
It was rewarding to get a glimpse of how the rolling mechanism would work in this early stage of the project already. I spent a few minutes playing with this first finished piece enjoying how it moved easily as I rolled it. It’s a neat simple trick that can be helful in a handful of projects that need a hinge-like movement.
The legs, head and antennae
The next step was crocheting all the smaller pieces that would later attach to the body: the seven pairs of legs, the head, and the antennas, all scaled to match the body.
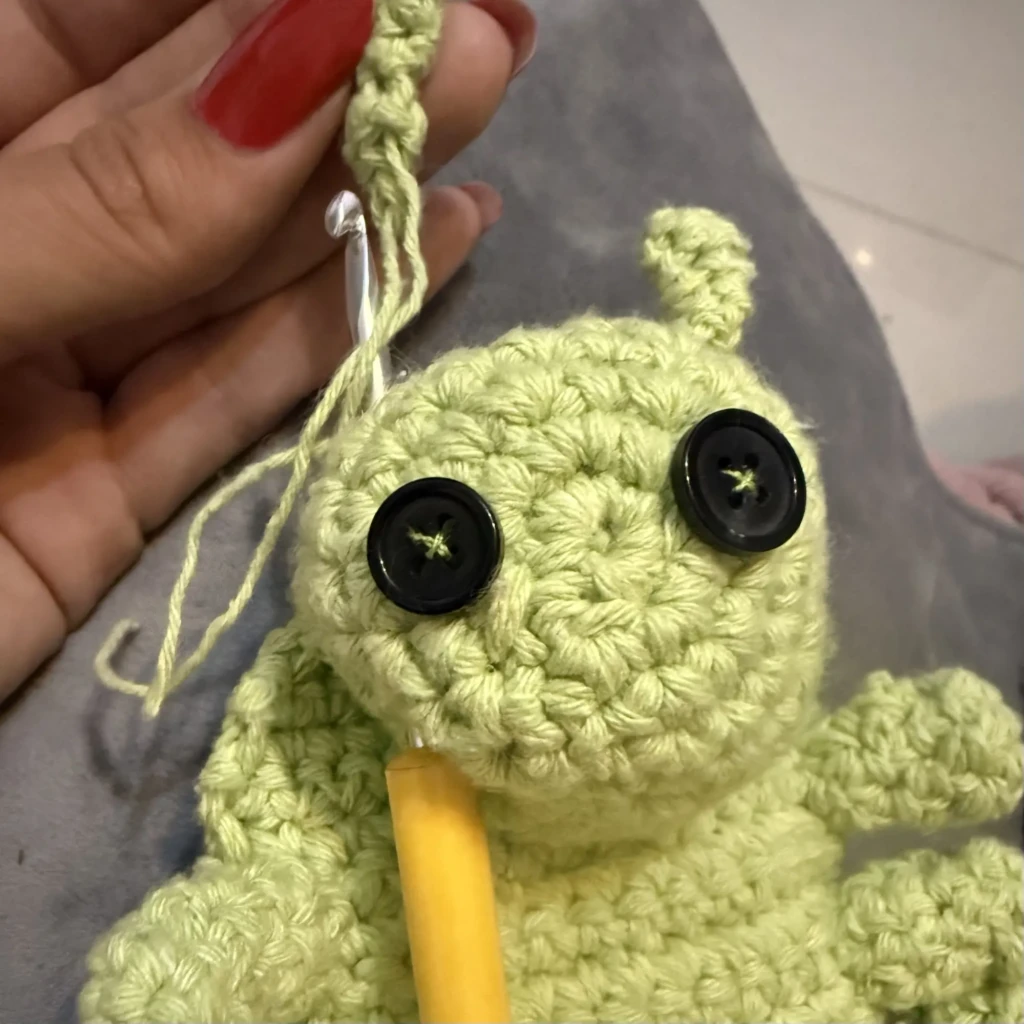
I wanted the head to be slightly oversized, overflowing the width of the inner body a bit. It took me two tries to get the head right and several attempts for the antennas — they are so tiny and skinny! The legs were tedious at times, but also kind of relaxing because I only had to make matching pairs instead of having every single one be perfectly identical.
The shell panels
I was really looking forward to this step.
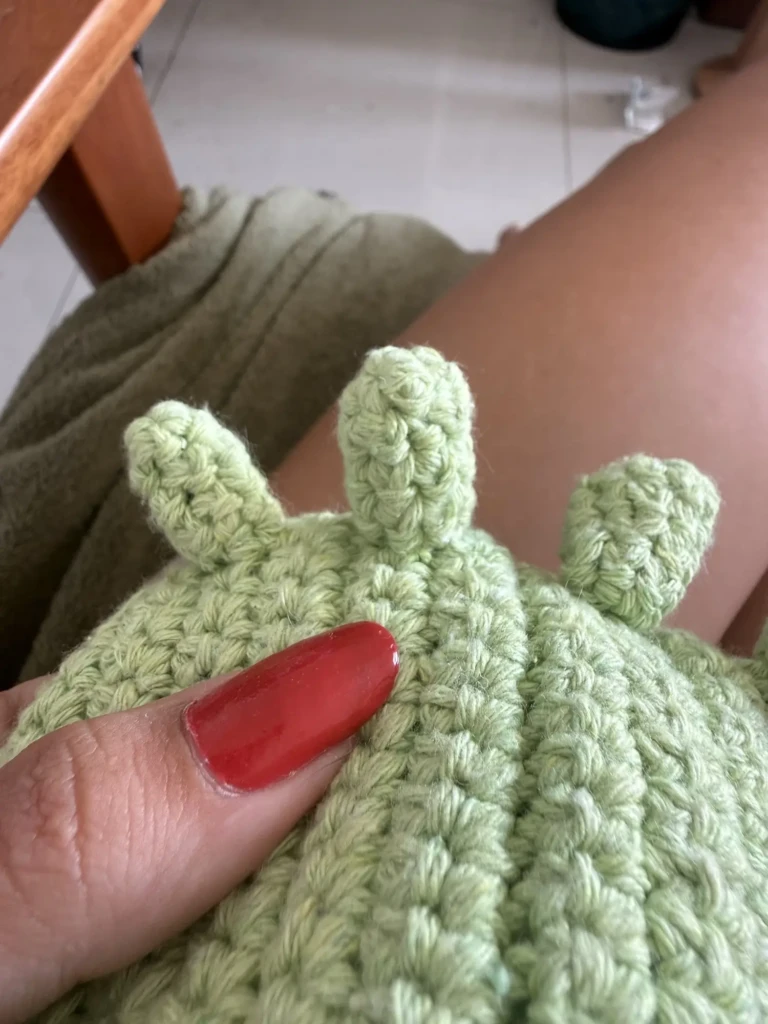
I started by crocheting little trapezoid-shaped panels, but quickly realized they needed more padding and dimension in the middle top area to properly allow the overlapping shell pieces to move. I also intentionally varied the sizes a bit, making some larger and others smaller.
At first, I tried crocheting the pieces in their final intended order, but I eventually gave up on that approach. Instead, I made a whole collection of panels in different widths and heights and figured out the arrangement later. I kept testing pieces directly on the body as I worked so I could better understand what shapes and sizes were still missing.
Putting it all together
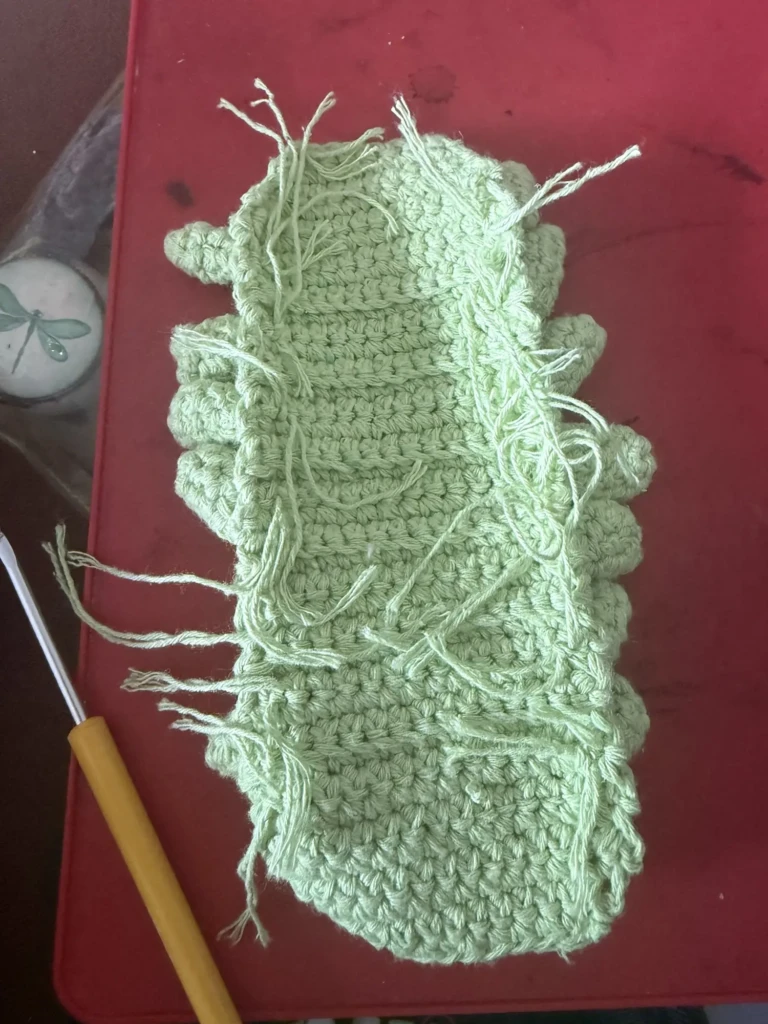
I first tied all the legs onto the body using the leftover yarn tails from each piece. Then I reinforced everything with tiny careful stitches so the legs would sit and point exactly how I wanted.
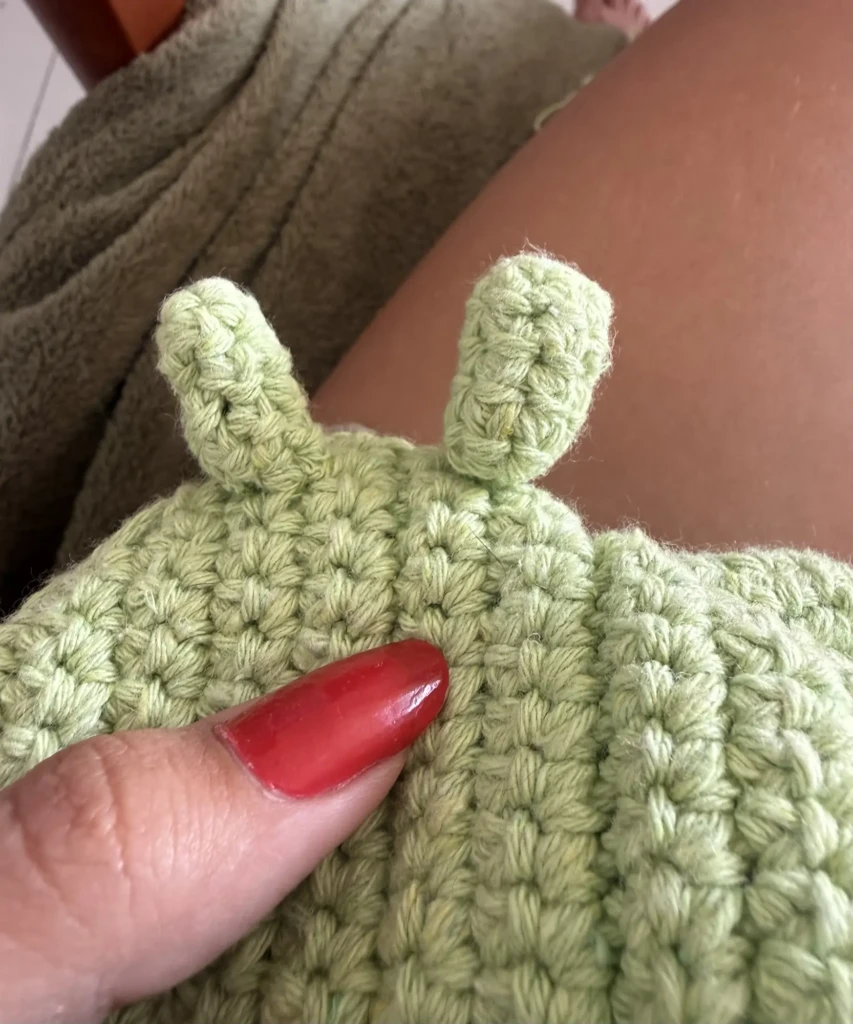
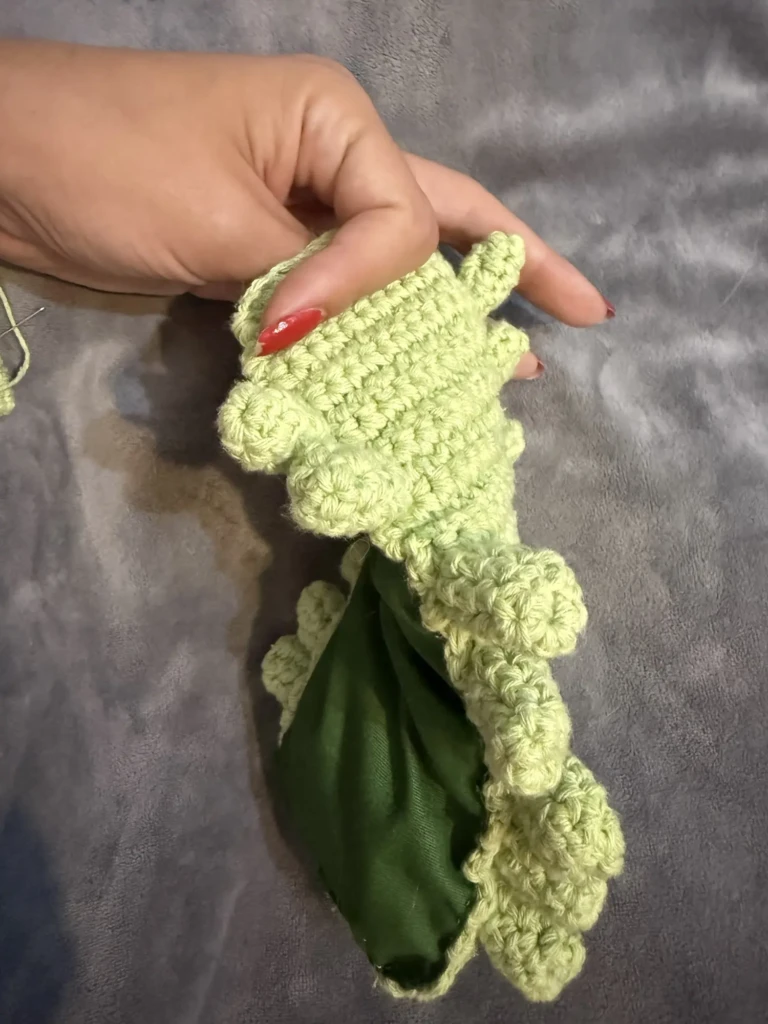
Next, I attached the button eyes to the head, then sewed the head onto the body, and finally added the antennas. I intentionally left the antennas for last — even though it would have been easier to attach them beforehand — because I wanted to double-check their placement once the head was fully attached.
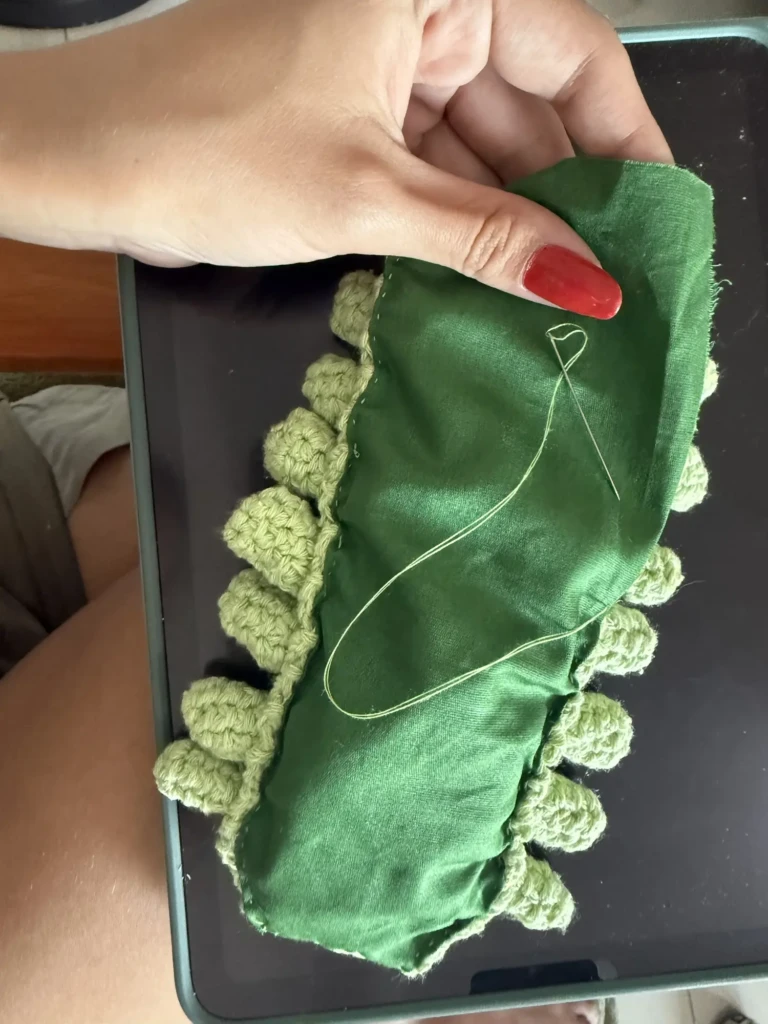
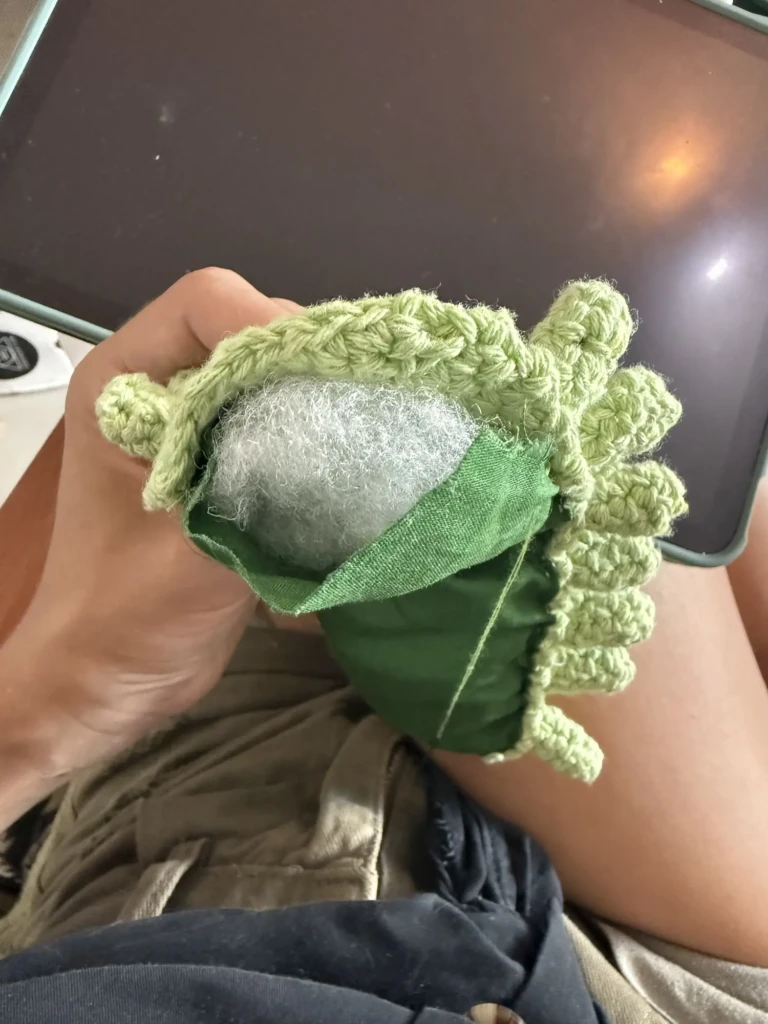
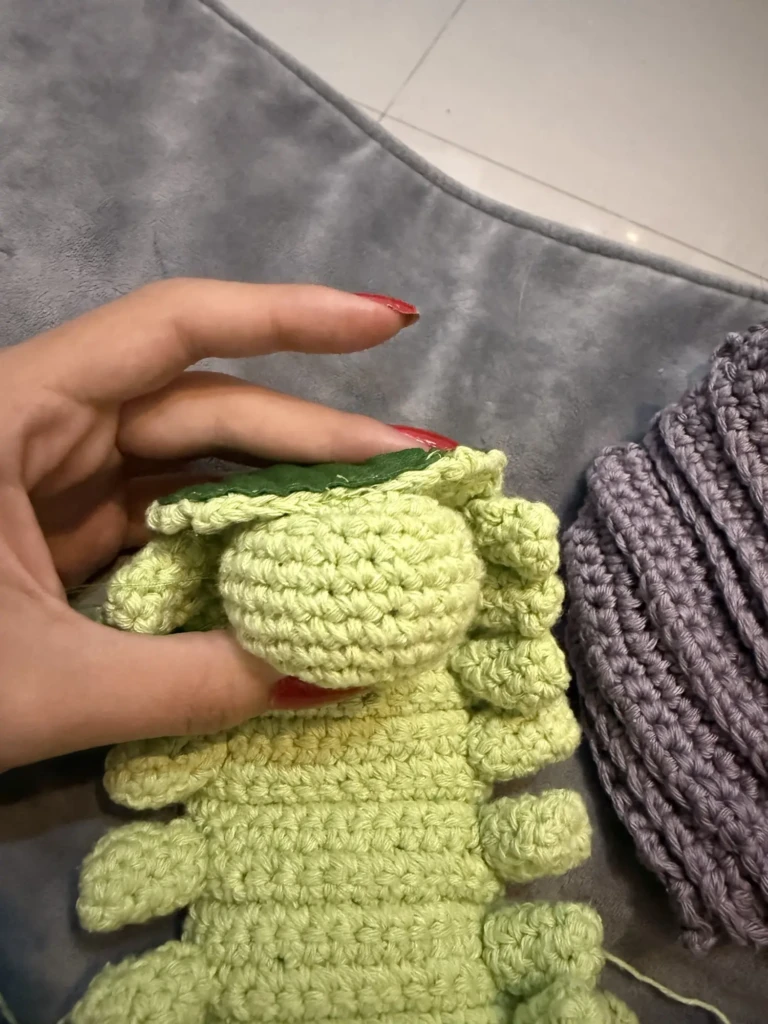
After that, I sewed a back-panel (fabric and a a thin layer of stuffing) onto the body section using a piece of fabric cut to size plus a bit of filling. I made sure all the padding stayed hidden from the outside.
Finally, it was time to attach the shell panels onto the back — by far the hardest part of the project.
Challenges and lessons
My biggest challenge was preserving the movement of the plush so it could roll up and unfold properly without exposing inner sections or awkwardly squishing pieces together. I went back and forth on whether to add a small internal pillow for volume and eventually decided to do it. That hidden bit of padding ended up being one of the key elements that gave the plush its bug-like shape and helped the rolling effect feel natural.
One interesting thing is that the shell section ended up noticeably shorter than the body itself. This was partly accidental, but it actually improved the rolling movement by preventing too much bulk from building up at the ends.
Another major challenge was sewing the shell panels together. If I stitched them too tightly, the movement became restricted and the layered “scale” effect stopped working properly. On top of that, I had very little edge space on the body to work with, so the sewing had to be extremely delicate. A curved needle helped tremendously here.
After sewing and undoing the same sections three separate times, I finally realized I could only add one stitch per shell panel on each side if I wanted to preserve enough range of motion. High tension in those stitches was extremely important to make the mechanism work. The edge pieces mattered a bit less since they naturally needed less flexibility.
This whole stage became a balancing act between structure and mobility — a little planning mixed with a lot of figuring things out as I went.
Finally, I crocheted, embroidered, and attached the little tail details I had forgotten earlier, and that completed the project!
I’ve considered adding tiny pieces of Velcro so the bug could stay rolled up on command, but I’m still unsure if I want to risk the long-term wear Velcro might cause to the crochet fibers over time.
Results
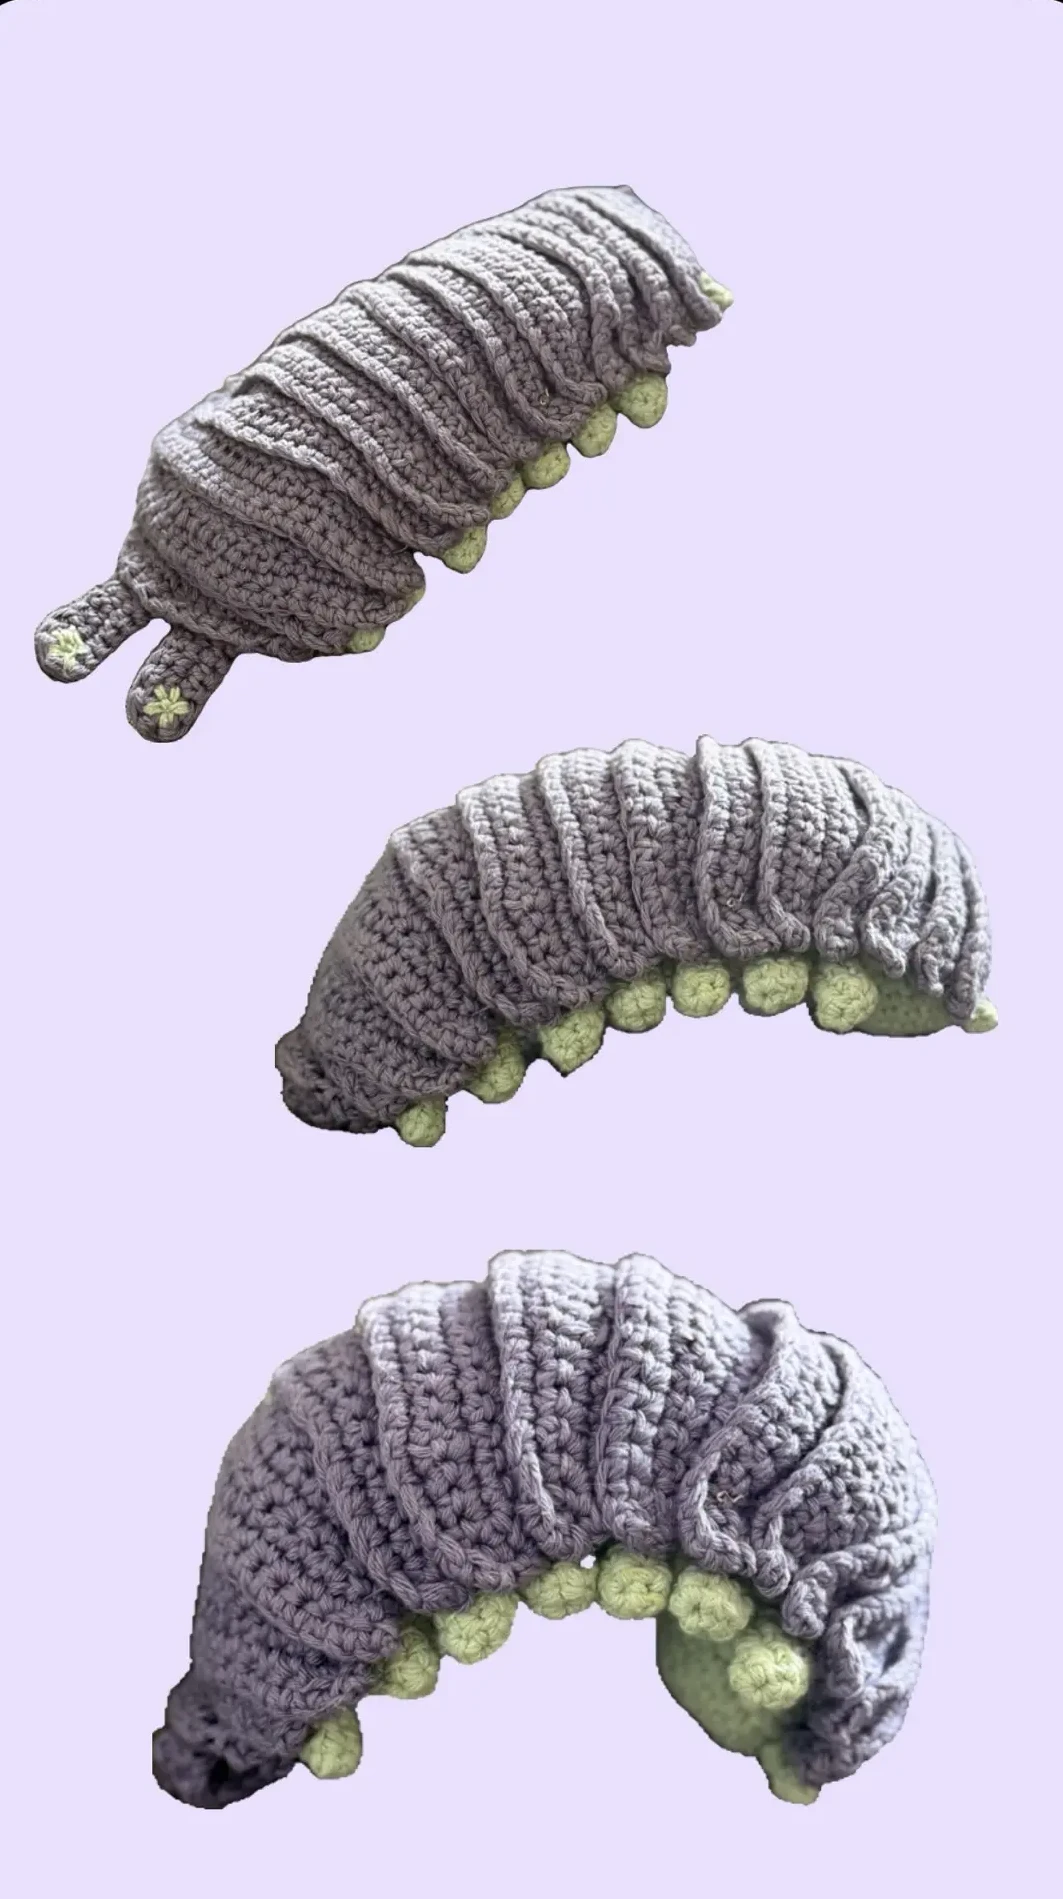
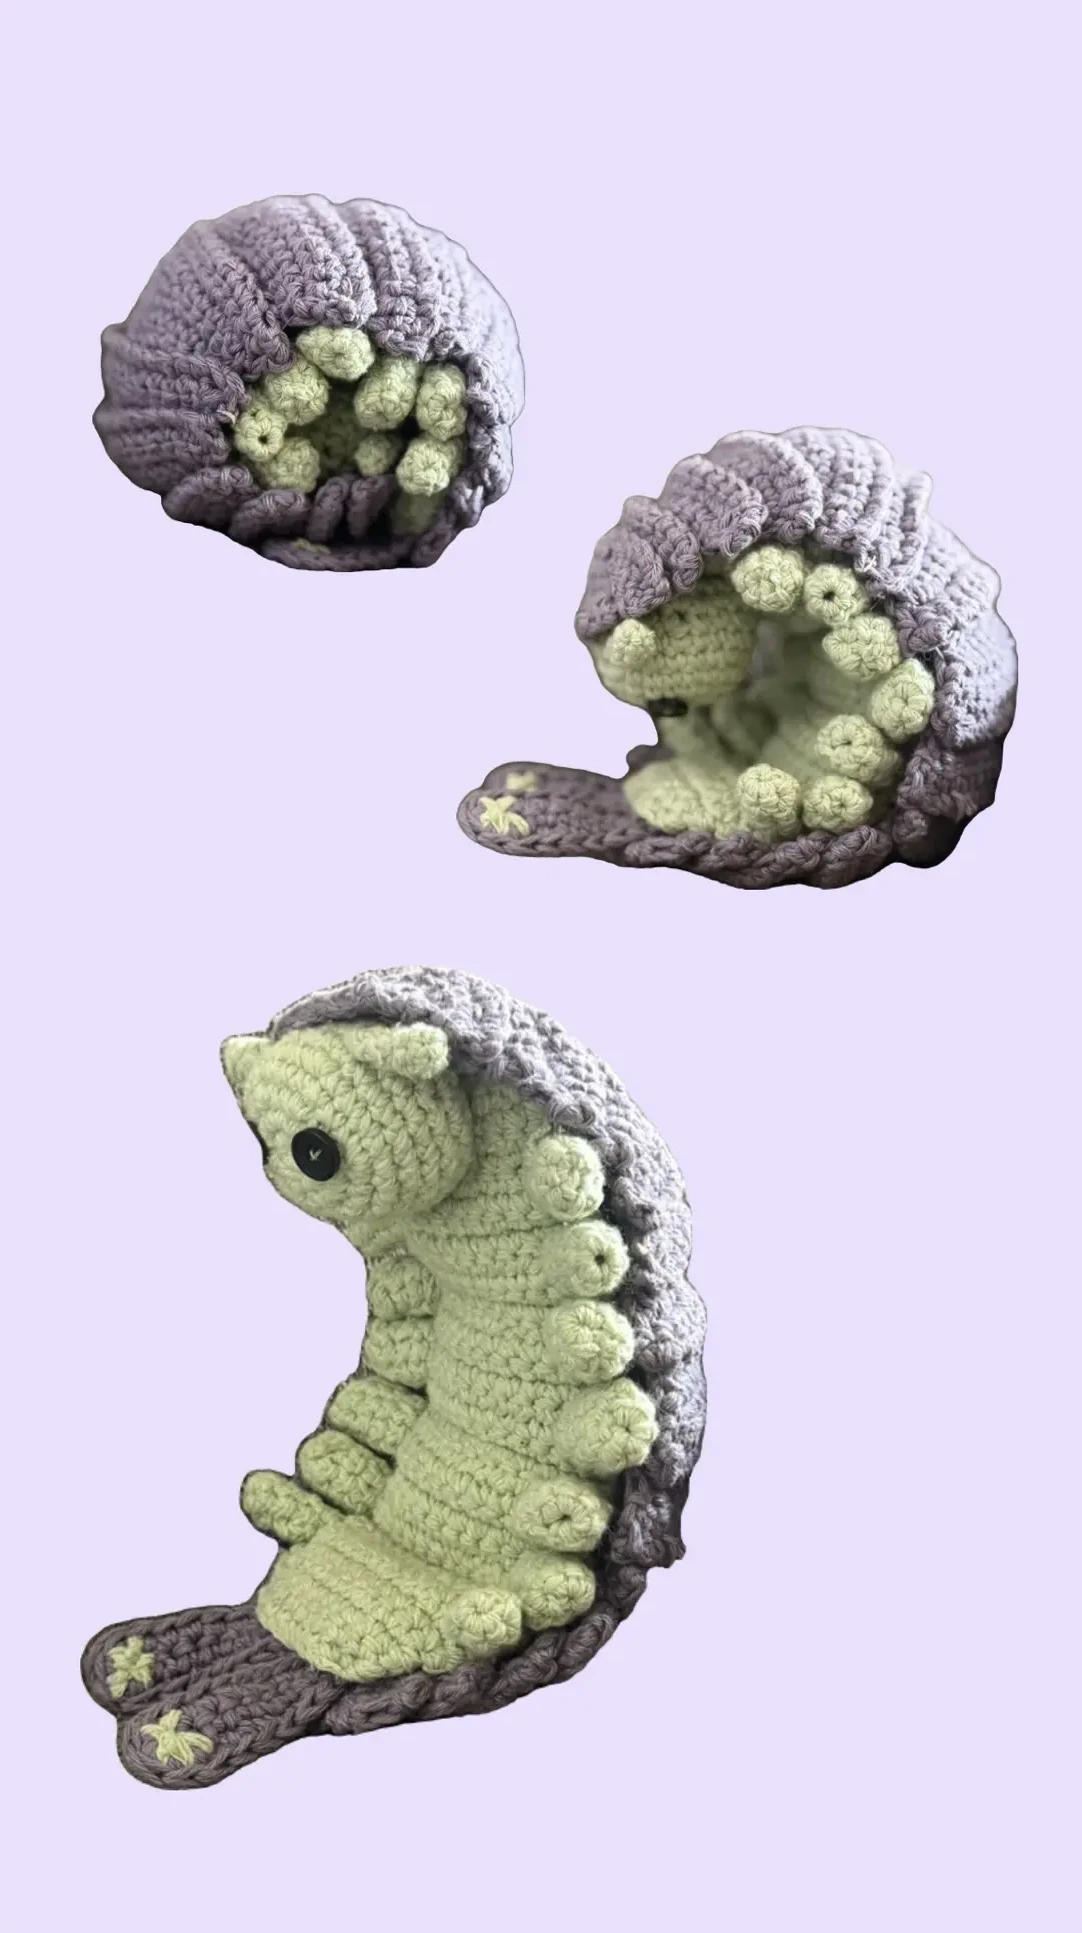
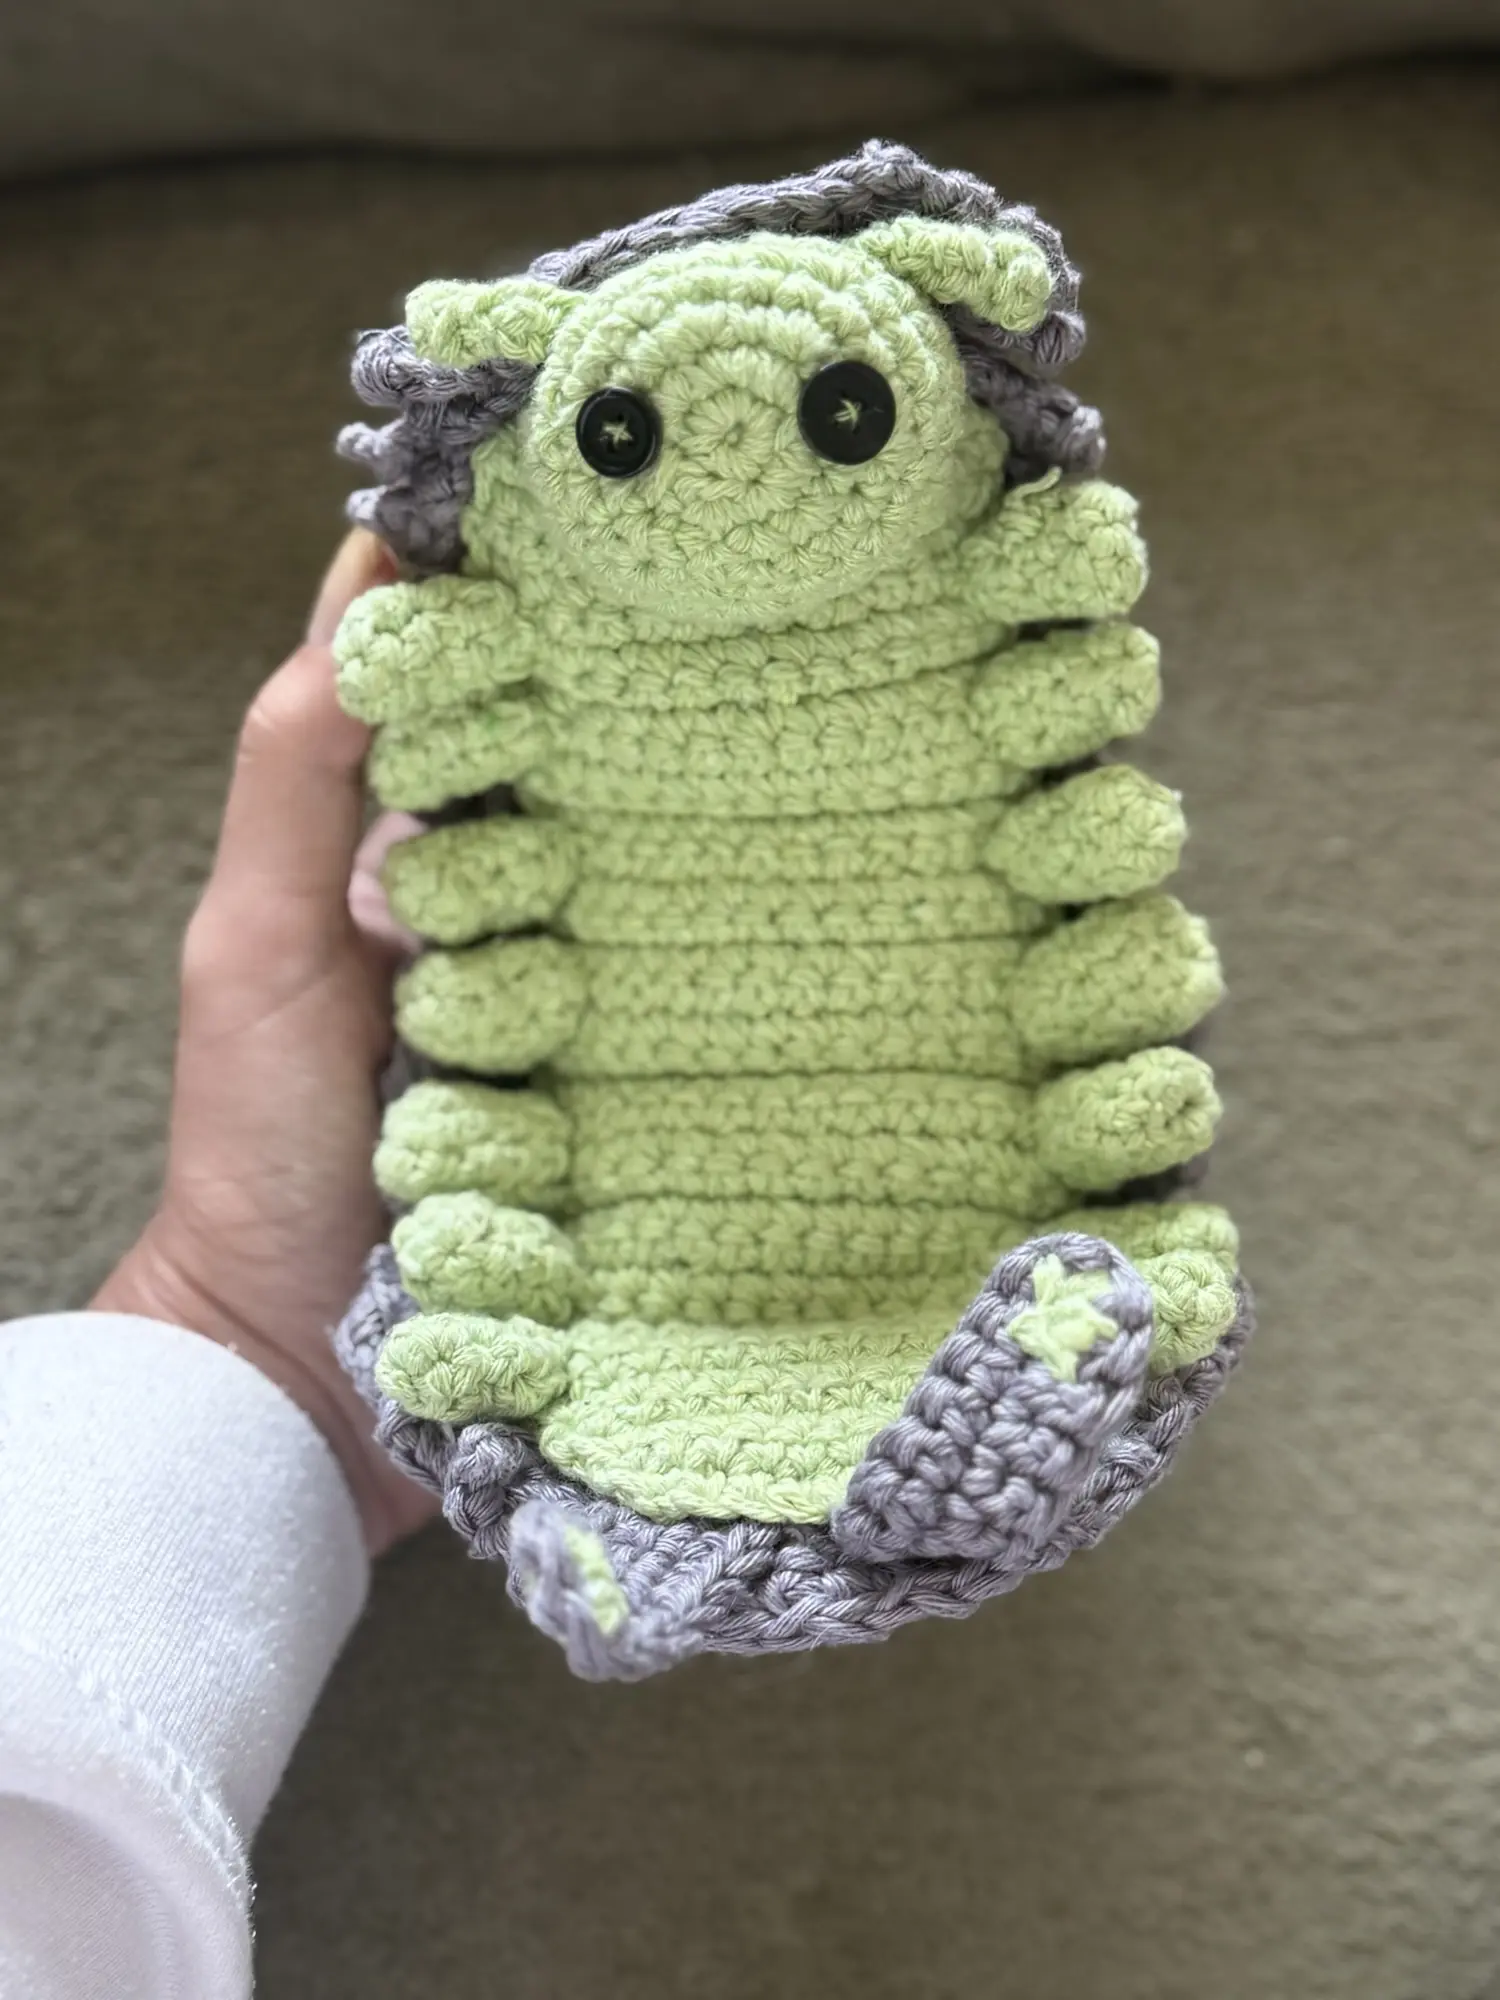
Overall, this was a challenging project, but one that felt very rewarding to complete. I really enjoy making 3D projects and stuffed creatures, and I’m slowly getting better at tackling designs with lots of moving parts. The sewing and construction logistics were definitely the trickiest aspects to figure out, but it was great practice.
I think the finished piece turned out absolutely adorable. I love the mismatched eyes, the tiny antennae, and all of its textures and movement. It has so much personality packed into one little bug.
I hope this inspires you to create a little friend of your own, too.
Happy crafting!