The woodblock printing studio I attend recently open back up after a long summer break, and I am beyond excited to return to my printing practice!
A bit of context: Last year I spent a few months working on a multi-layered pool print. I love the piece and I almost had it, but I struggled a lot with aligning the layers correctly because of some early decisions(and mistakes) I made in the process. The frustration of spending months without seeing the expected progress, layered on top of communication challenges within the studio dynamic, eventually got the better of me and led to months of inactivity with the craft.
In the meantime I took DJ classes and explored my creativity in multiple other ways I’ve been sharing here. Enough time has passed now that I finally feel recharged and motivated to get back into the studio, workshop some new solutions and give the big project another try.
Since the studio reopened in early March, I’ve been working on some simpler pieces I had on the ‘back burner’ from last year. They are experimental, single color, low-stakes pieces. I thought they were a good way to get back into the groove, polish up my rusty skills, and re-familiarize myself with the full process before jumping back into the pool project – pun intended 🙂
The main challenge I had with the pool print was the alignment of the layers. I had already tried a few registration techniques (systems that help align paper and multiple print layers consistently) but none gave me reliable results. So I decided to use these experimental pieces as an opportunity to test better registration methods.
Over these first weeks back, it’s been a constant cycle of test printing, spotting imperfections, carving corrections, printing again, noticing new issues, making more fixes, testing again… and yes, somehow still finding more things to adjust. At this point, I’m heading into round four of test prints.
Each phase often takes an entire studio day, and many steps require drying time in between, so progress is slow, methodical, and honestly a real test of patience. It’s been a powerful reminder that this craft really demands presence. I always imagine things moving faster and smoother in my head than they actually do, so part of this return has also been about accepting the pace, trusting the process, and resisting my urge to rush results. Easier said than done… but we’re working on it.
Here’s a compilation of process-pictures from all the cleanup work, test prints, revisions, and multiple rounds of “polishes” of the design, along with some insights into my decision-making rationale:
1. The Designs – Where we Started
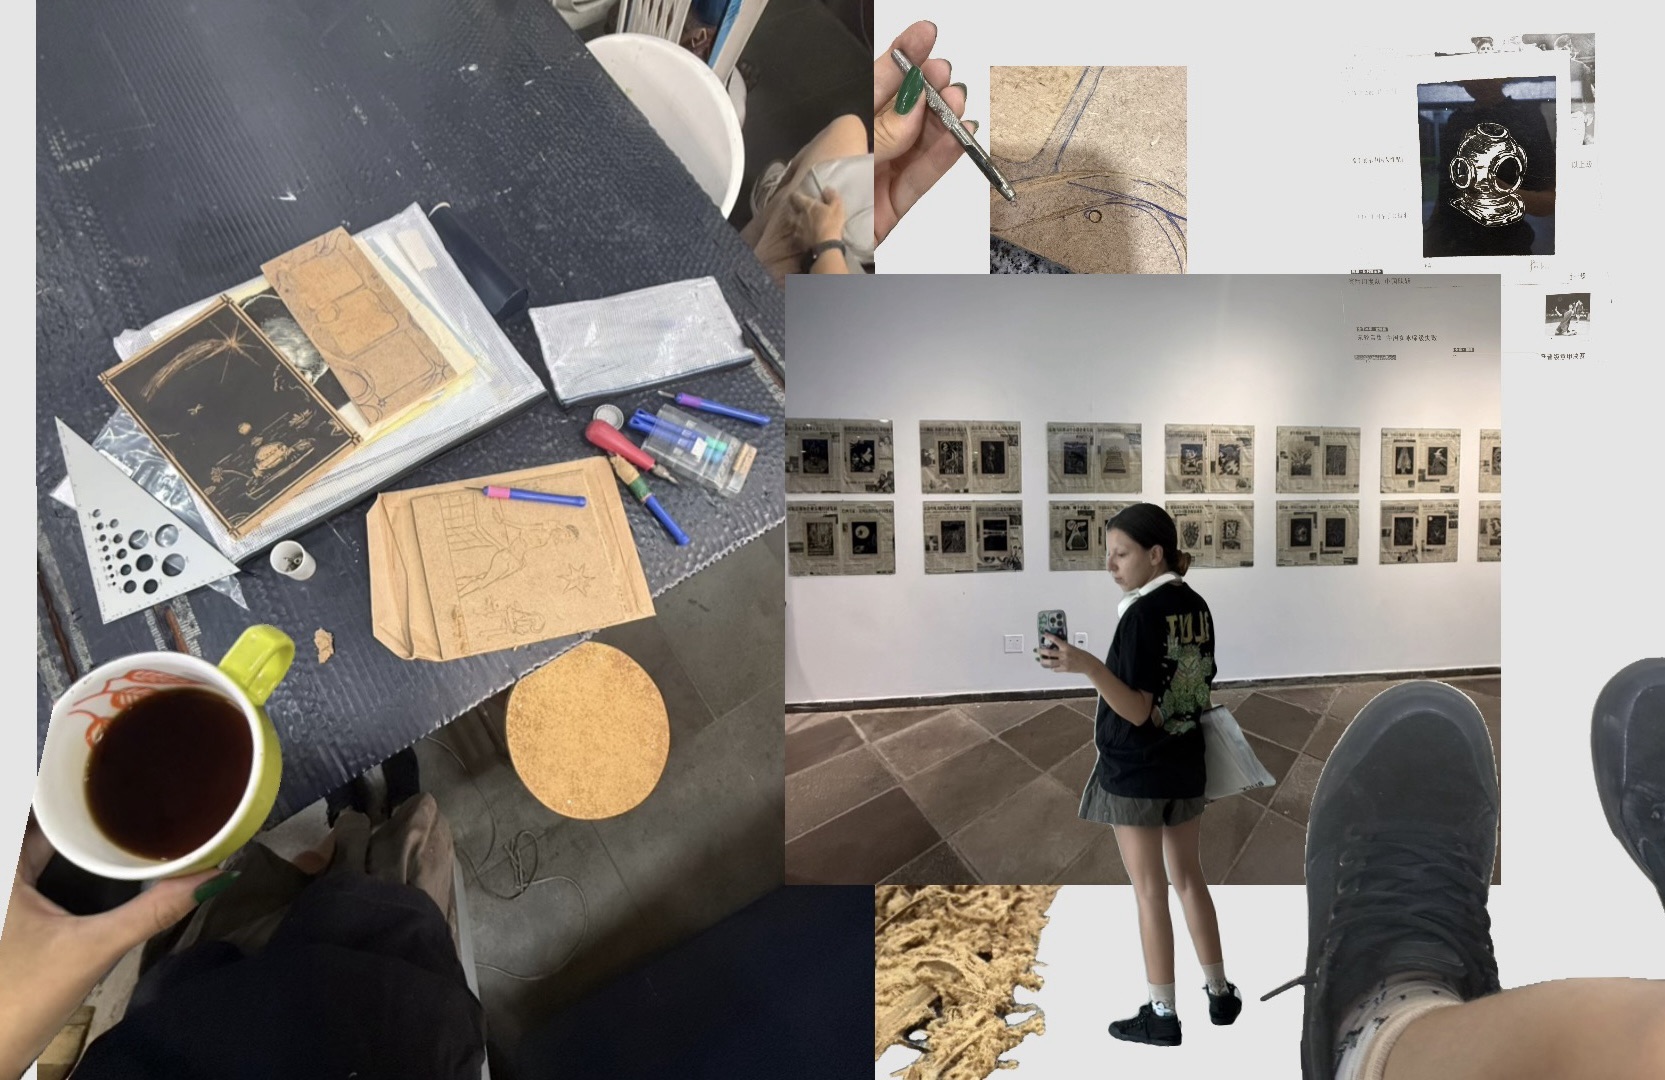
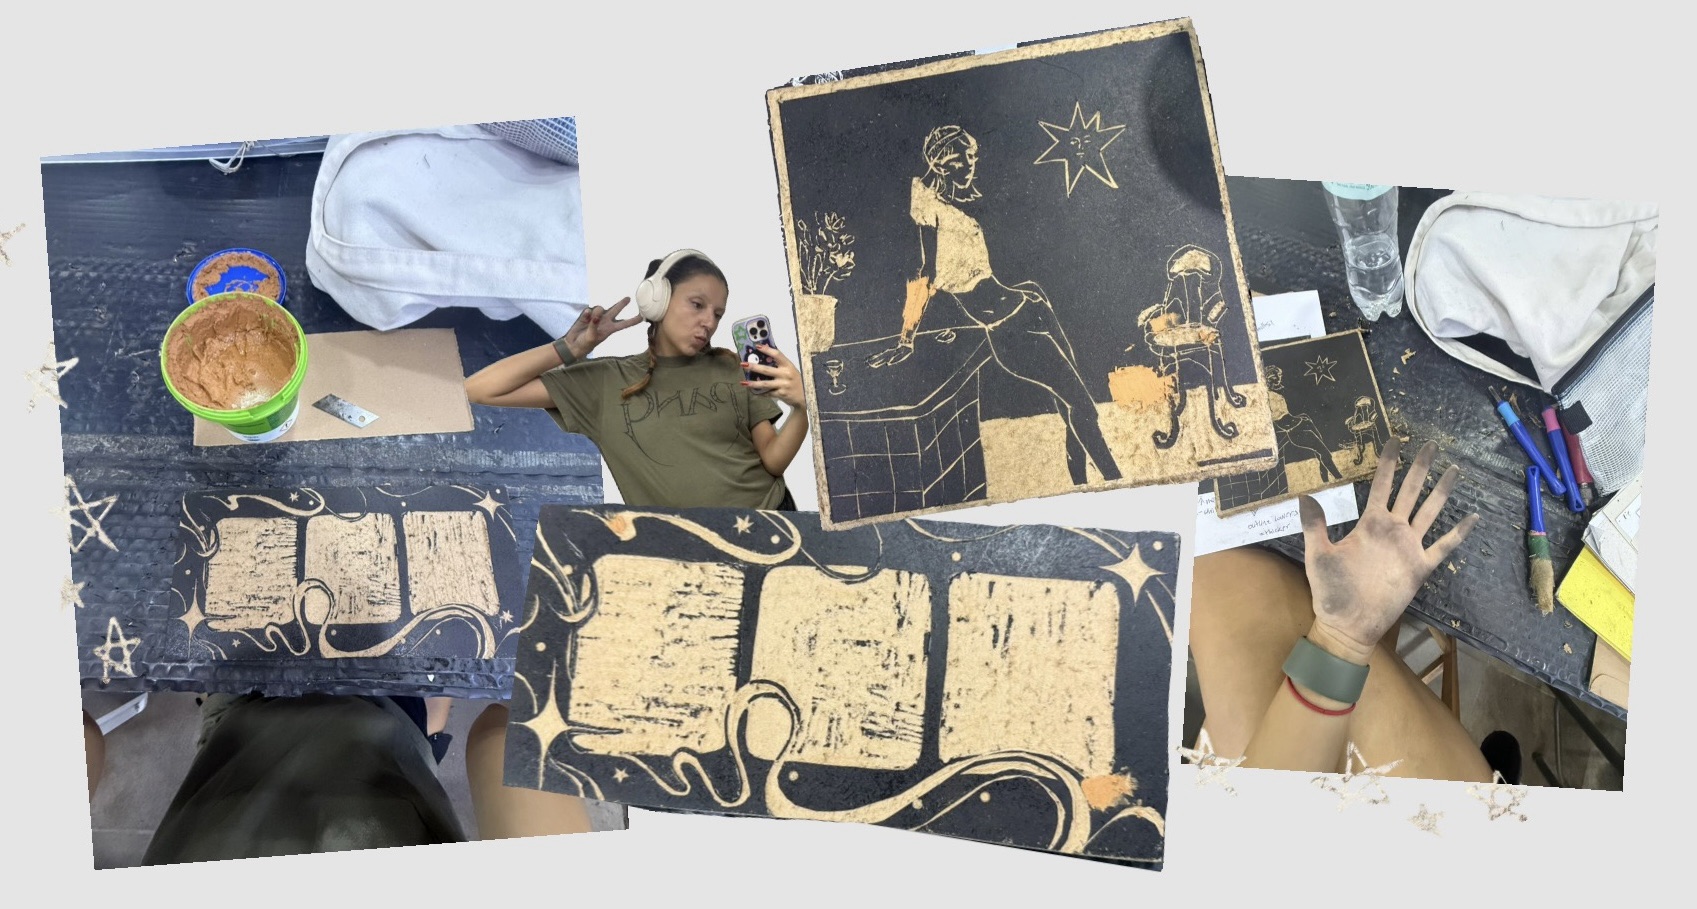
My first day back was a relatively chill one: revisiting my ongoing experiments, refamiliarizing myself with old projects, and deciding what felt most achievable.
Out of six unfinished projects, three were close enough to completion that they became my priority pieces. I had coffee, learned how to use a fun hole puncher my professor lent me, and checked out the current exhibition of woodblock studio artists.
2. First Round of Test Prints
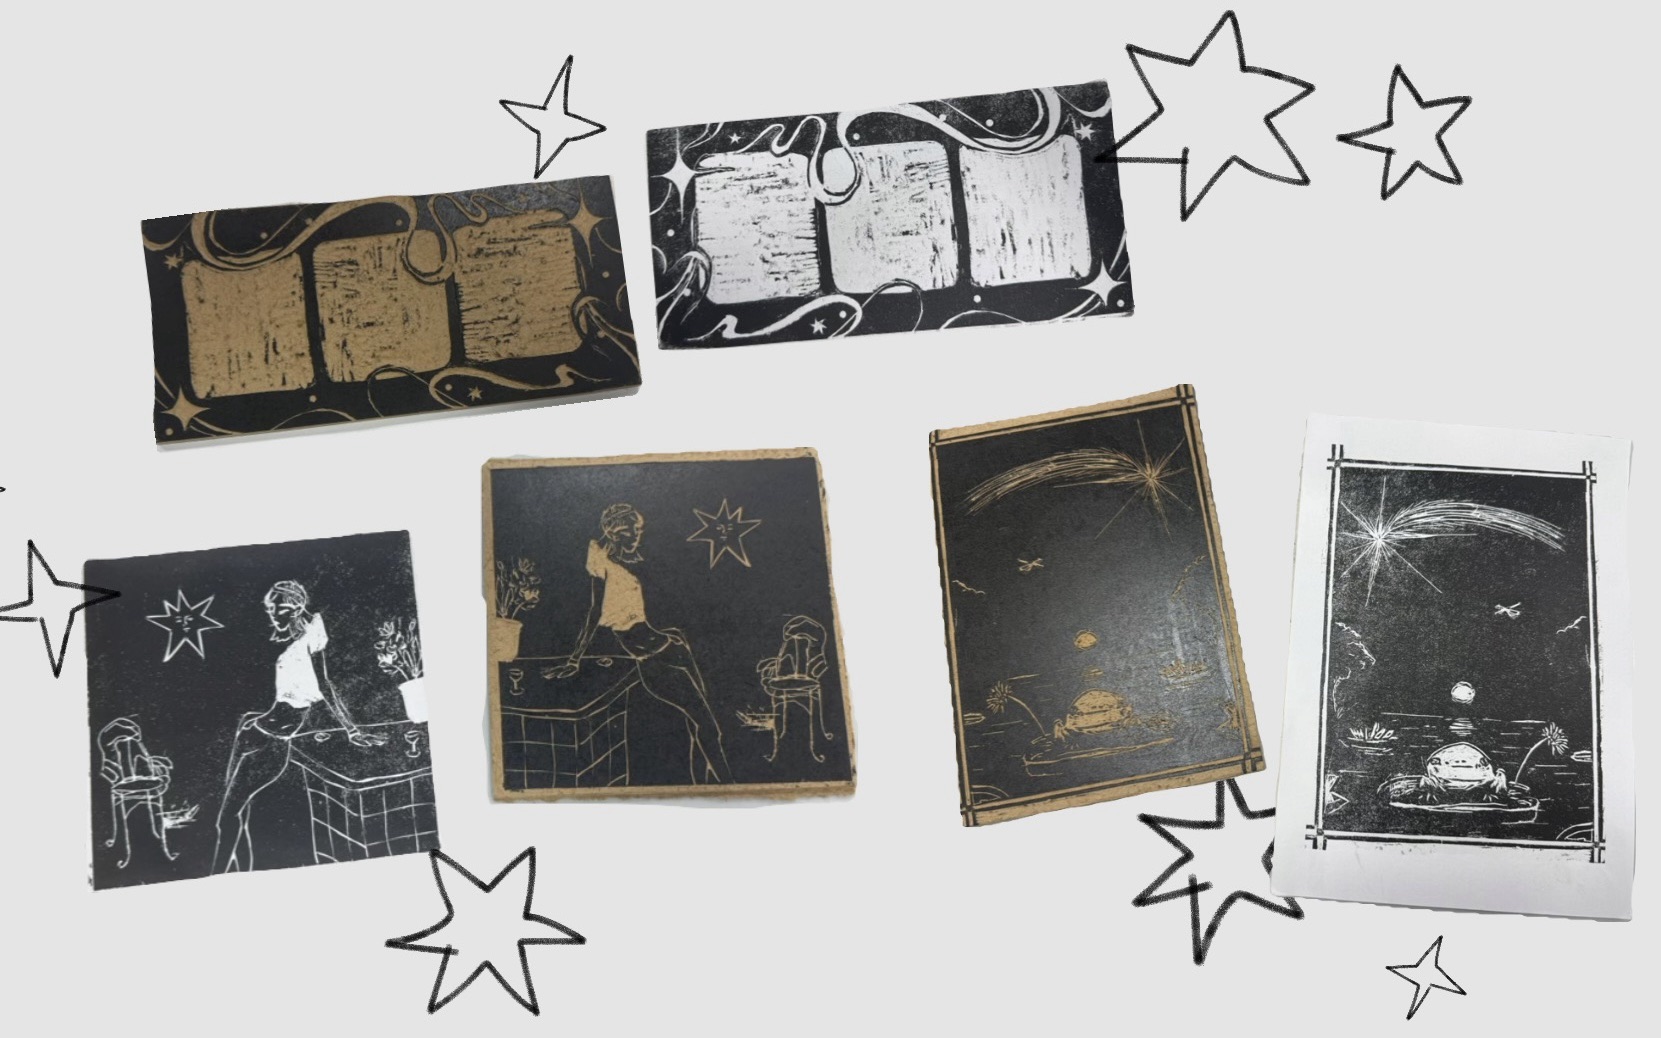
The following week, I came in ready to print. After doing finishing touches and border cleanup both in the studio and at home, I finally tested the designs. Overall, the prints came out pretty well, but of course the process immediately revealed more issues: spots that needed cleanup, small imperfections, and even areas where the wood itself was beginning to lift and needed gluing. So… back to fixing.
3. Cleanup, Corrections, and Wood Putty
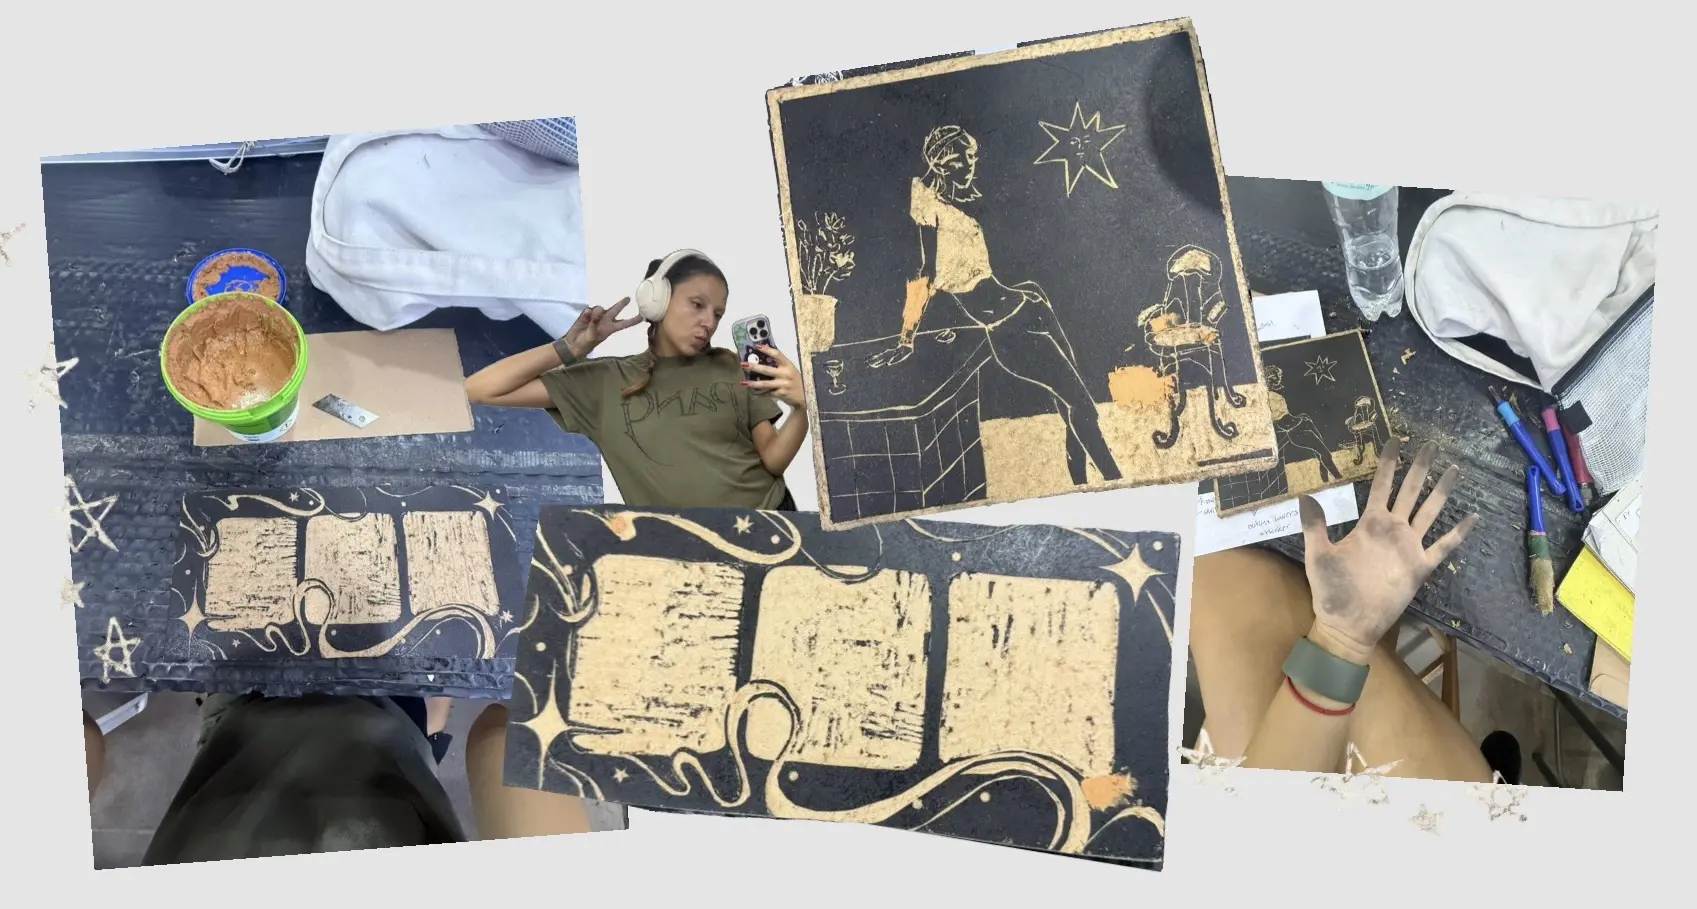
During that same visit, I spent a lot of time refining the blocks, including adding wood putty in areas where I had made carving mistakes and needed to essentially “reset” sections.
This meant waiting for the putty to dry, returning later, carving those areas again, and trying to sand everything flat enough that the repairs would disappear into the print surface. Spoiler: I did not sand it quite enough.
4. Registration Guide Experiments
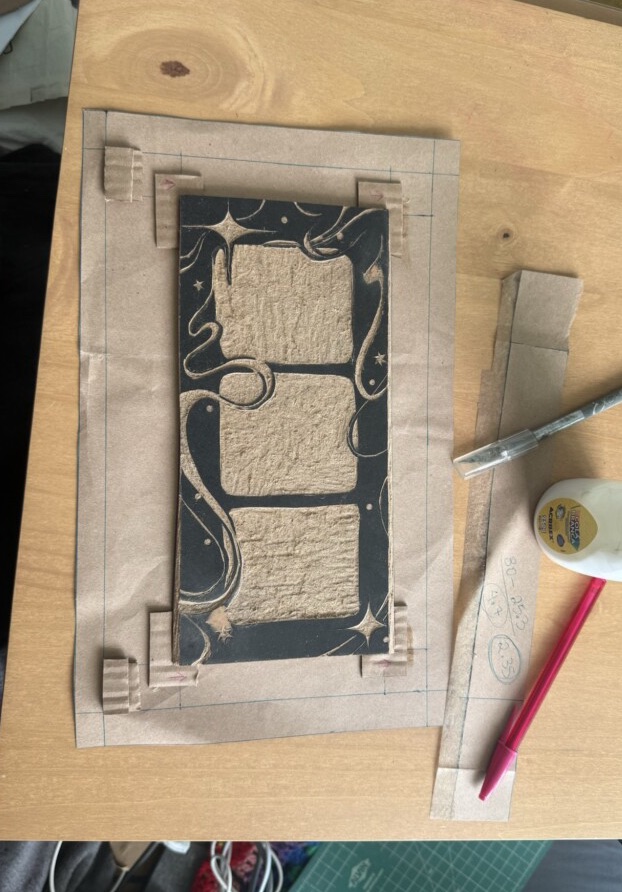
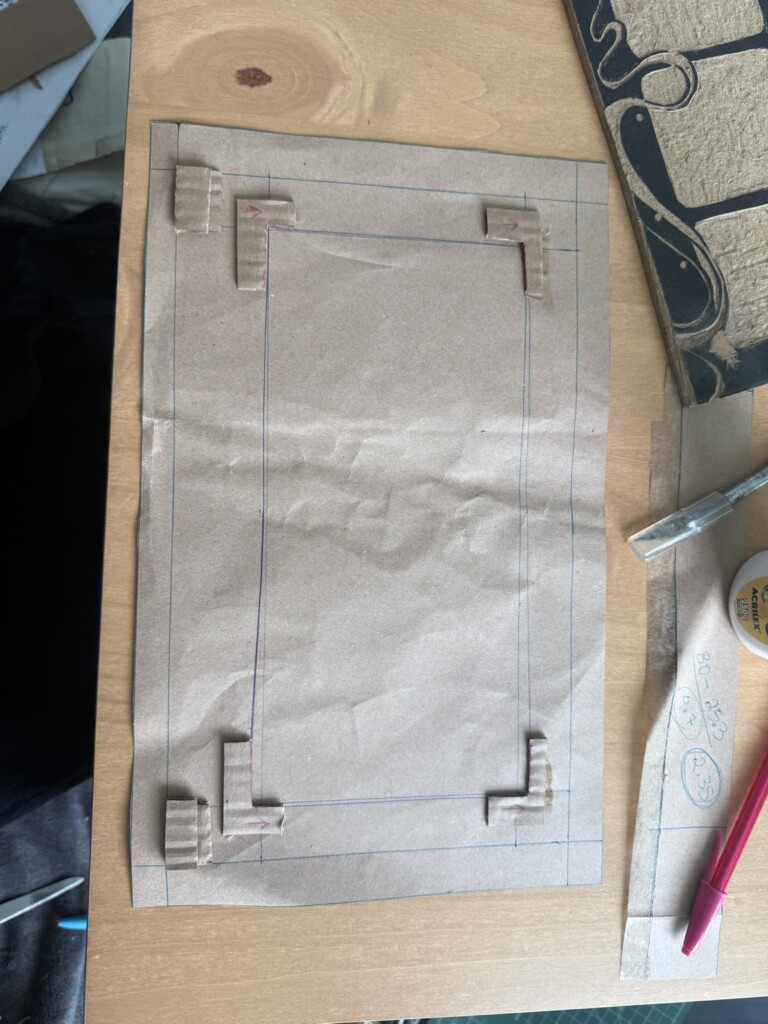
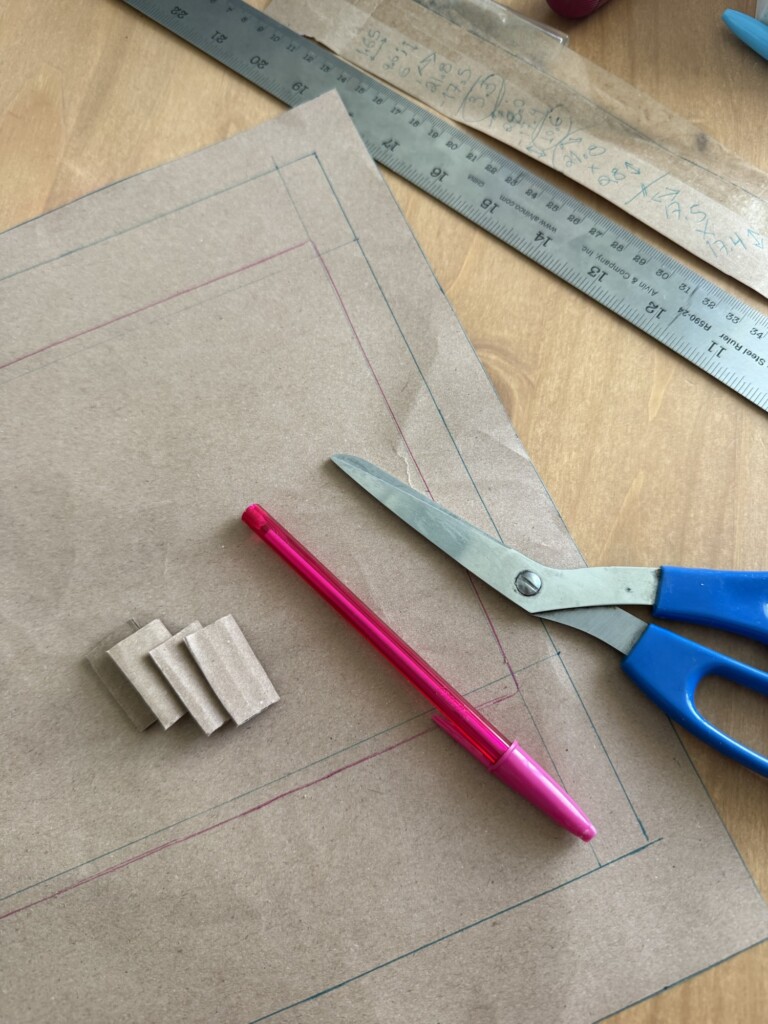
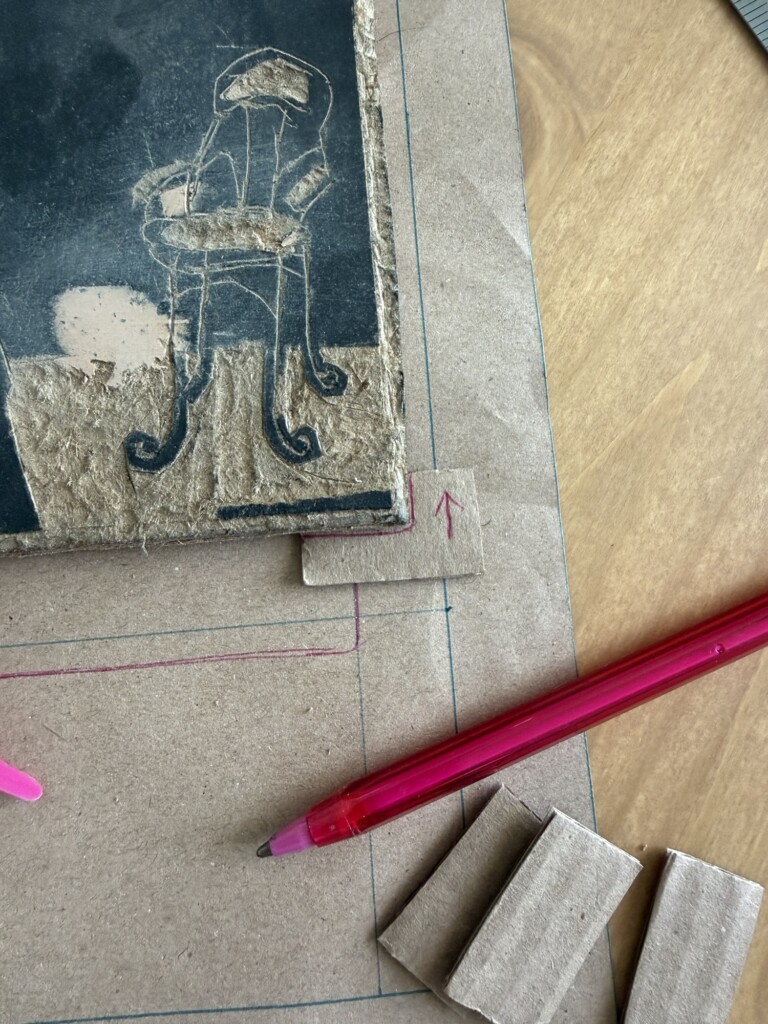
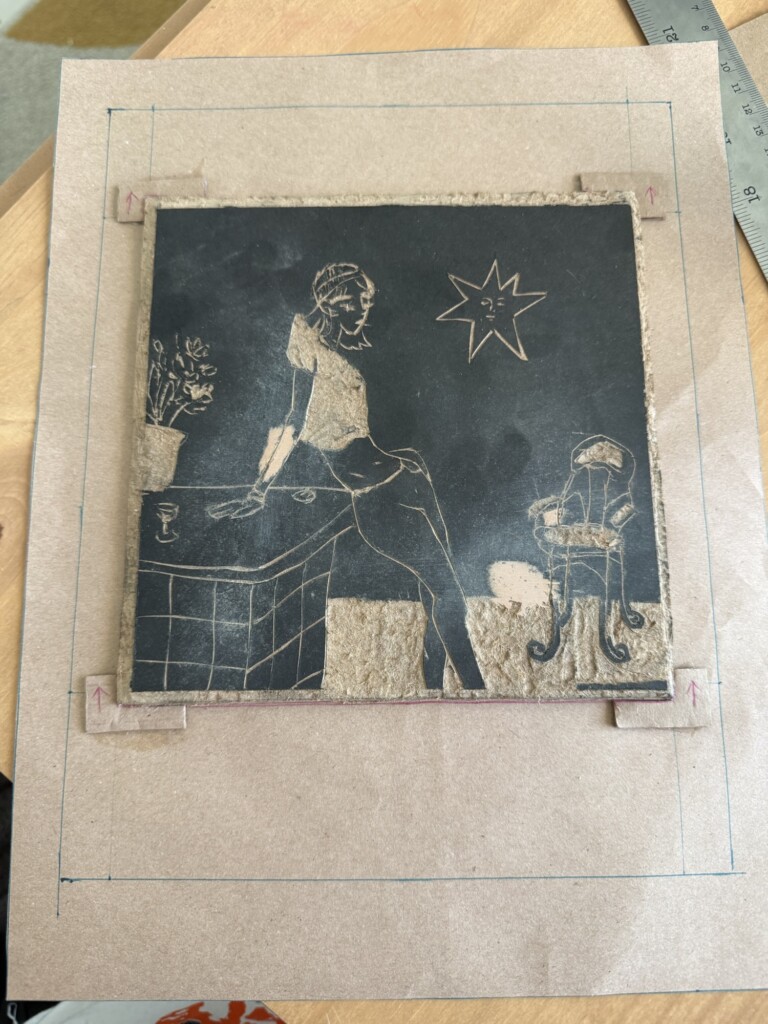
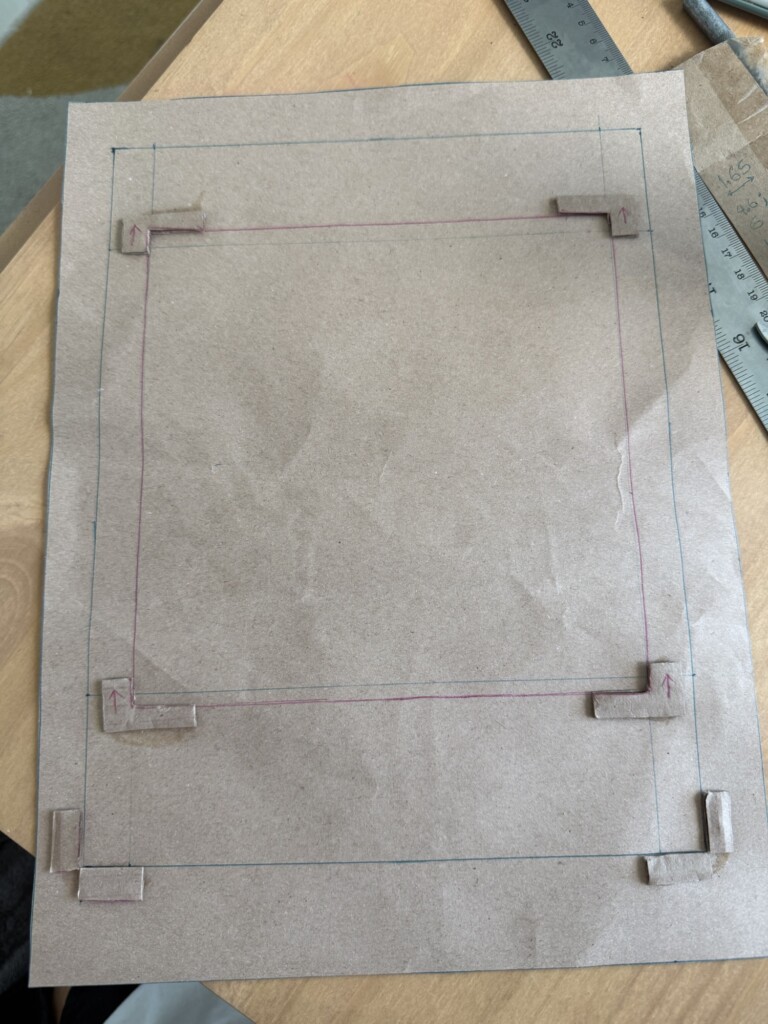
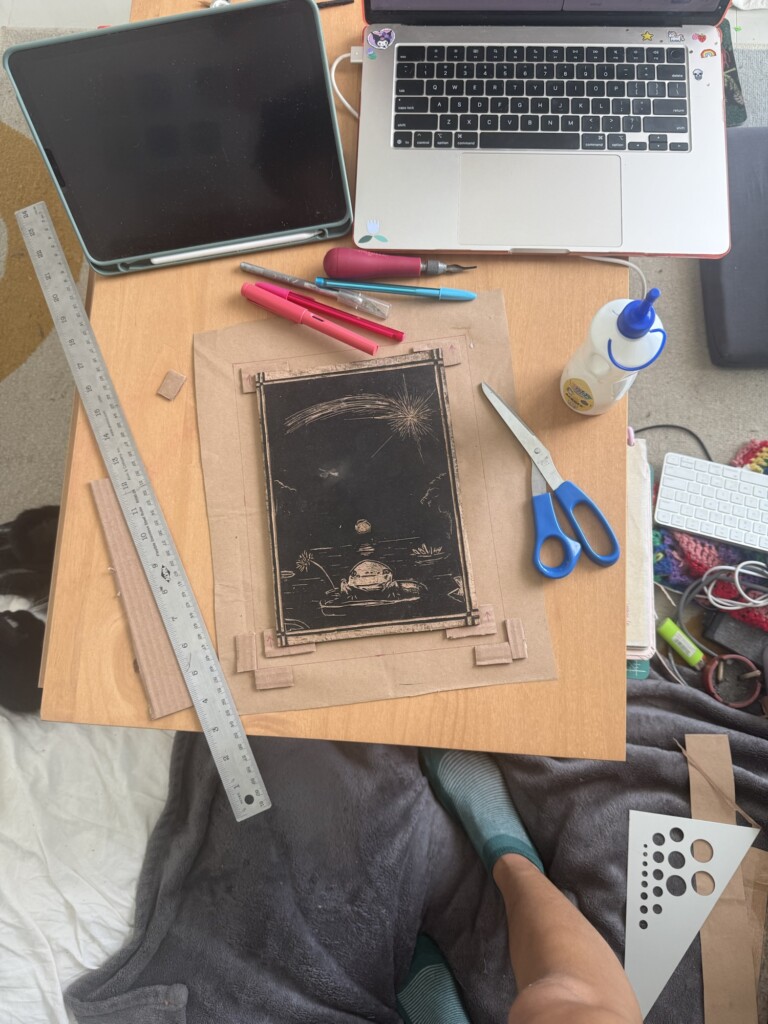
At home, I also built a new set of registration guides for all my designs.
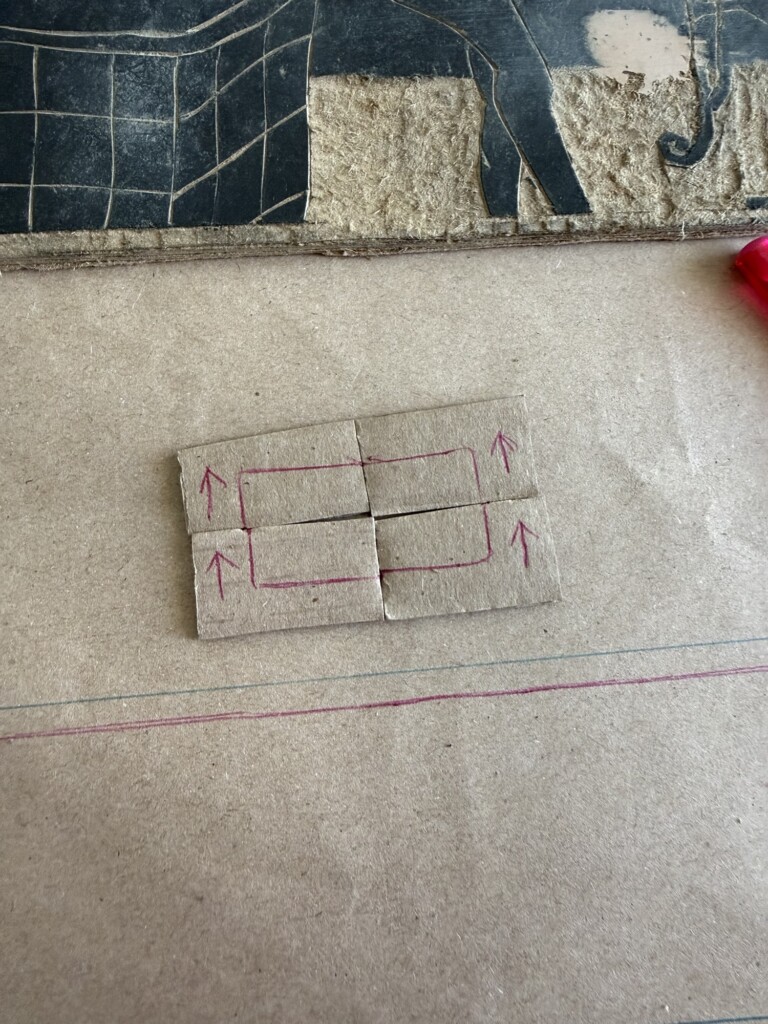
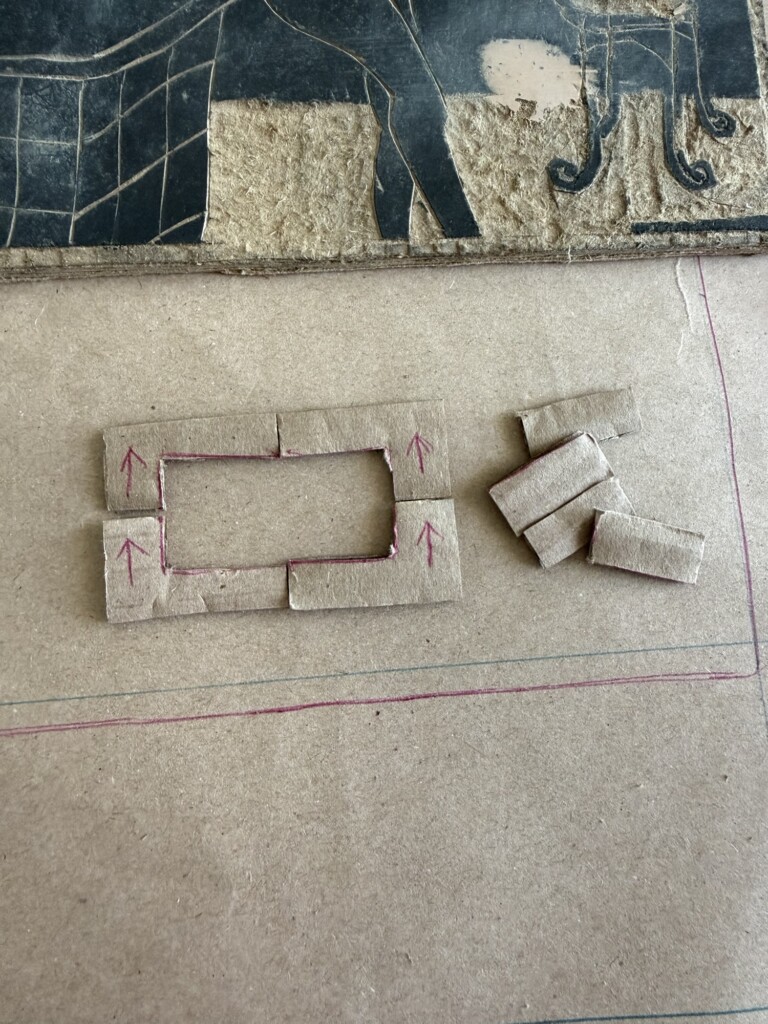
This was a major step. I created upgraded templates with physical slots for the woodblock itself, plus two different paper alignment systems:
- Outer alignment: paper fits inside corner slots
- Inner alignment: paper corners align against raised squares
After testing both, I found that for my medium-thickness paper, the raised-square method worked better. The corner-slot version sometimes let the paper dip below the edges, causing shifts.
5. Second Round of Test Prints
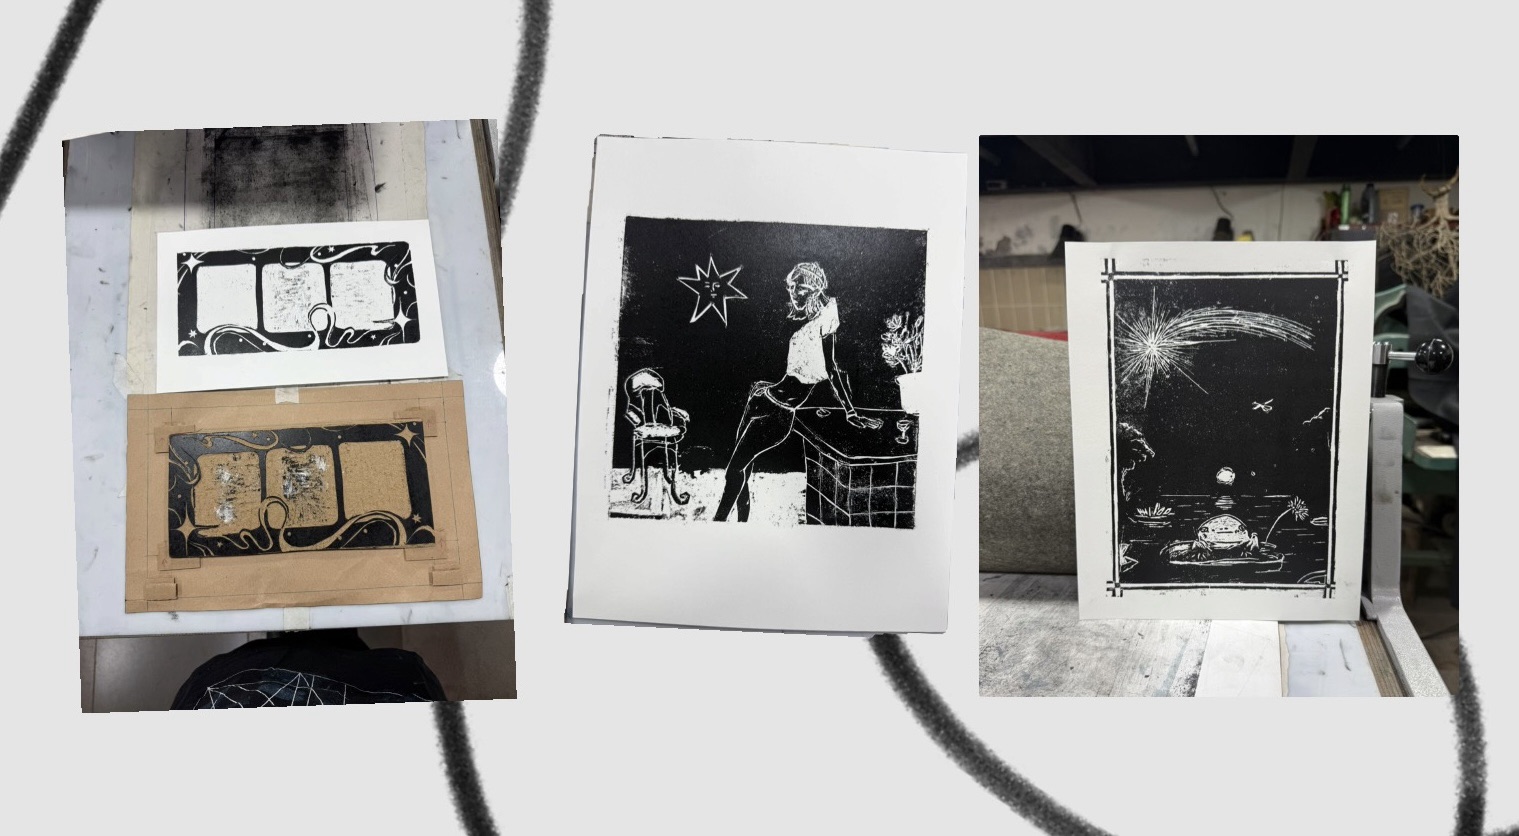
Back at the studio, now with my new registration guides and my intended final paper, I was ready for another set of test prints.
As I printed I kept getting “grainy” results, instead of a solid layer of color. Bebeto, the studio master, helped me figure out that the blocks had gotten grainy after sitting in storage for months. Another issue I noticed was that I could see the border of the wood putty applications. So back to sending and smoothign these surfaces. Hopefully that would be the last fix.
6. Sanding, Polishing, and More Problem-Solving
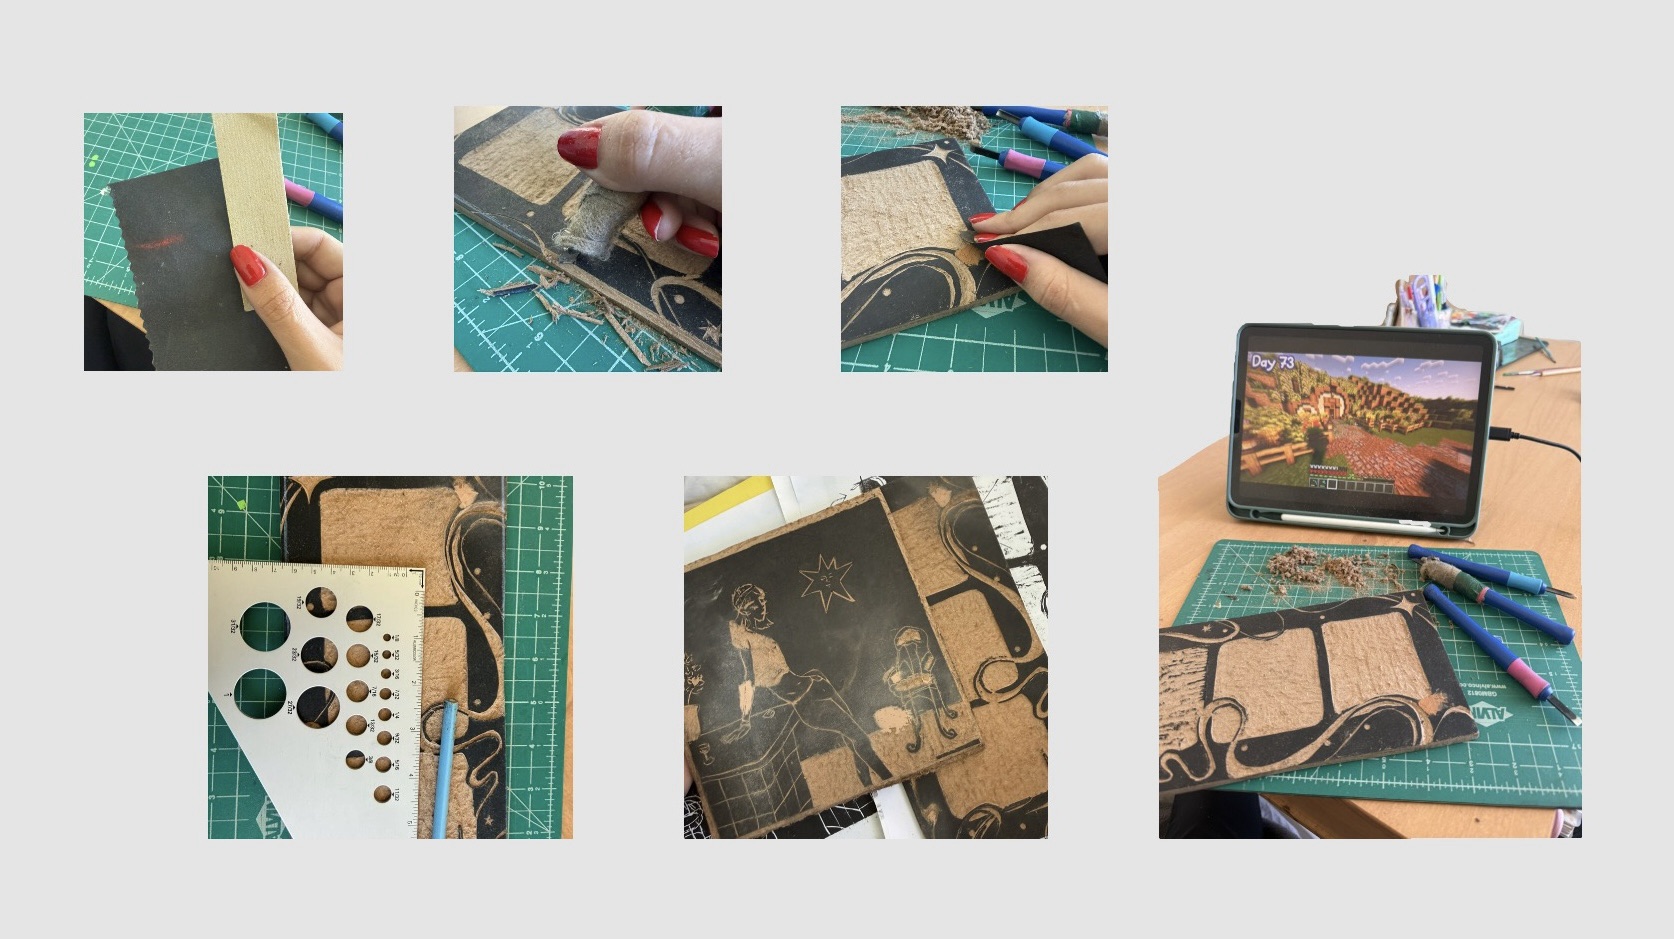
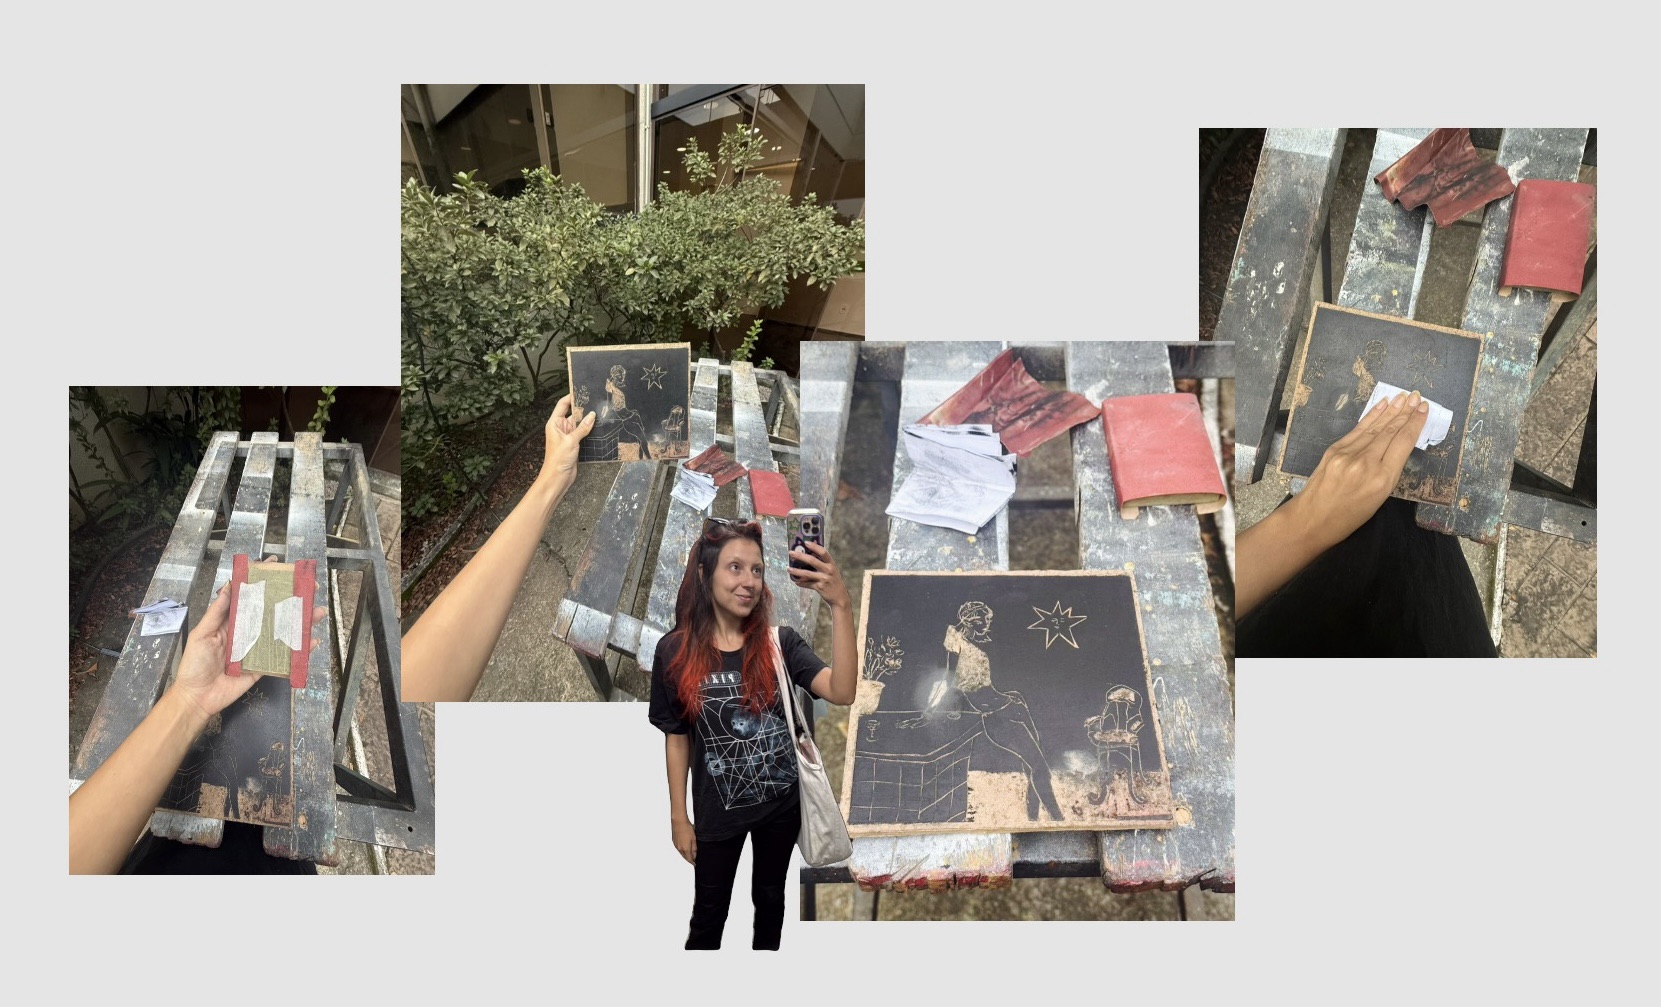
After a few days I went back into the studio to sand my blocks down but unfortunately one or two were still not fully dried. Thankfully a studio friend was around and thought me a cool way to remove the paint and do a fine polishing/sanding to the board using regular printing paper as sandpapaer, slowly removing the ink and then polishing the surface. I was afraid that using actual sandpaper might remove sharpness of details (made that error before) and this was the perfect solution for 2 of my designs.
For the design with the wood putty I had no other choice but to actually file it down, very carefully. Hopefully I didn’t mess it up :}
After giving the ink time to dry, I returned to the studio planning to sand everything down.
Some blocks still weren’t fully dry, but thankfully a studio friend showed me a brilliant trick: using regular printing paper like ultra-fine sandpaper to gently remove residual ink while polishing the block surface.
Honestly? Game changer.
This worked beautifully for two of my designs and avoided the risk of over-sanding delicate details with real sandpaper.
For the wood-putty-heavy design, though, I had no other choice but to actually file it down, very carefully. Hopefully I didn’t mess it up :}
Where we are at and future steps:
At this stage, I can already see clear differences between test print rounds one and two, which is encouraging.
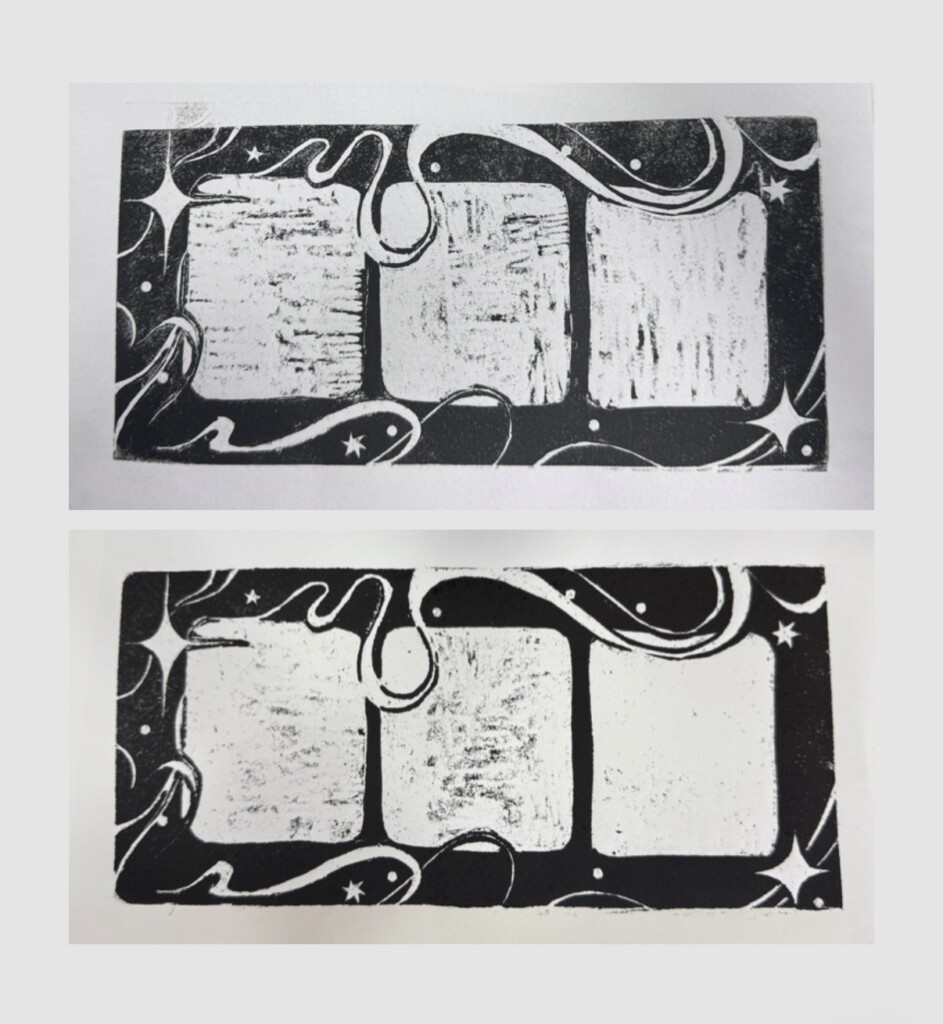
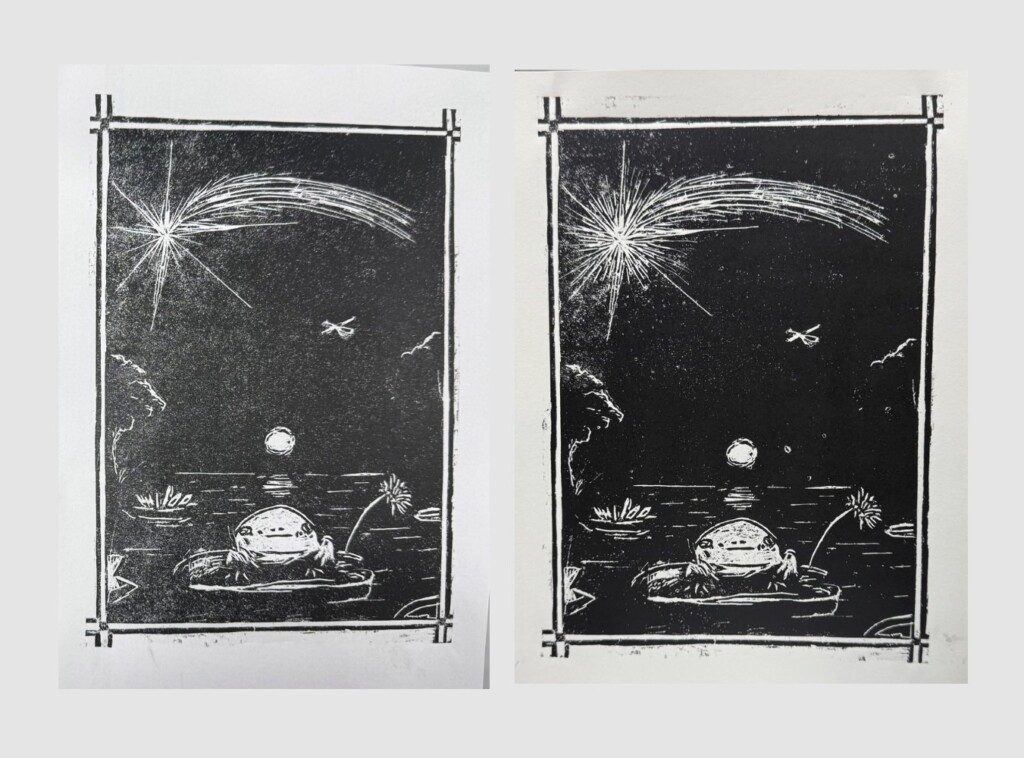
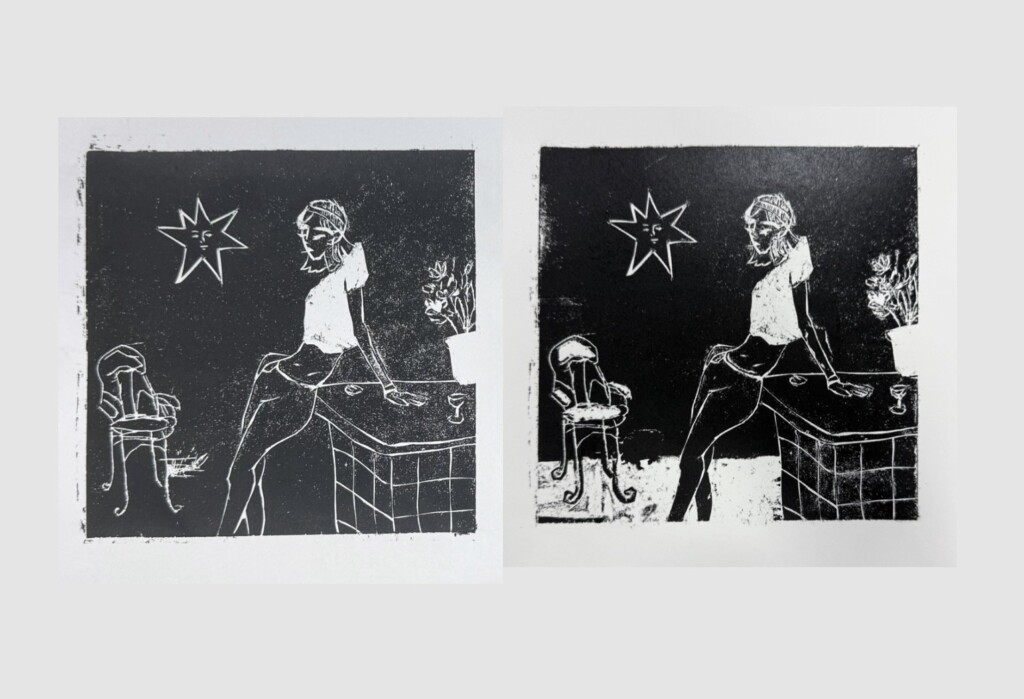
I still need at least one more full round of test prints to see whether these latest fixes actually pay off — and I’ll also keep experimenting with paper smoothness, thickness, ink quantity, and alignment consistency.
A bit of an exhausting process of trial and error. However, one that continues to teach me to be patient and mindful of my process.
I hope you have been patient with yourself as well.
Happy creafting!