Hi friends! How are you? What have you been working on lately?
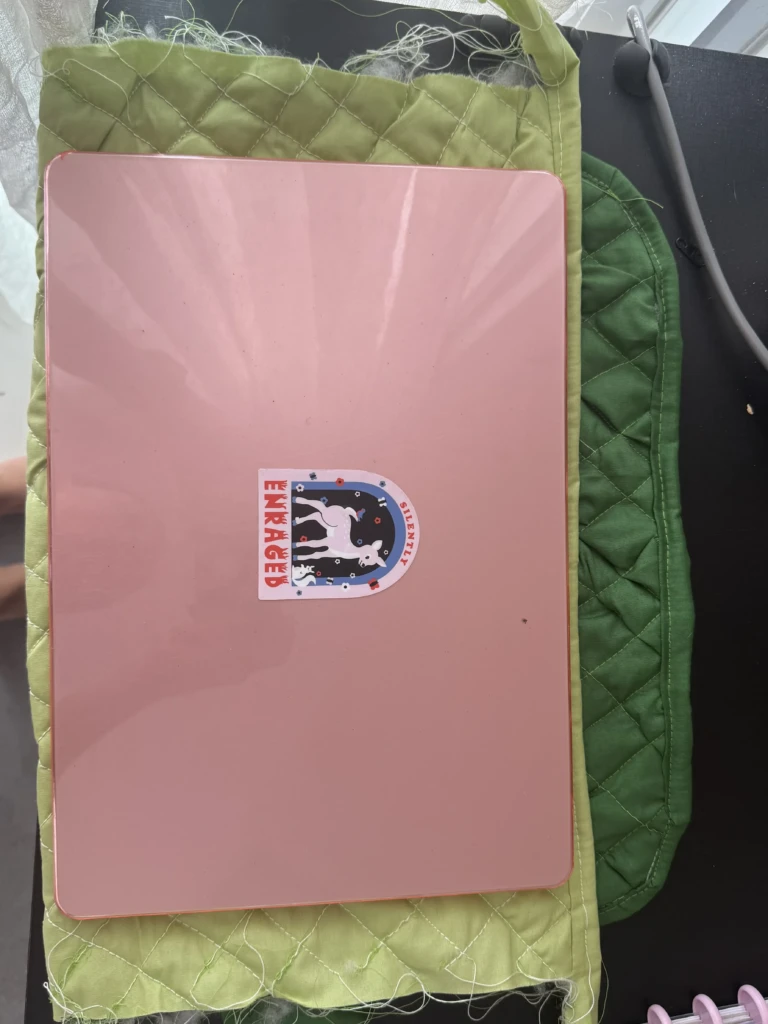
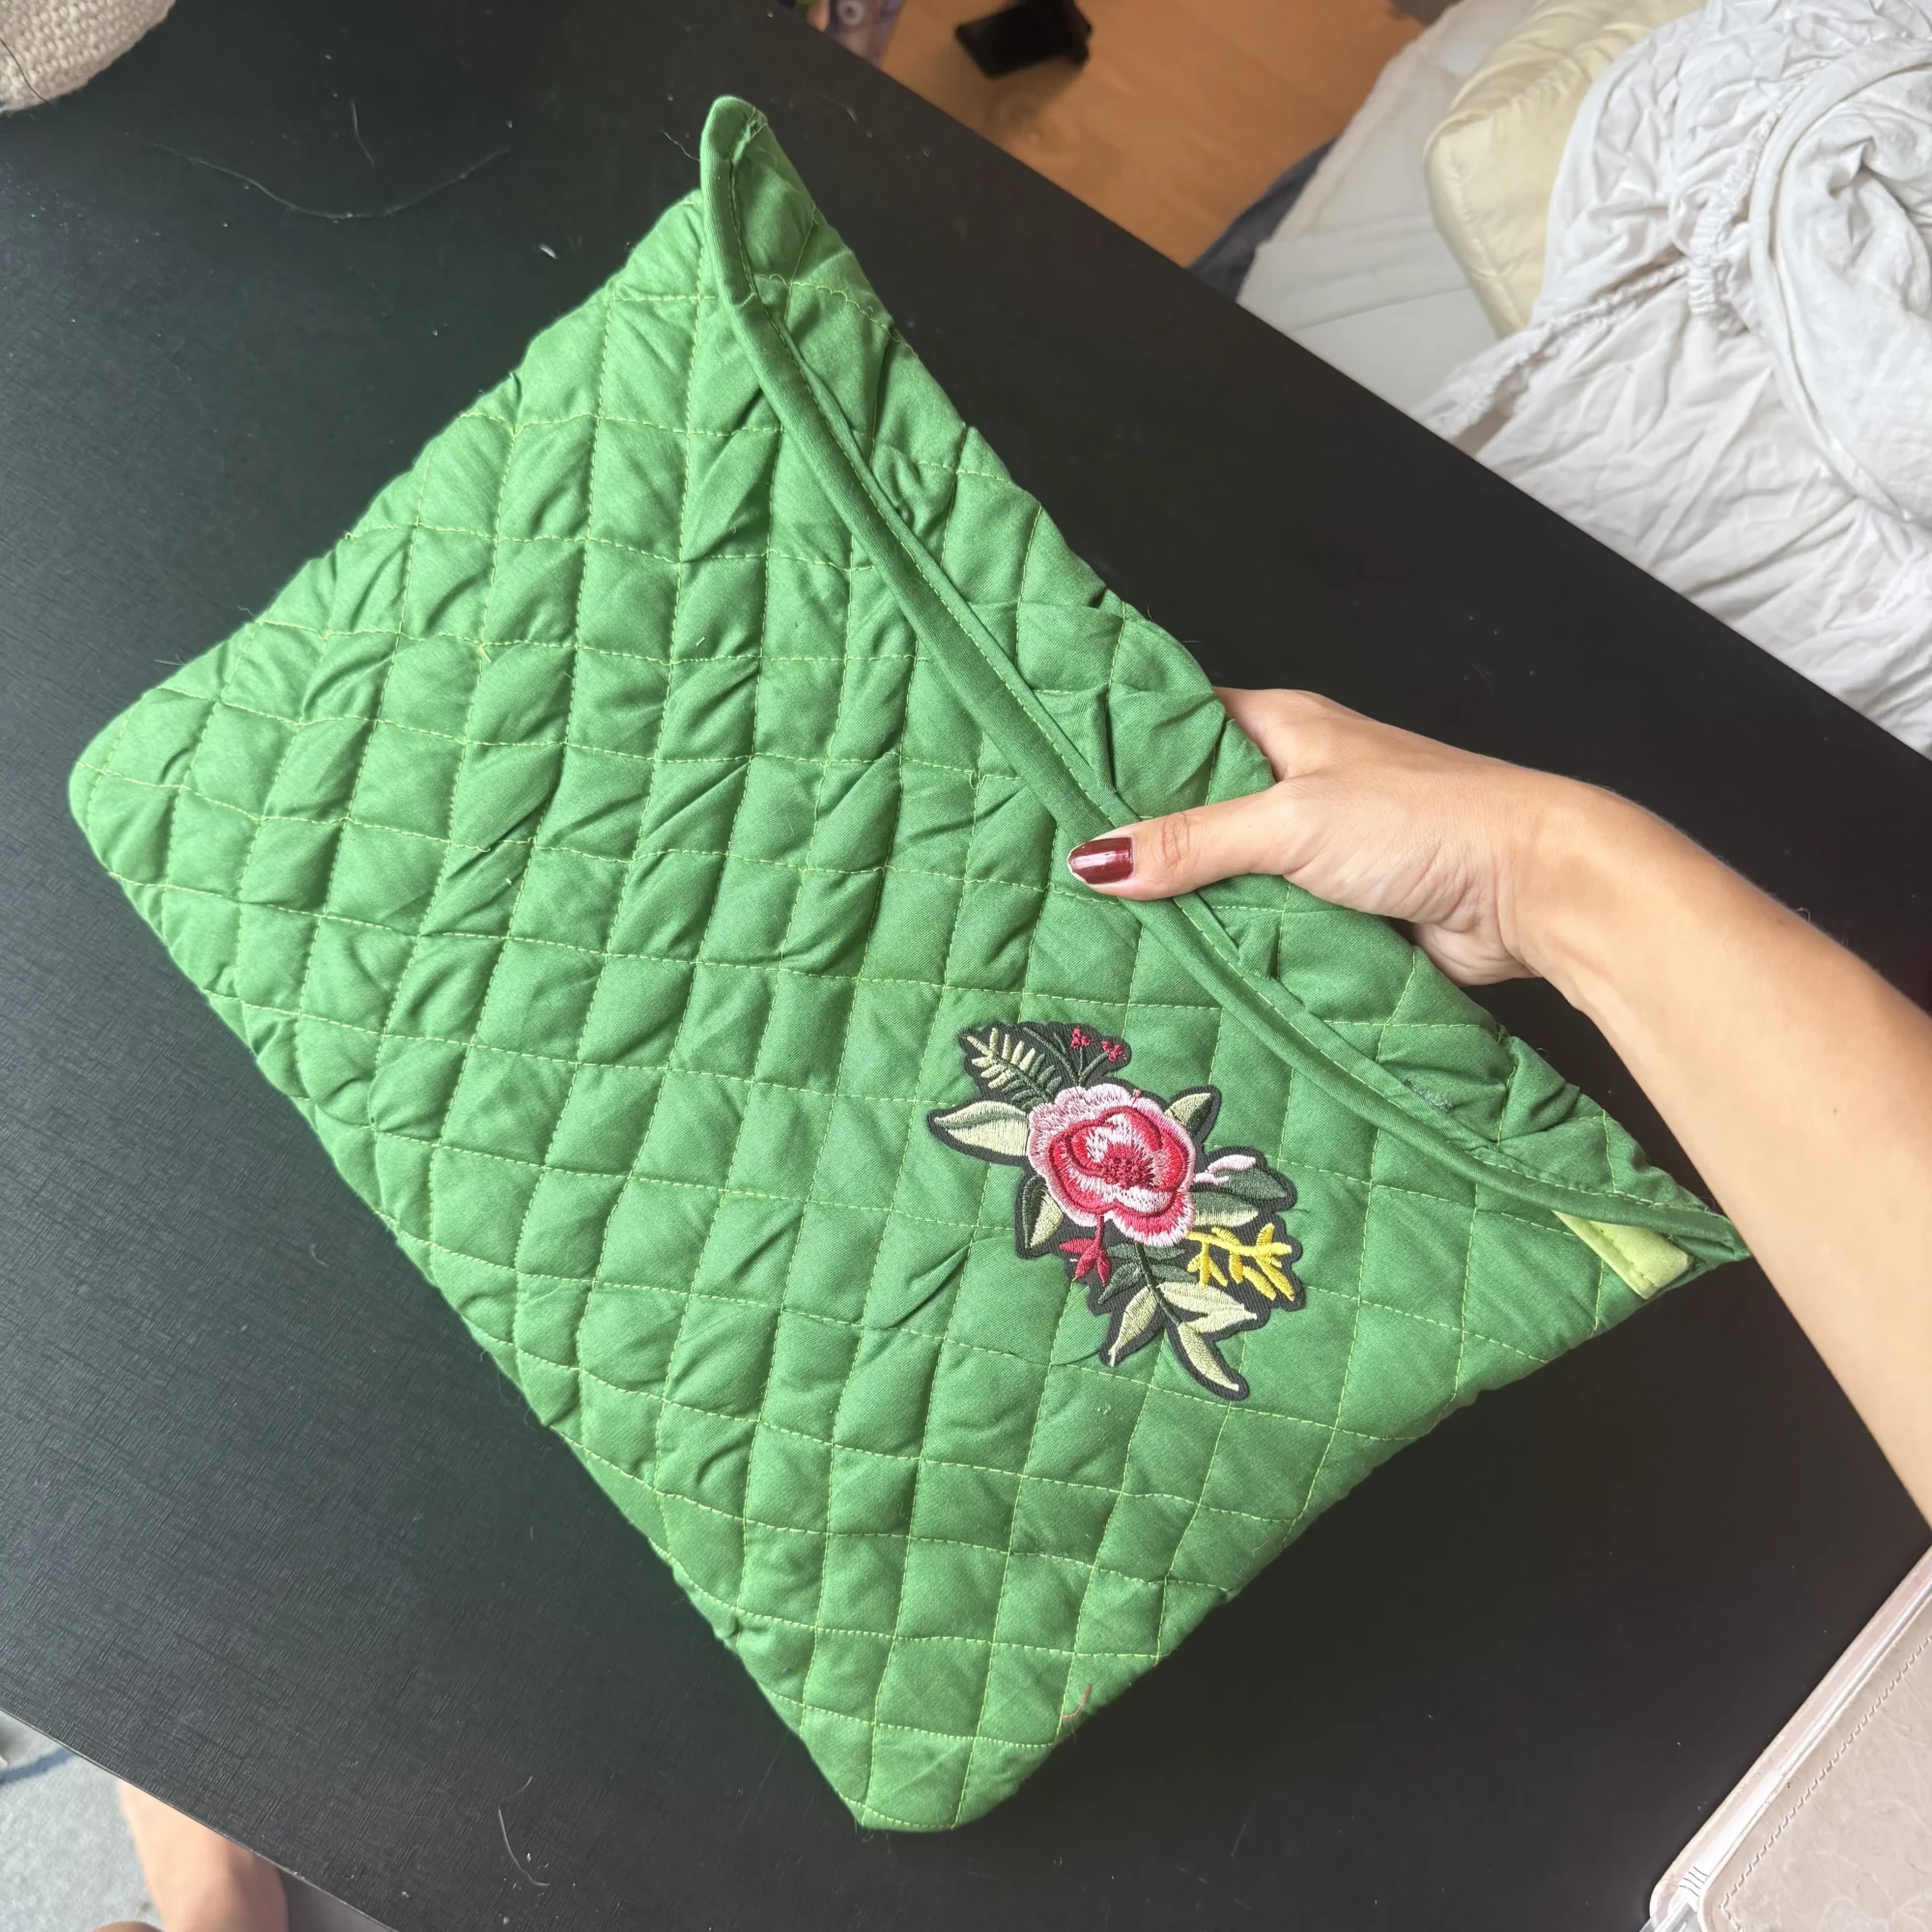
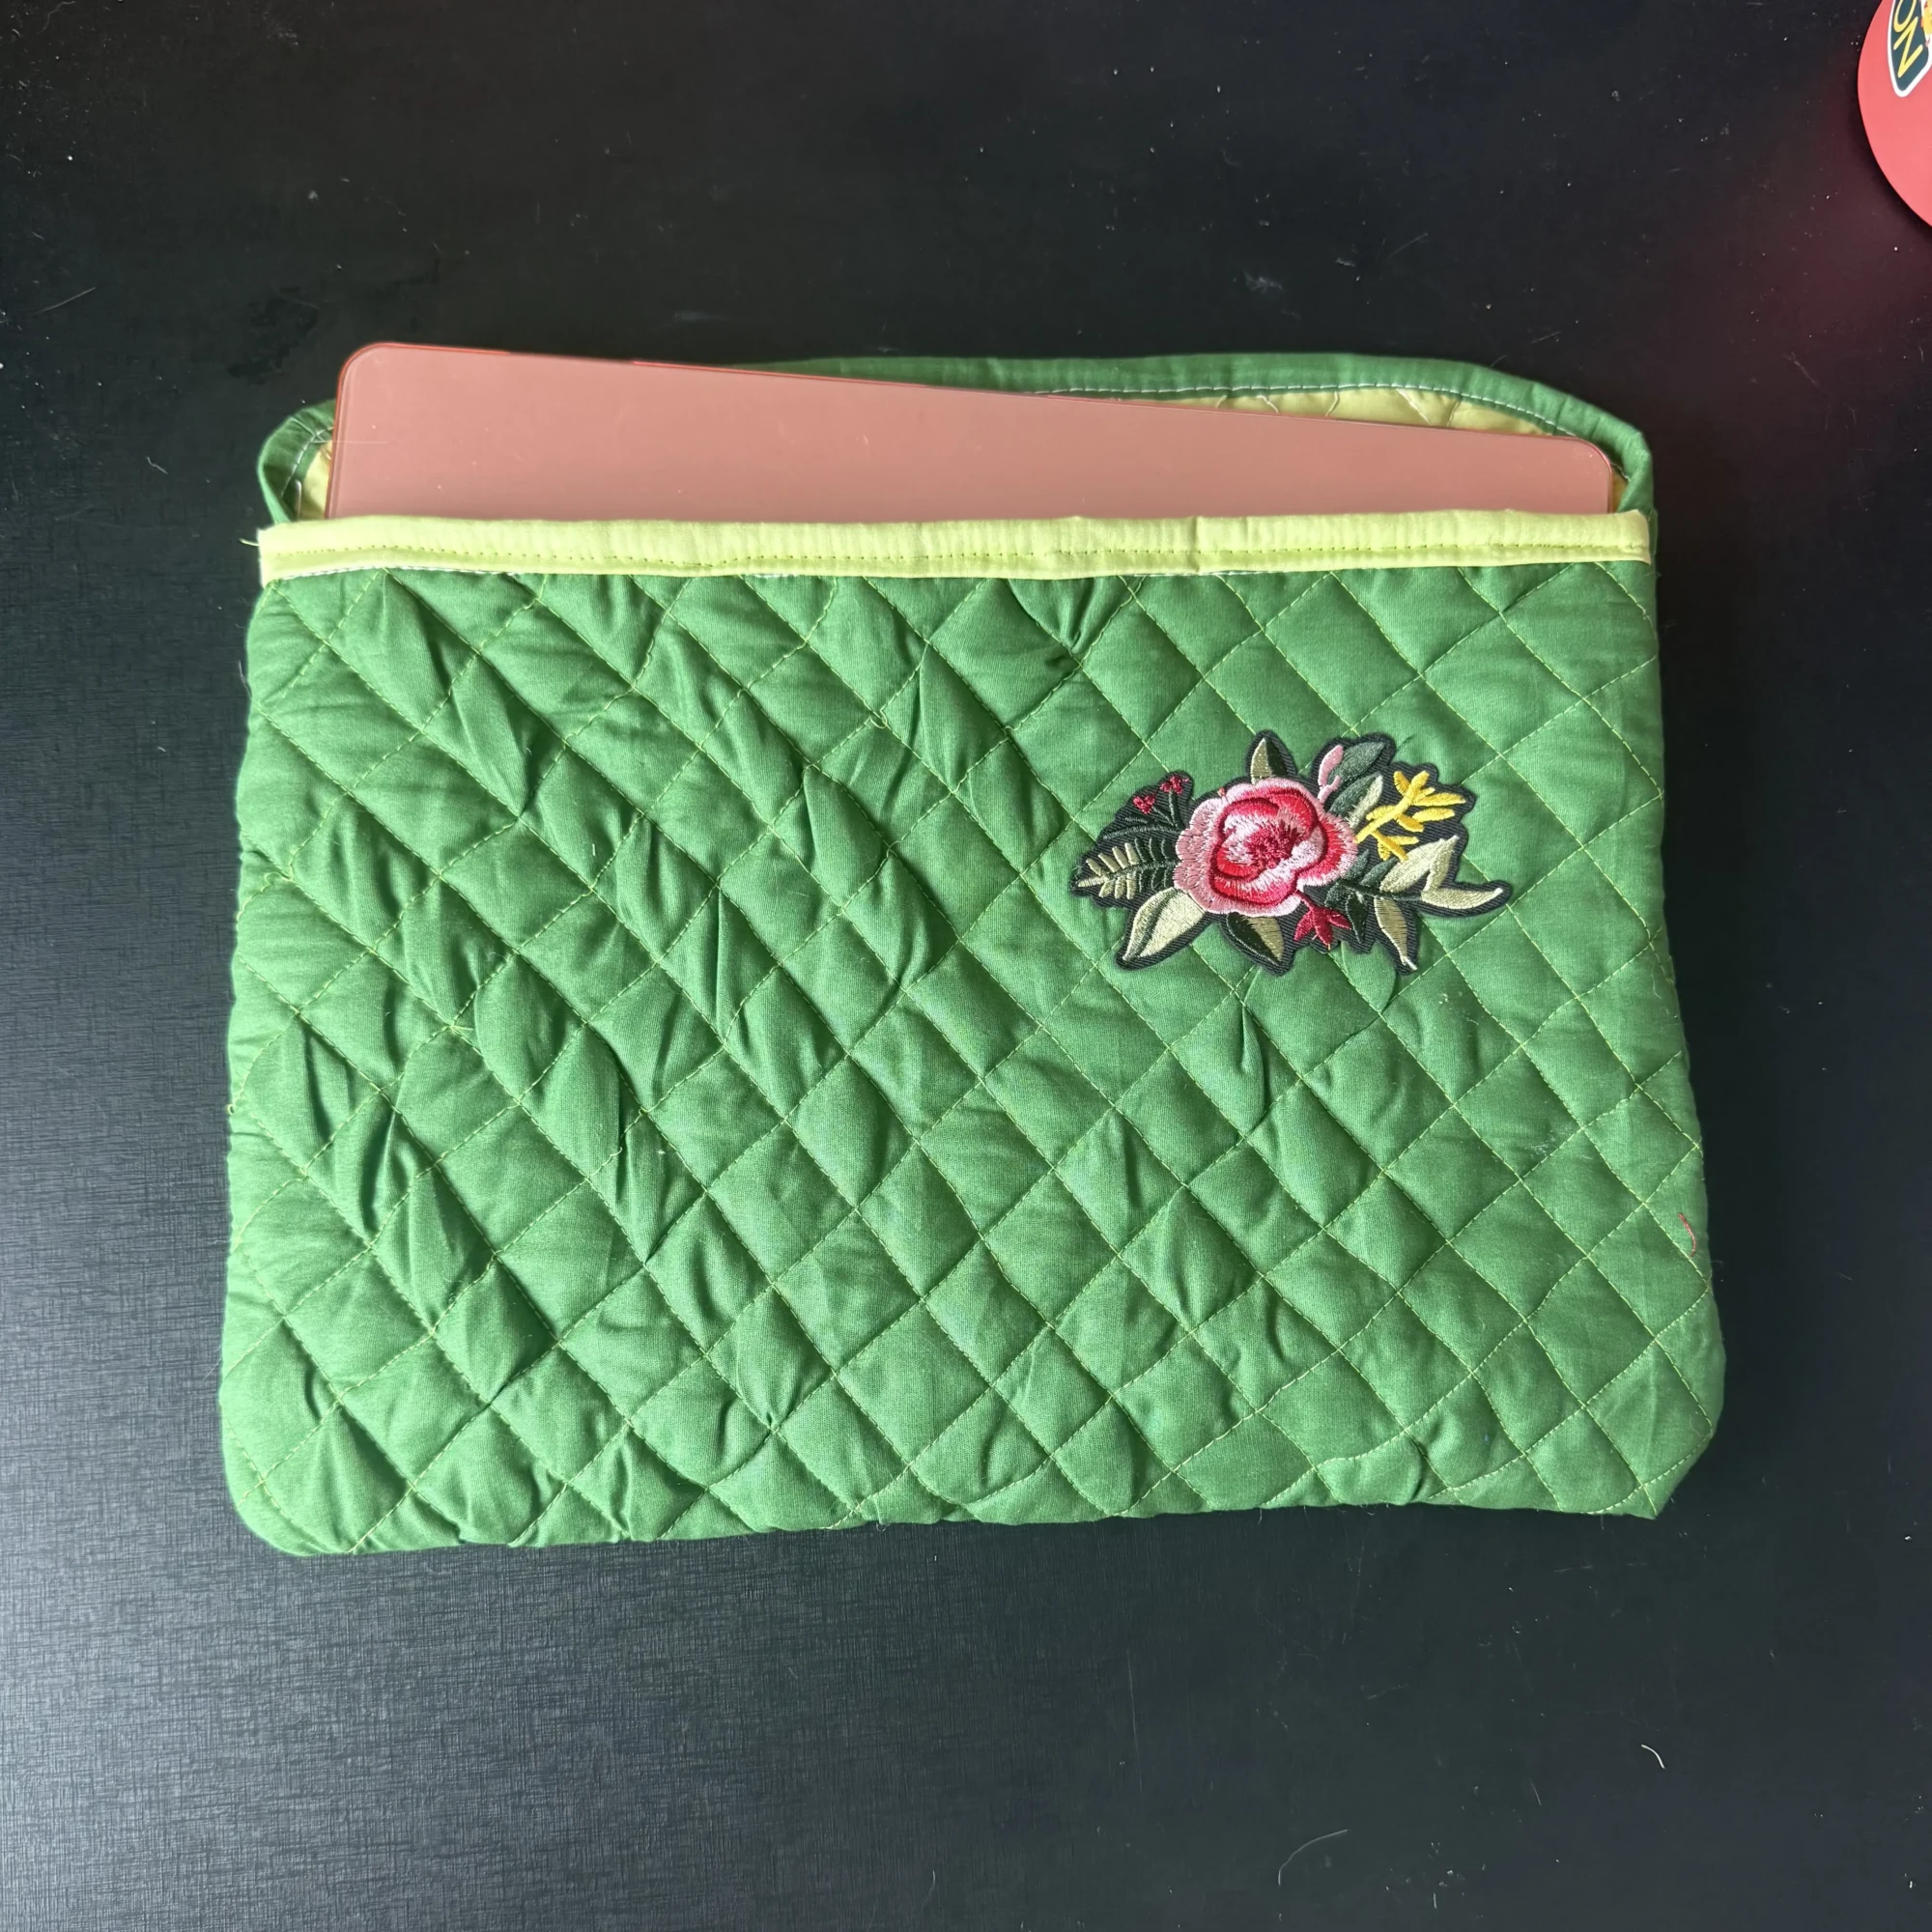
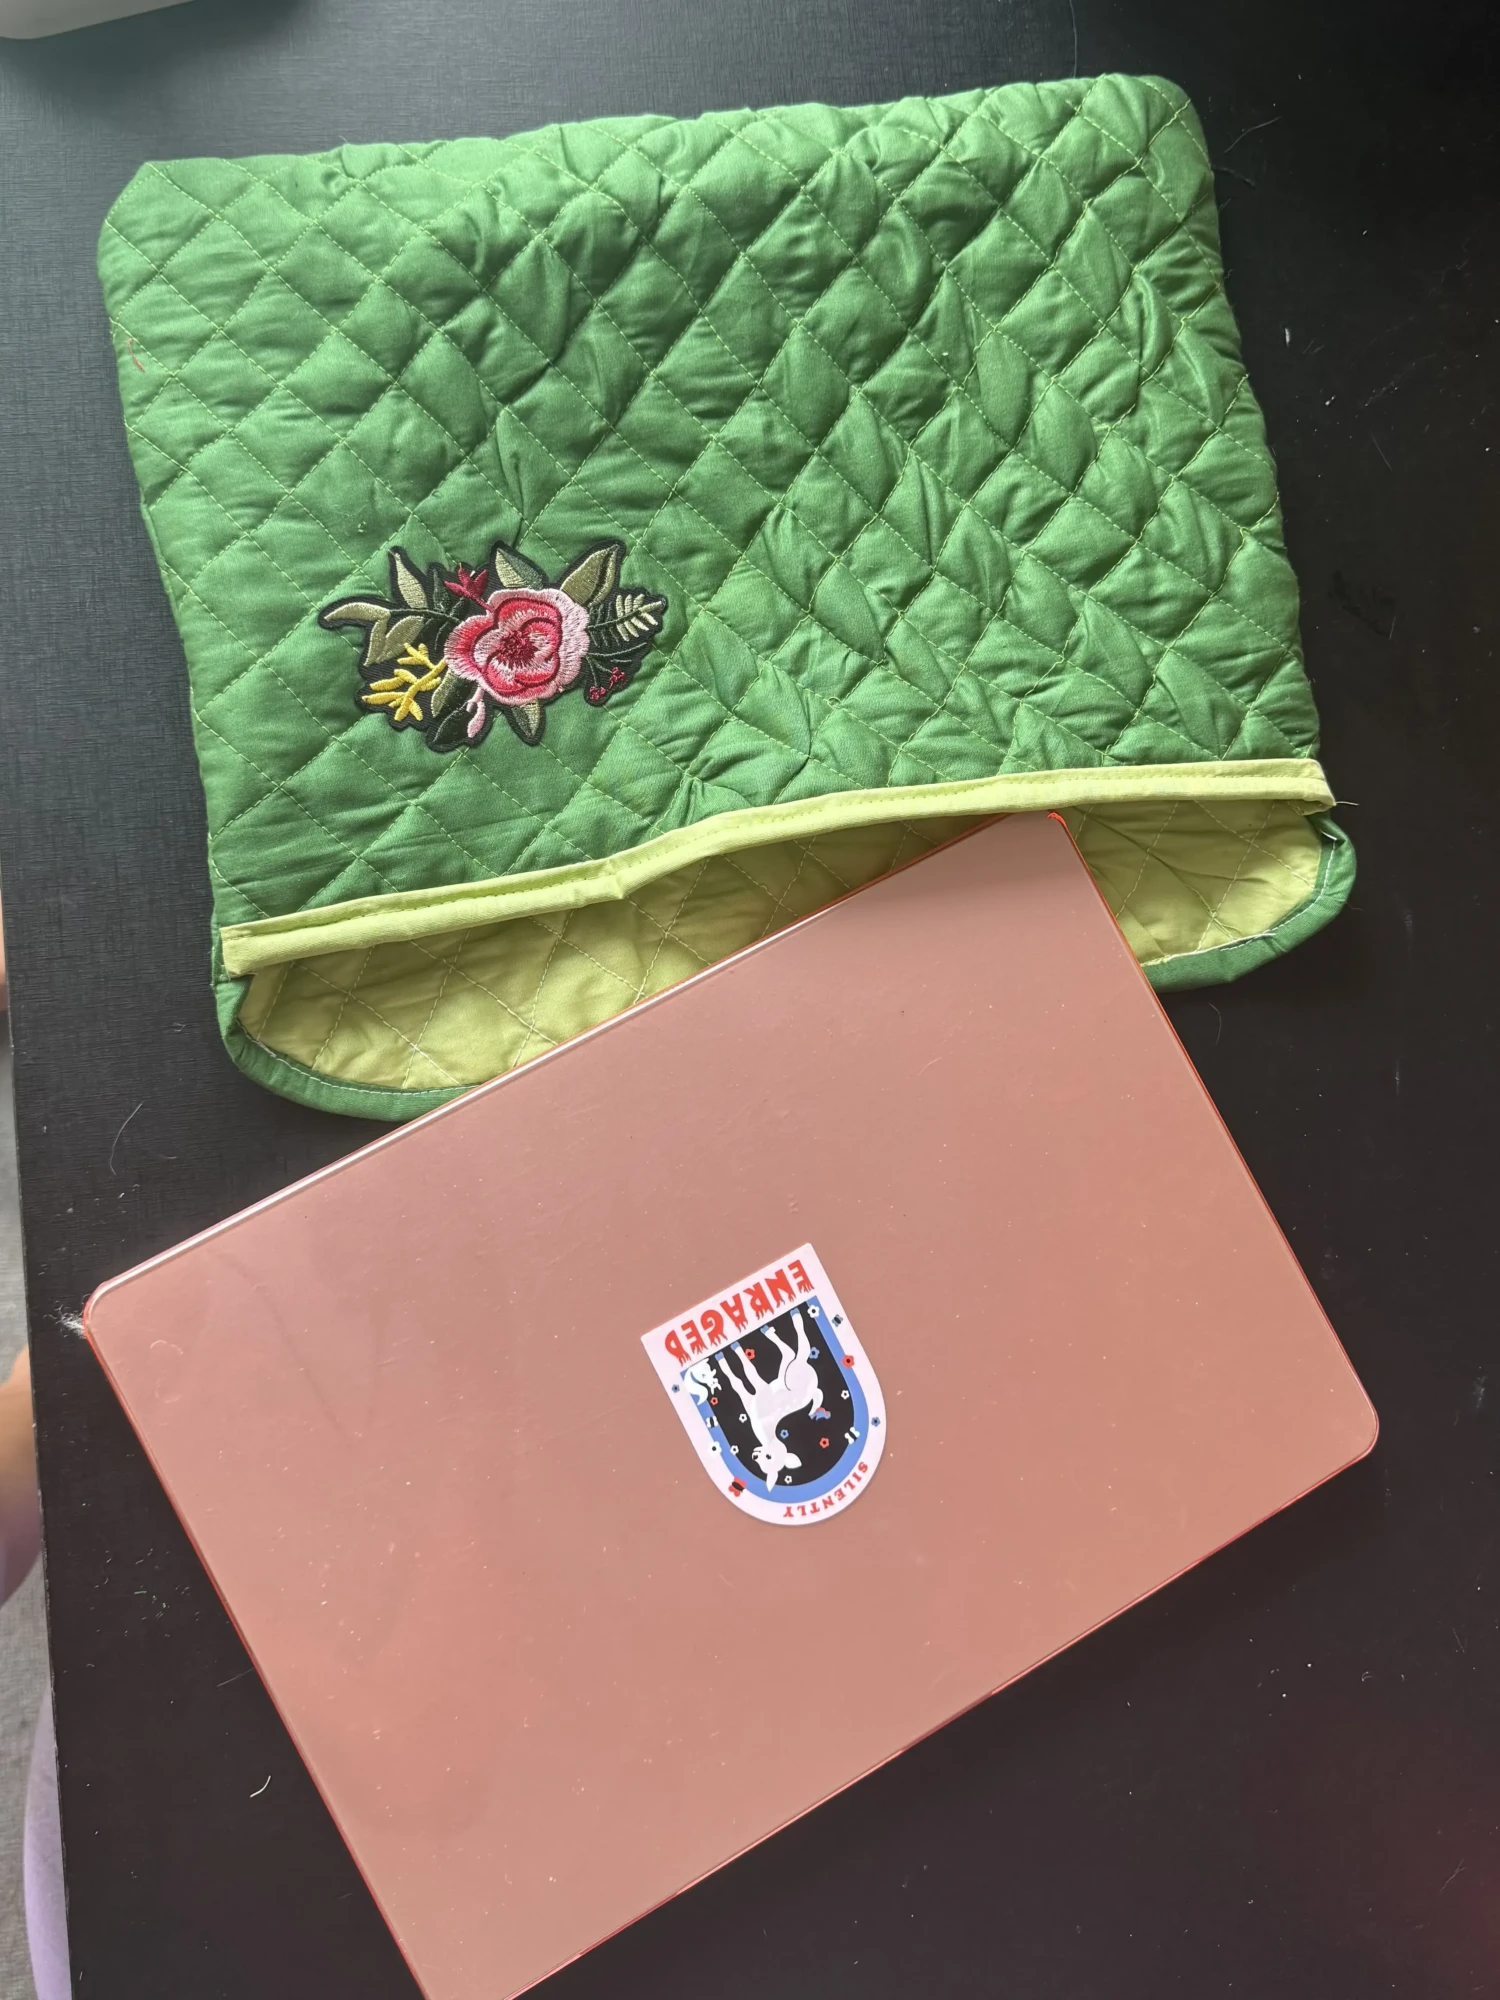
Another project I recently finished—and wanted to share with you—is a new laptop case I made for myself. A few years ago, I quickly put one together for my old computer using whatever materials I had on hand. It’s functional (it even has a zipper and felt lining), but let’s be honest… it’s not the cutest. These days, it’s mostly used by my partner anyway, so I took the opportunity to make something new—this time matching my current laptop.
The goal was to work with what I already had. I was inspired by those fluffy, quilted cases that look like cozy jackets—you know?. I was also recently gifted a sewing basics book from a friend, which includes a chapter on quilting. Between that and a few online resources, I learned the technique and decided to give it a try.
knew going in that this would be a bit of a challenge—my sewing machine isn’t the most powerful, and I didn’t have proper batting sheets, only loose polyfill. It definitely took patience (and a fair bit of finagling), but I’m really happy with how it turned out—imperfections and all.
Here’s how I made it:
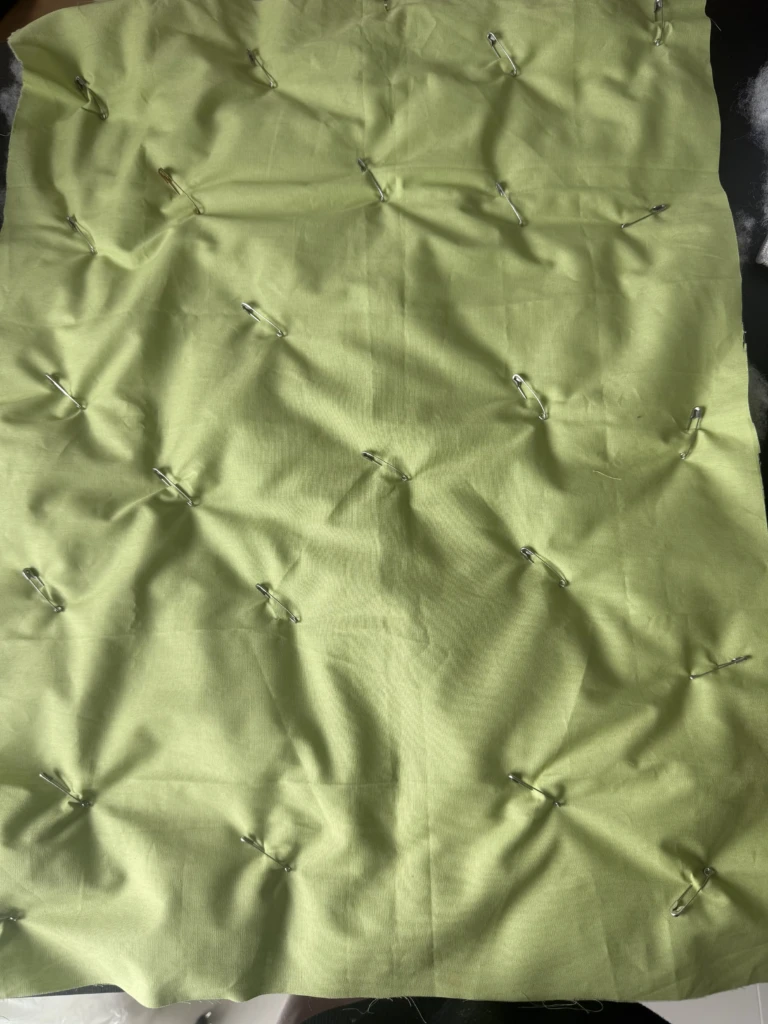
Step 1 — Preparing the layers
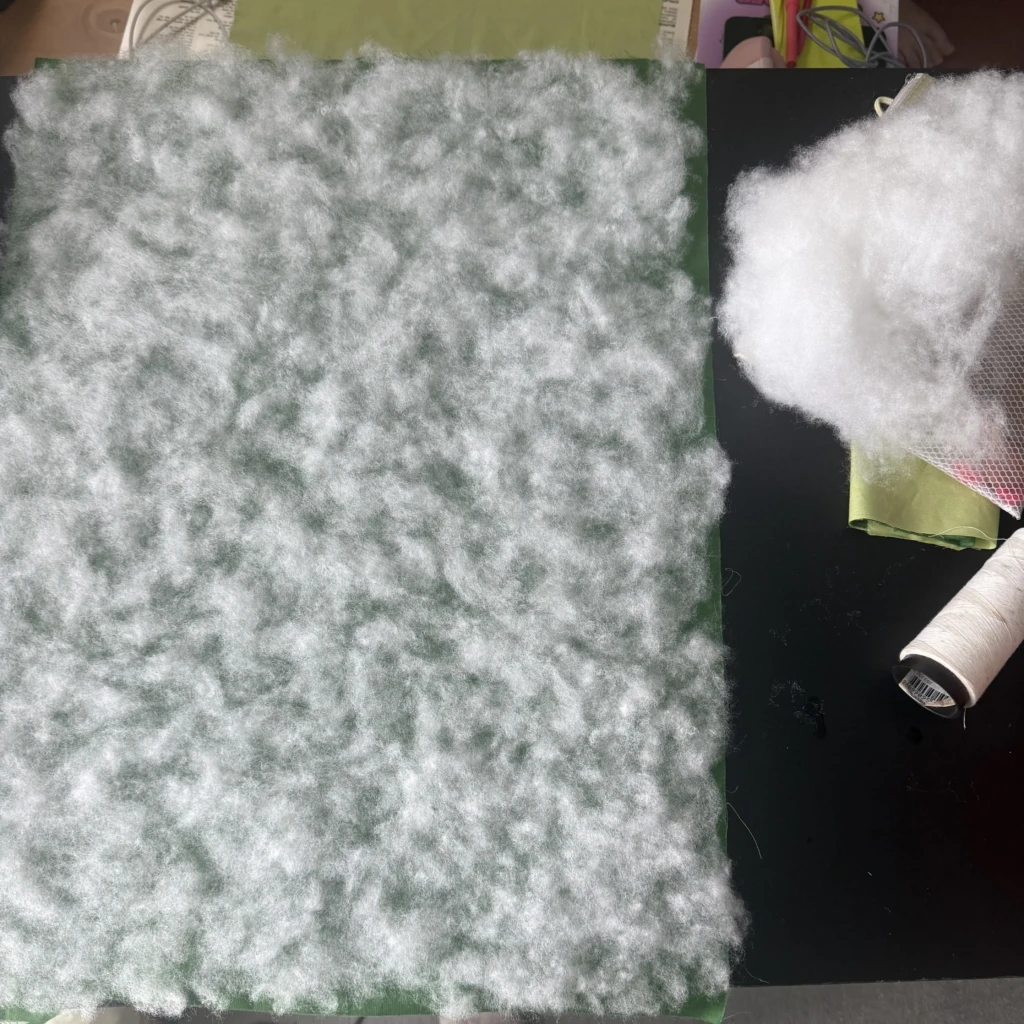
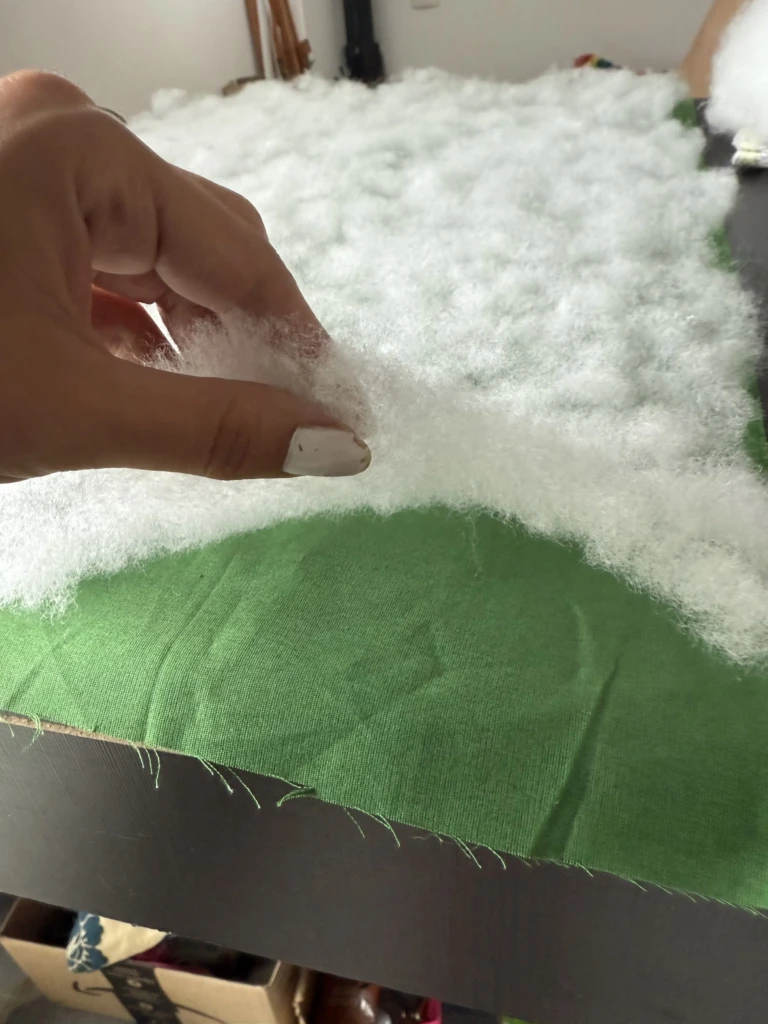
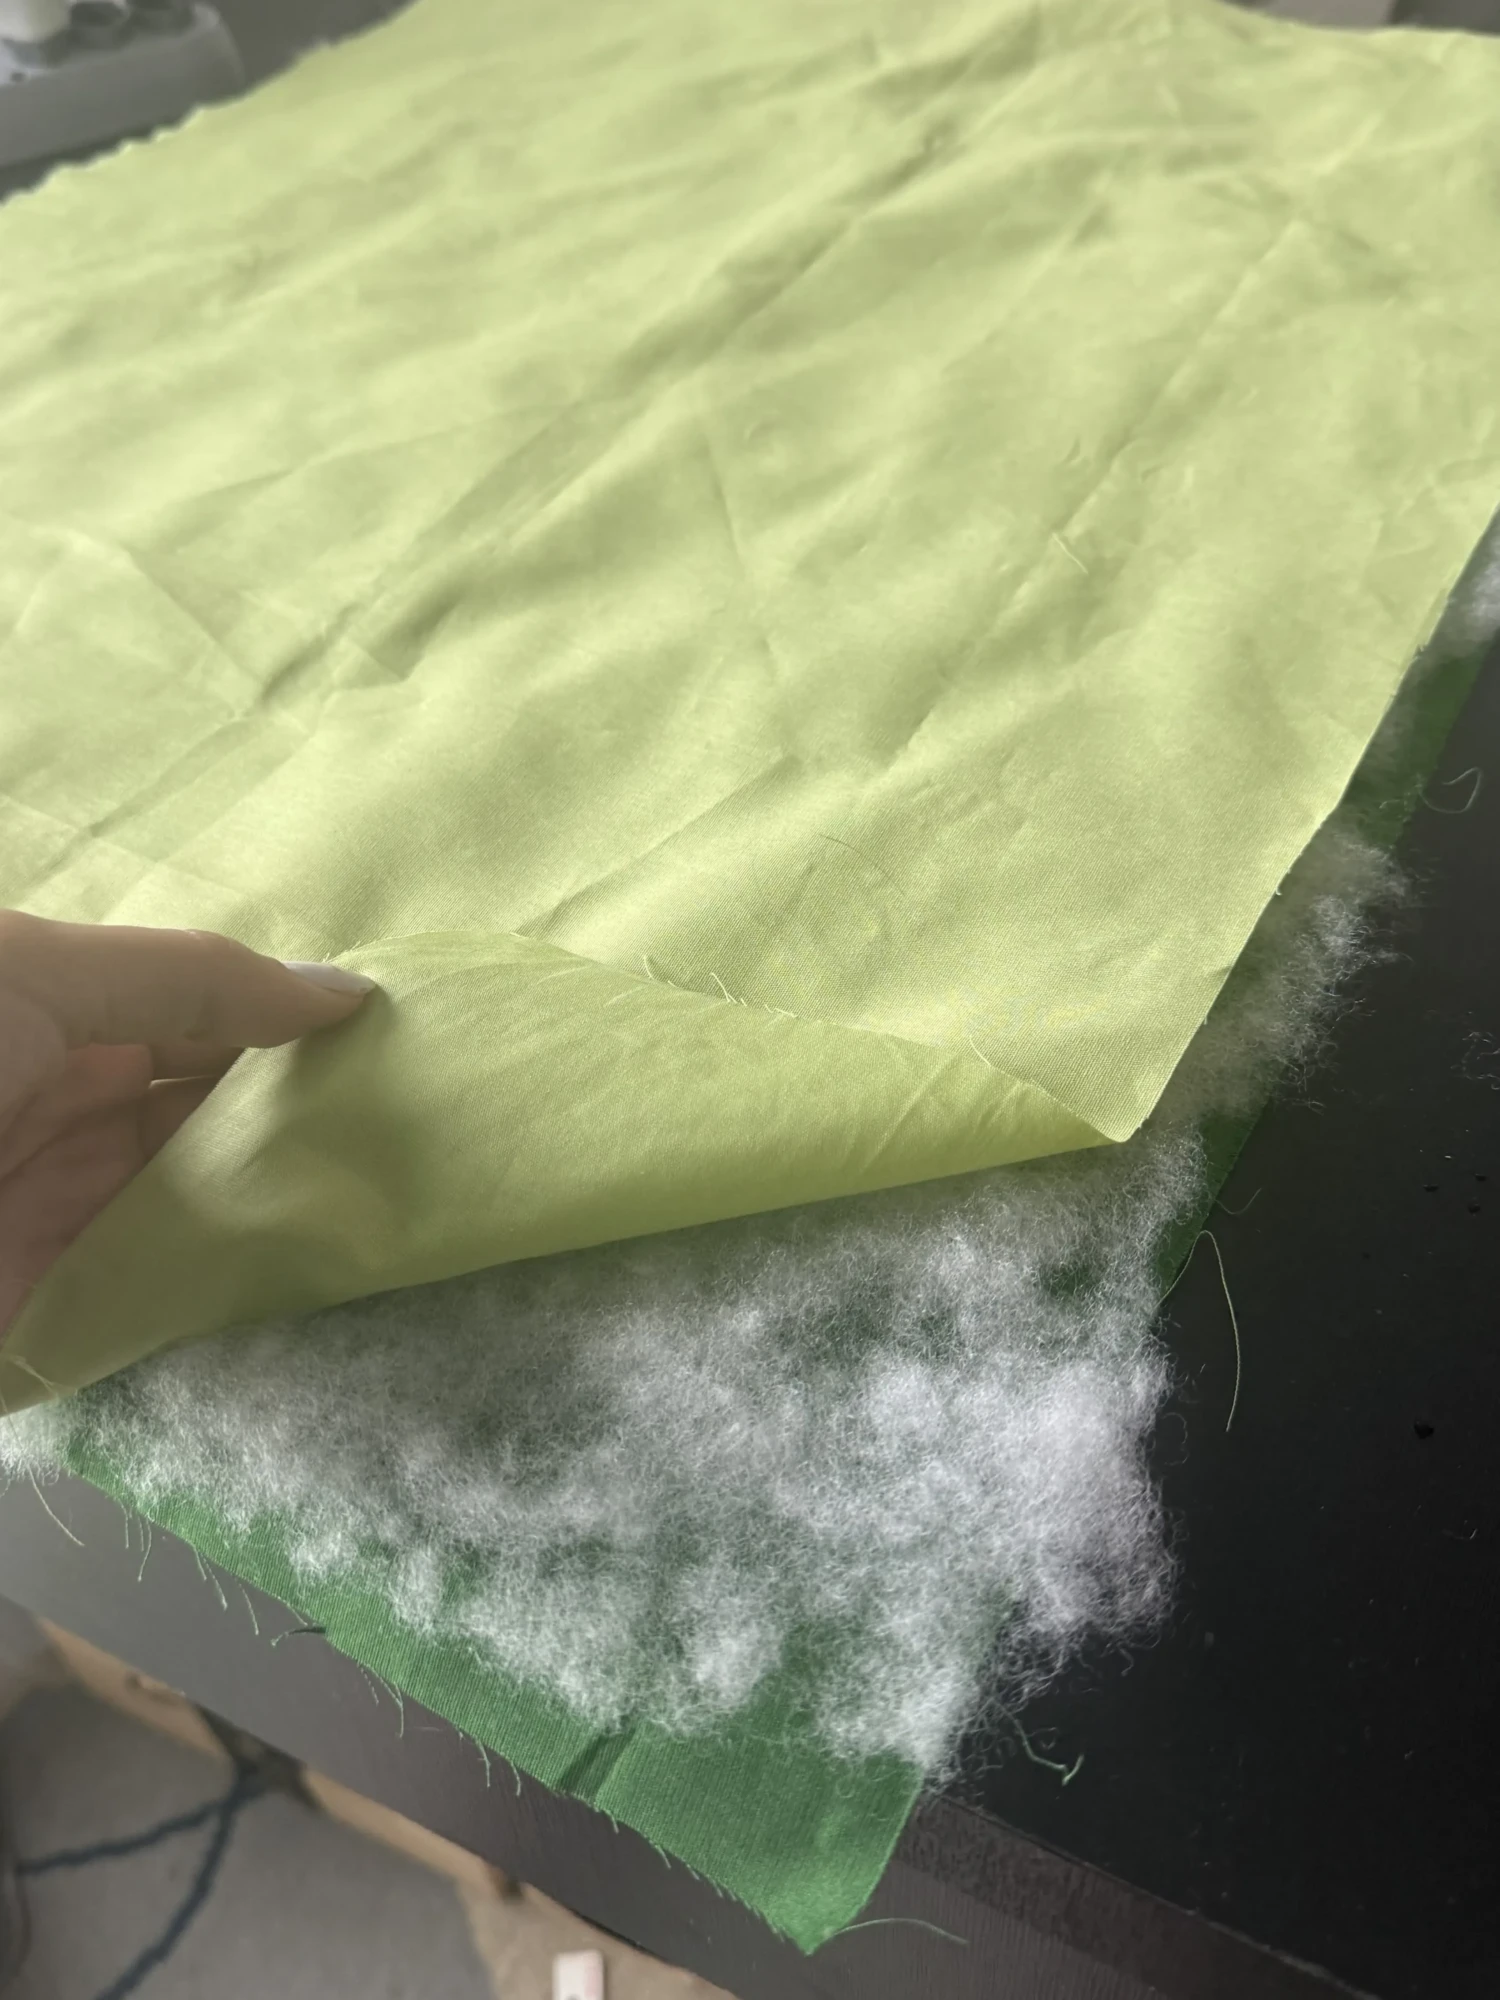
I cut the outer and inner fabrics, then created an even layer of polyfill in between them. Once everything was aligned, I pinned the sandwich together using safety pins to keep it from shifting while sewing.
Step 2 — Quilting + edge finishing
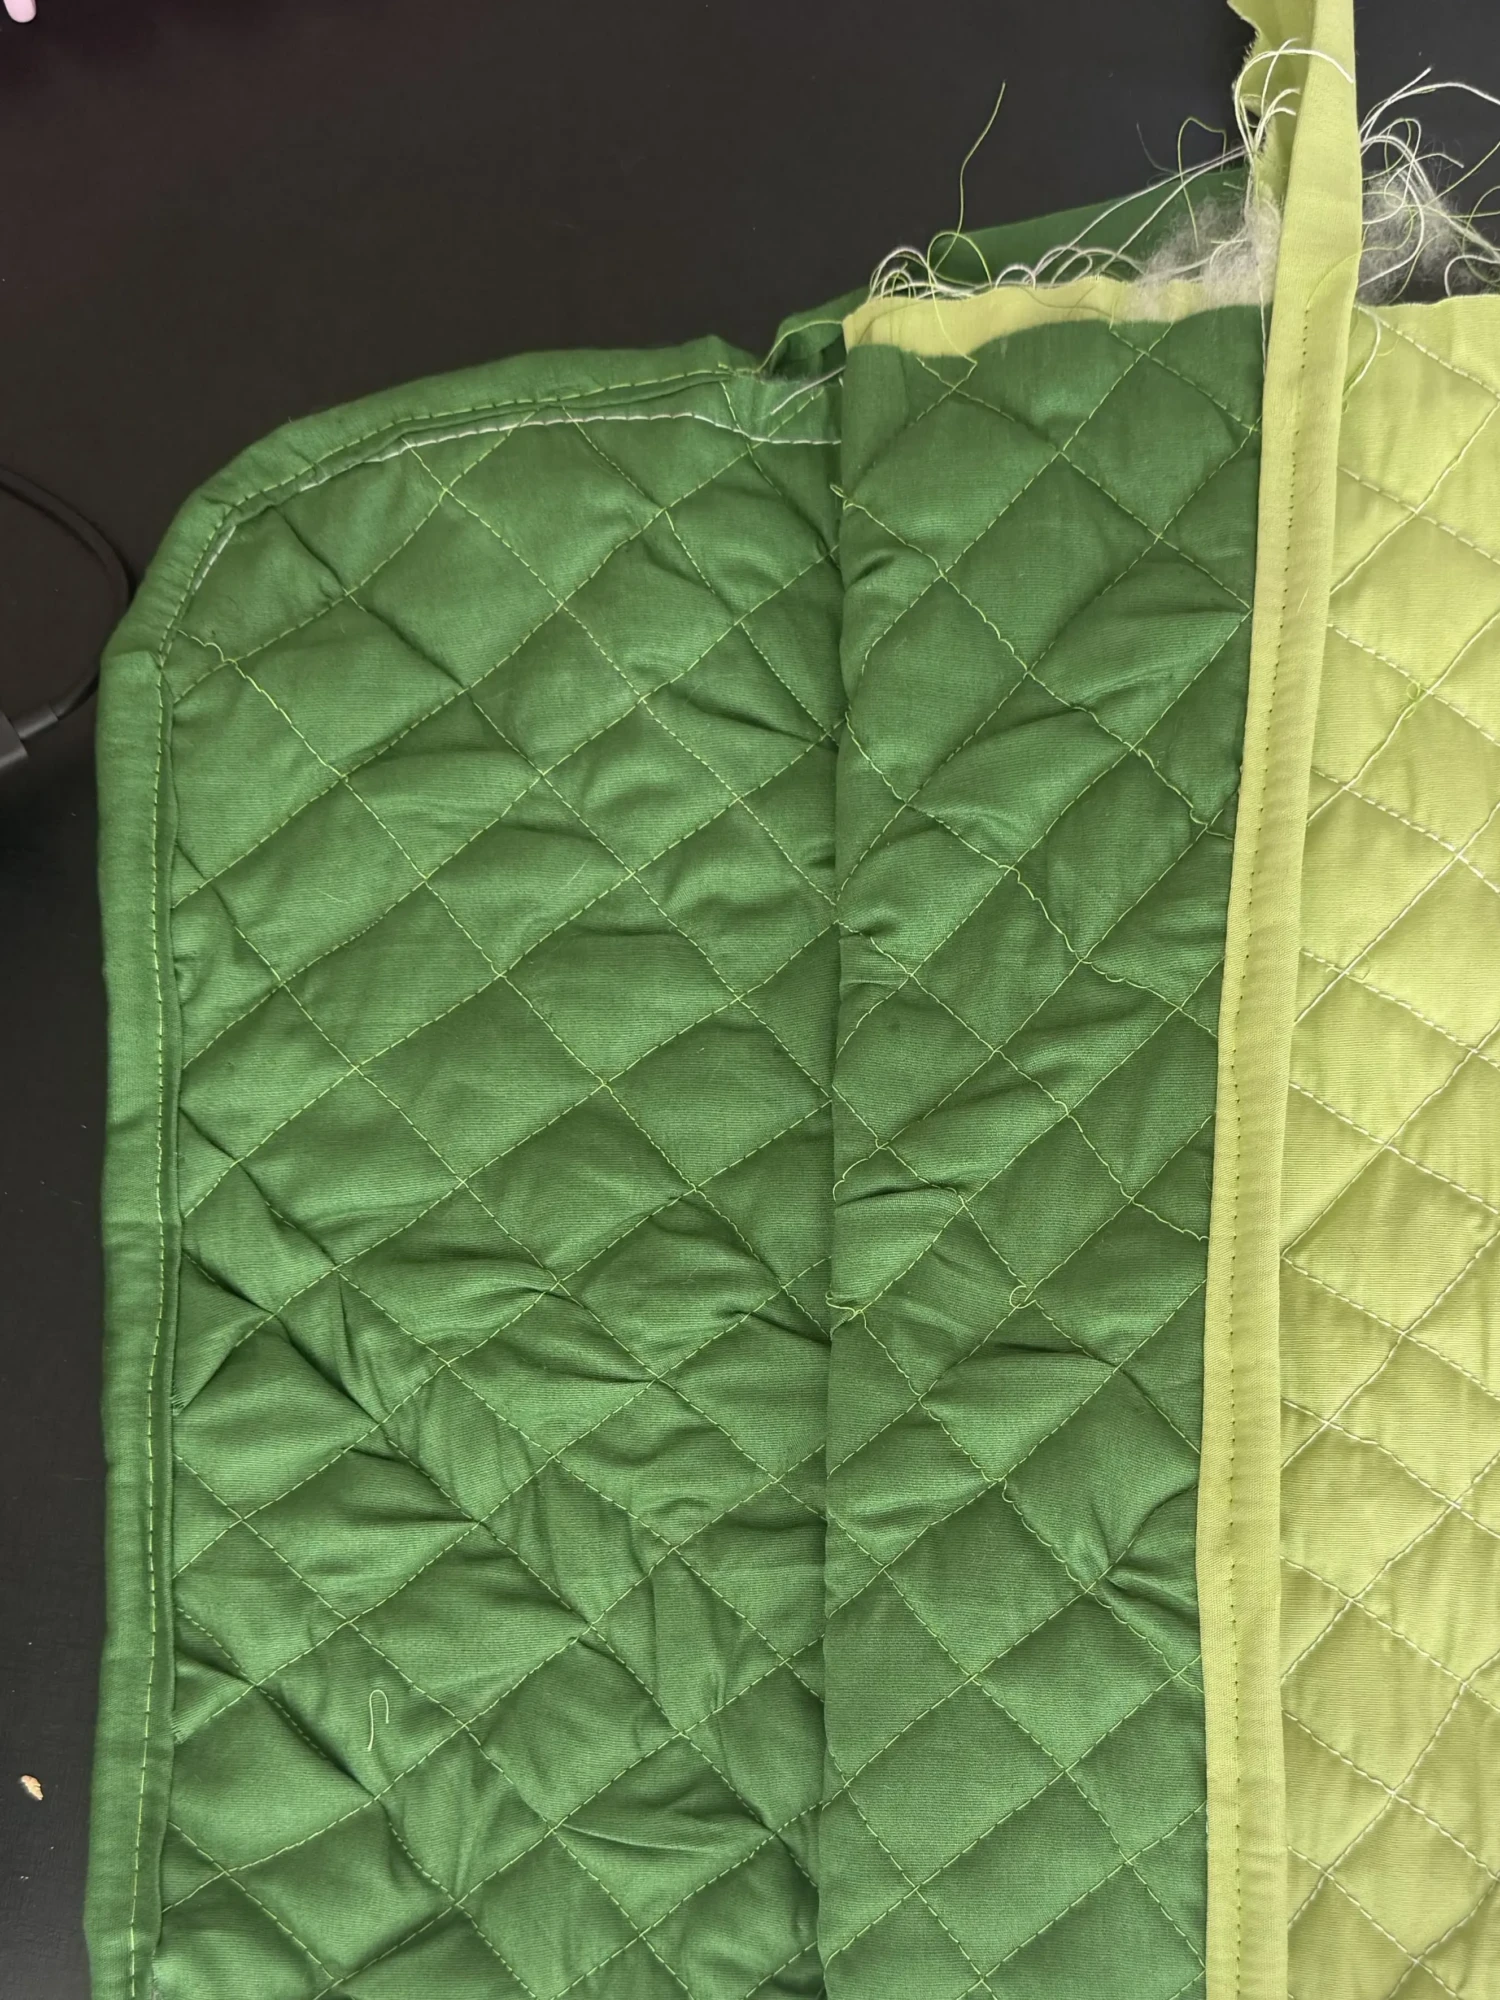
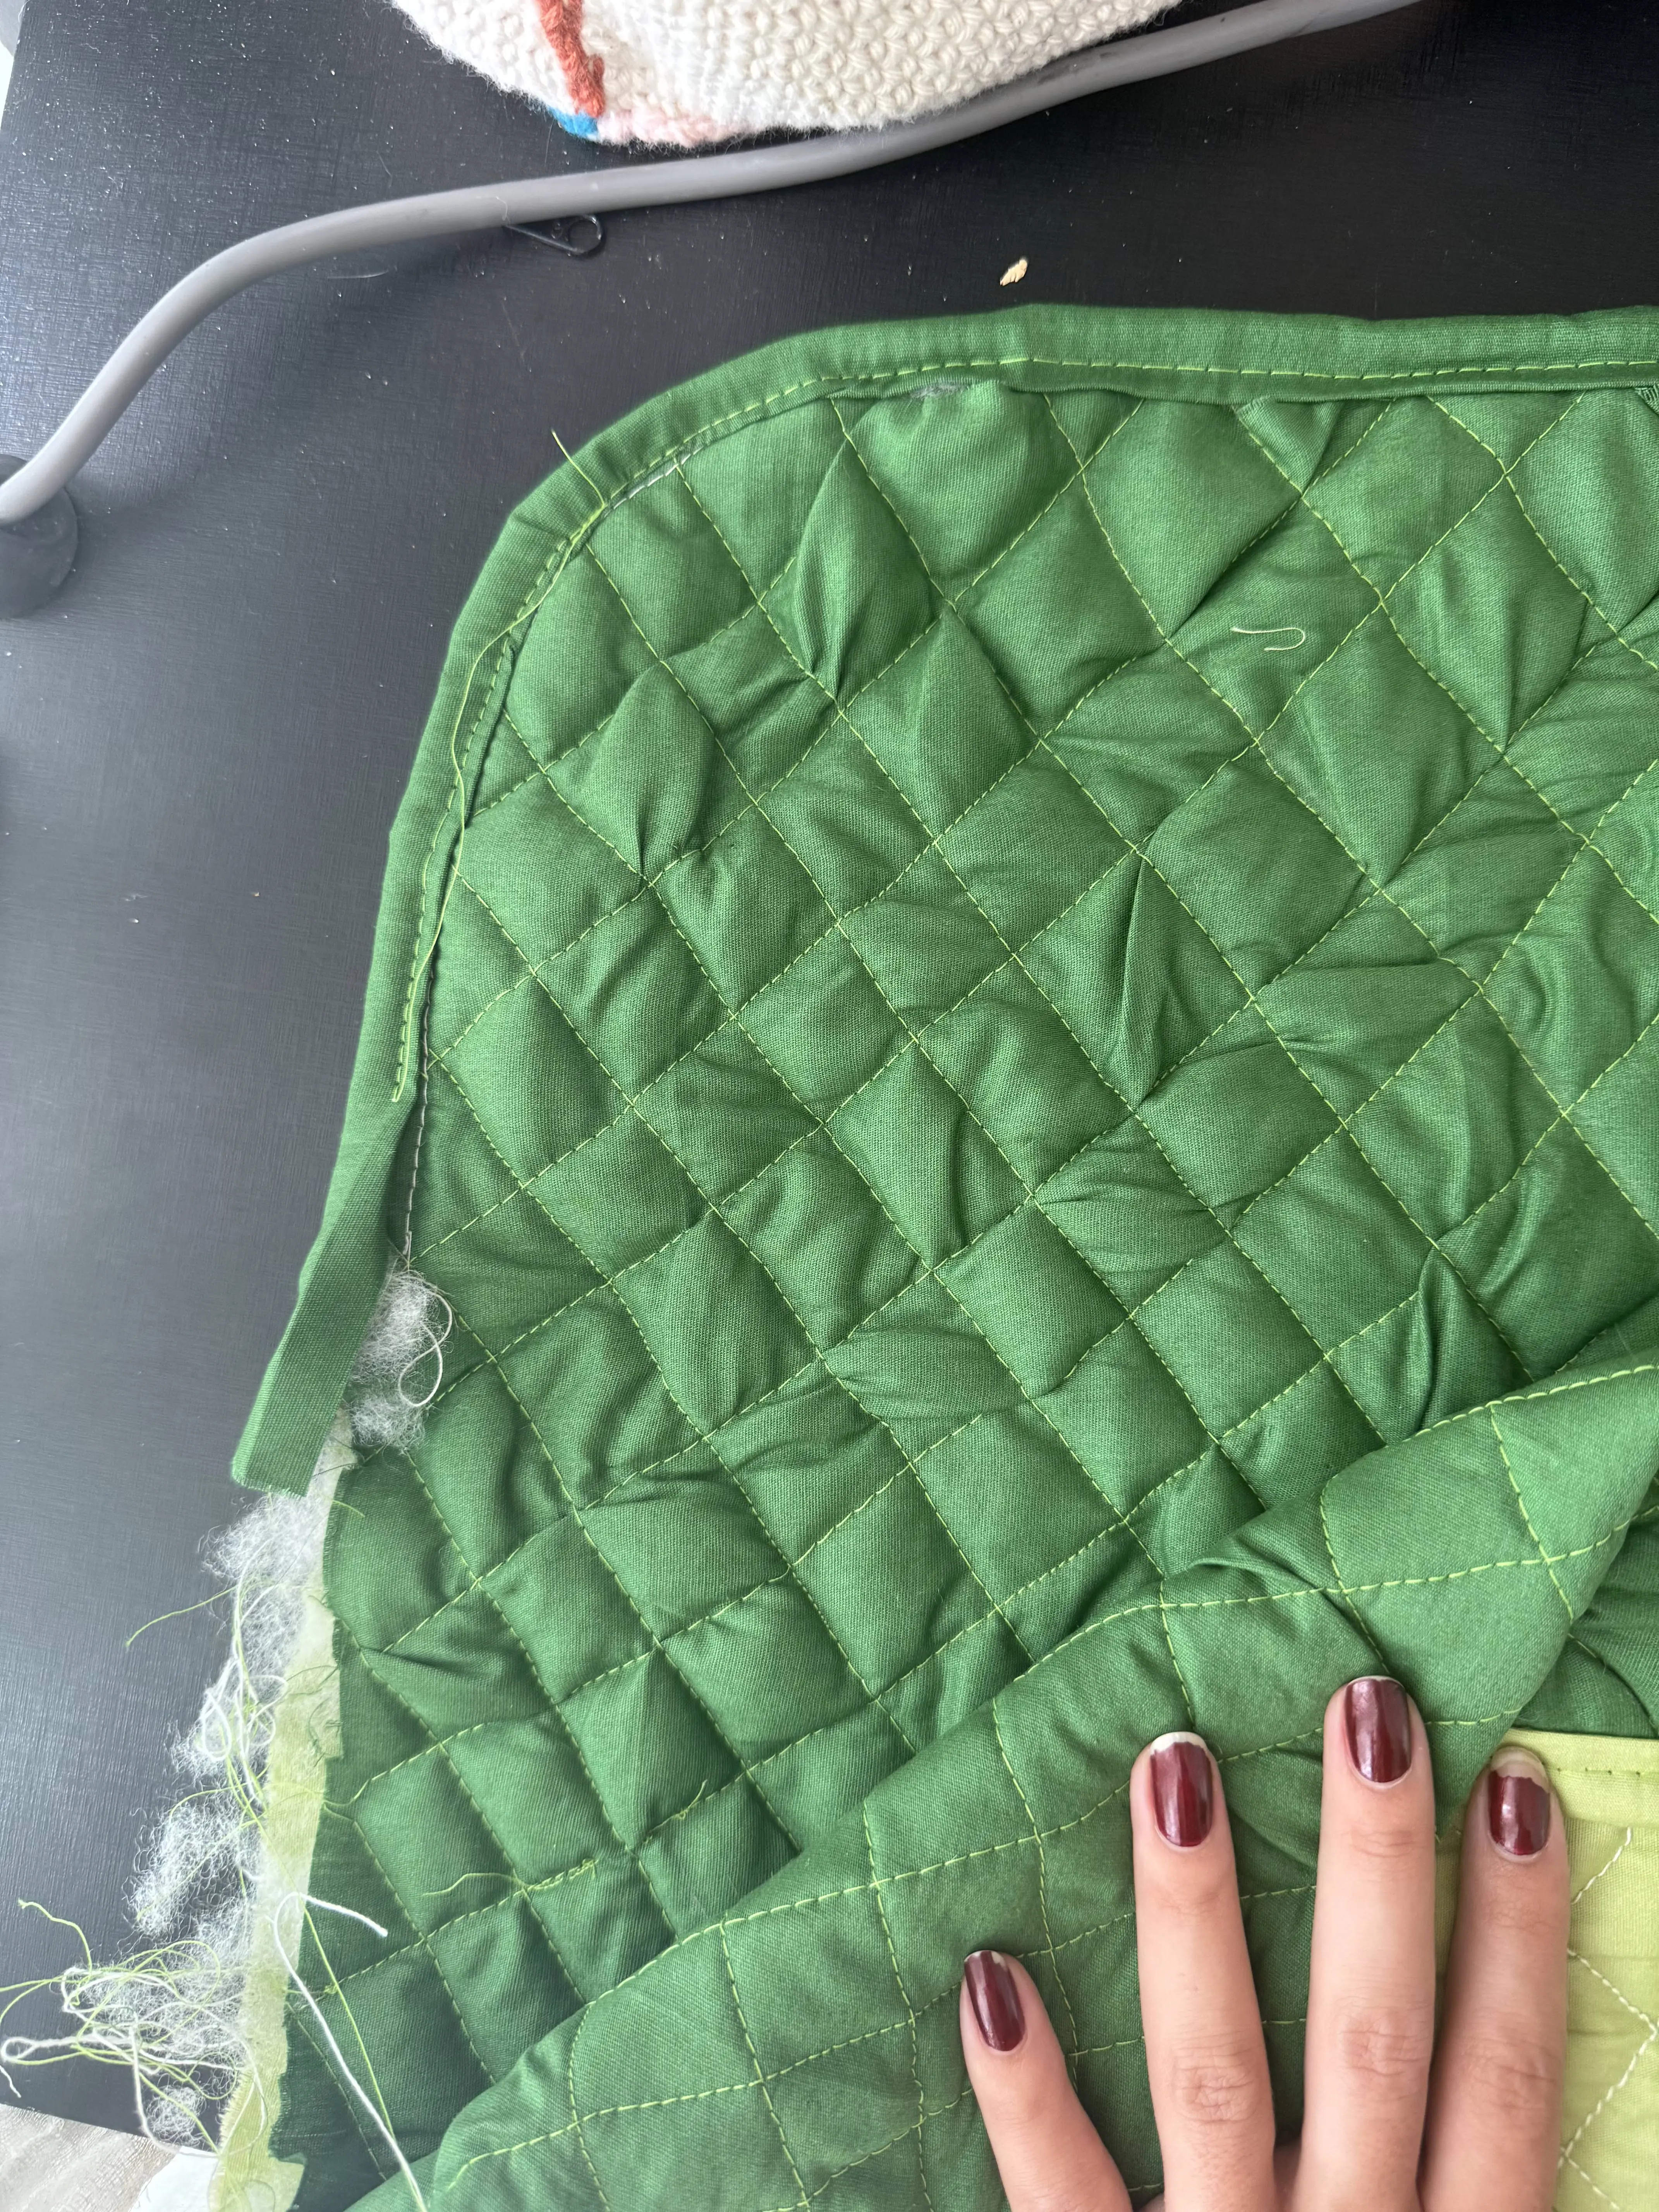
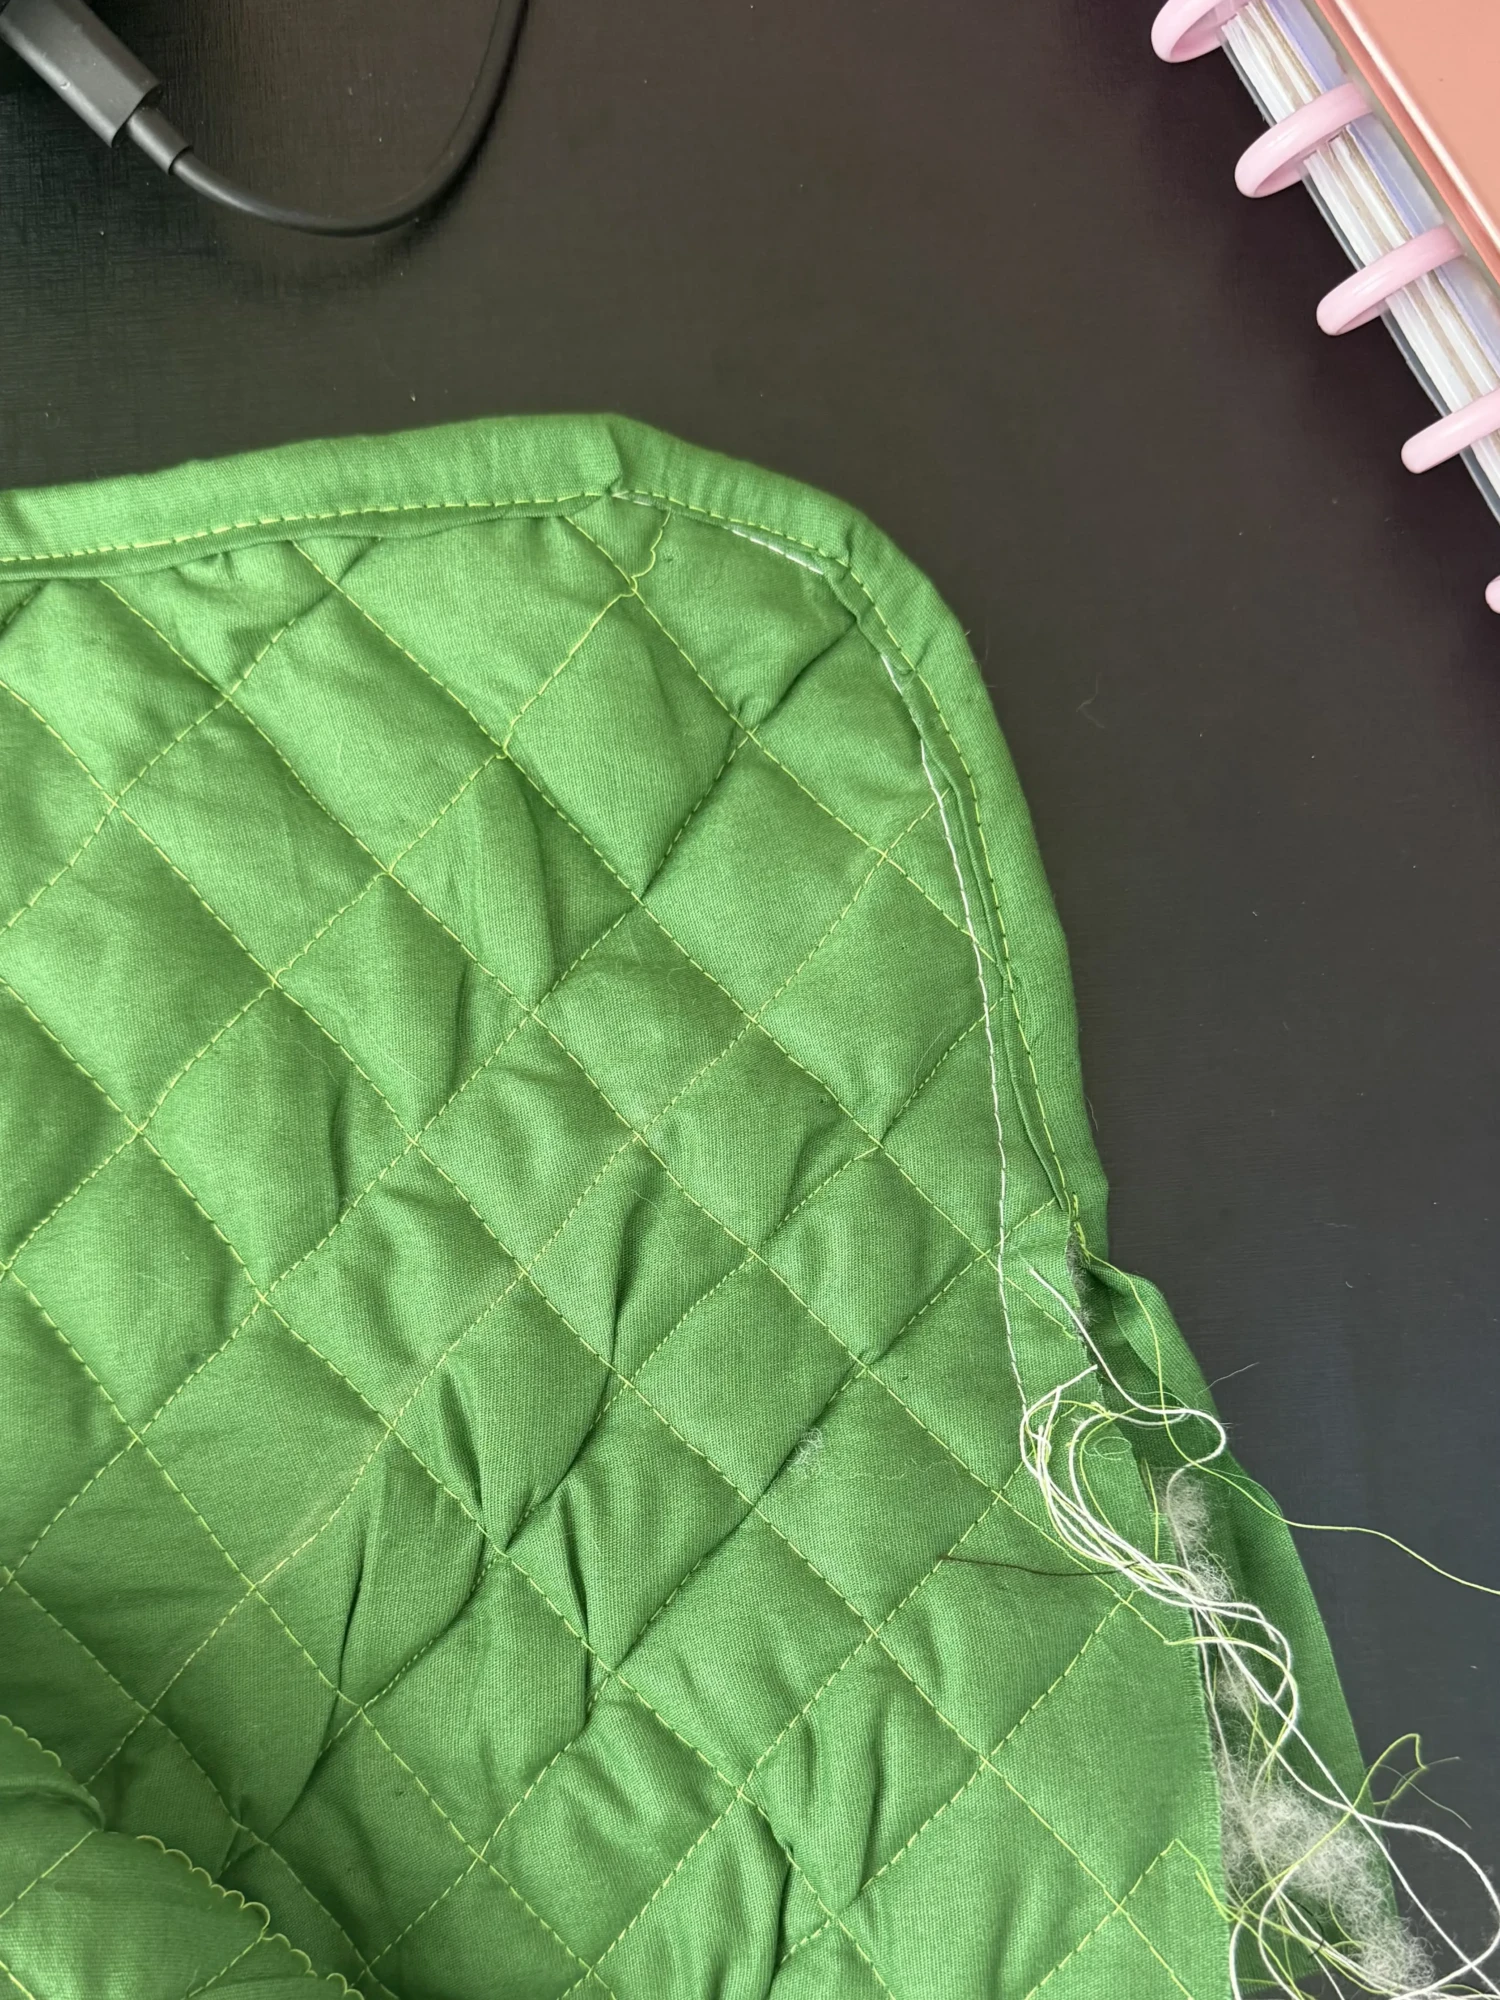
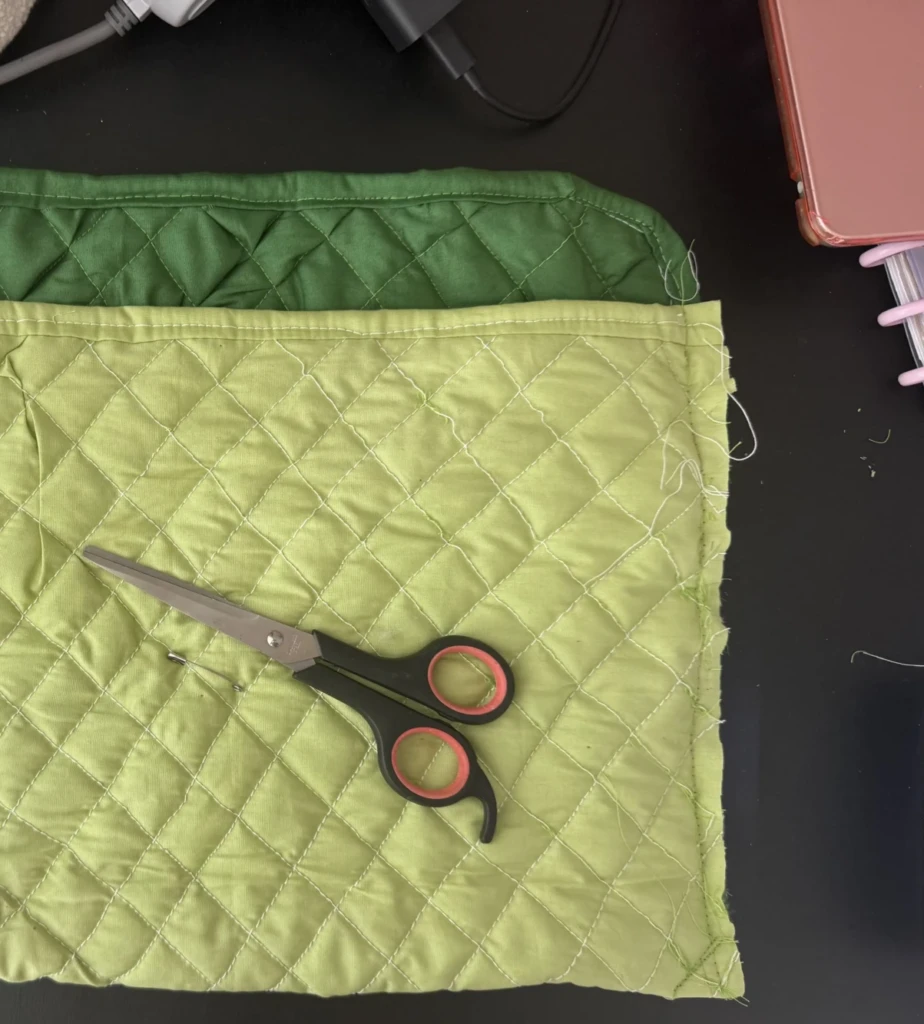
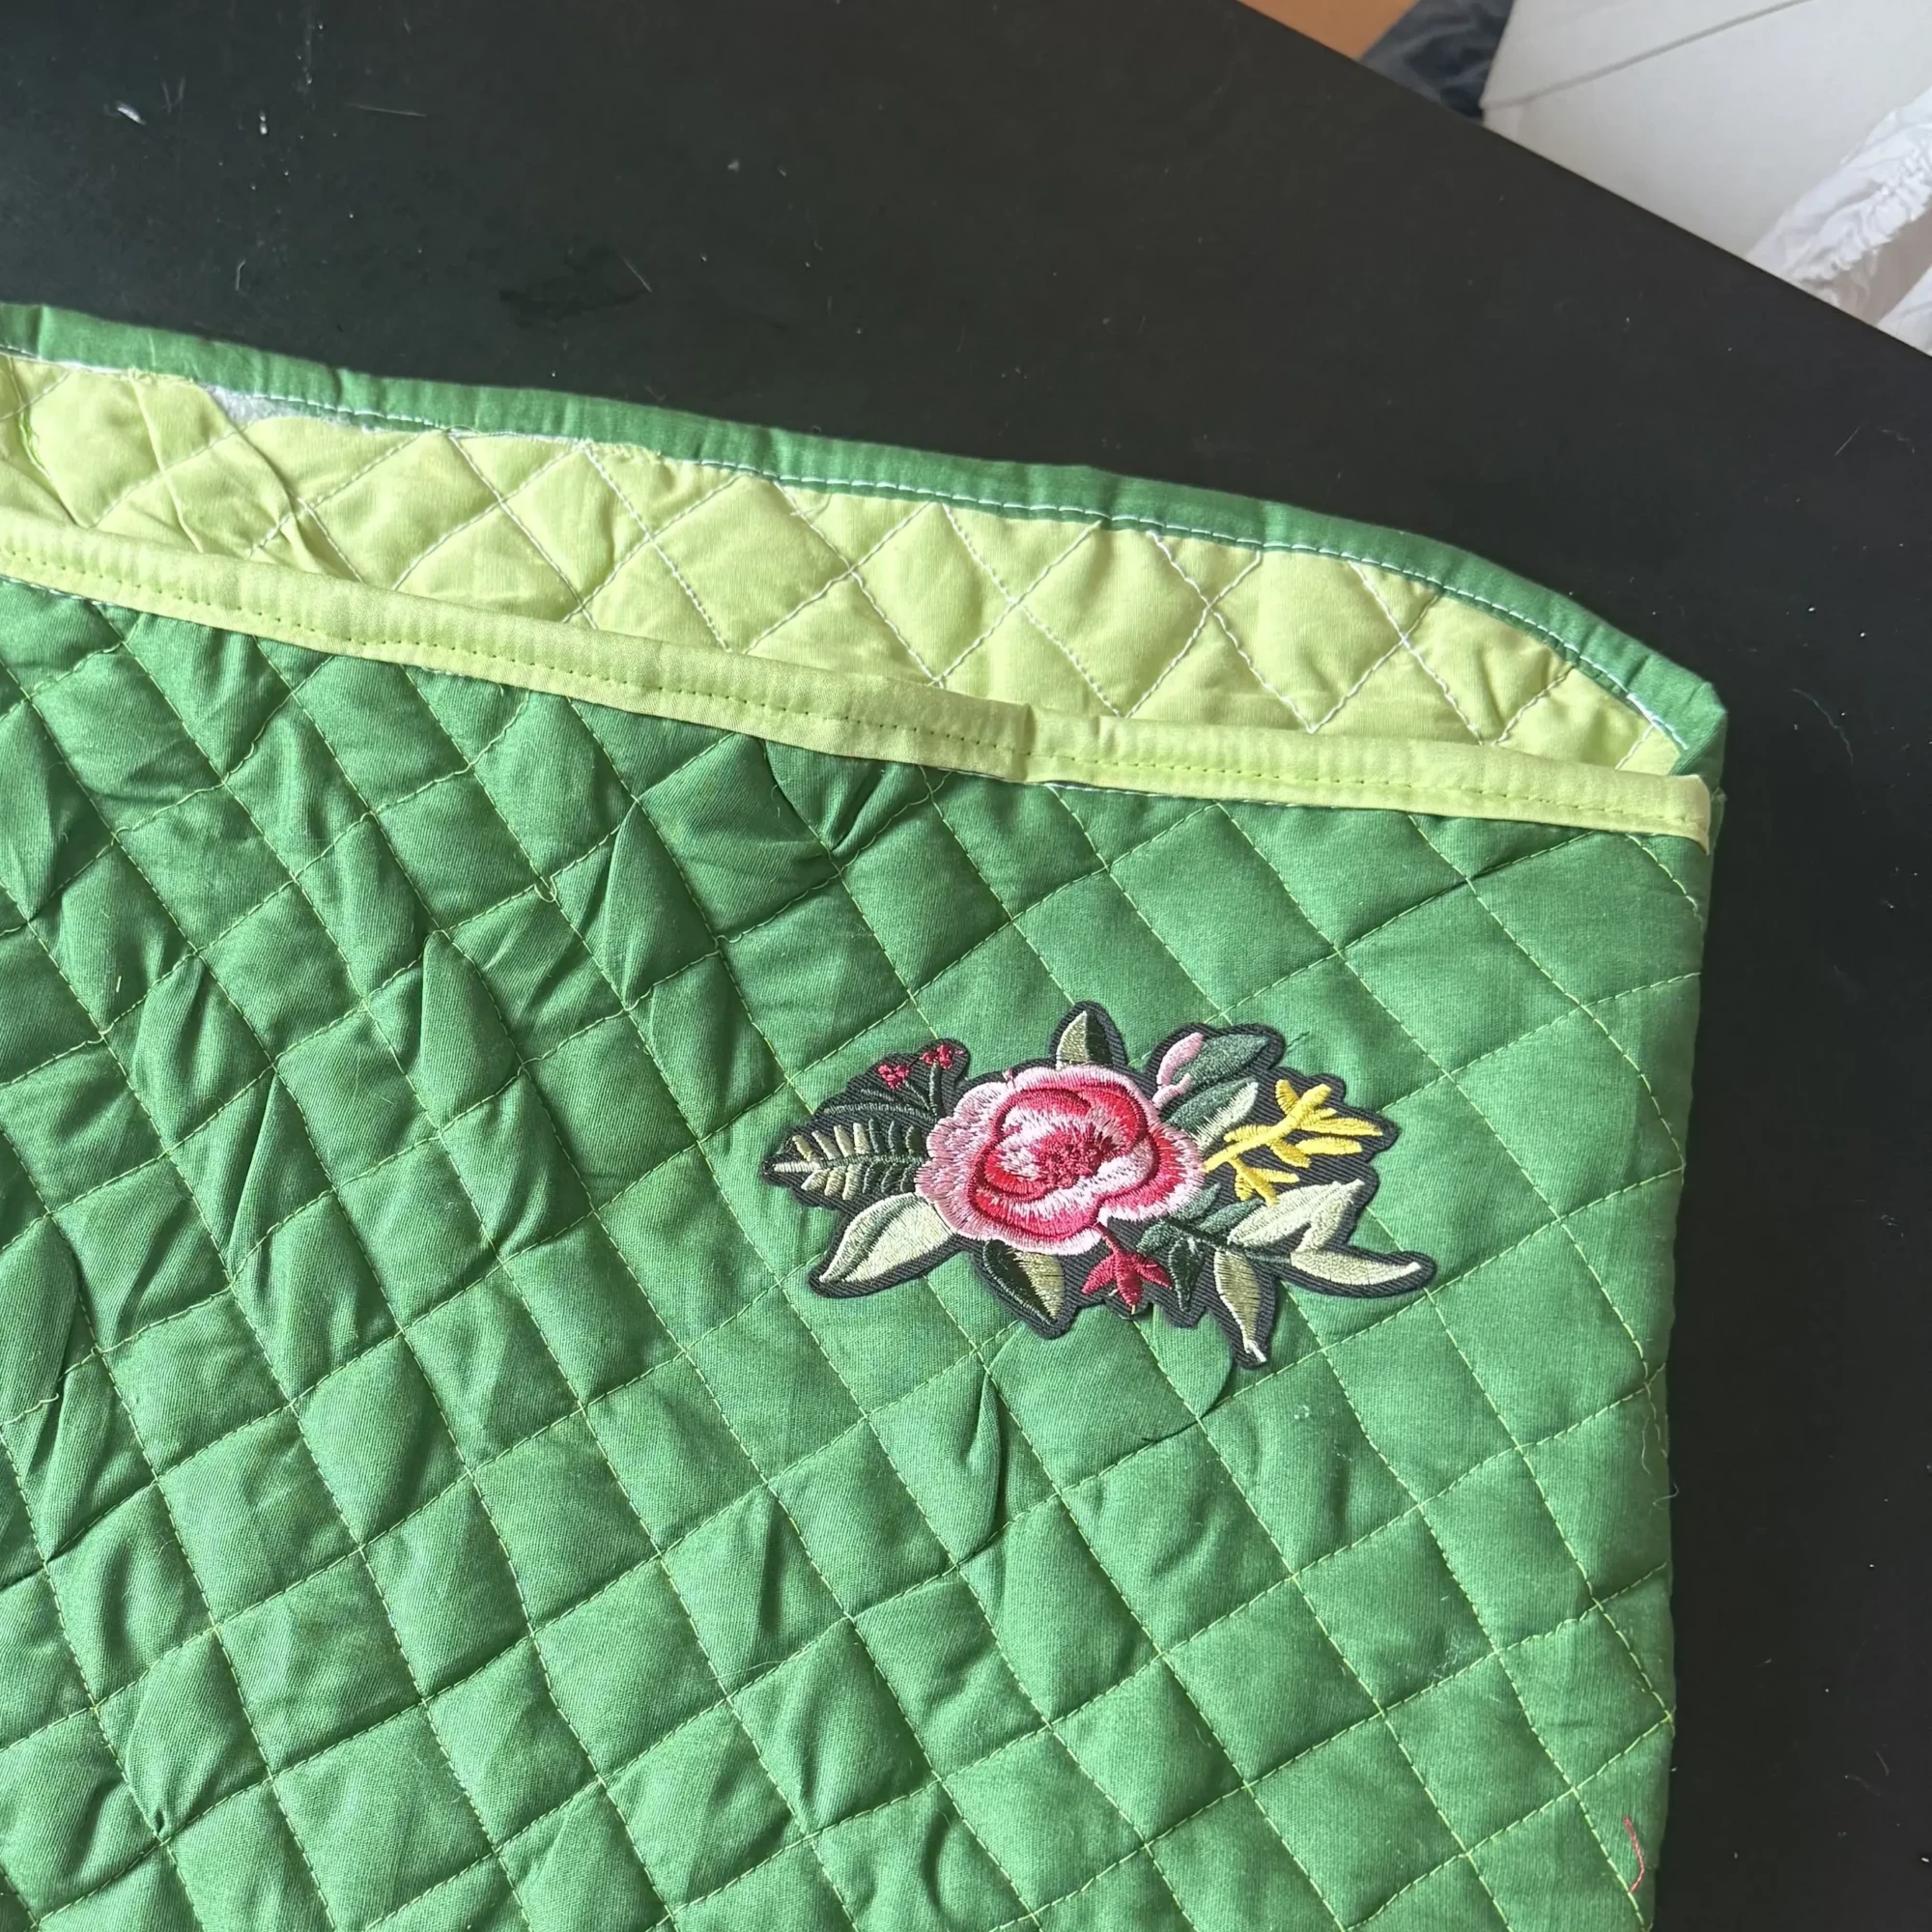
I stitched the quilted pattern and then finished the edges using a makeshift bias tape. (It’s not actually cut on the bias, but I made it work with fabric scraps.) My stitching isn’t the neatest—lines are a bit wobbly and corners aren’t perfect—but I focused on getting it done rather than getting it perfect. In the end, I’m really happy with the result, and those details don’t affect the functionality.
Step 3 — Shaping the case
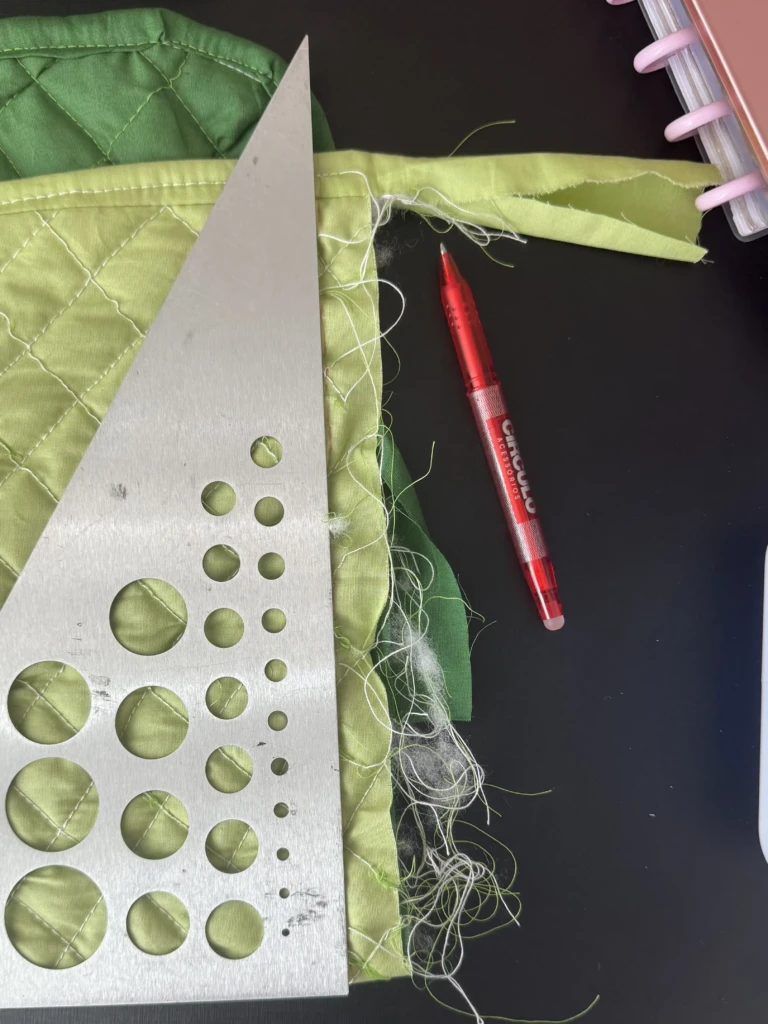
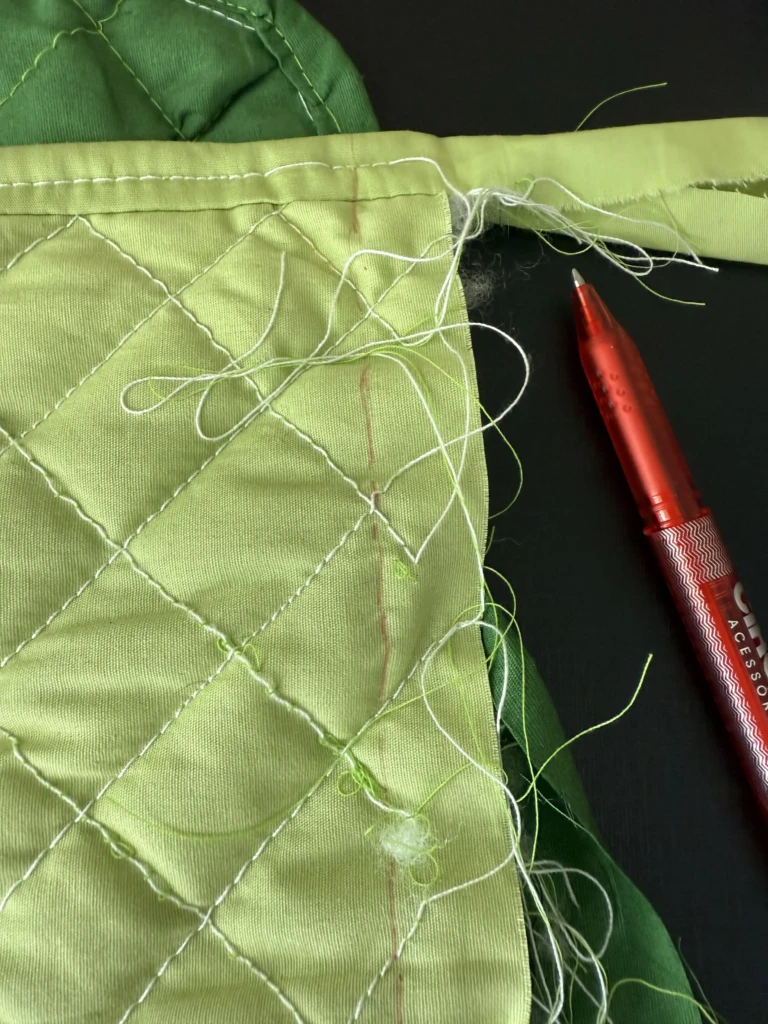
Next, I sewed the sides to form the case. I used my laptop as a size reference and marked the lines with a right-angle ruler. After sewing, I trimmed the excess fabric and threads close to the edge. The inside finishing could definitely be cleaner, but since it’s hidden, it doesn’t bother me. I did reinforce the seams to make sure it holds up over time.
Step 4 — Final touches
At this point, it still felt like it was missing something. I went through my supplies and found a floral patch that matched the colors perfectly. Adding it made a huge difference—it gives the eye a focal point and ties everything together (instead of highlighting every little imperfection 😅).
If I were to improve anything, I’d make the closing flap a bit longer so it stays shut more naturally. I think I kept it small to fit the fabric I had, but it still does its job—especially when the case is inside a bag.
This ended up being less of a step-by-step guide and more of a “make something anyway” kind of post. If anything, I hope it encourages you to create something for yourself (or someone else), even if it’s not perfect.
Keep Creating!