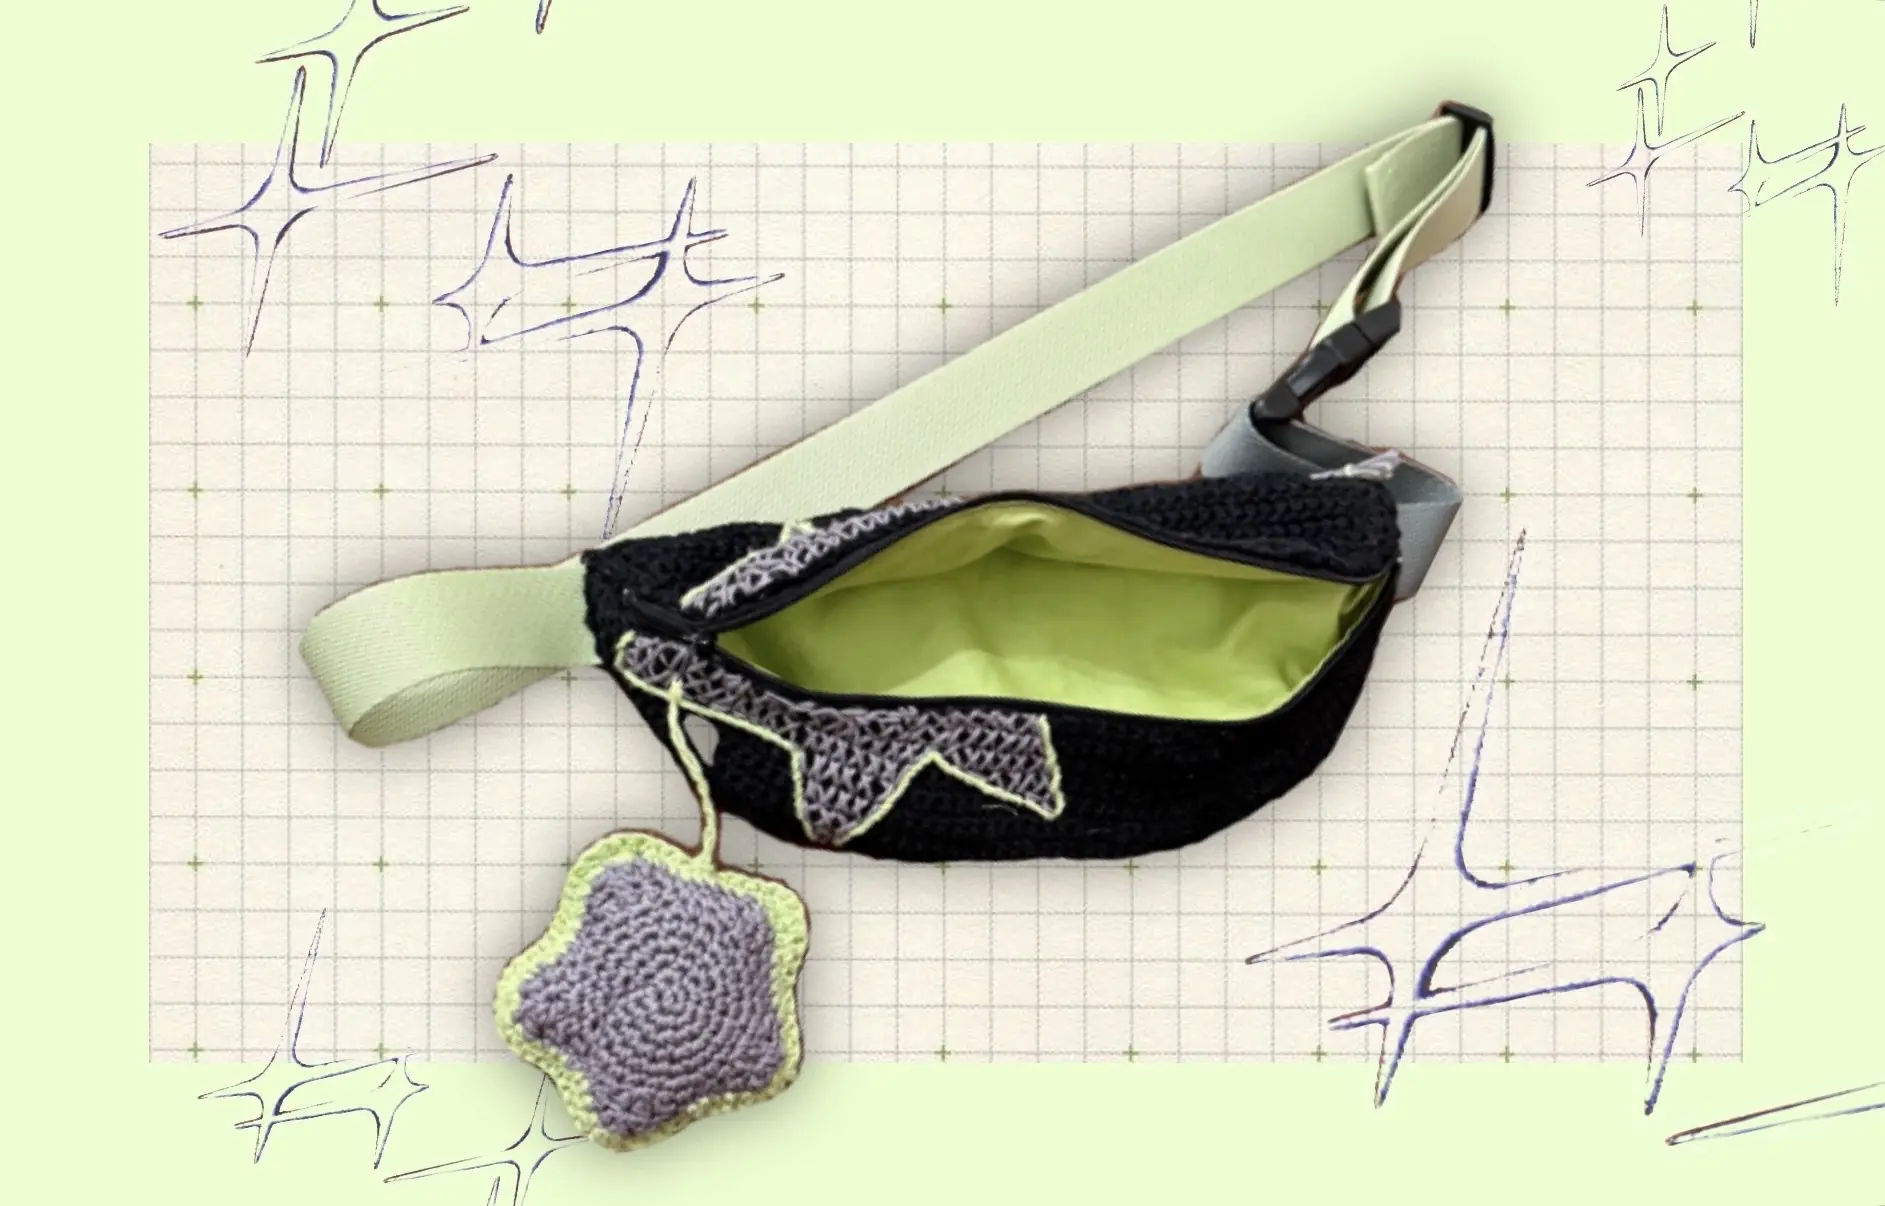
-> This is the second post describing my process of creating a crochet fanny pack as a gift for my friend. Read Part 01 for context.
Starting again with a clearer direction
Starting the fanny pack the second time around was noticeably easier. I already had a better sense of what worked and what didn’t, which gave me more confidence to adjust the design instead of second-guessing every step.
One of the biggest changes was the shape of the bag and the embroidery approach.
In my first attempt, I tried a more squared shape, thinking it might be simpler and cuter in crochet. It didn’t work as expected—the result felt a bit awkward and, in my opinion, not very cohesive.
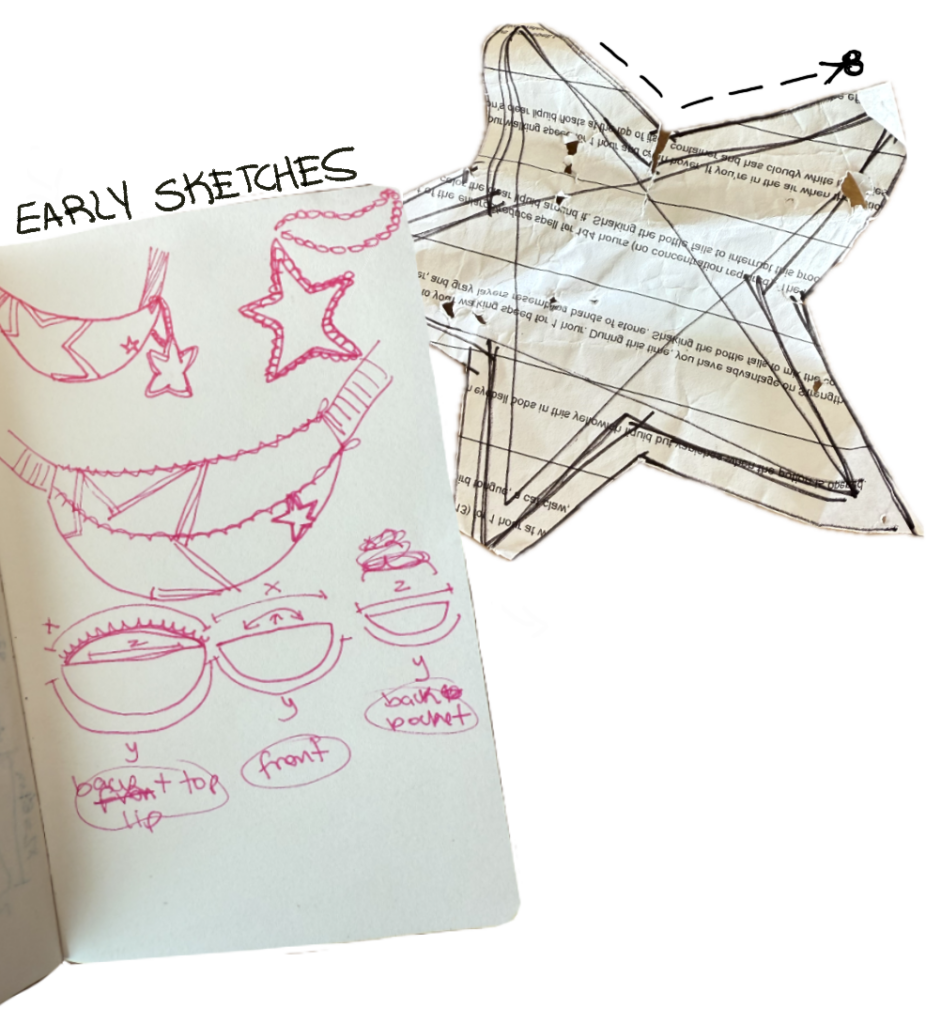
So I went back to my original sketches and committed more closely to the initial design. It was more complex, but since I was starting over anyway, it felt like the right moment to improve the structure properly.
And spoiler: it ended up much closer to what I wanted.
Paper pattern and planning the structure
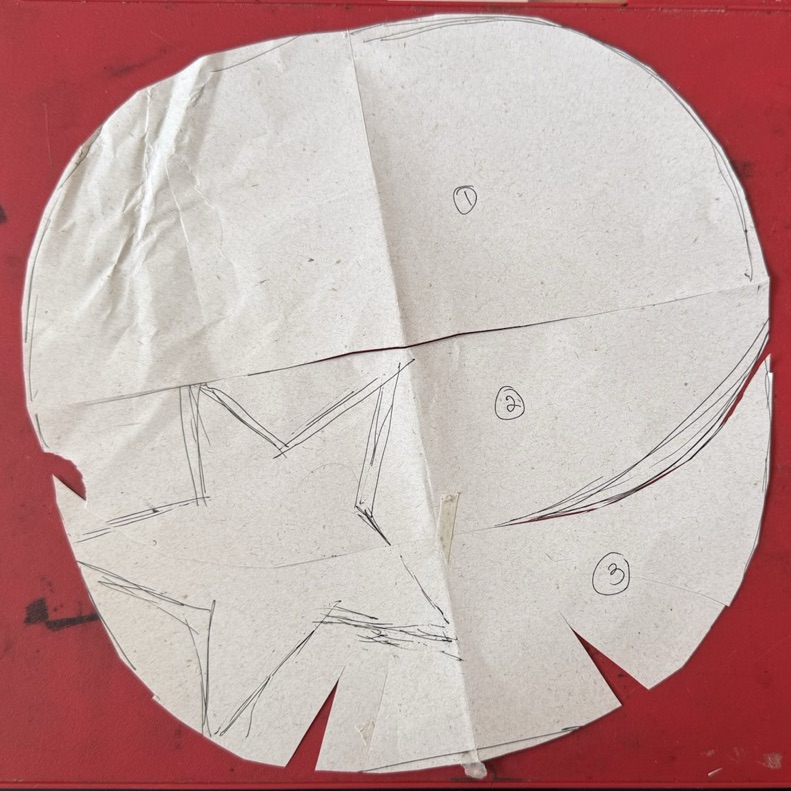
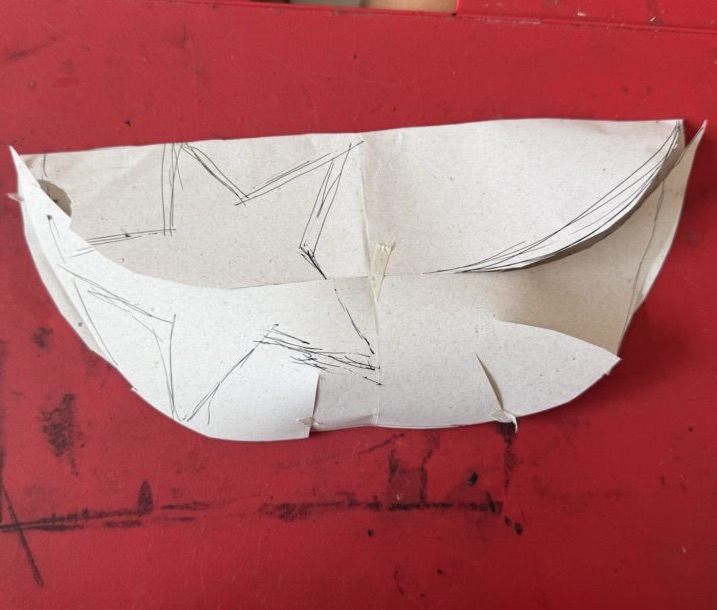
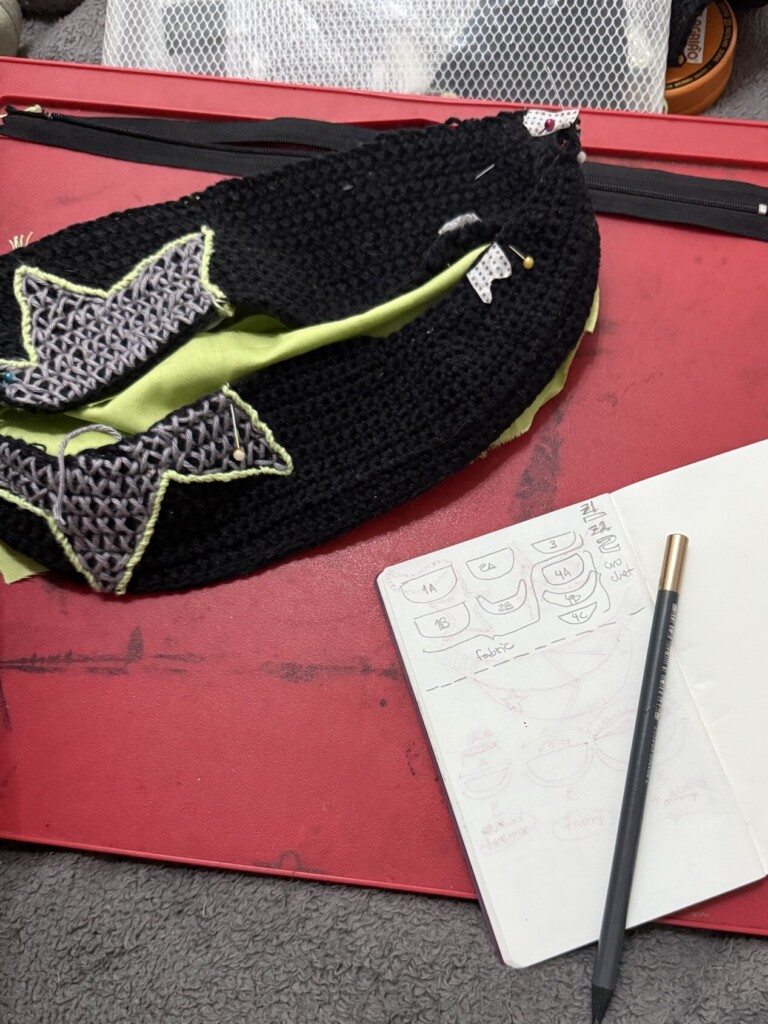
My first step was to create a paper pattern of the updated bag shape.
I did a bit of research and several paper mockups before arriving at a template that felt right. This became the base guide for the entire construction process.
I also added the star motif directly onto the template, so I could ensure the design would align continuously across the top and bottom panels of the bag.
Crocheting the main structure
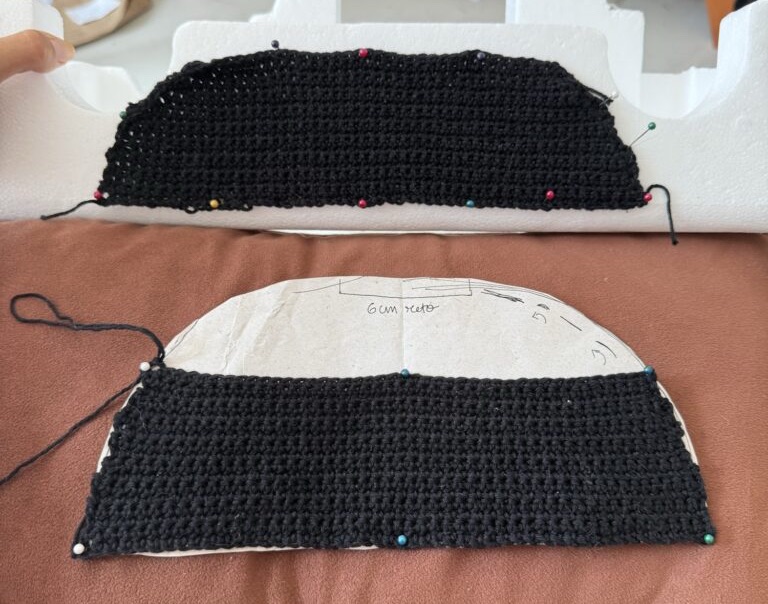
With the template ready, I crocheted the three main pieces of the bag using it as a loose guide.
Instead of following a strict pattern, I worked more intuitively—experimenting with increases and decreases until the pieces matched the intended shape.
To help the structure form a 3D shape, I introduced subtle darts by decreasing stitches along the lower rows of the bottom panel. This helped the bag curve more naturally.
The shaping wasn’t perfectly symmetrical, and the edges ended up slightly uneven due to the adjustments. My attempt to smooth them out didn’t fully fix this, but I knew it would be mostly hidden once assembled.
Testing the embroidery technique
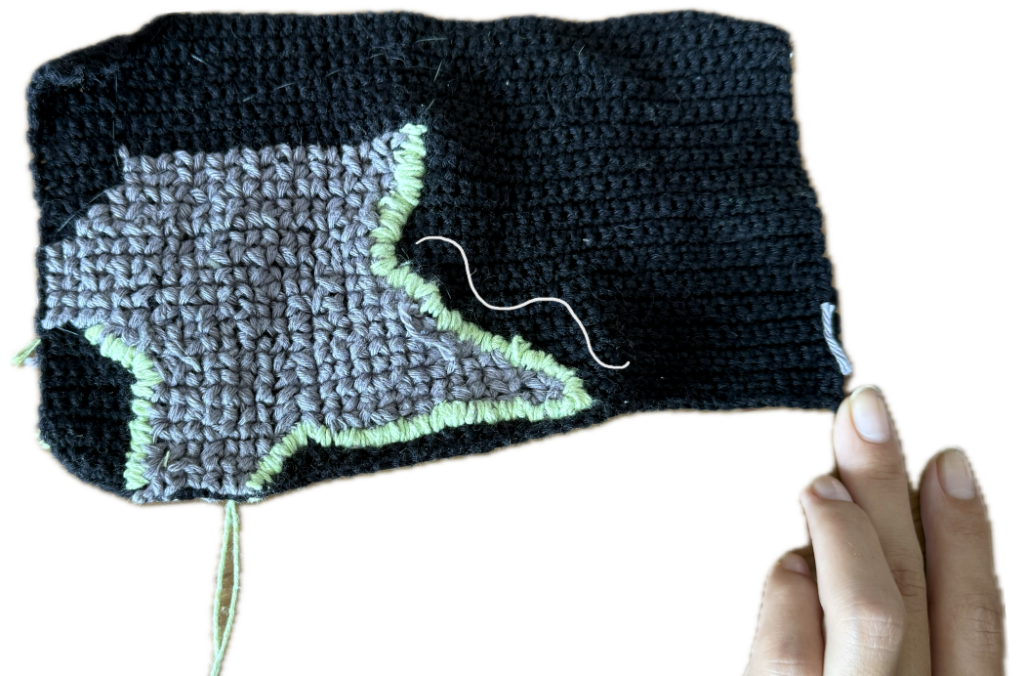
Next came the more delicate part: the star embroidery.
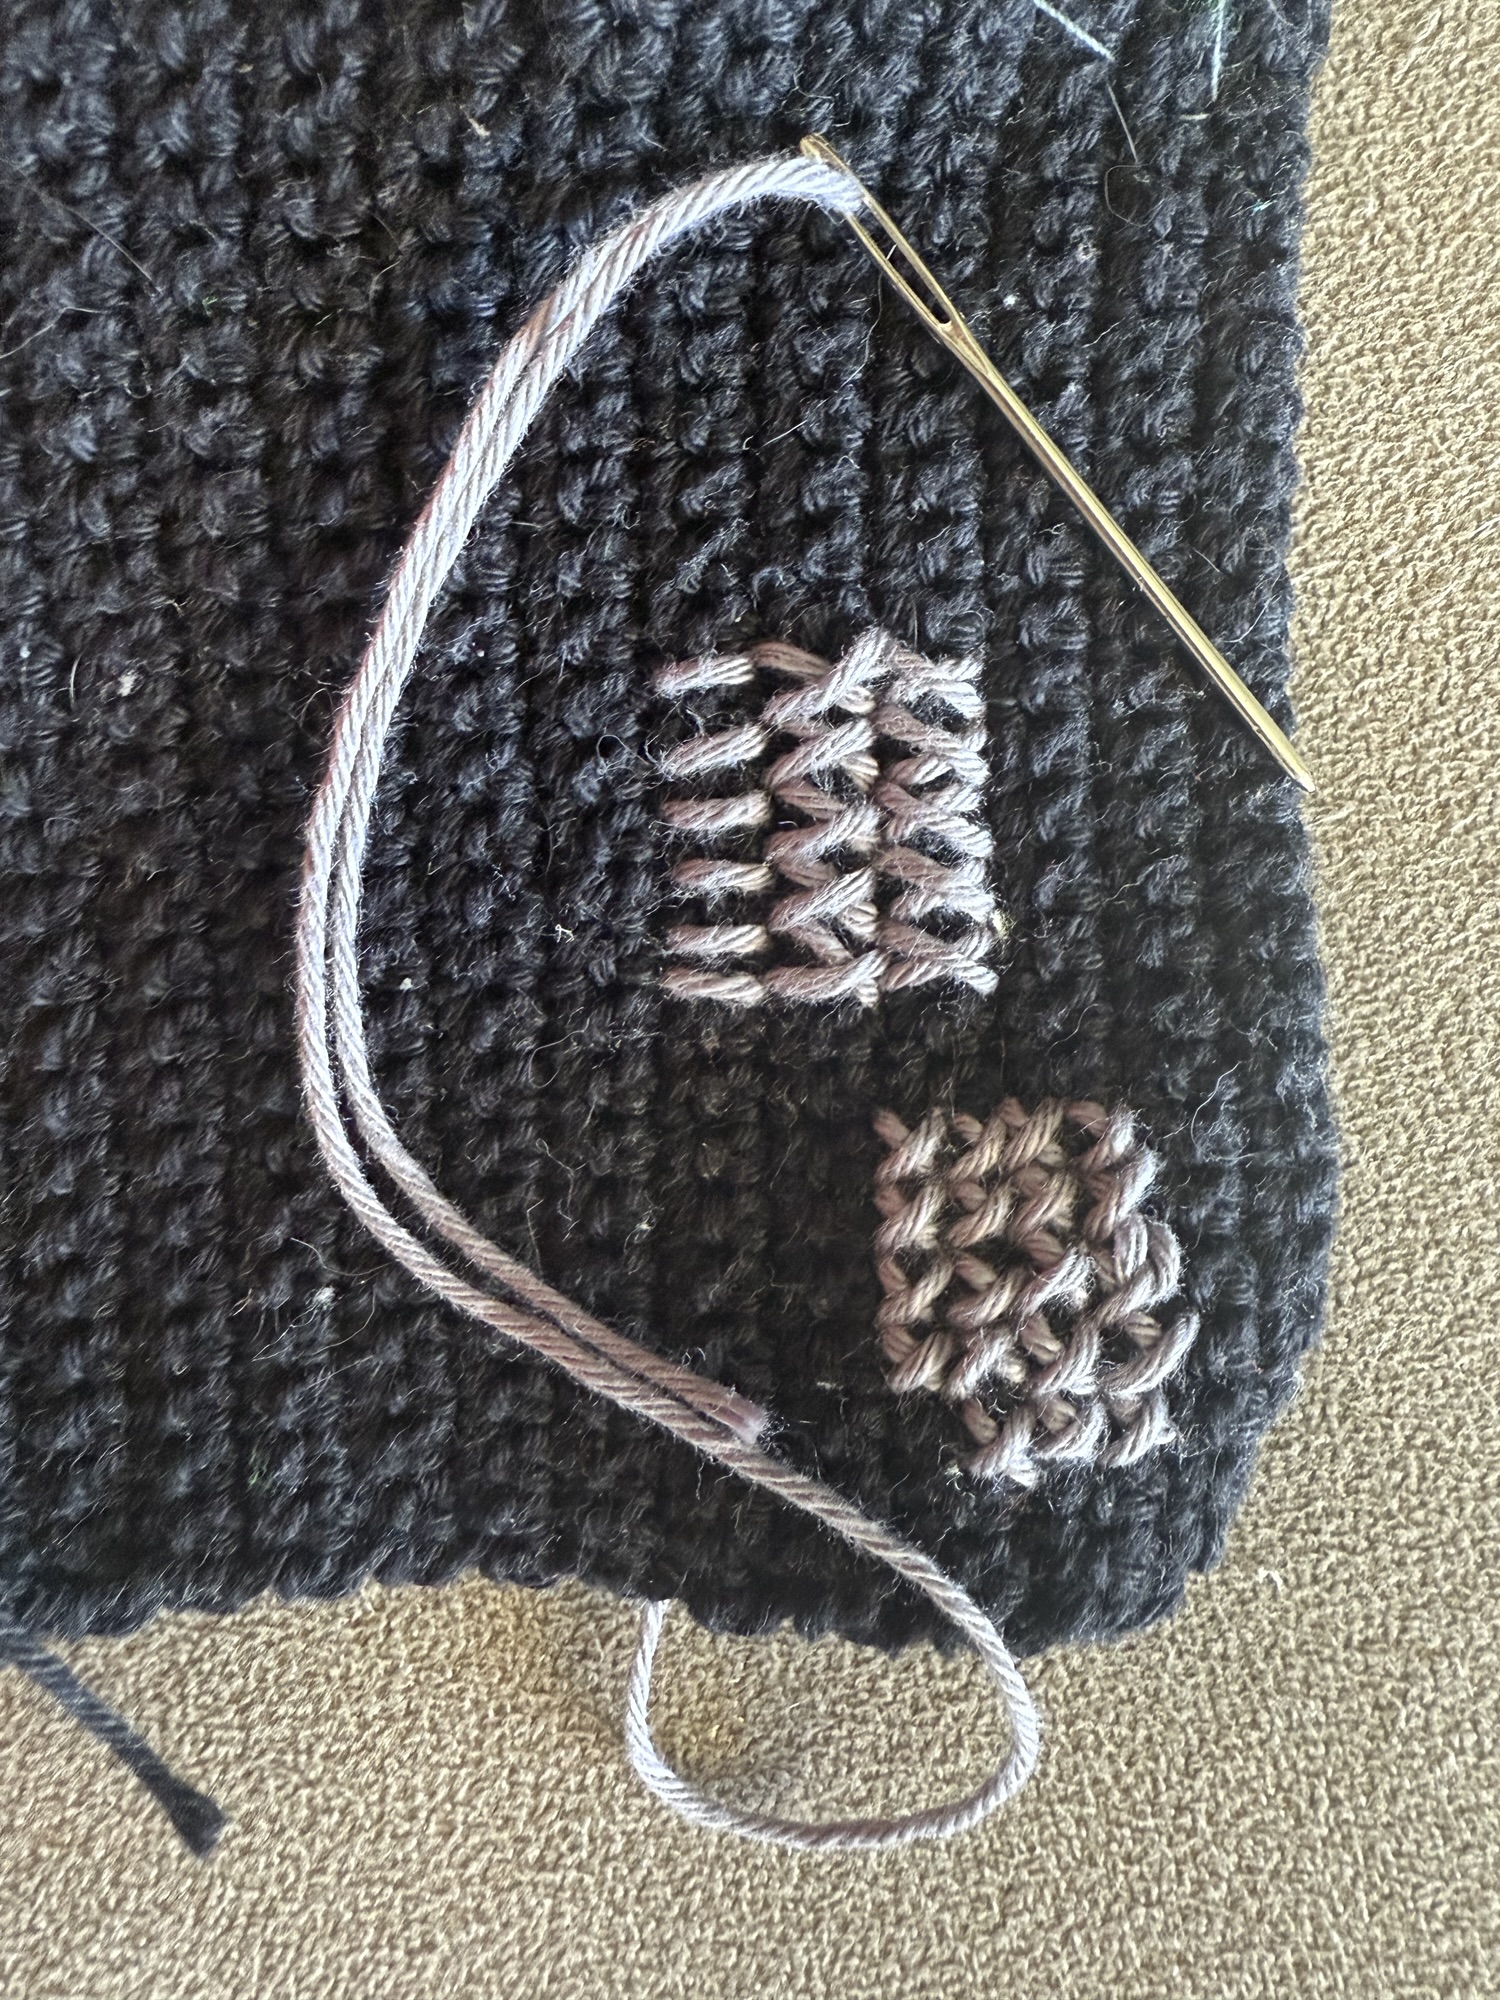
Before committing, I tested different stitch options using leftover crochet samples from earlier experiments.
From these tests, I found that:
- a larger cross-stitch (1 crochet row high) worked best
- using a single thread gave the cleanest result
I was initially worried this might look patchy or semi-transparent, but I decided to trust the process and see how it would read once fully filled in.
Mapping the star and stitching method
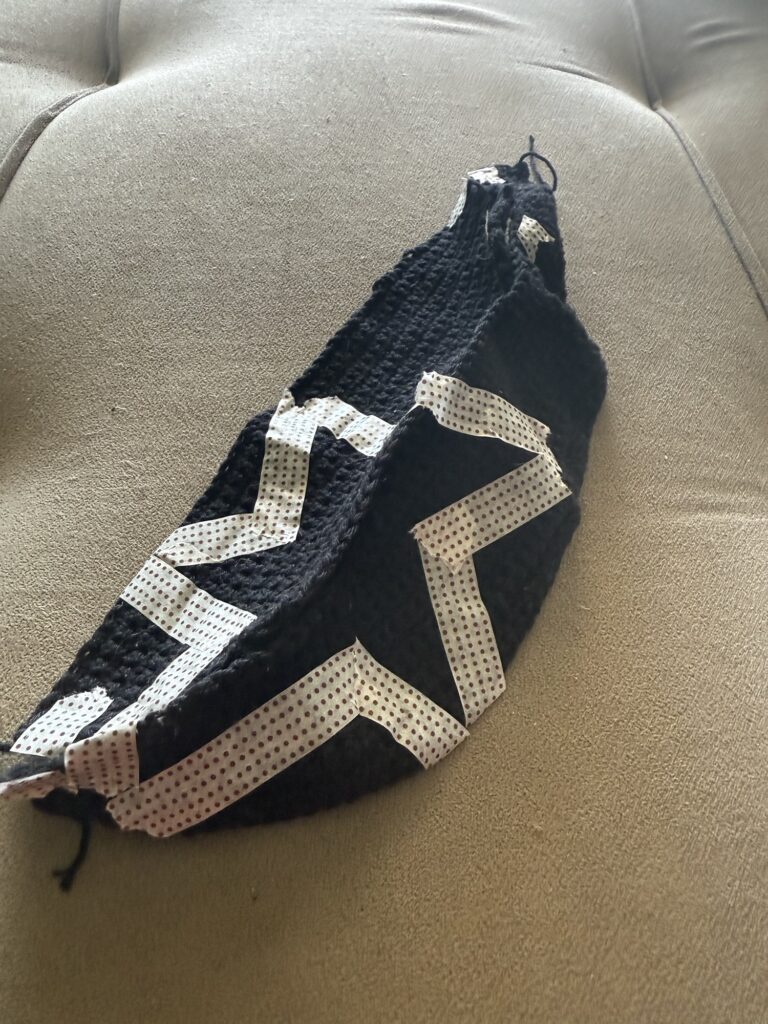
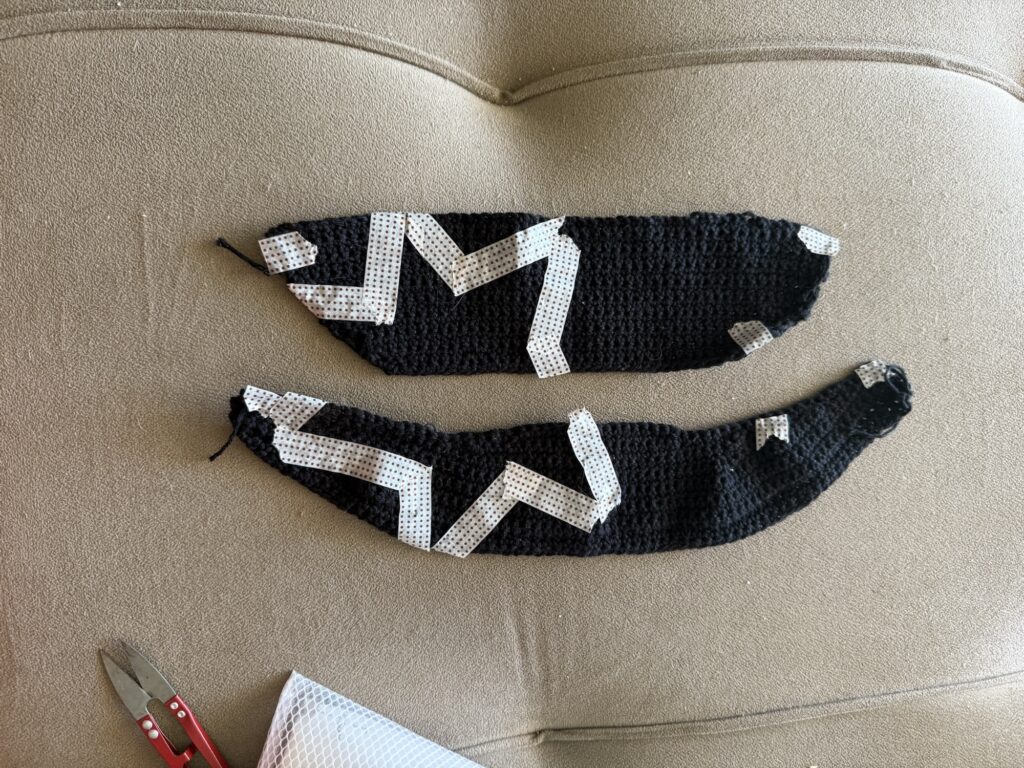
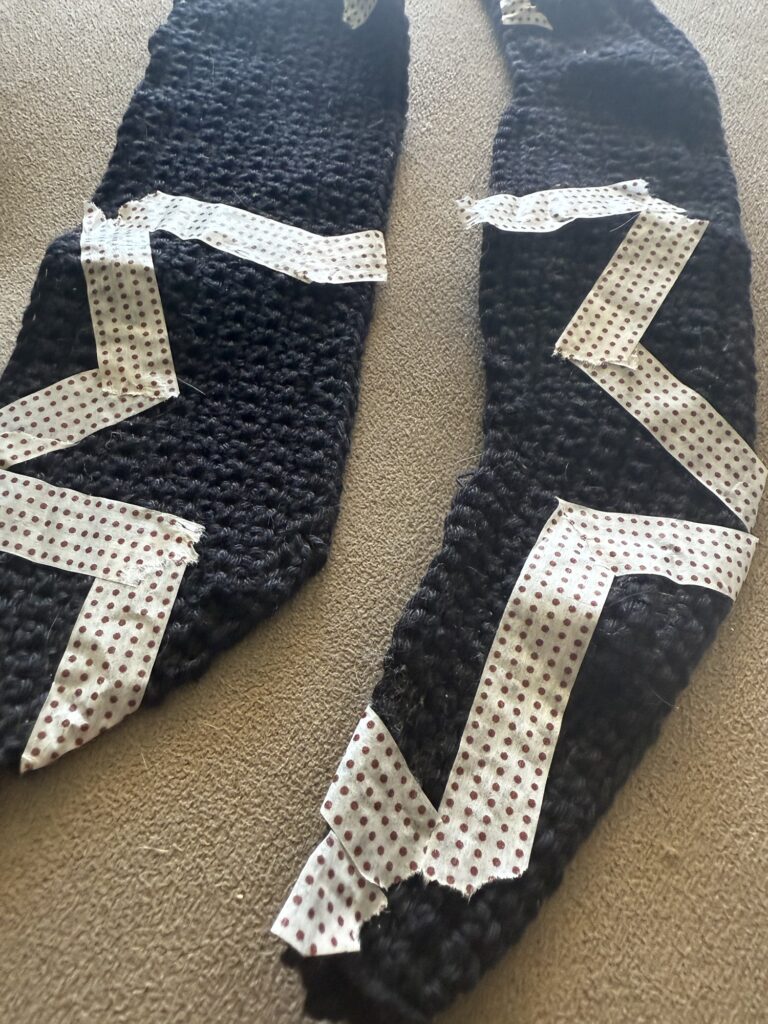
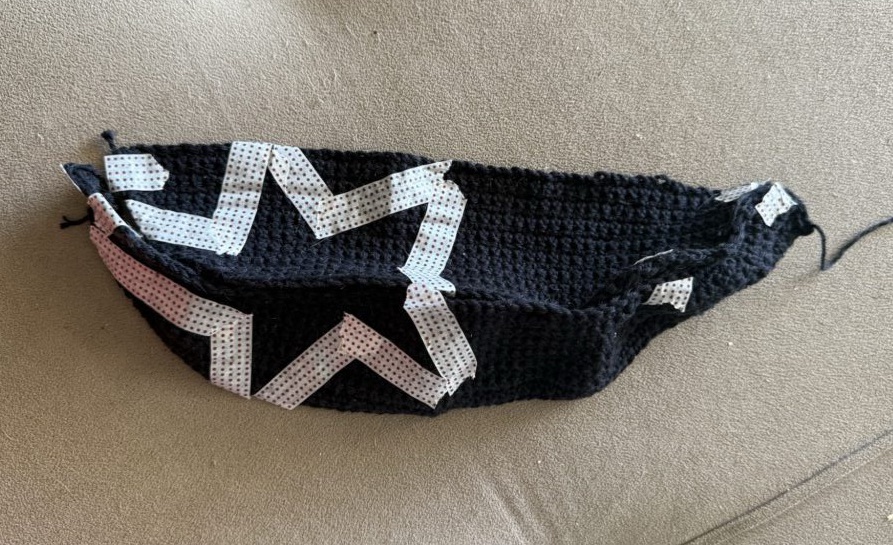
To keep the star geometry precise, I used the same method I developed in the first trial: I blocked out the star shape using tape and then embroidered inside it.
This technique worked well for maintaining clean edges, especially for geometric designs.
I also added extra alignment tape across key seam points where the crochet panels would meet, ensuring everything lined up correctly before stitching.
Embroidering the final star design
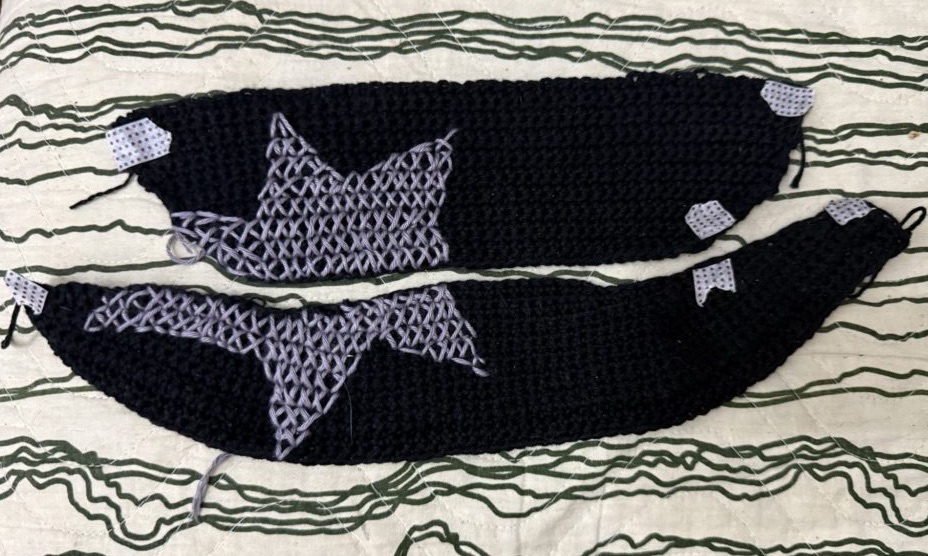
With everything aligned, I completed the embroidery.
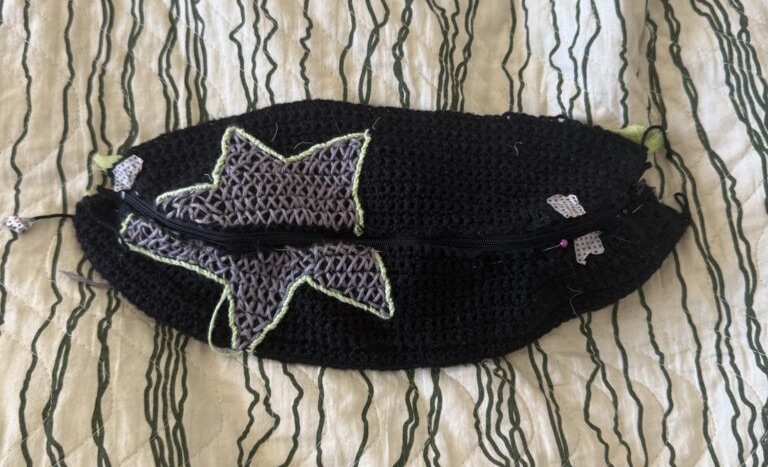
As the star took shape, I added a few extra contour lines—especially at the points—to sharpen the geometry and reinforce the edges.
I also used a simple (slightly improvised) twist stitch around parts of the outline to give it more definition without making it visually heavy.
At first, I wasn’t fully sure about this choice, but it grew on me as the piece came together.
Constructing the lining and inner structure
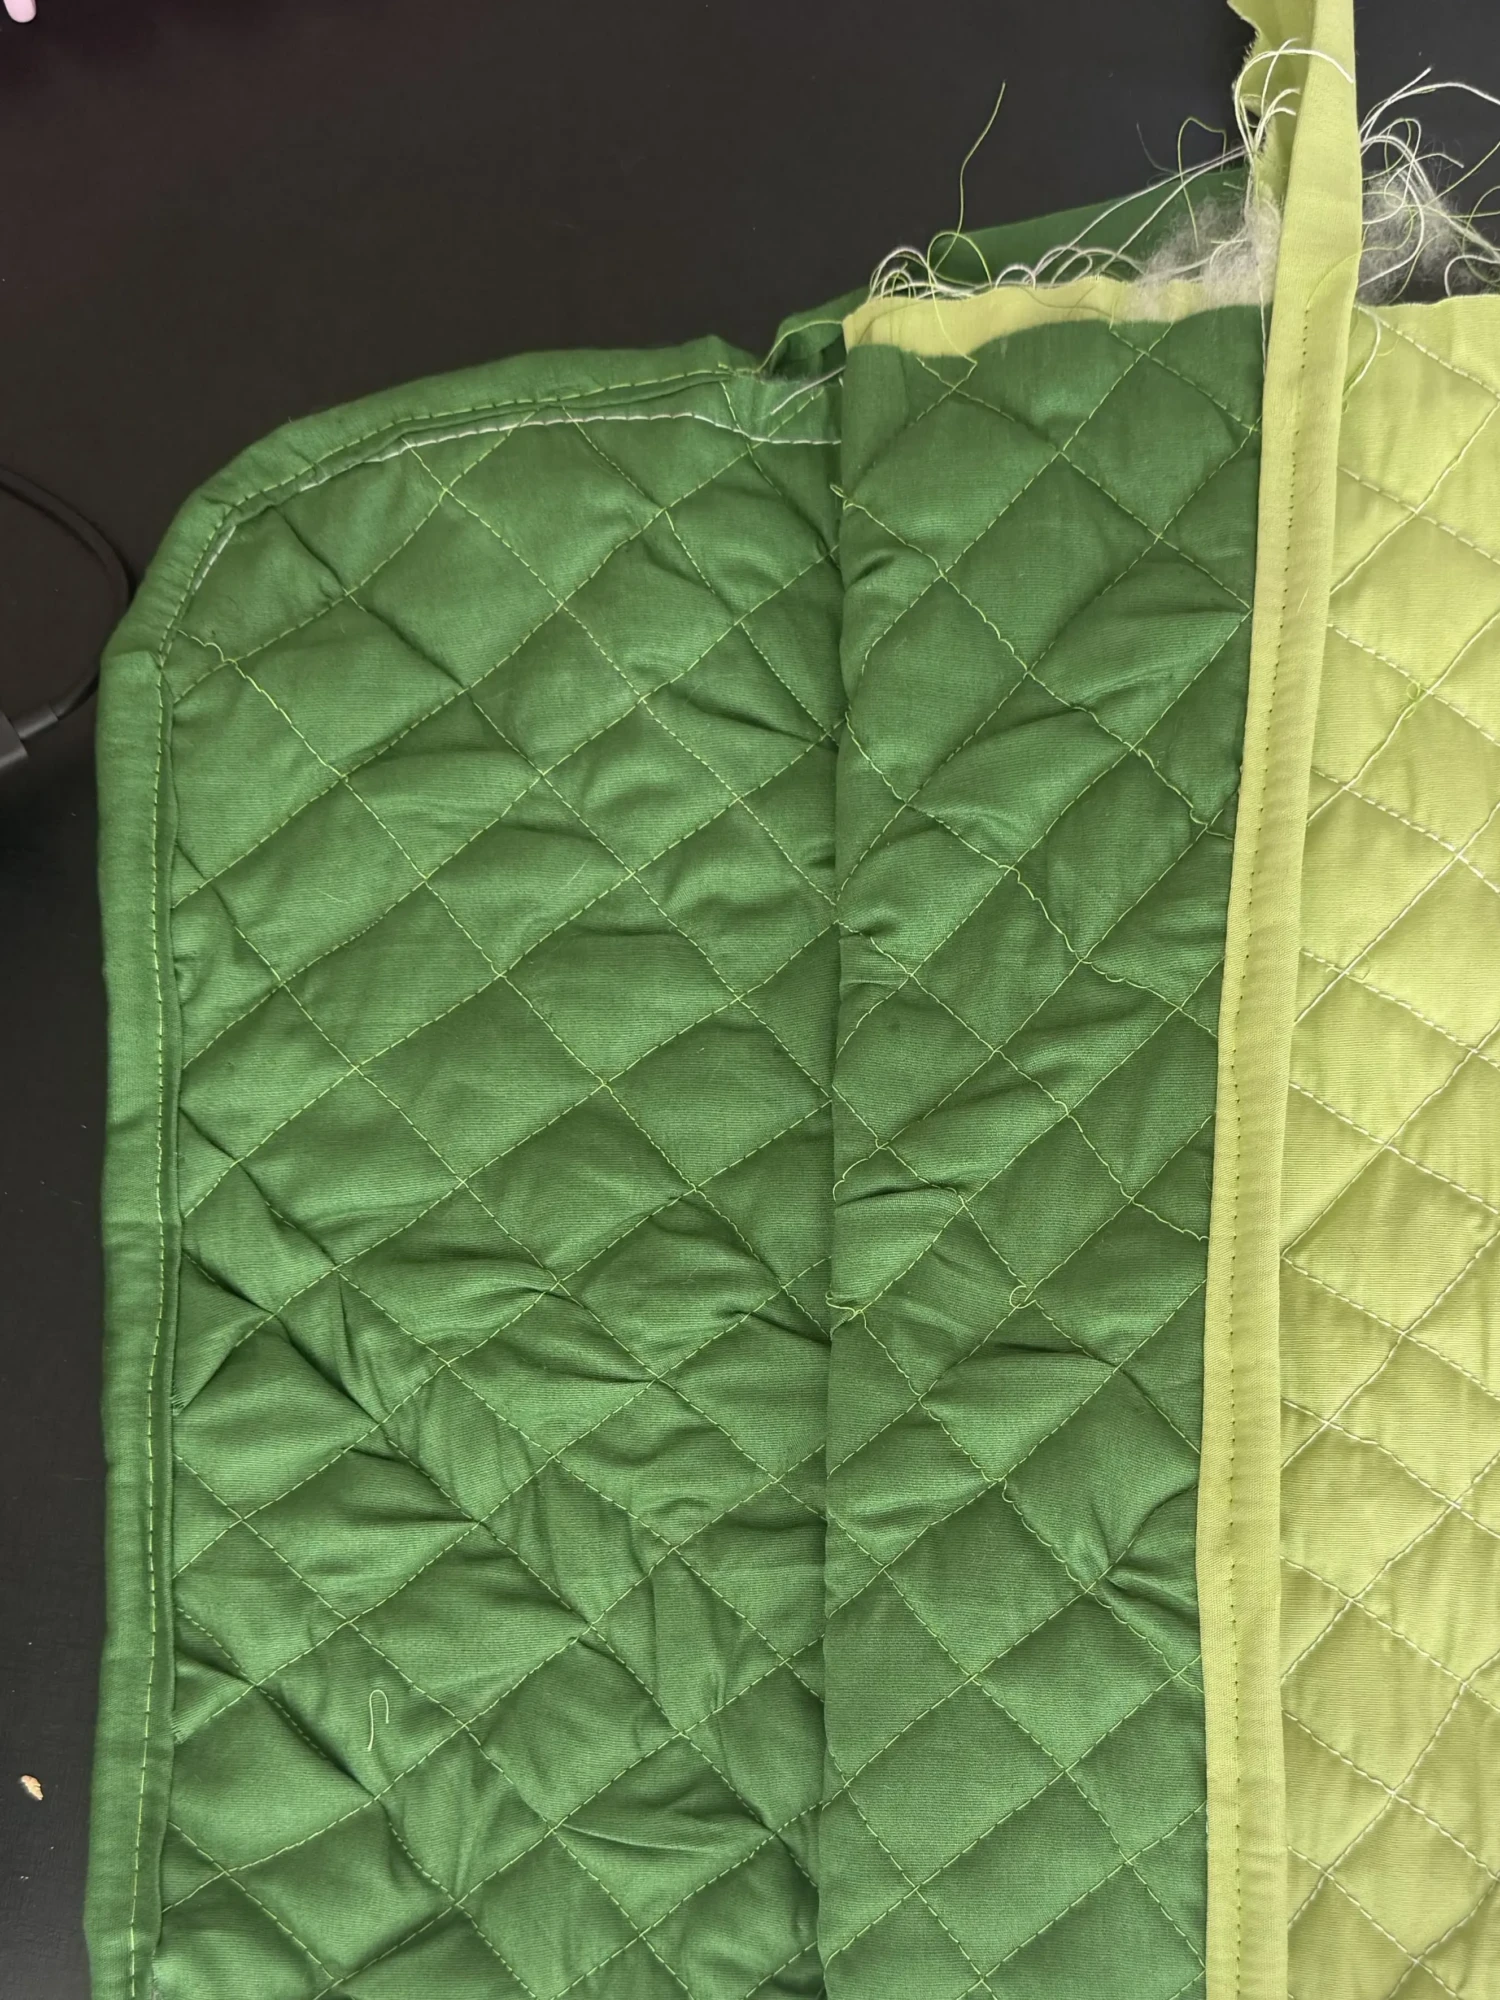
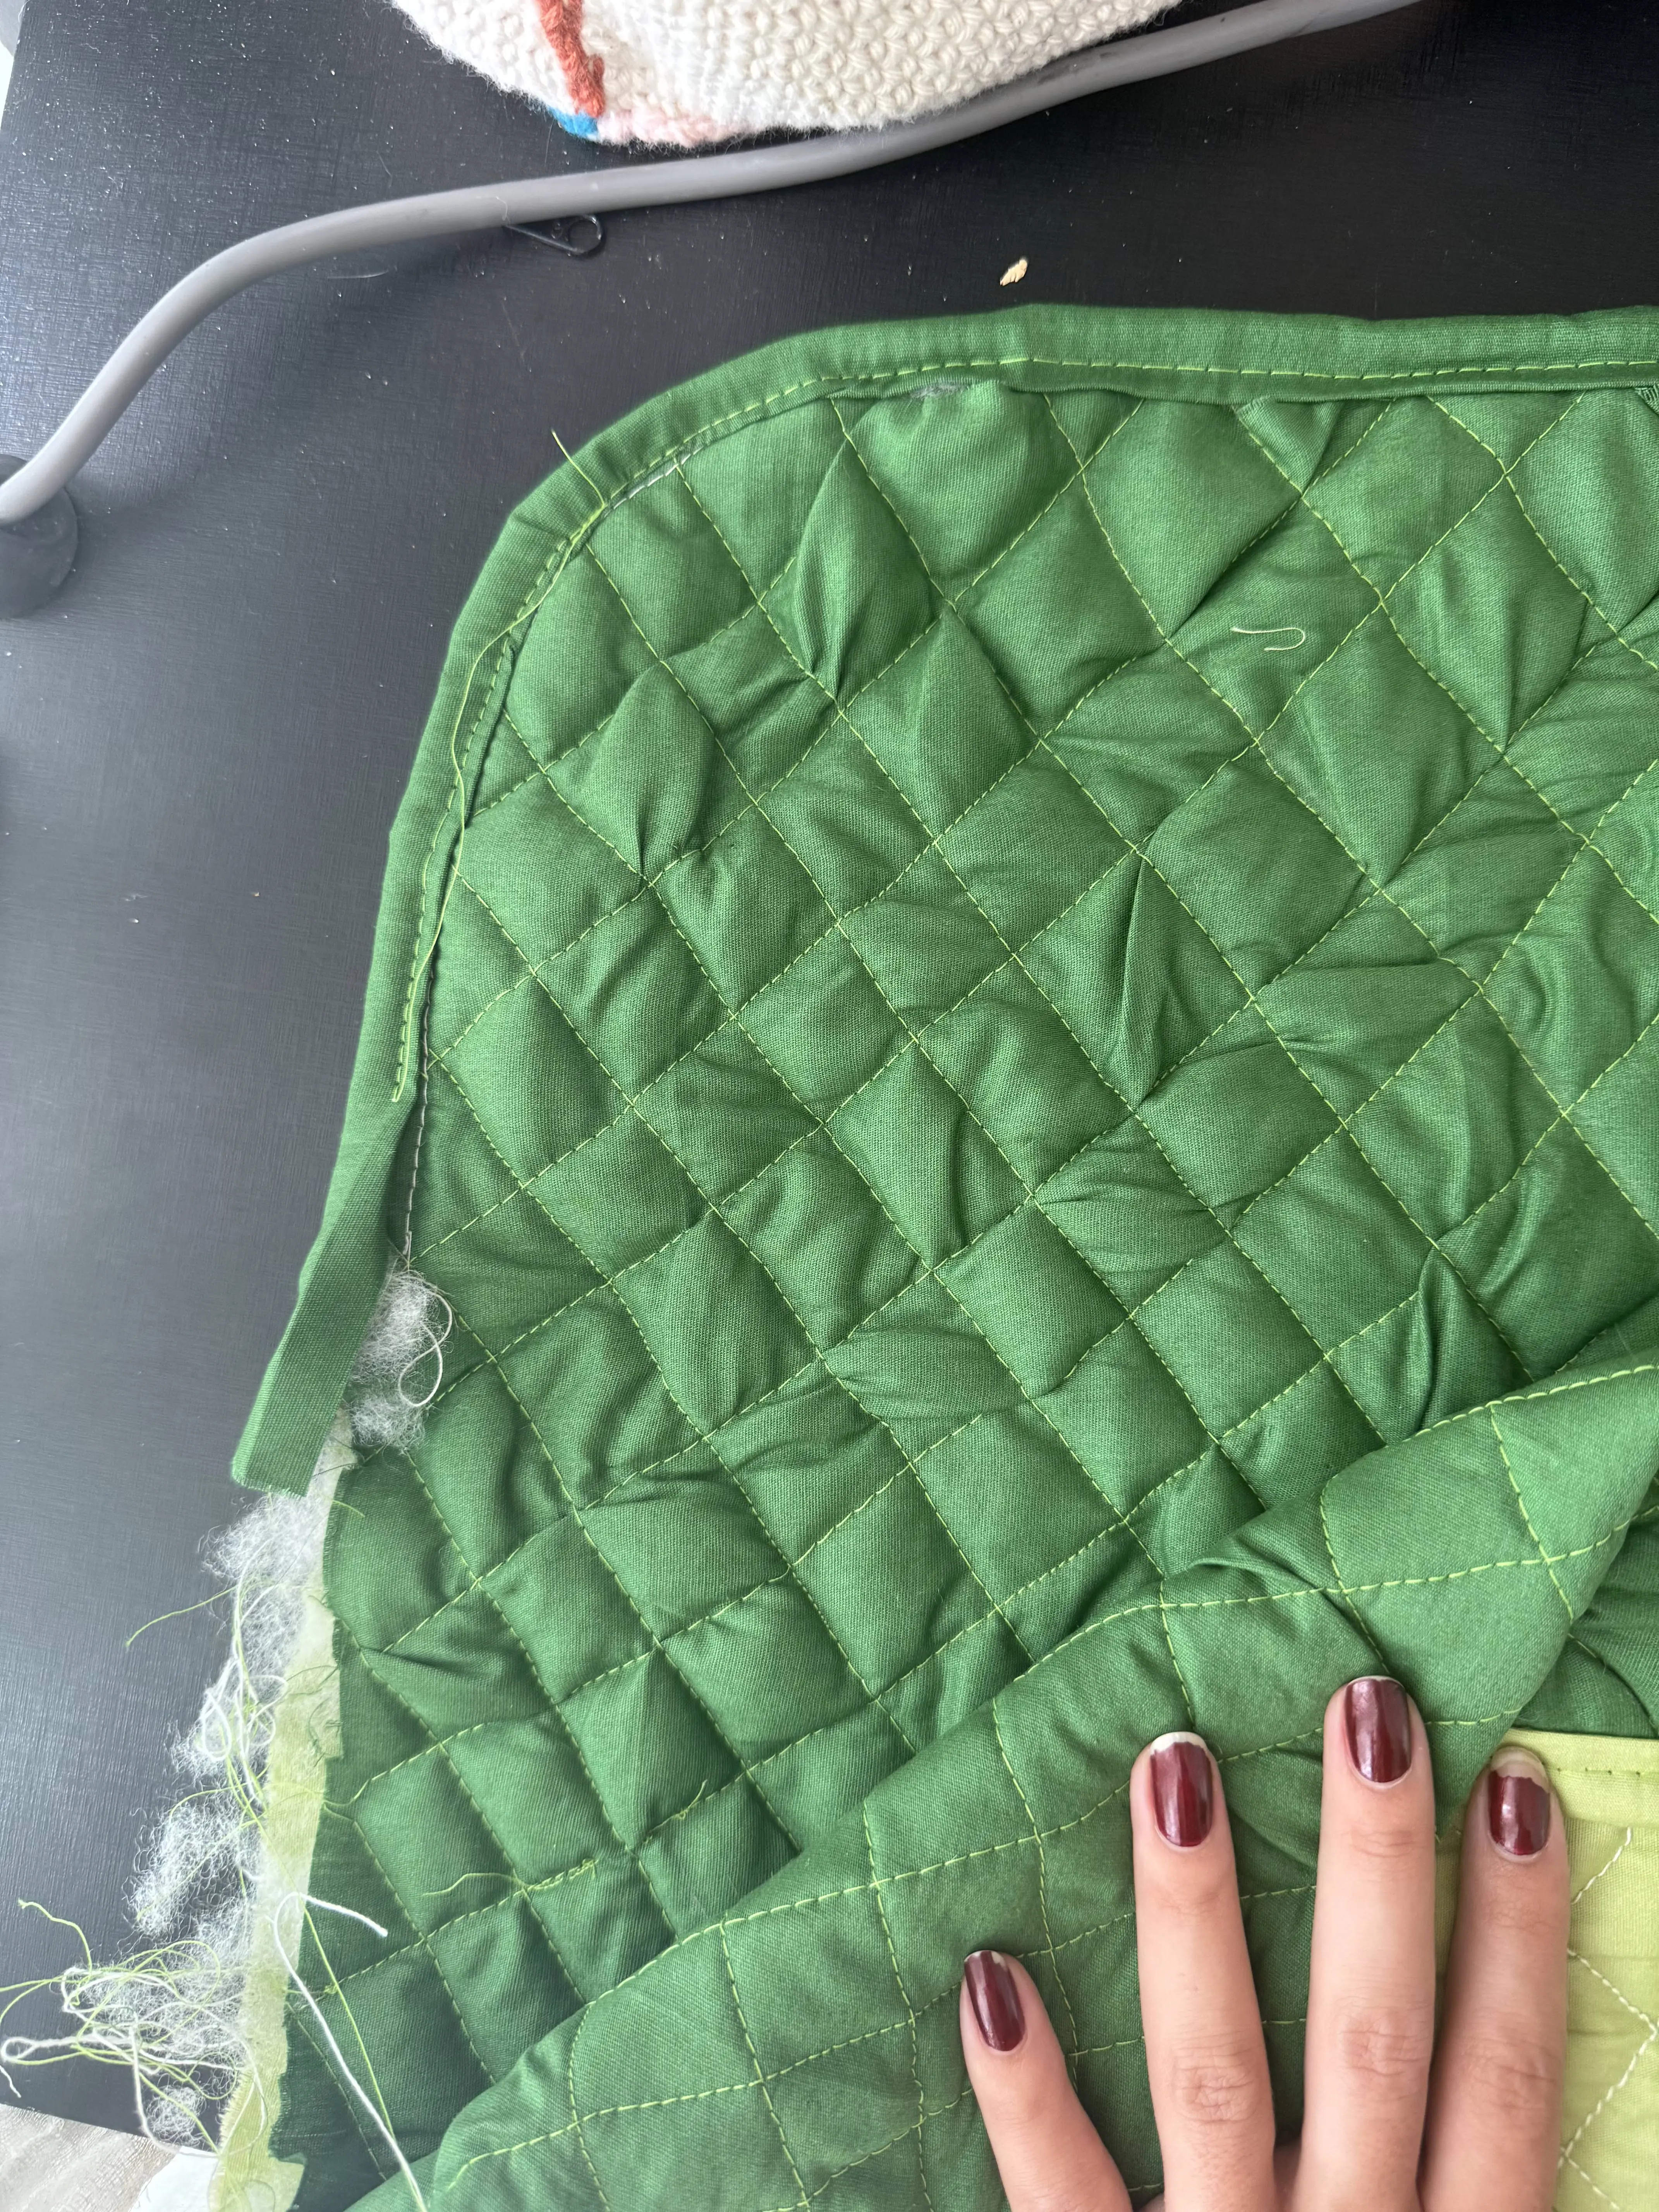
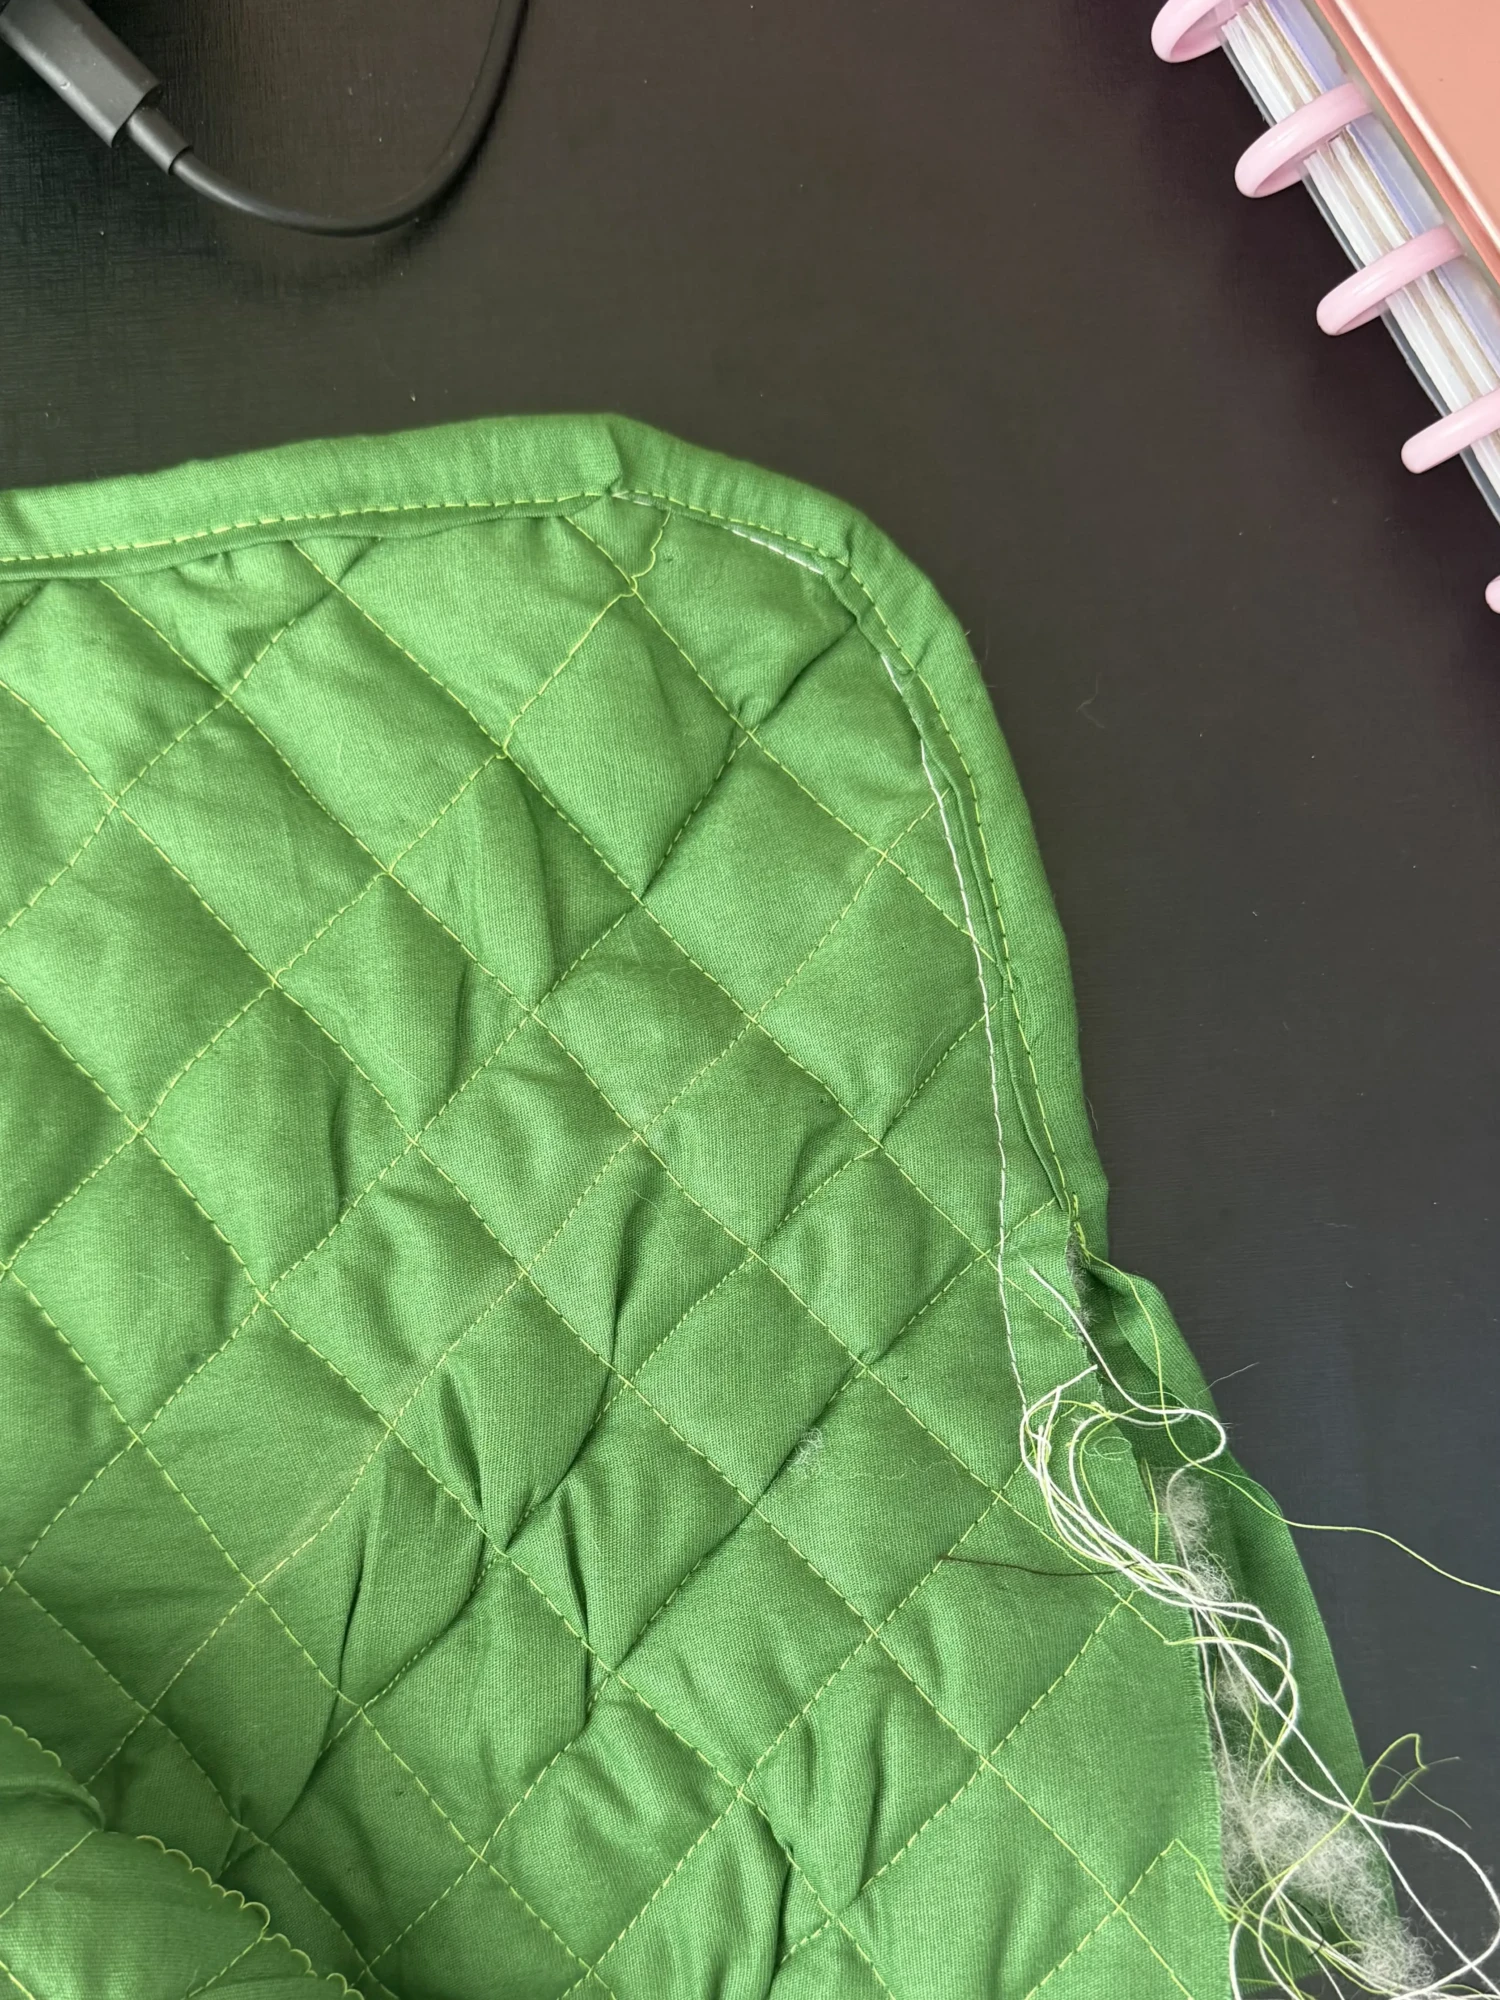
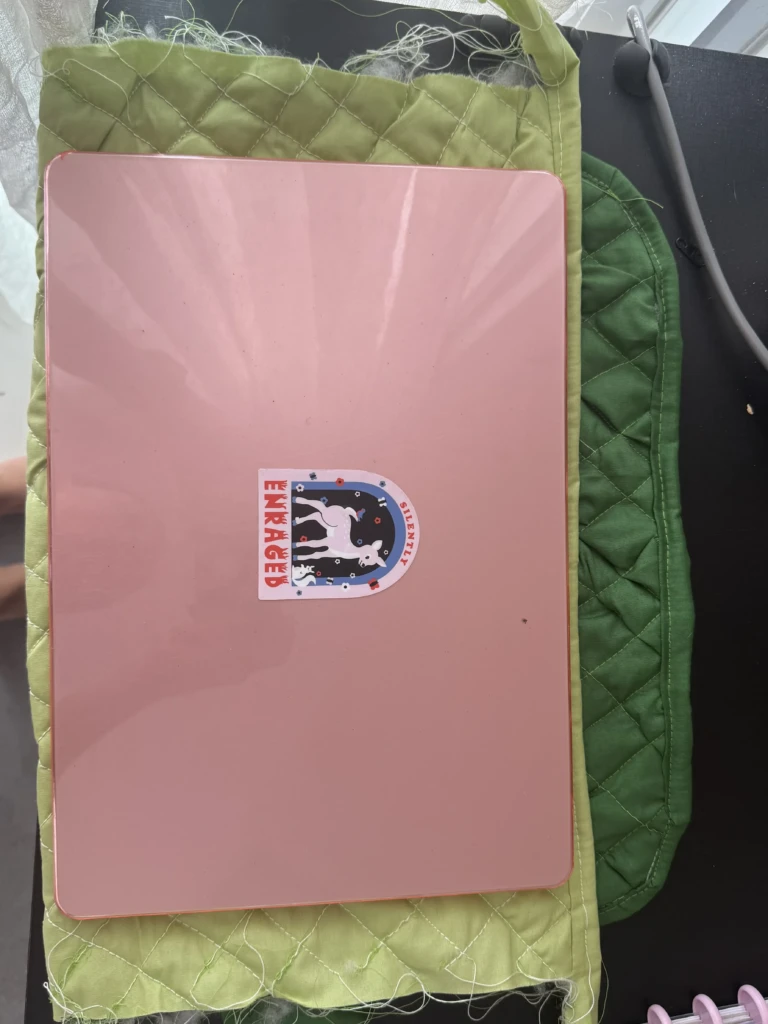
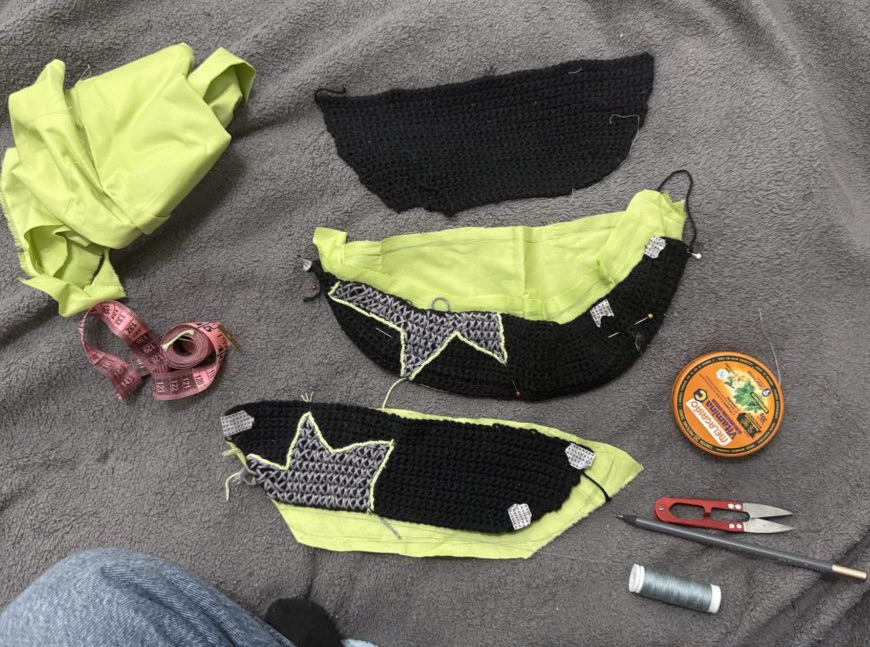
Once the crochet exterior was complete, I moved on to the lining.
Using the same paper template, I cut the fabric pieces and began hand-sewing the inner structure.
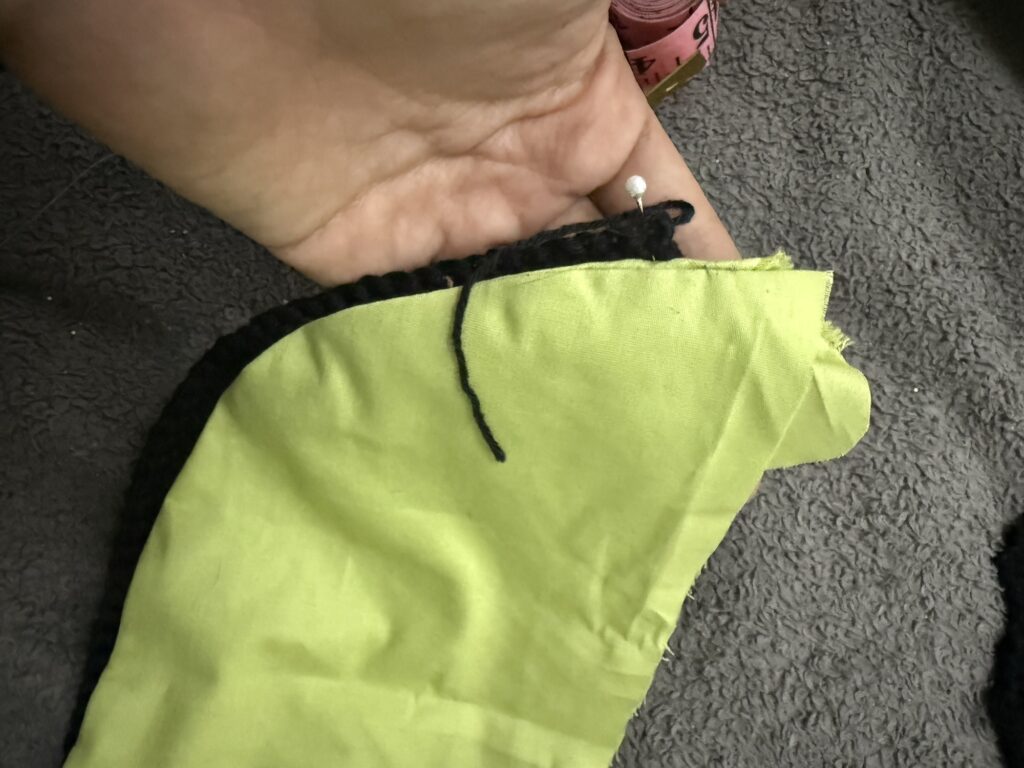
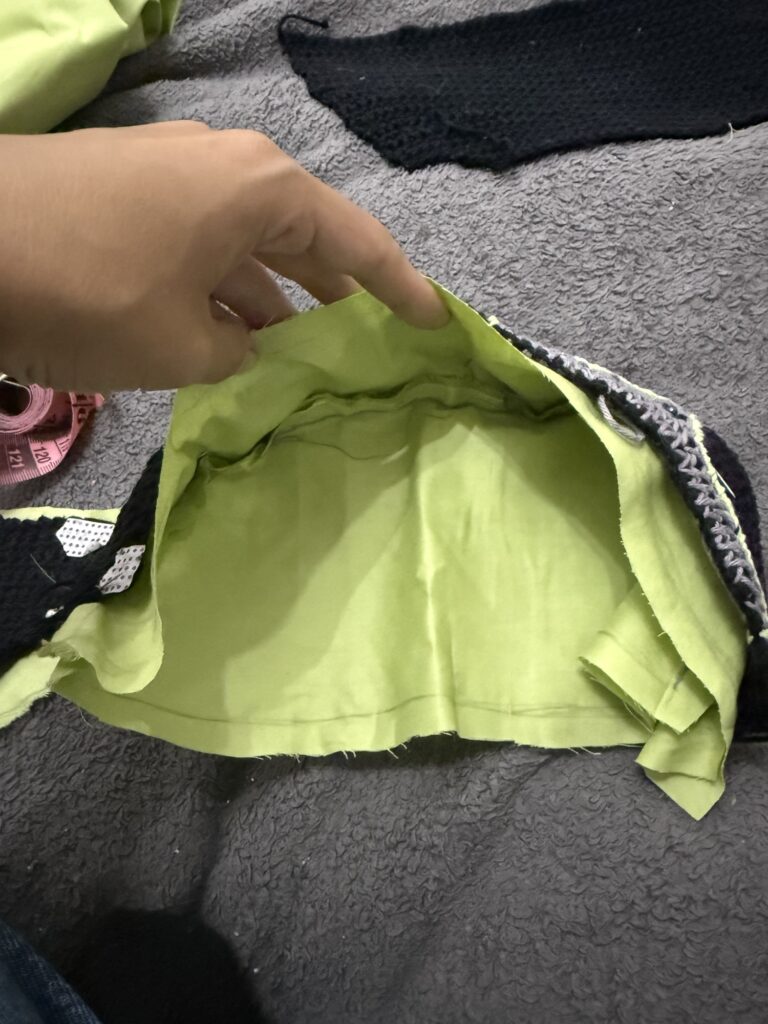
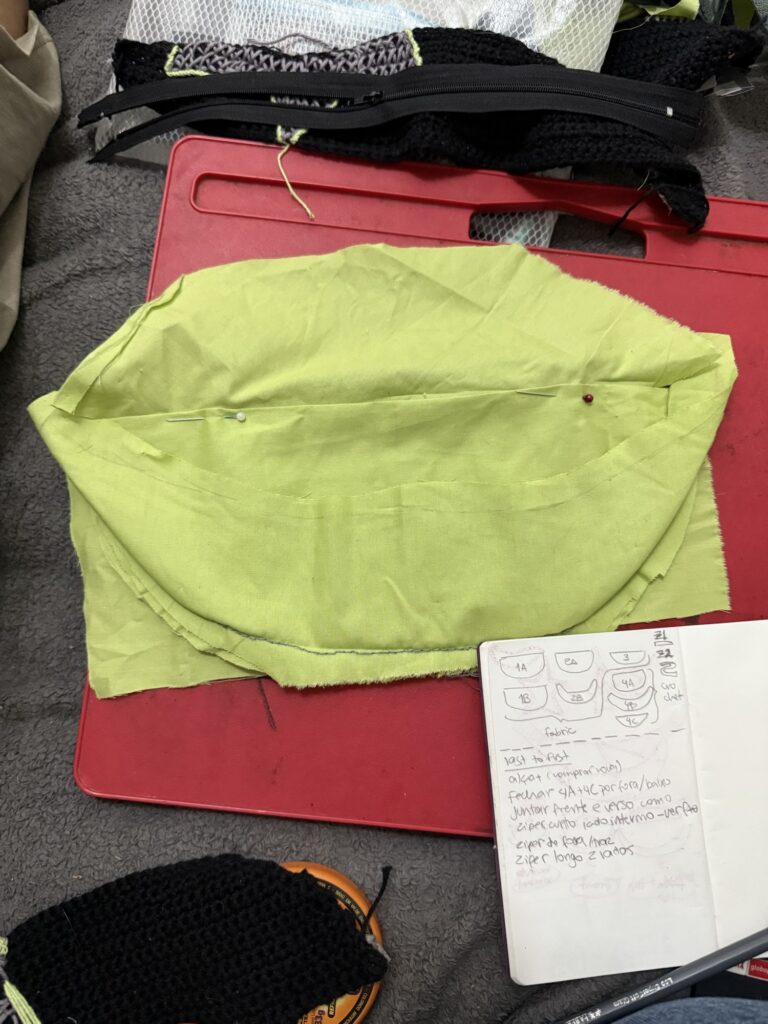
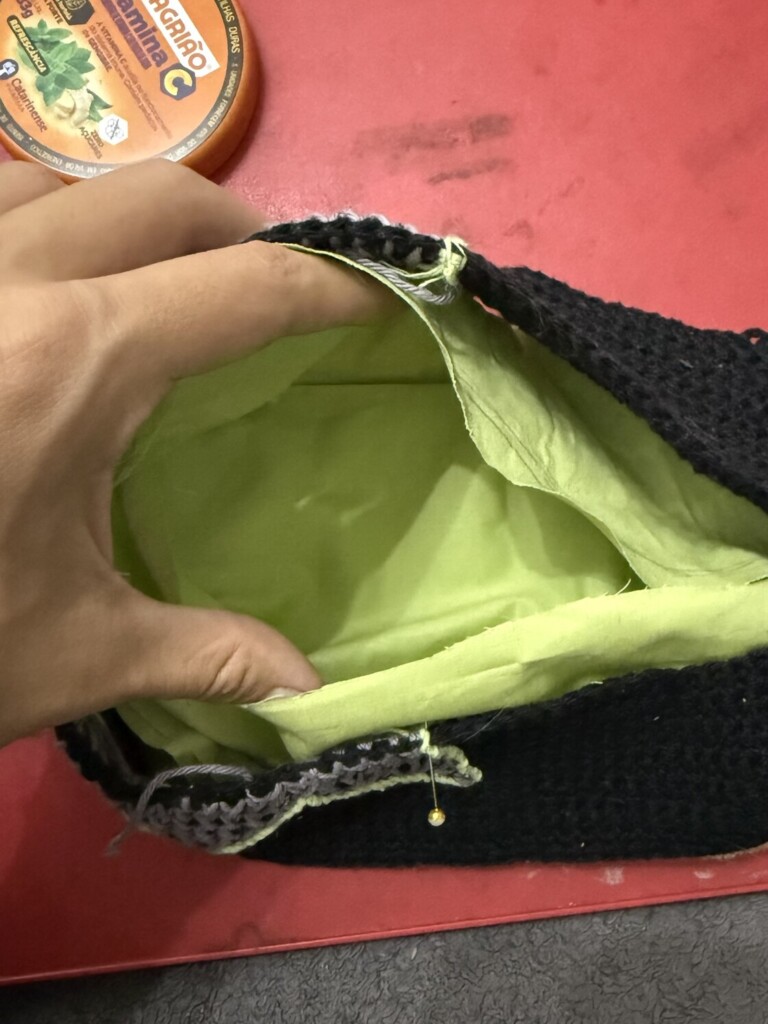
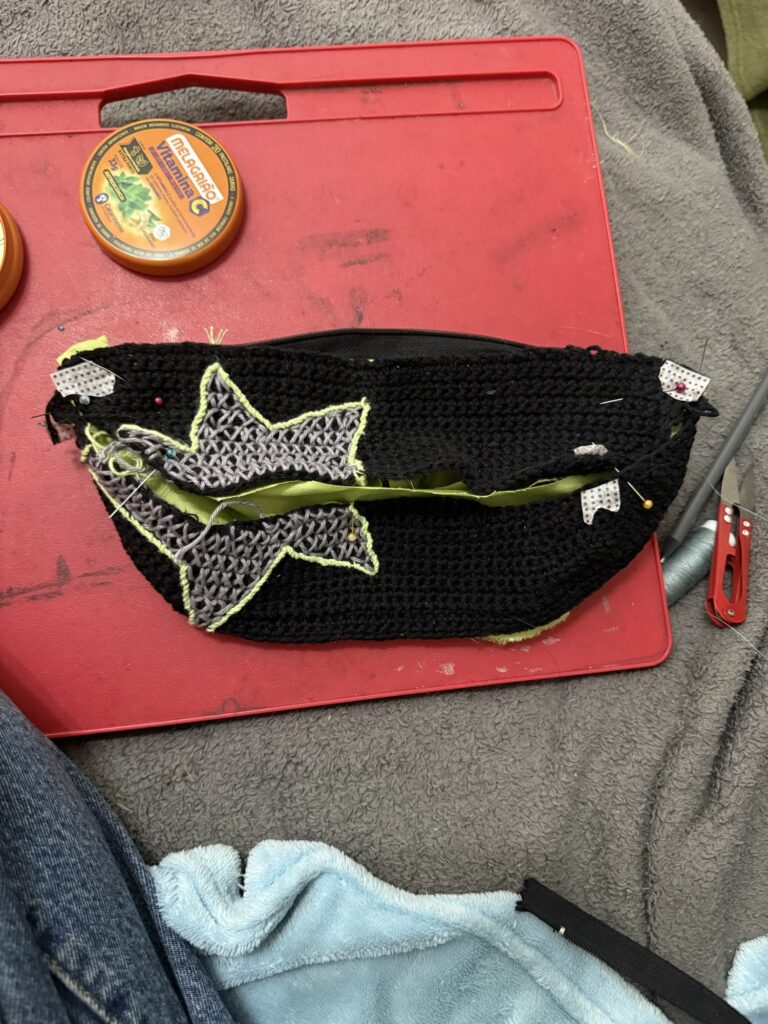
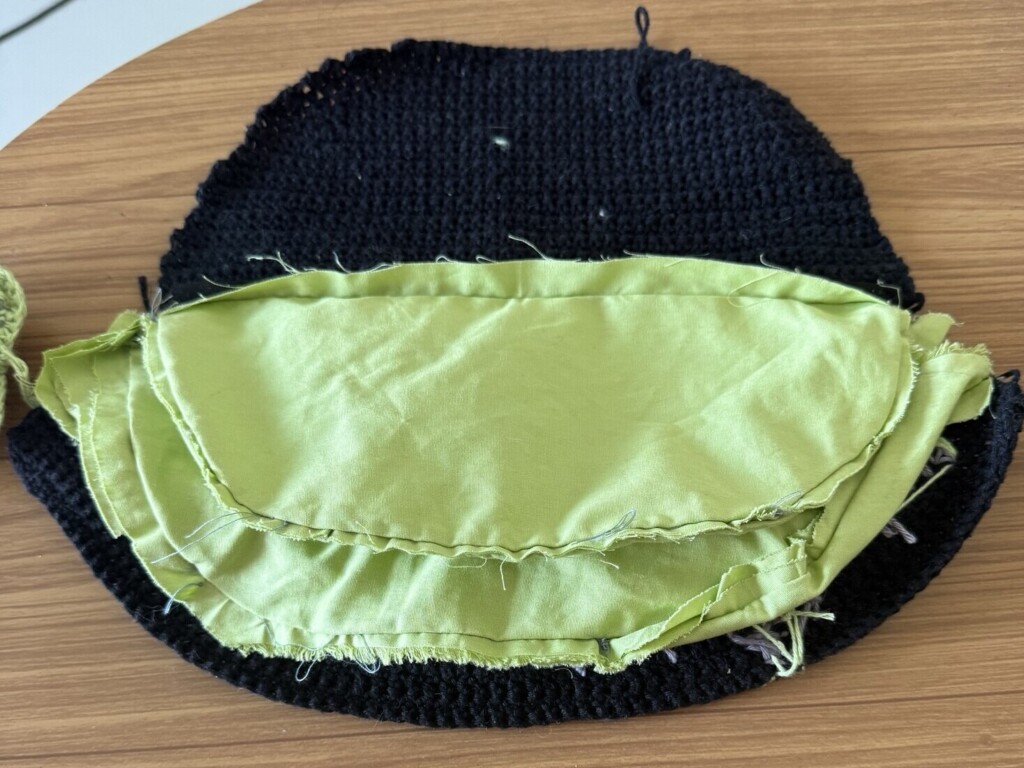
Before sewing everything permanently, I pinned the entire bag together first. This helped me understand the order of operations more clearly.
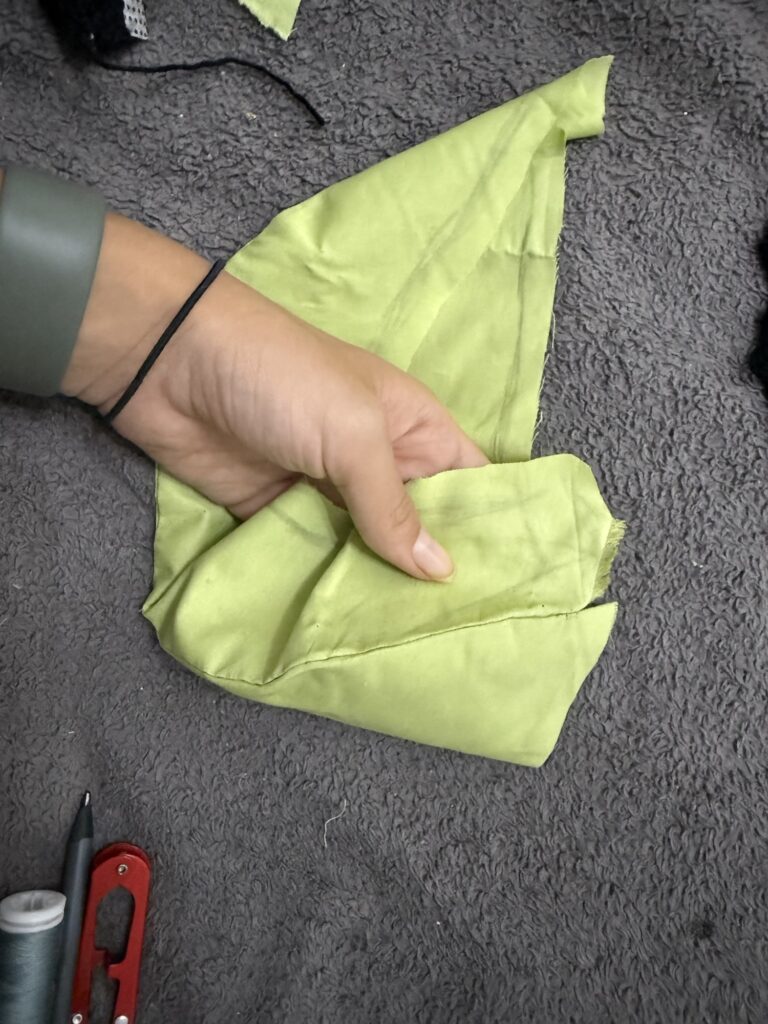
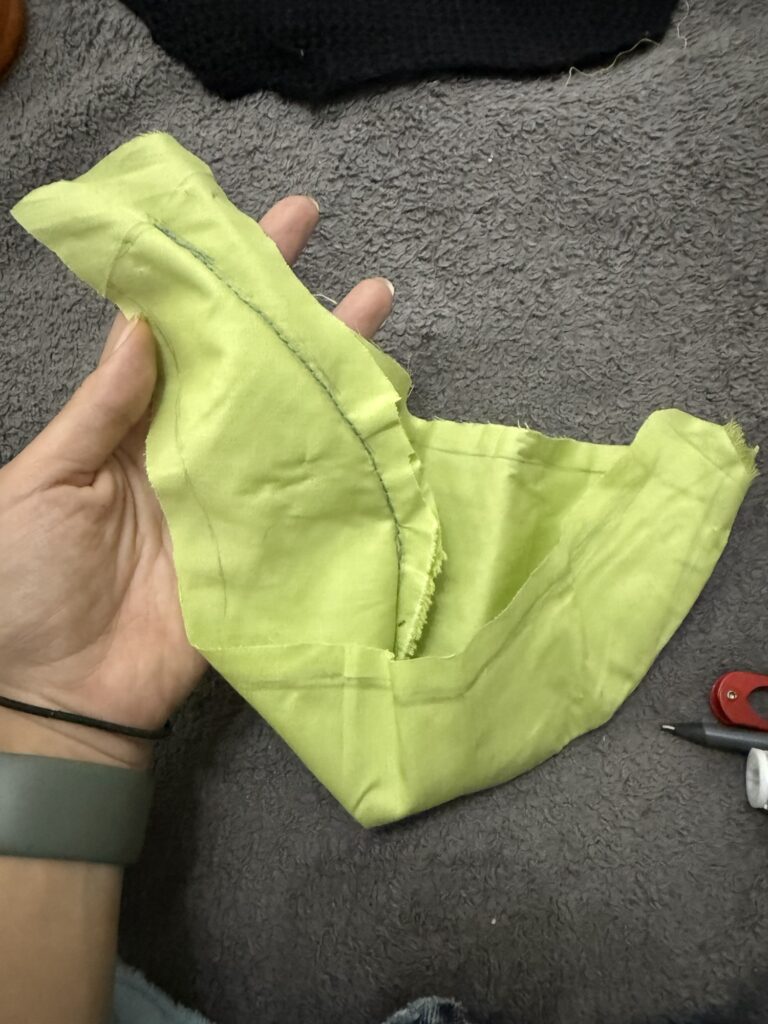
Once I had a working pinned version, I deconstructed it step-by-step and wrote down the assembly order, then rebuilt it in reverse.
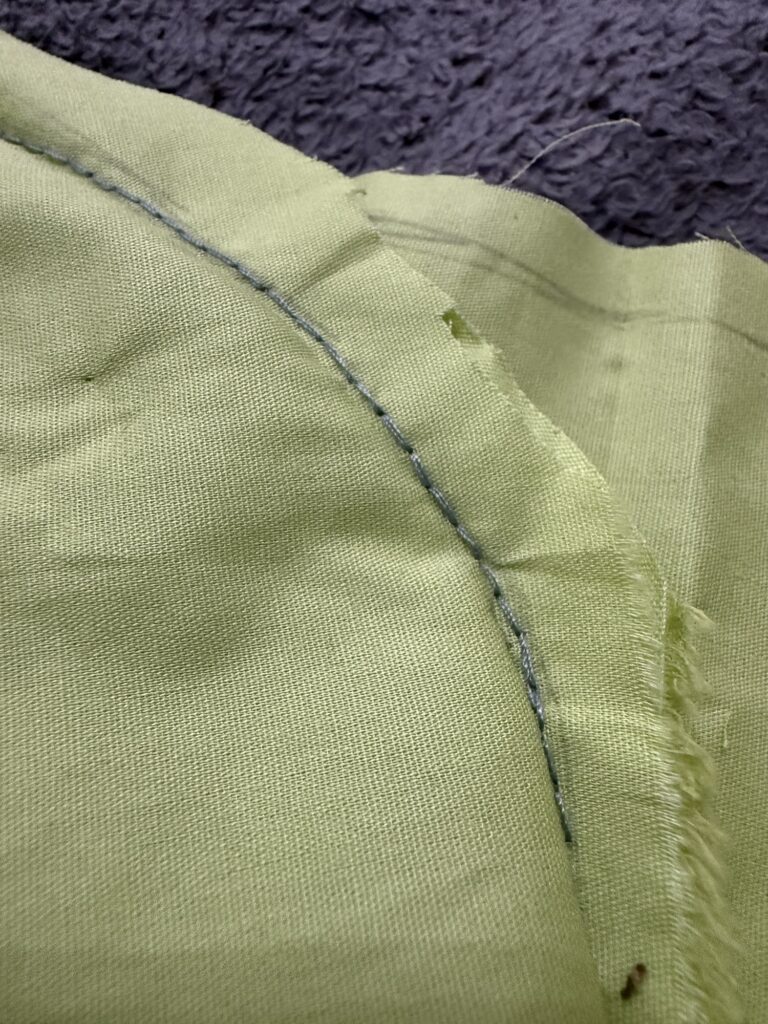
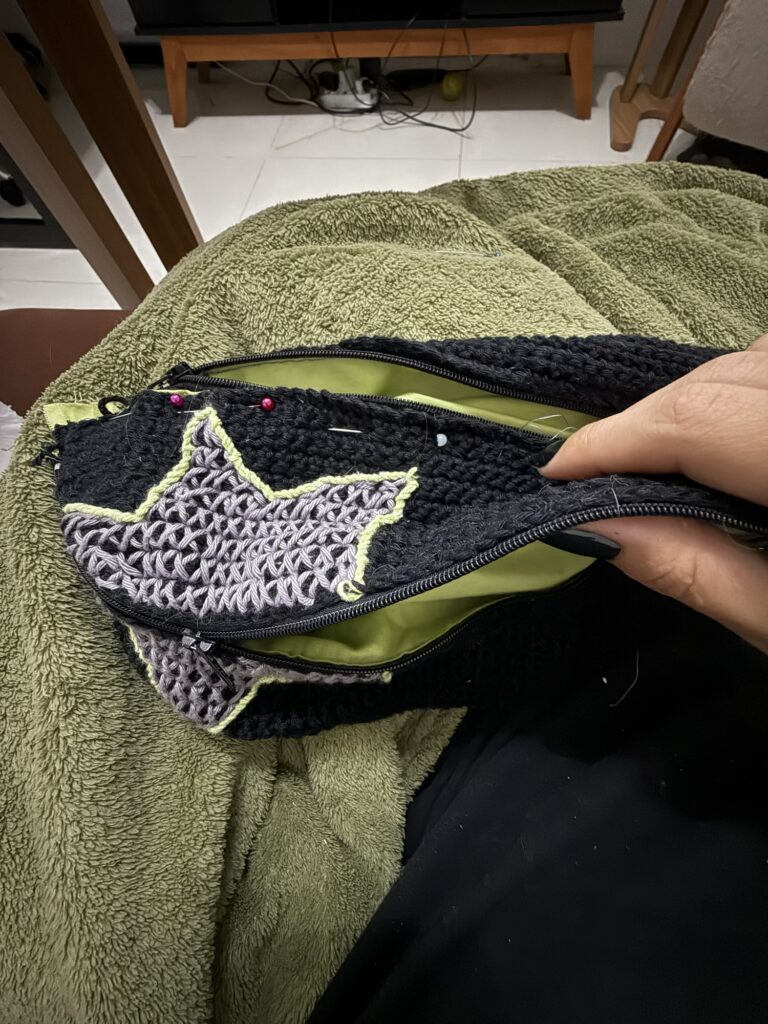
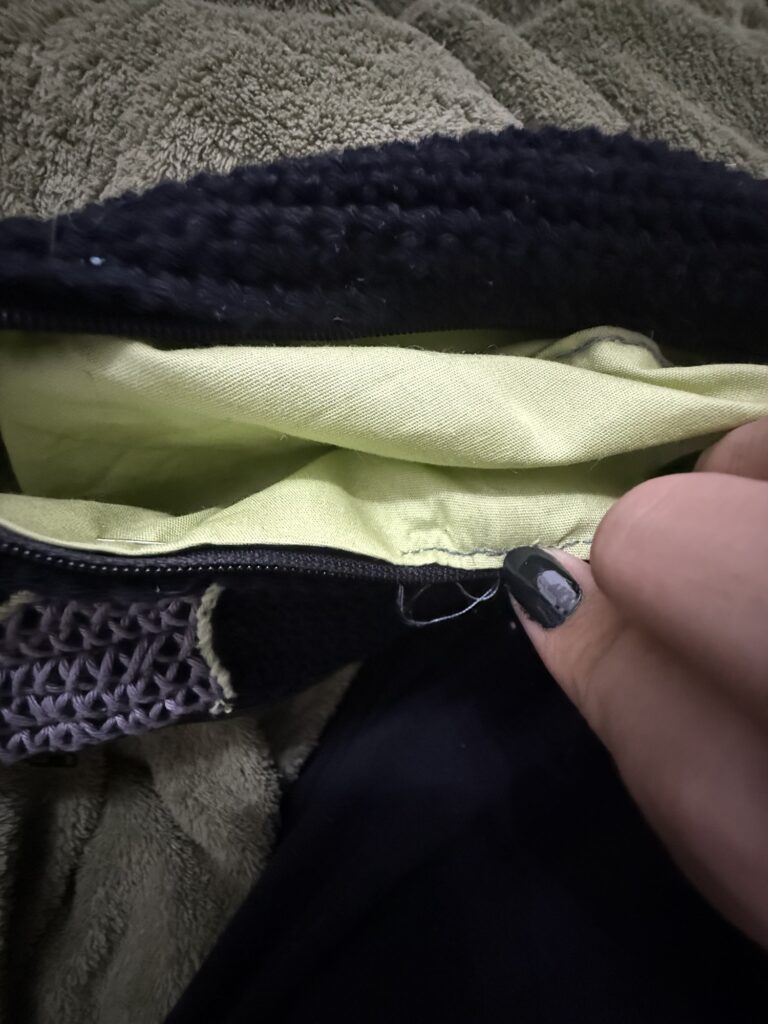
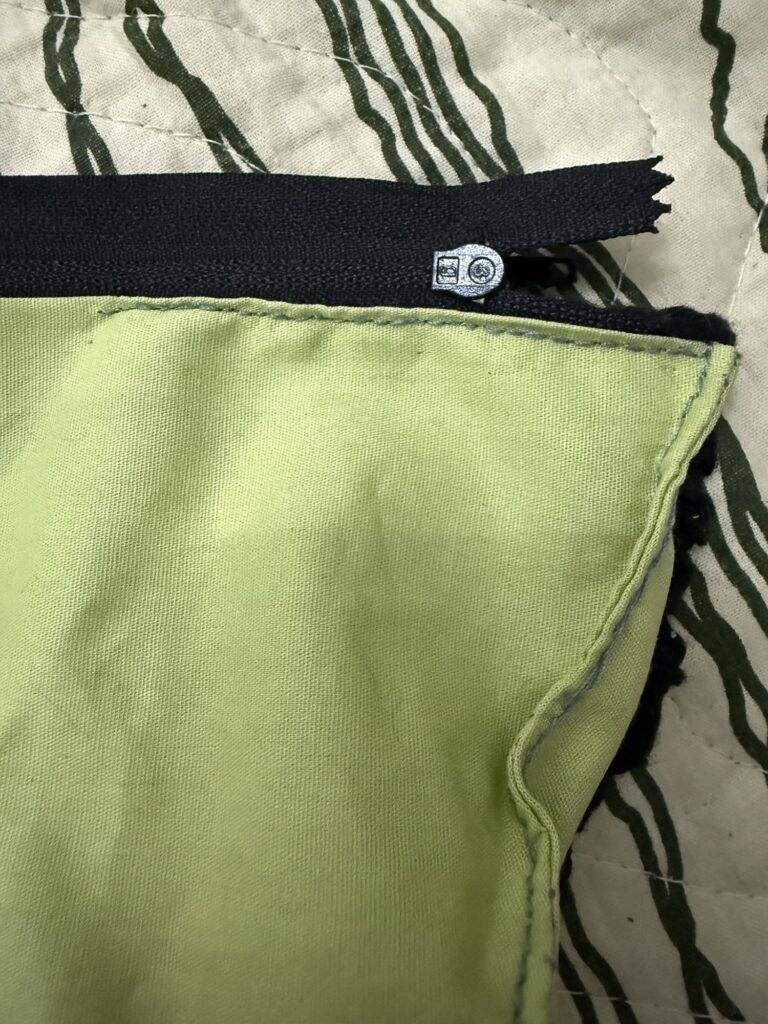
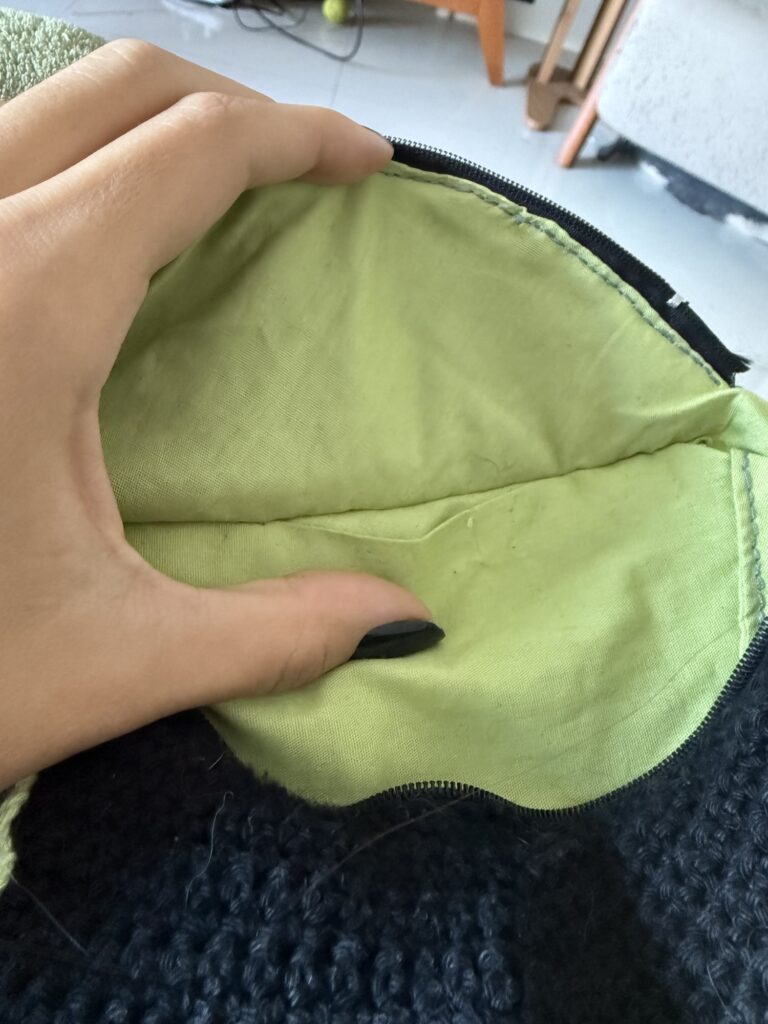
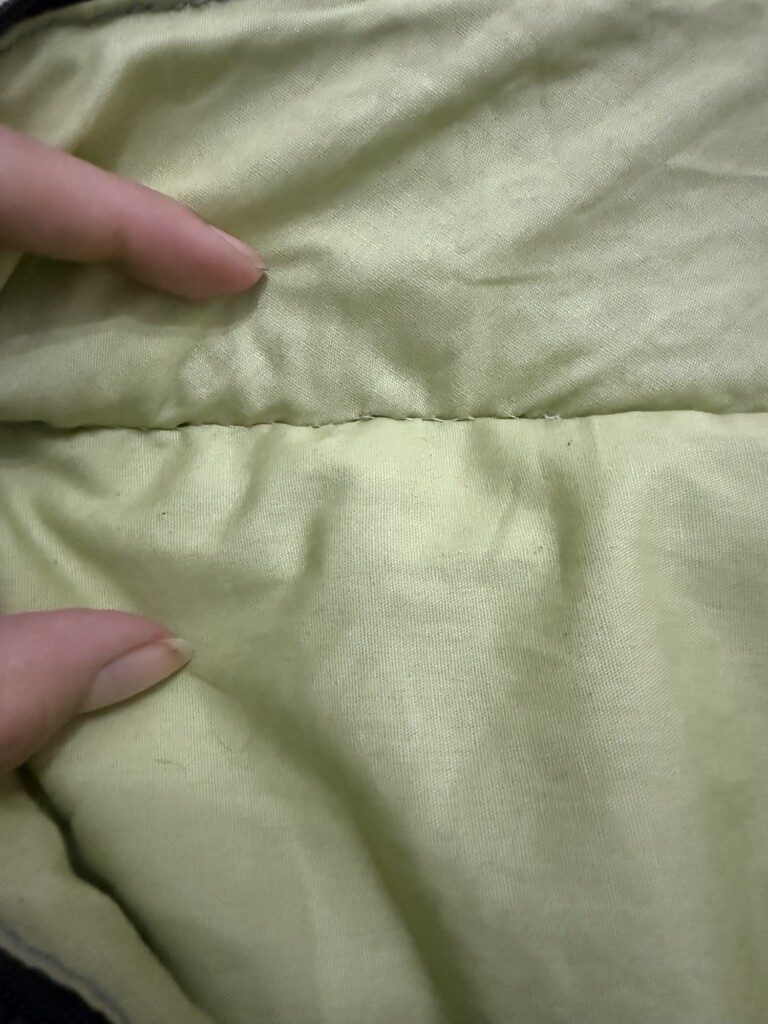
The first step was sewing the bottom edges of both lining pieces, forming the internal pocket structure.
Zippers and internal assembly
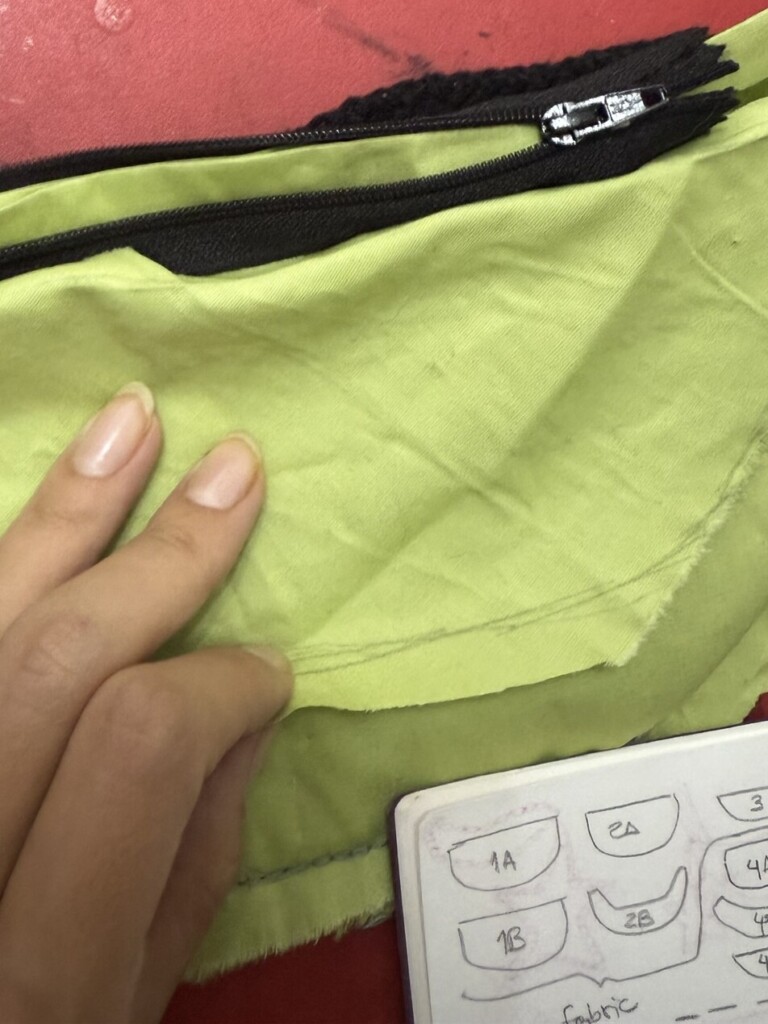
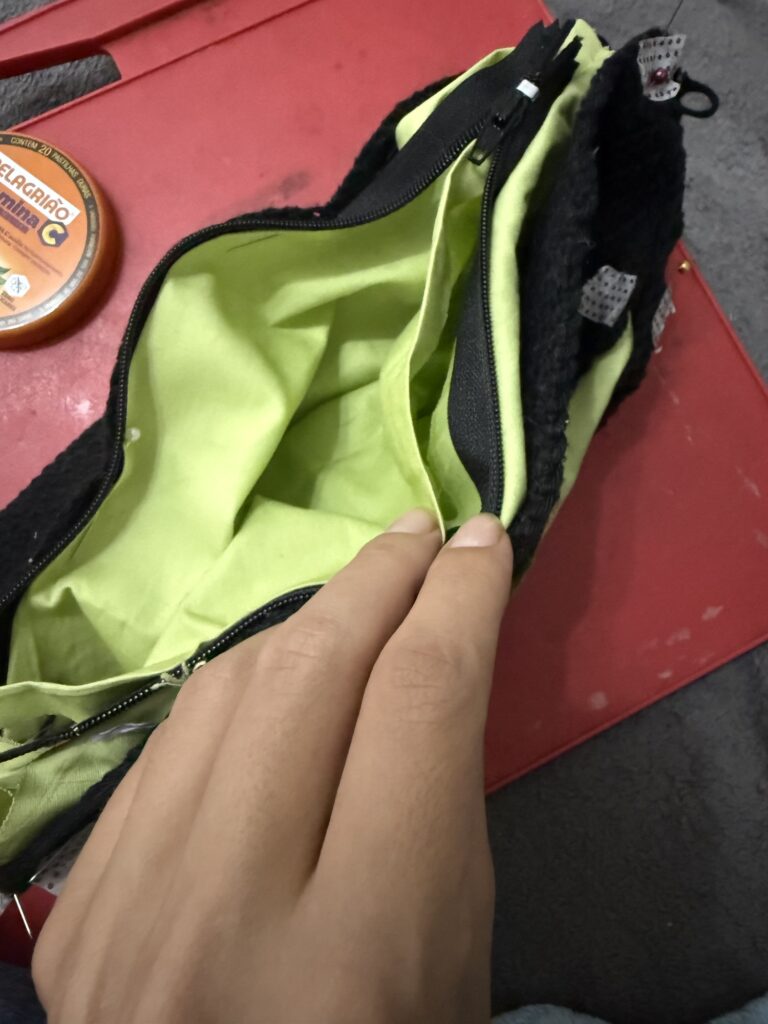
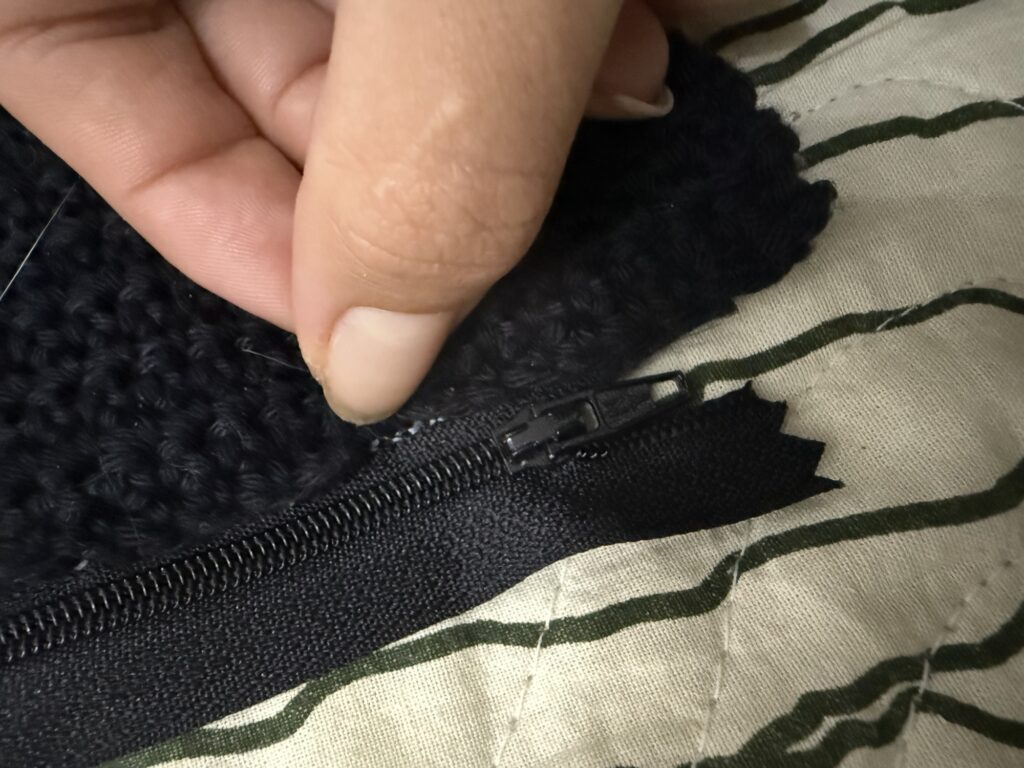
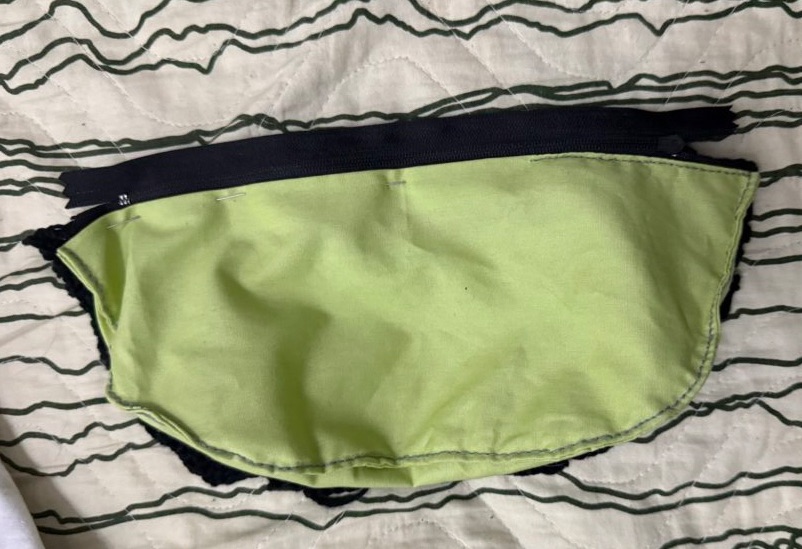
Next, I installed the zippers.
For the front pocket:
- one side of the zipper was sandwiched between the crochet front and the lining
- the other side connected to the matching lining piece
The alignment of the star motif had to match precisely when zipped, which required careful adjustment and re-sewing in some areas.
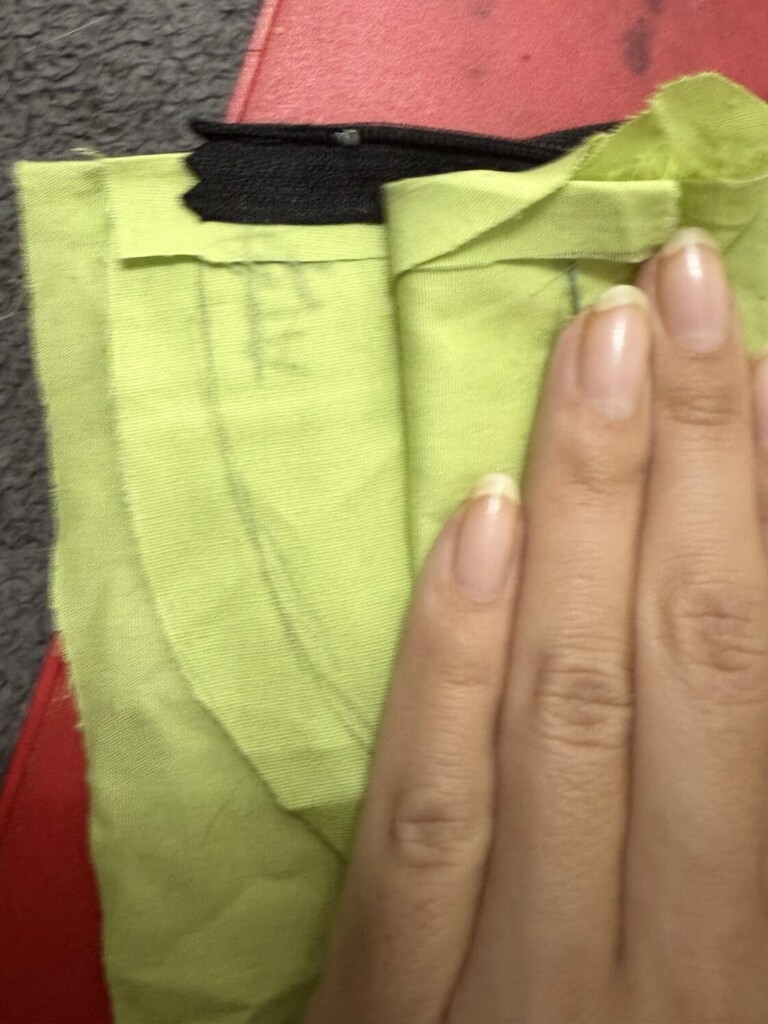
The back zipper followed a similar structure, connecting the top crochet panel and the back lining while maintaining a clean internal pocket separation.
A key challenge here was ensuring there were no gaps between compartments once fully assembled.
Straps and reinforcement
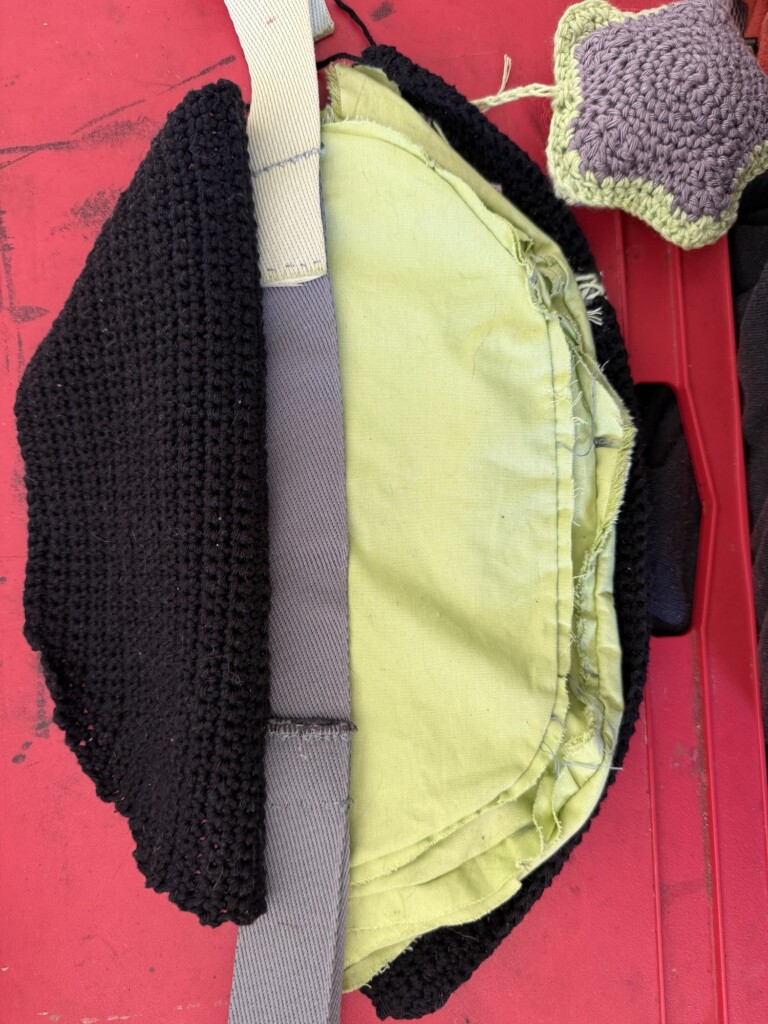
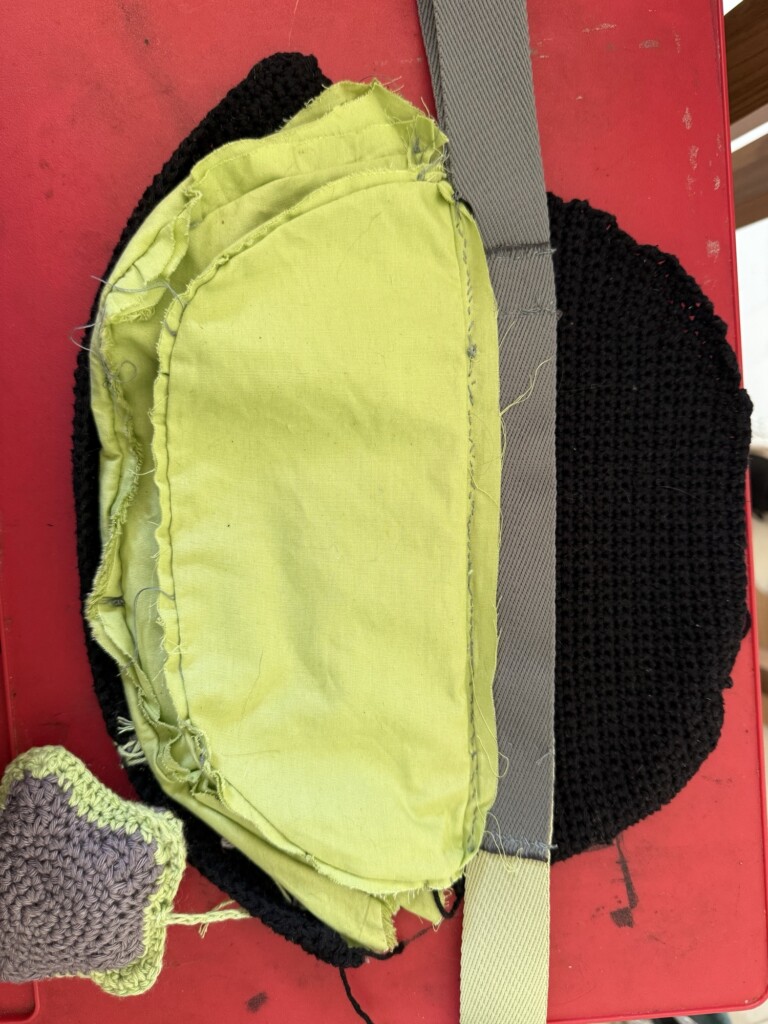
Attaching the straps was one of the more structurally important steps.
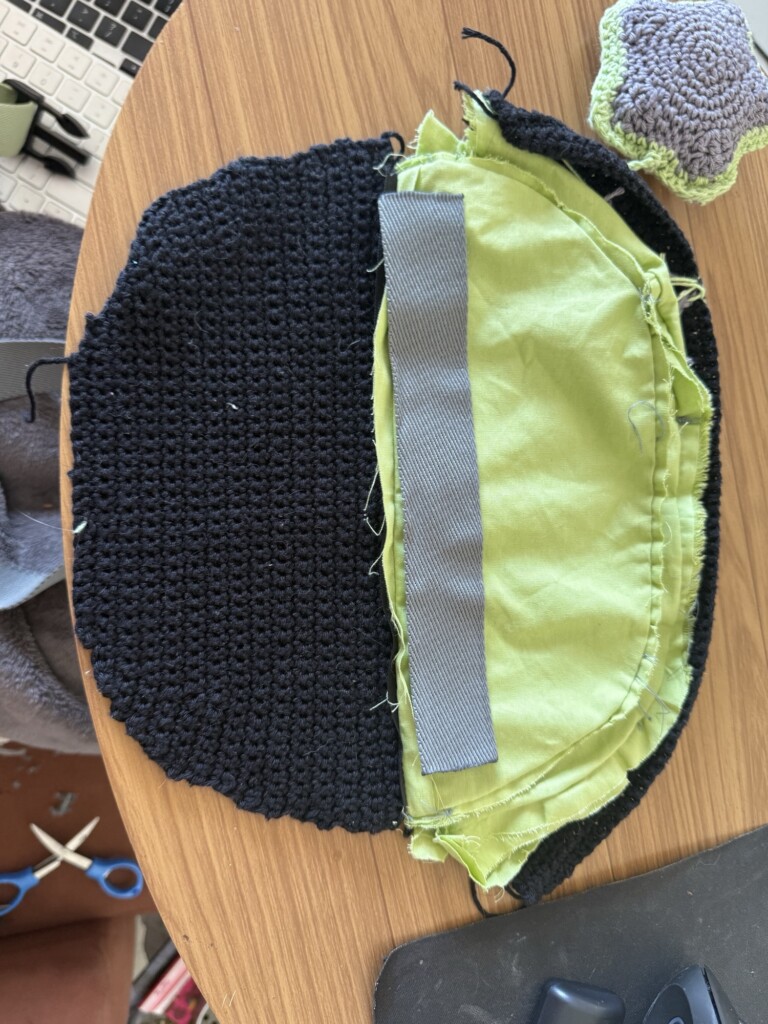
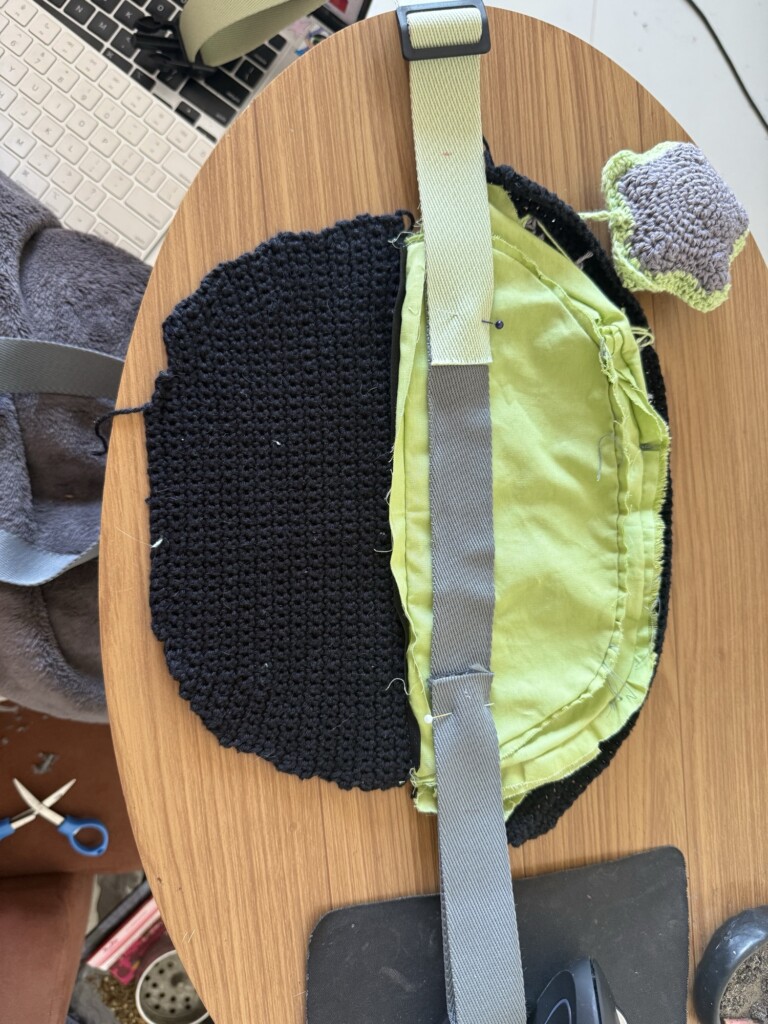
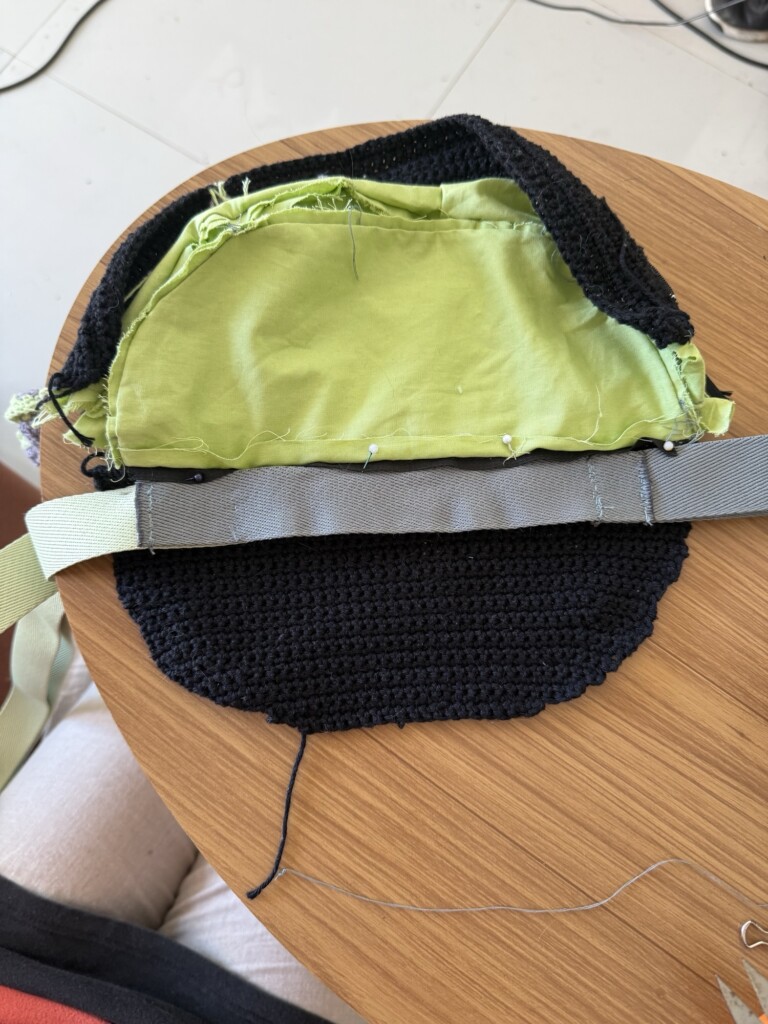
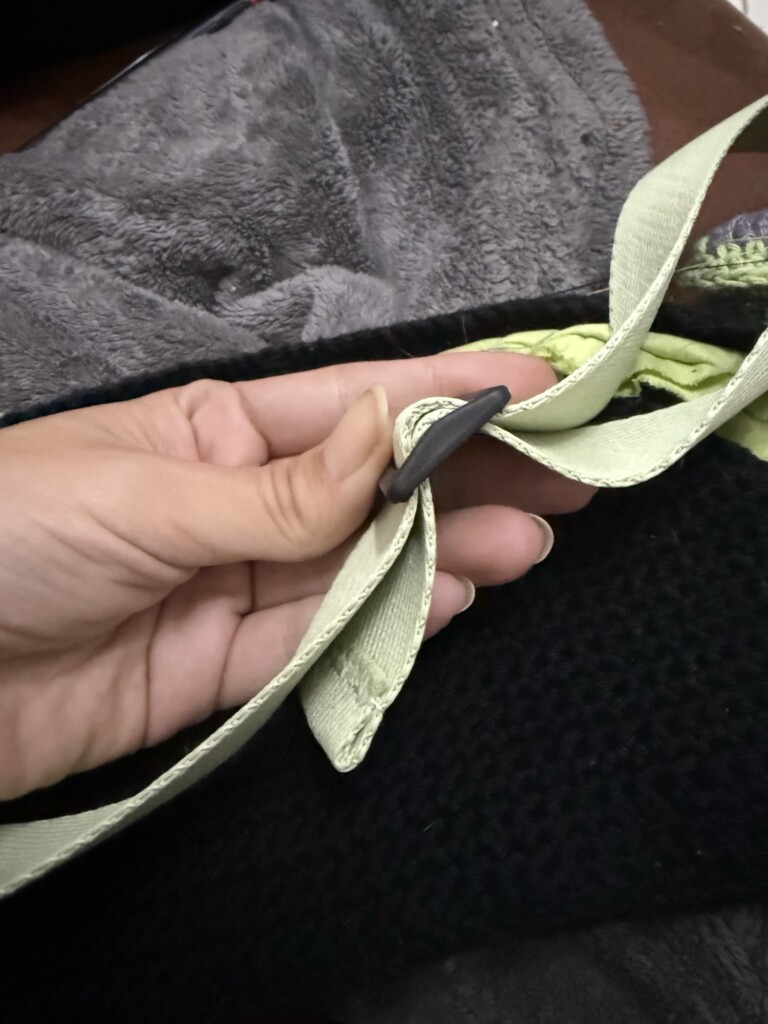
Because crochet and cotton fabric alone wouldn’t provide enough strength, I reinforced the strap system by anchoring it through the middle structural layer of the bag.
I cut a reinforcing fabric strip slightly shorter than the length of the bag and stitched it securely into the central structure between the two inner pockets.
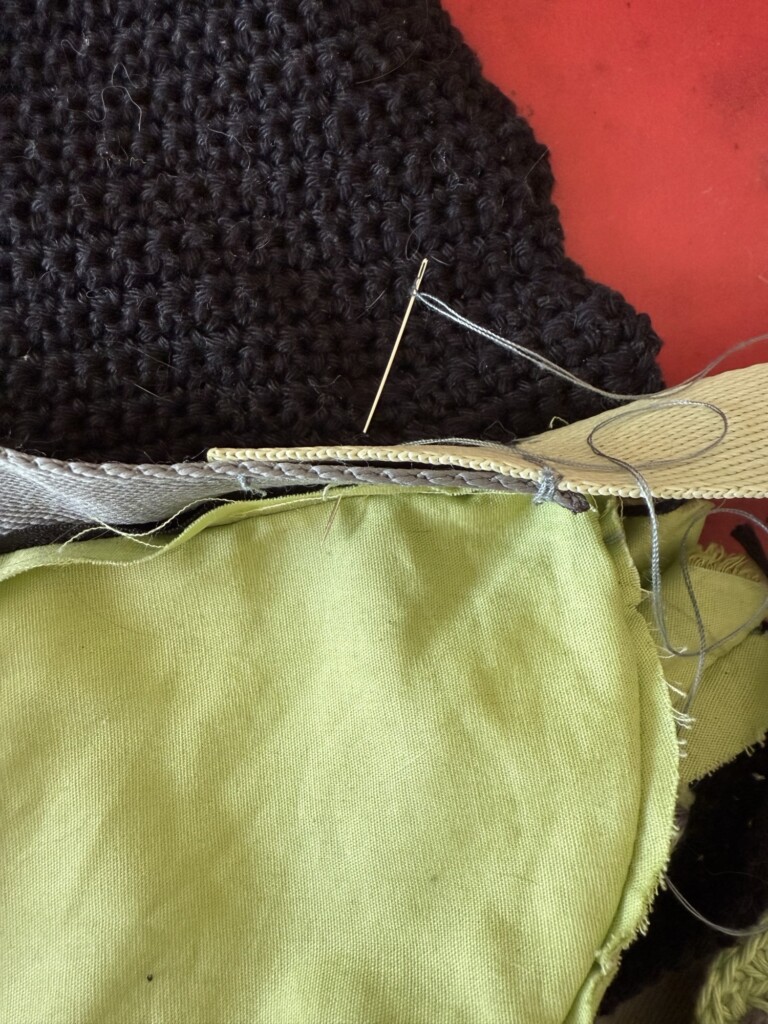
The straps were then attached to this reinforced section, ensuring that weight would be distributed through the stronger internal structure rather than just the crochet or zipper seams.
This helped stabilize the entire bag and improved durability significantly.
Closing the structure
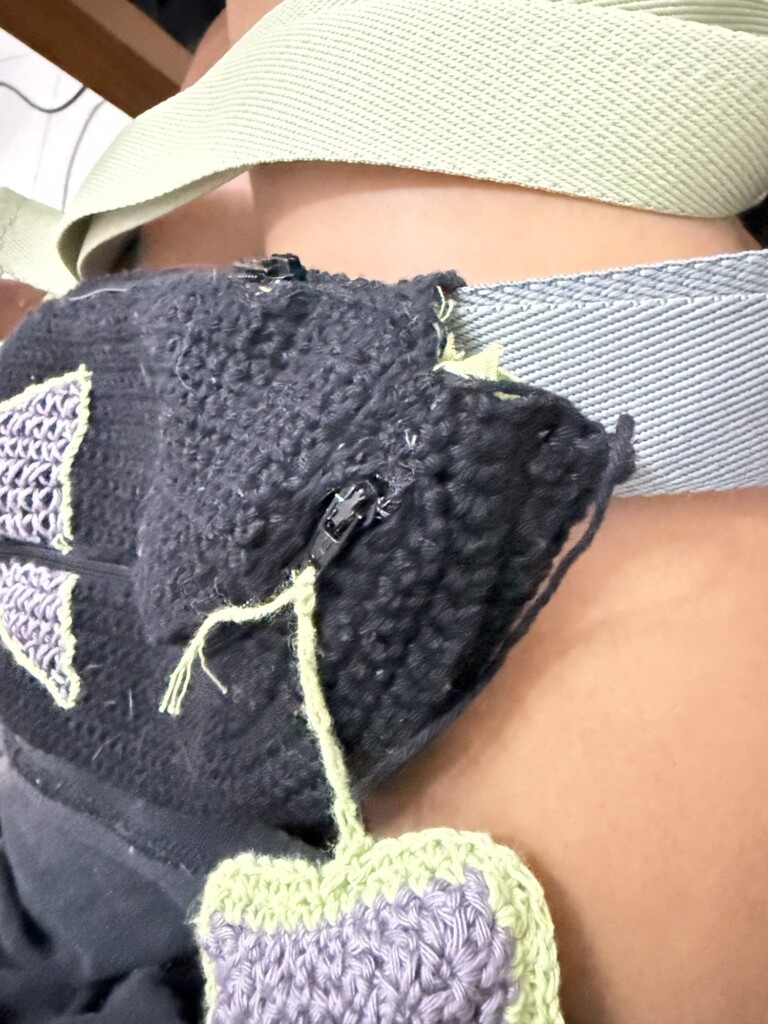
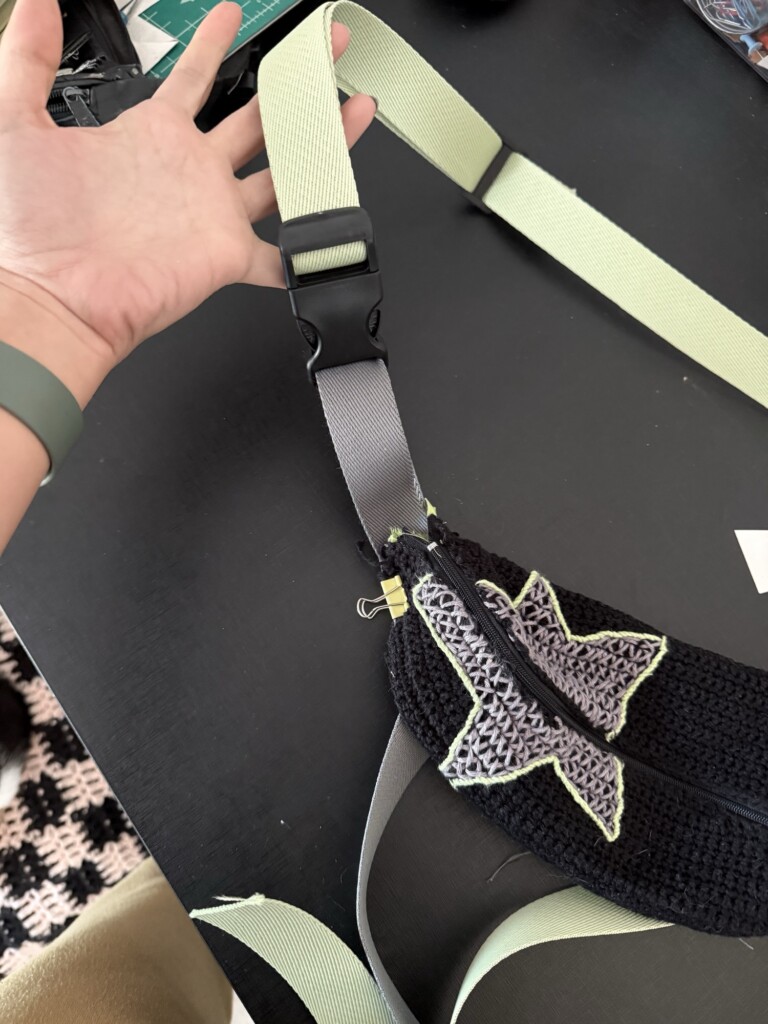
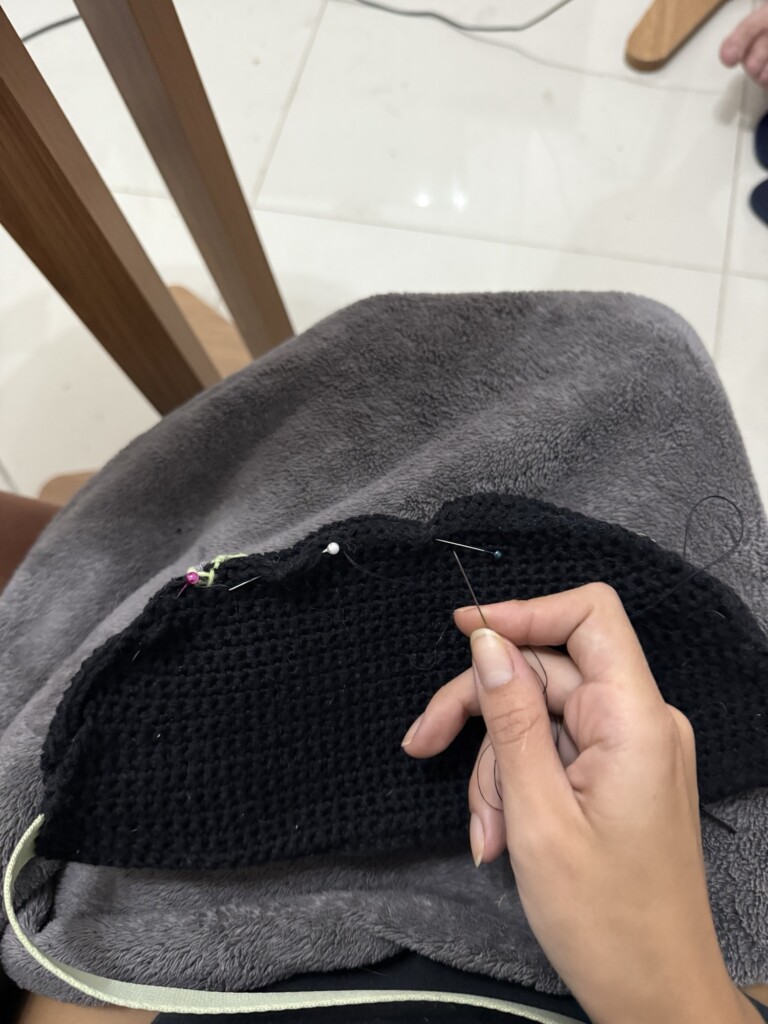
The crochet panels were then sewn together at the bottom using strong black thread and reinforced stitching.
This step enclosed the internal structure and locked the straps into place.
At this point, the bag finally started to feel like a finished object rather than separate components.
Final details: strap sizing and charm
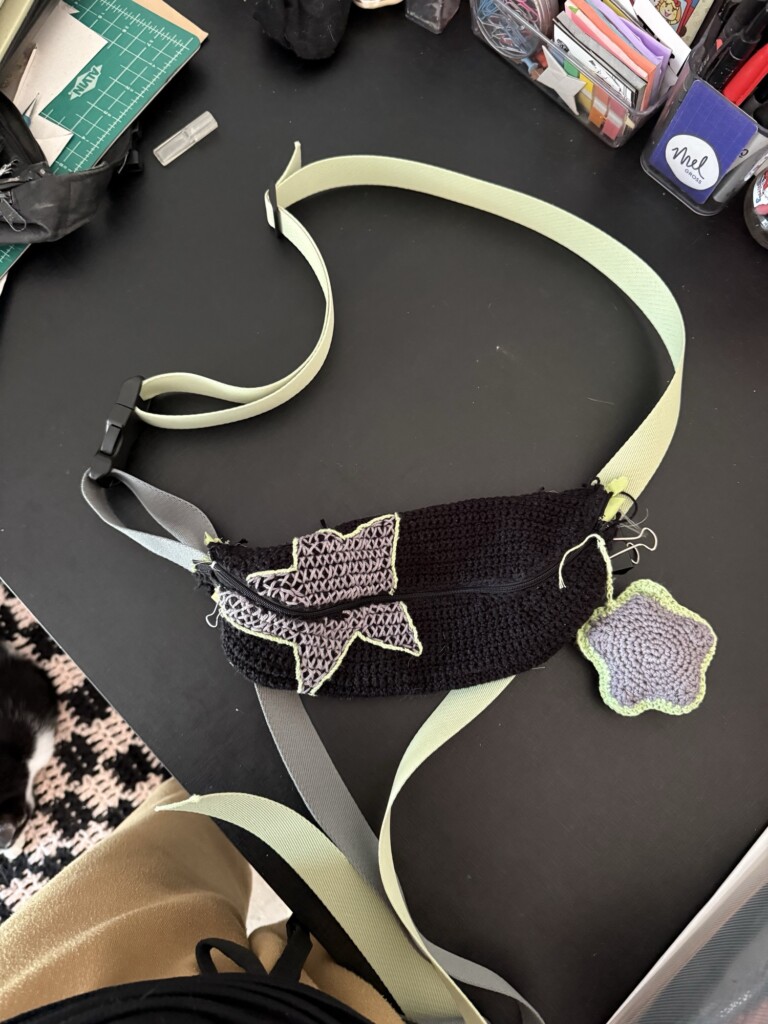
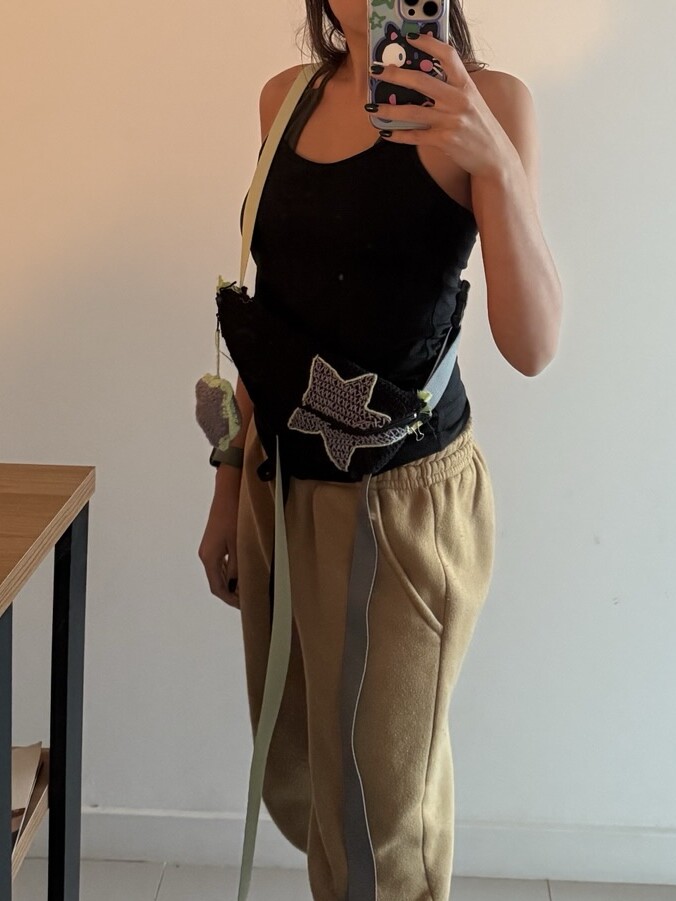
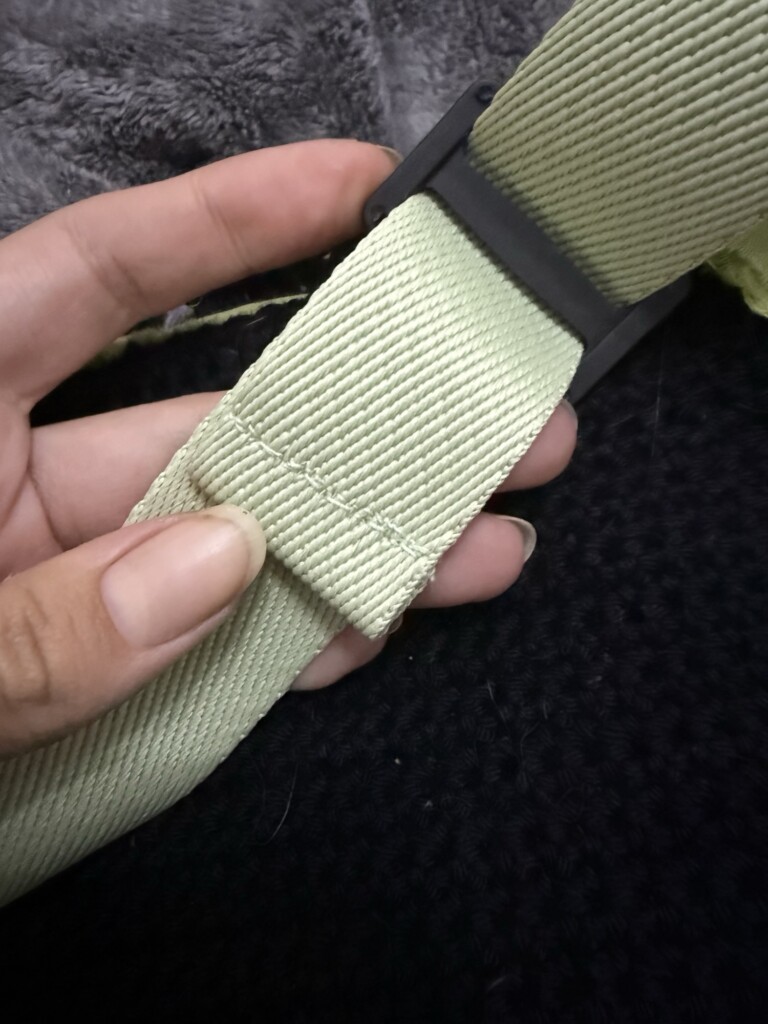
After assembling the main structure, I adjusted and tested the strap length to ensure proper fit and comfort before final stitching.
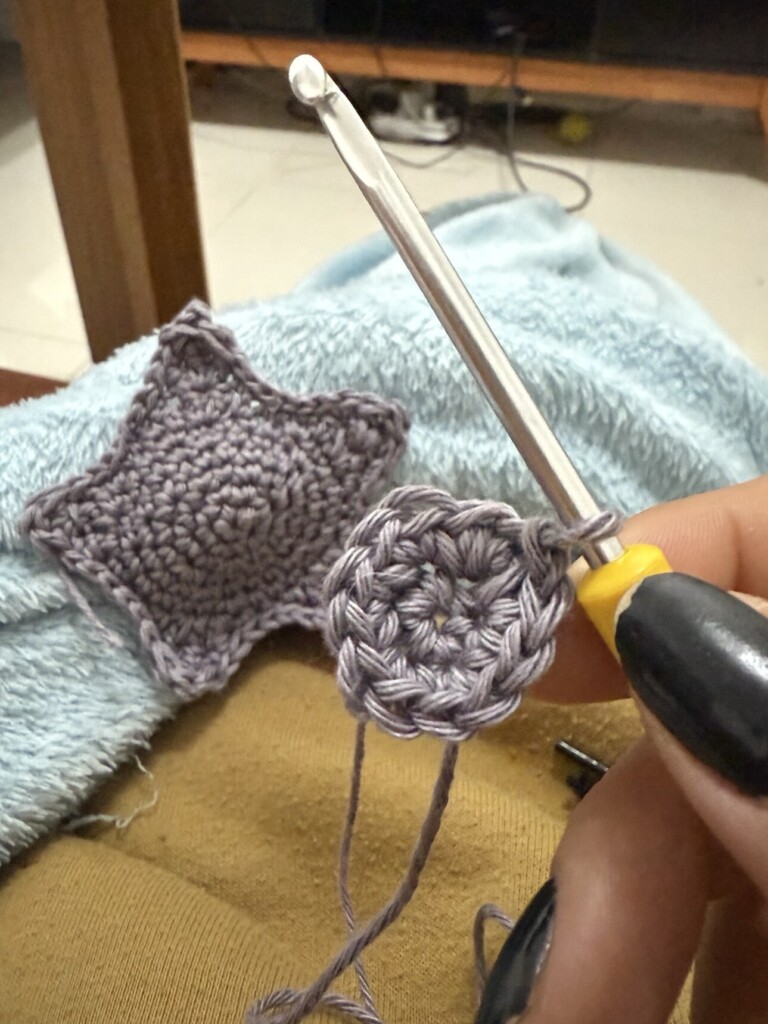
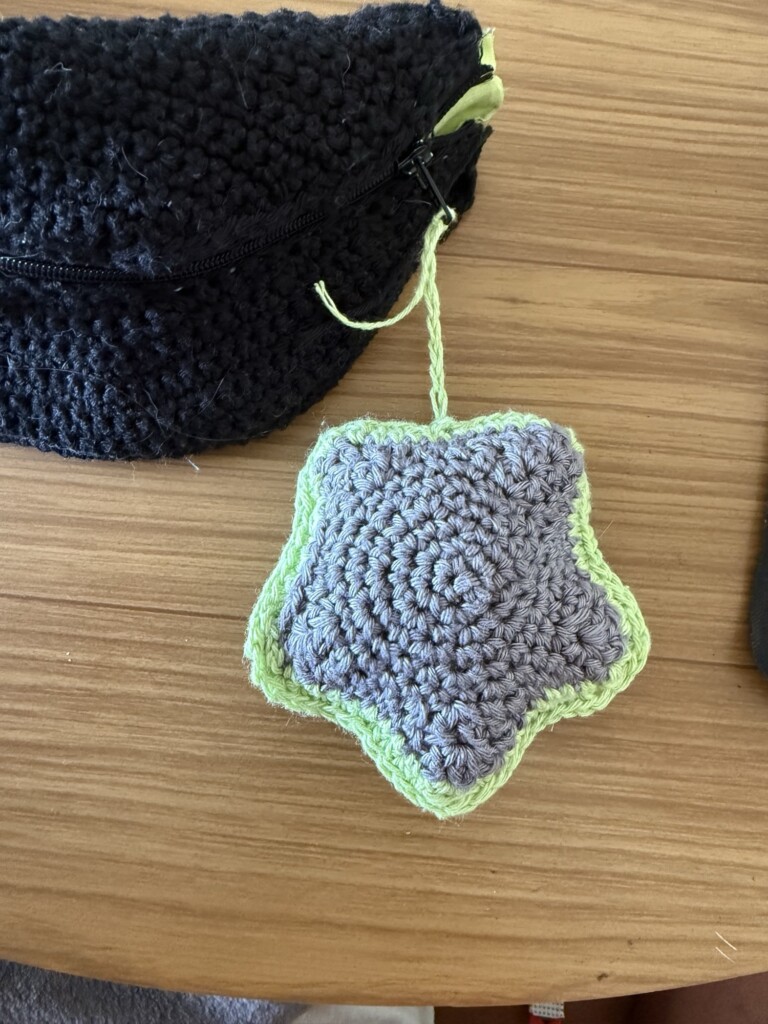
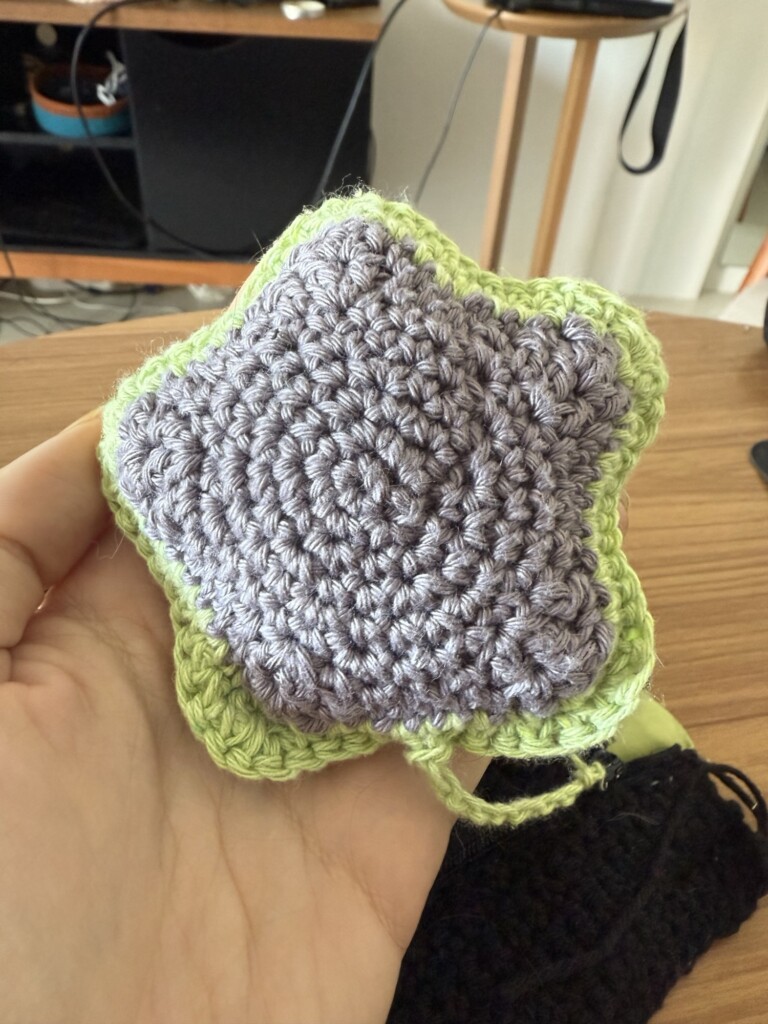
Finally, I created a small star charm to match the main design.
I crocheted it freestyle, made two matching star shapes, stuffed them lightly, and stitched them together. I added a small chain to attach it to the zipper pull.
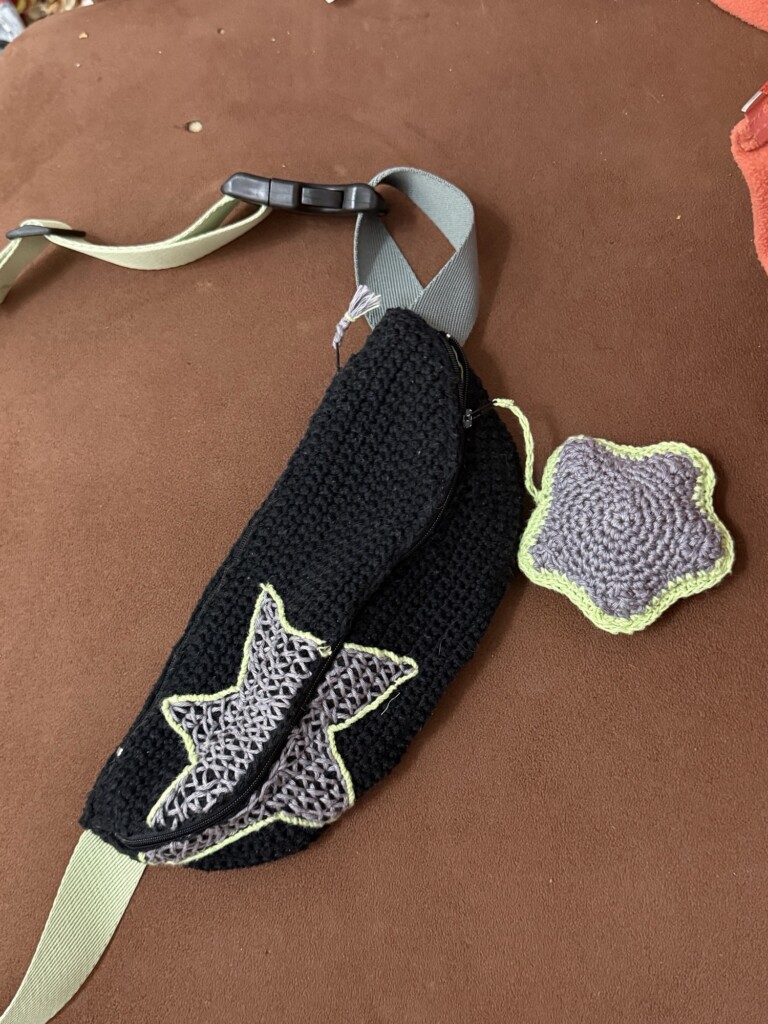
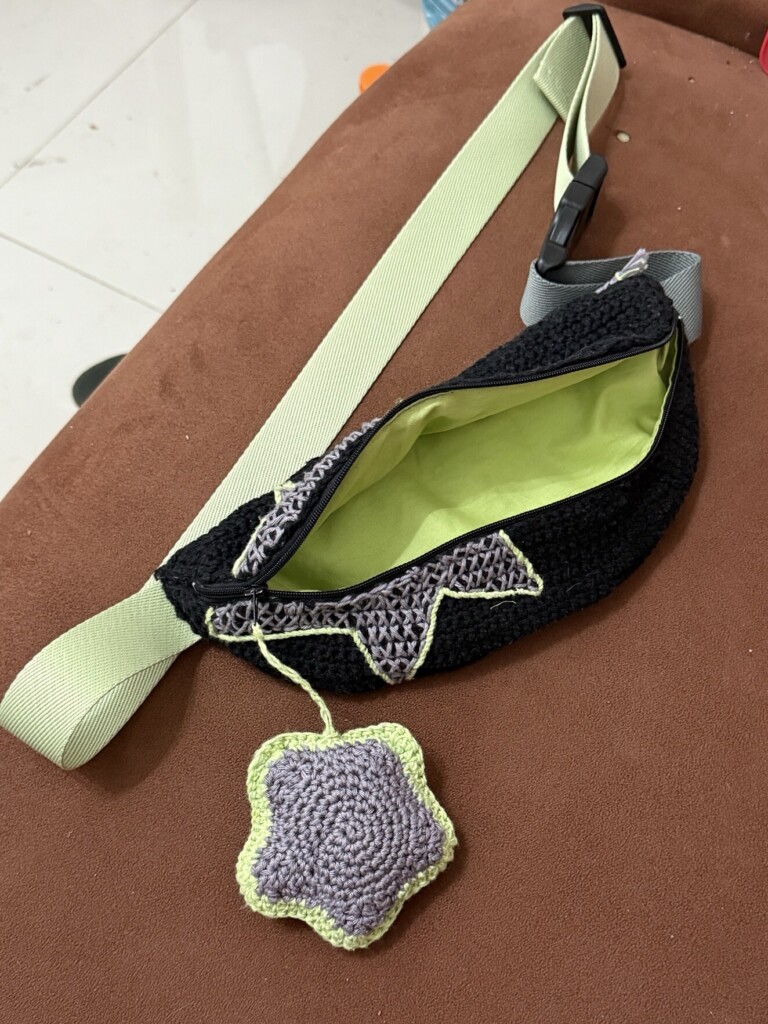
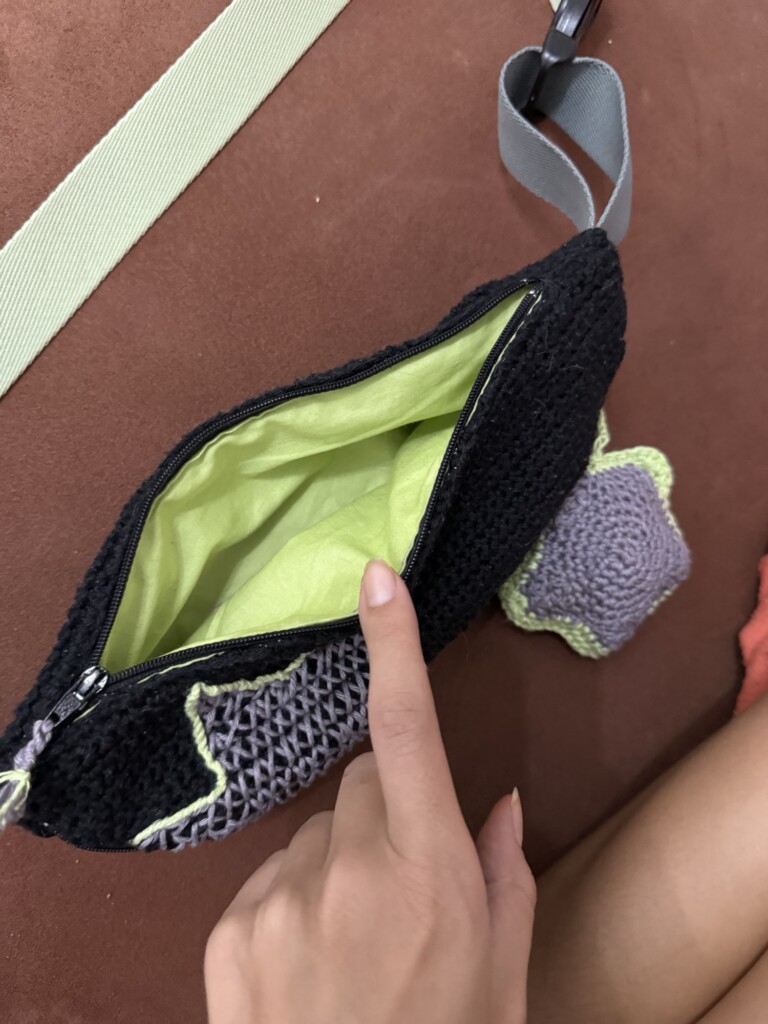
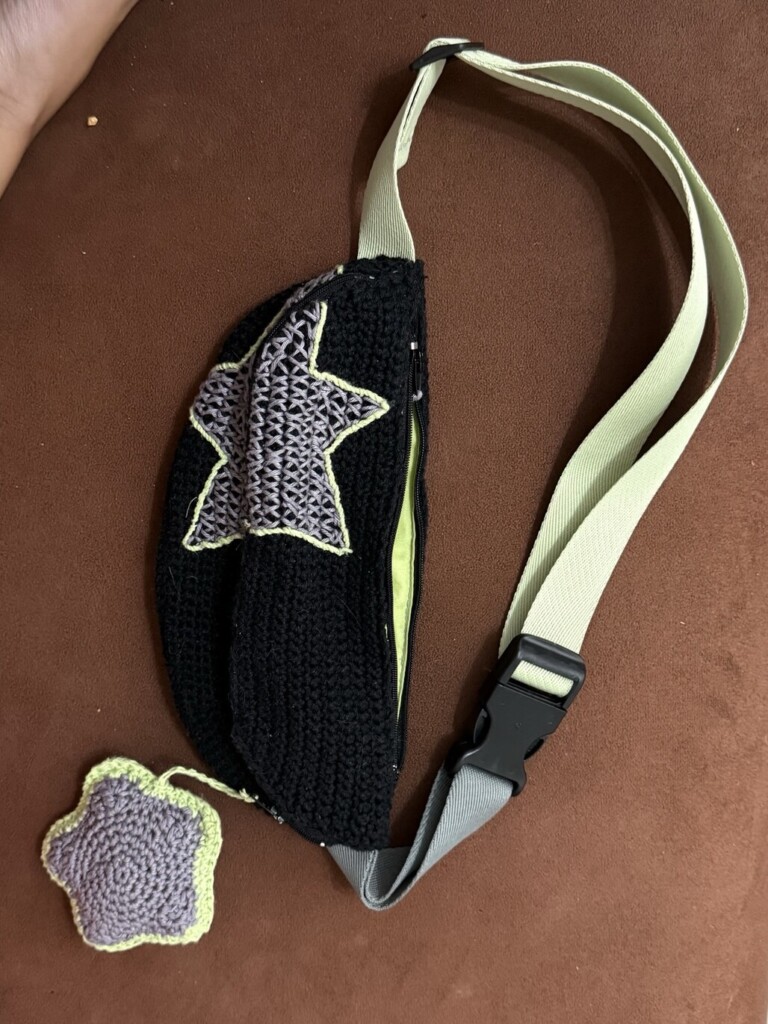
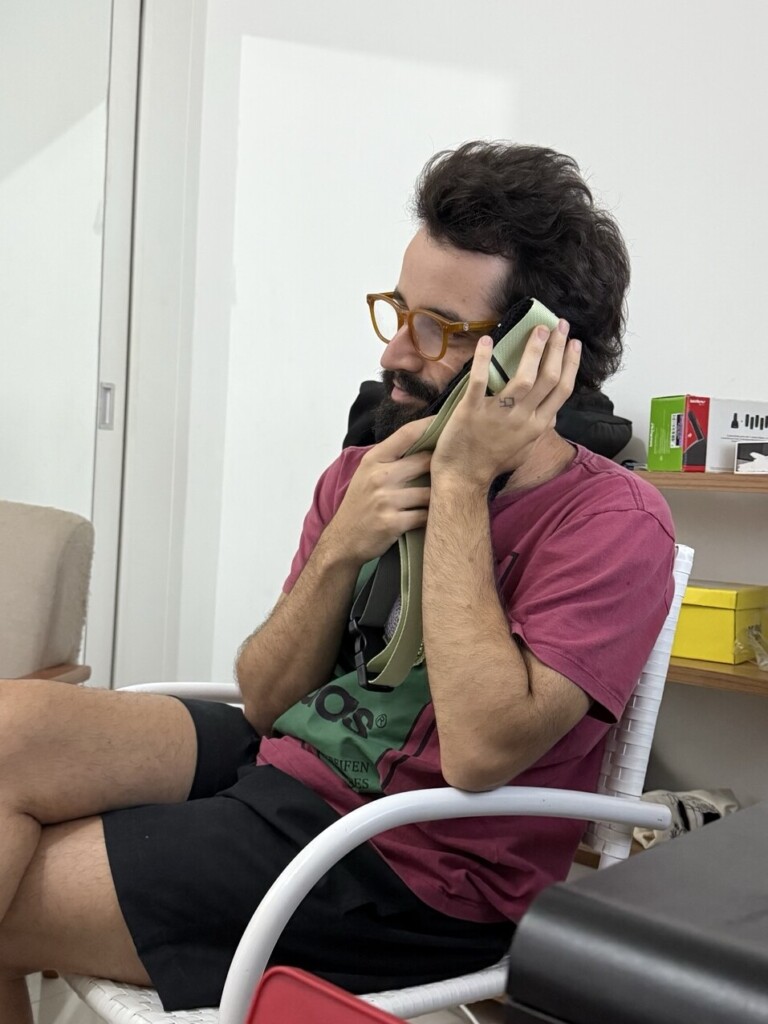
And that is how I created this crochet fanny pack!
It came out both cute and functional, and I’m really happy with the final result. If I were to make one more adjustment, I would probably try to make the embroidered star a bit more filled in, closer to the look of my first trial. Perhaps adding an extra layer of stitching would help create a more solid block of color. That said, I don’t mind the slightly patchy look—it adds to the handmade character of the piece.
I actually finished this project several months ago, and my friend Luiz has been wearing it almost nonstop ever since. It has become part of his everyday look, which is probably the biggest compliment a handmade gift can receive. The bag has held up remarkably well so far. The only repair it has needed was reattaching the star charm, along with the expected wear and slight matting that comes from regular use. I was especially happy to see that the interior structure is still intact and that the bag has proven to be as durable as I hoped when designing it.
This post took me a while to put together because of how complex the project was. Some parts of the construction—especially attaching the zippers and explaining how all the layers fit together—are much easier to do than they are to describe. I hope this write-up is clear enough to be useful to anyone working on a similar project.
Looking back, I think some of the strongest ideas in this design were the overall shape of the bag and the way I reinforced the straps and zipper area to improve durability. If you decide to try any of these ideas in your own projects, I would love to see the results.
Until next time, happy crafting!