The Idea
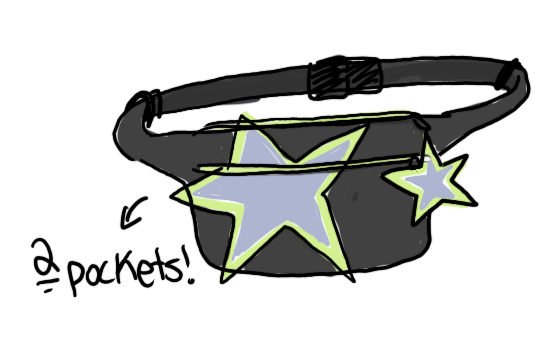
My friend’s birthday was coming up, so I offered to gift them a crochet piece. Their request? A going-out bag/fanny pack. He’s a dear friend with a very bright and fun personality, so I wanted to make him something special, practical, and a bit snazzy. I thought a design with stars would work well for a going-out bag, but it’s a challenging shape for crocheting. My idea from the start was to create a simple dynamic design with two stars, one applied directly to the bag and the second one as a keychain/decoration.
The name, “crochete” comes from a play on words between “crochet” and “pochete”, the word for fanny pack in Portuguese, my mother language. The joke caught on between me and my friends, and it is how we have been referring to it during this long long process. Part of the reason I started this blog is so my friends can catch a break from me going on and on about my projects, haha! Anyway, back to the process:
After researching existing crochet fanny-pack designs, I decided to go with a more square design with curved edges and store-bought hardware for the strap. I wanted it to have two pockets for safety and practicality. (This would later come bite in in the ass, since I have a hard time with adding zippers with liners 😨). I chose the yarn colors, thinking about a scheme that would be fitting for day and night.
I knew this was a hard project to tackle, because a fannypack is a very utilitarian item and usually has a more modern/urban style featuring thick fabrics. So not quite the strength points of crochet techniques! I welcomed the challenge but was strict about the look and feel of the final result, which made it hard for me not to obsess and work in a inefficient way throughout this process, as you’ll see…
First Steps
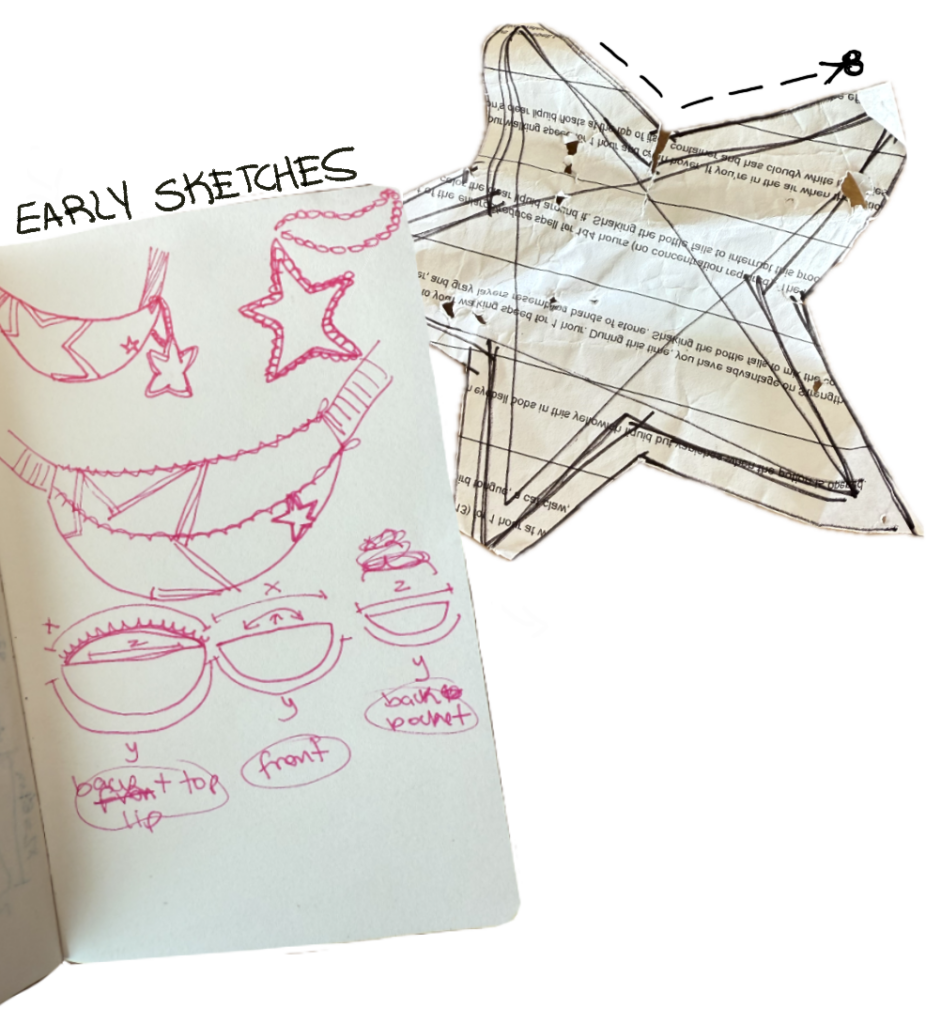
To start my project I drew the design to scale on a piece of paper and cut out the star shape to use as the guide. My next step was to figure out the approach I would take to create the star design: my options were tapestry crocheting (a technique where you switch colors as you crochet to create the designs; it wastes more yarn but the design is seamless integrated in the fabric) or classic embroidery on top of the solid crochet piece.
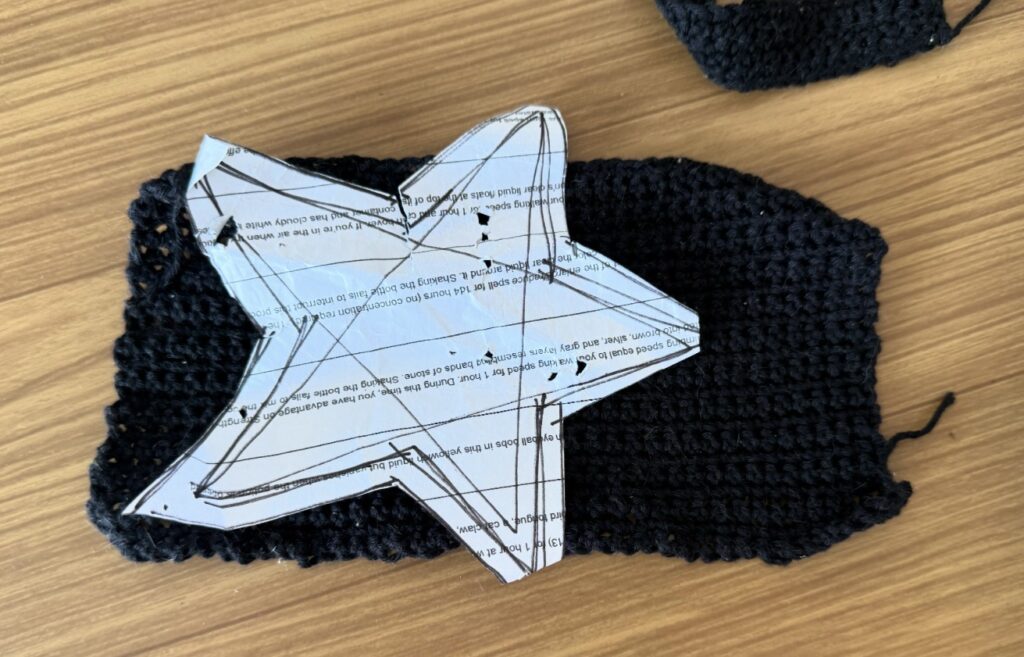
I initially was interested in trying the tapestry technique, since it was new to me and I saw great references, but after some patience-testing trials, I had to reconsider my approach.
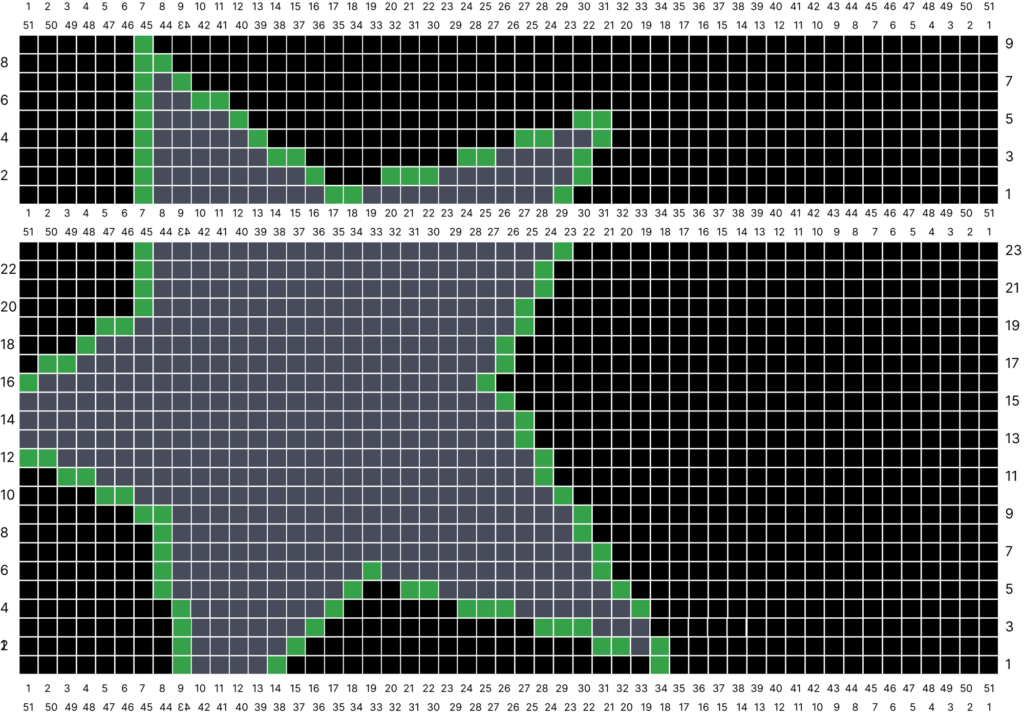
The problems I faced with the technique were the following:
1. Not really a problem since I liked the result, but the color-switching technique lets the color you are carrying through (not the prominent color of any current stitch) show through. So the fabric had bits of green and purple seeping through. This was worsened by the fact that I chose a thin yarn to work with.
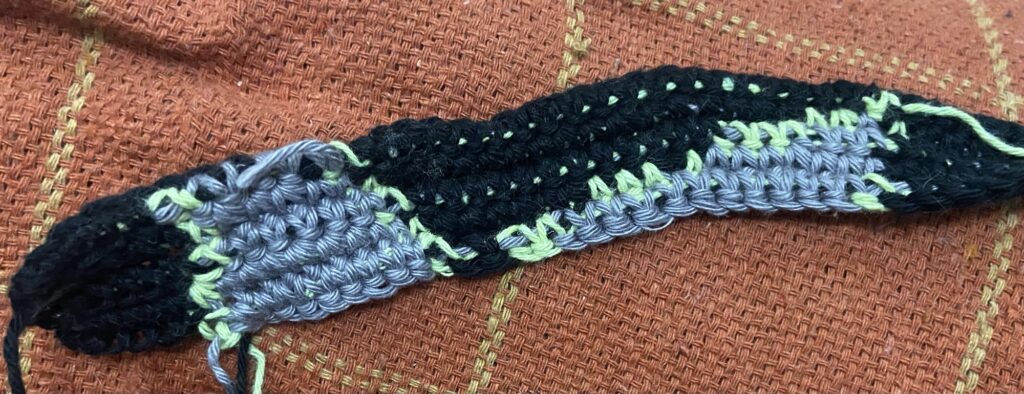
2. Also caused by my choice of thin yarn, I had a really hard time keeping my strings organized as I switched colors back and forth… I’m sure I could work it out with some patience, but it was not looking like this was the appropriate technique for this yarn, and therefore project. I chose a pretty thin yarn to achieve more of a fabric feel and keep that modern vibe, but it did not match the tapestry crochet – or at least not as my first go at it!
3. The border of the star, done in the mint-green, was not bold and solid enough for it to pop. I wanted it to be quite graphic, and as clean as possible, and that was not what I was getting from this technique.
Unhappy with the results I was getting, I started to consider embroidering the design on top of the crochet pieces instead. Little did I know there were going to be lots and lots of tests and re-dos with this approach too. Looking back, I should’ve started by doing some swatches and technique tests. It would’ve saved me a lot of time, but then it wouldn’t be my chaotic, creative process, would it?
Embroidering
I chose a a cross-stitch technique to achieve the “solid color” result for the star I was looking for. However, the problem was how much this process distorted the piece. I was using a doubled thread of the same thickness of the crocheted base. I was also doing small stitches almost every crochet stitch, which was enlarging each stitch significantly after a few rows. This resulted in a distorted rectangle that I was sure would bring me problems in shaping the fanny pack down the line…
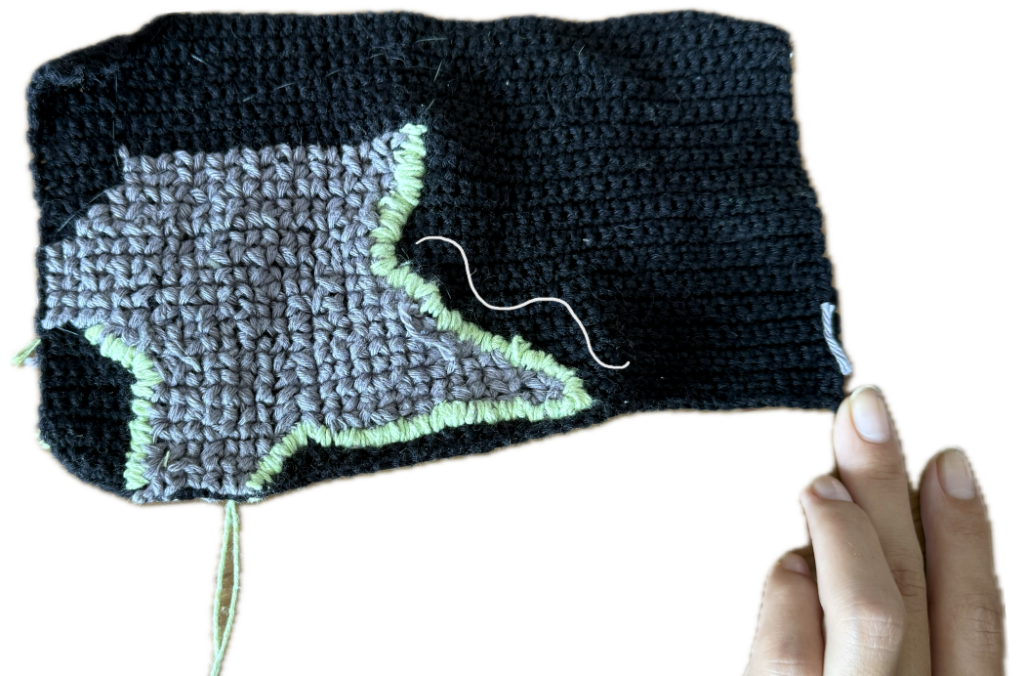
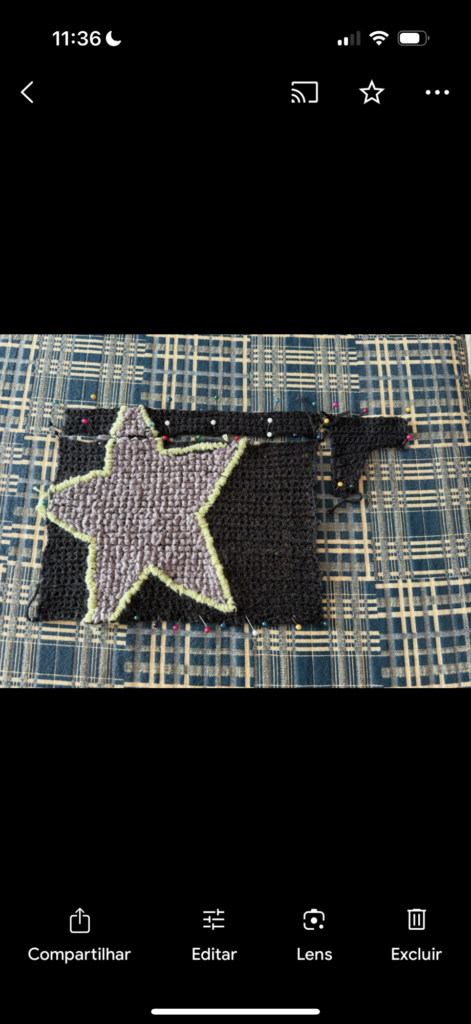
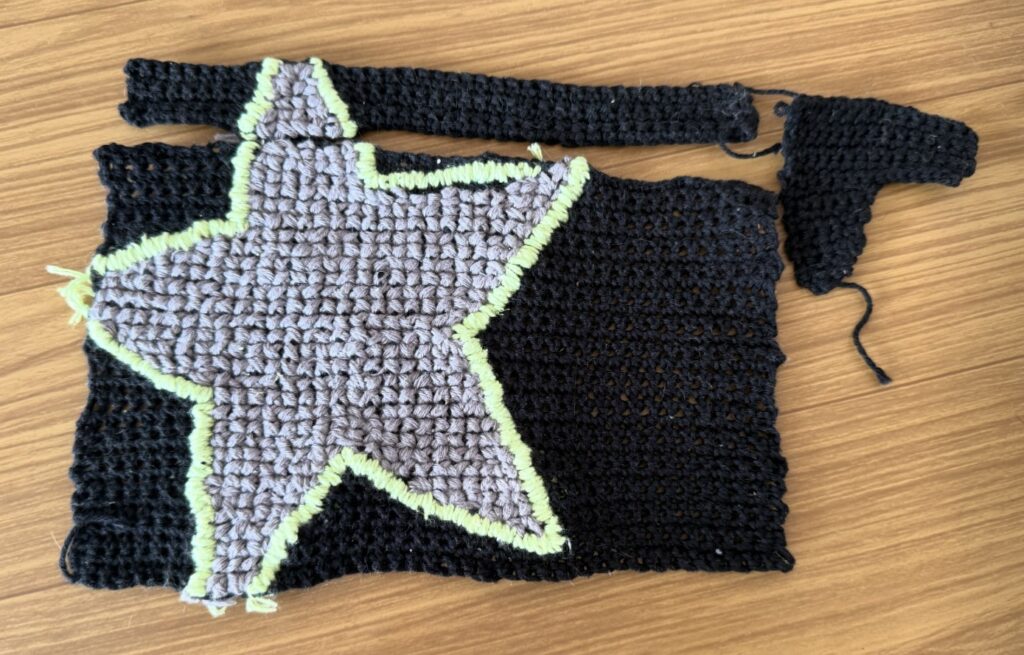
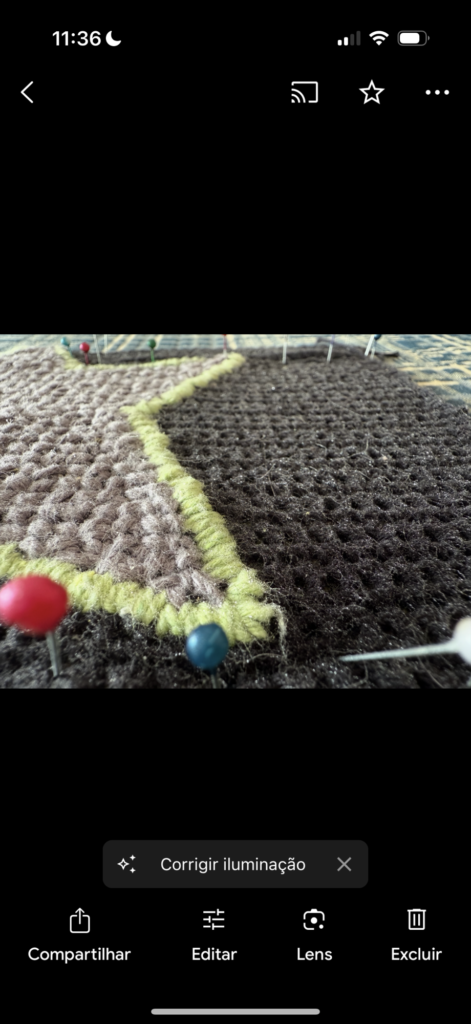
I went all the way through with crocheting, embroidering and blocking all parts of the bag when I decided I had to try redoing the front sections. I was half-way through my second attempt (which I have to say was much neater and with an improved technique) when I realized the piece was still getting distorted.
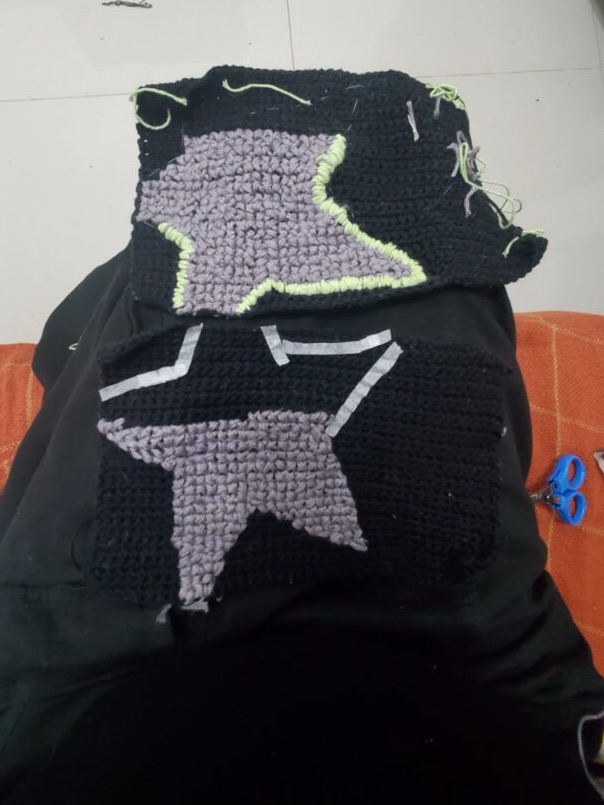
I moved on to testing other parts of the design while I brainstormed other ideas of how to embroider the star. For exemple I started to test and plan how to attach the internal lining and the zippers. I’ve got to confess this is one of the most daunting parts of the project since I’m not great and hand-sowing and I always get so confused with zippers… so I tacked the pieces in place to start getting a sense of the piece, and that’s when I hit the lowest point of the project.
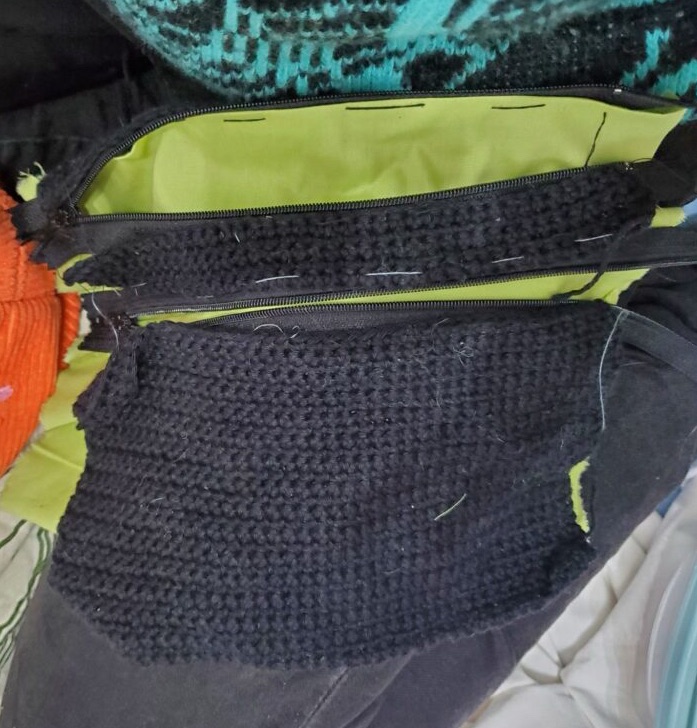
I was hating the shape, the technique, how, even though I kept blocking my piece, everything kept getting crooked and distorted. So I decided it was better to start the whole thing over. A bit dramatic, but I had the feeling that after a few months of work already + a few months of this project being shelved, I needed to do what would make me inspired and excited to work on, even if that meant going back to square 1.
At the same time that I did not want to obsess over this and go overboard on my perfectionism, I also did not want to invest months of work into a piece I would not be happy with at the end. At least I had learned a lot along the way, of what did not work and what I did not like. So I guess I was not exactly at square 1 after all. That’s when phase 2 started … which you will learn more about in a future post. Until then, wish me good luck, perseverance, and lots of self-compassion!
Stay safe and good crafting to you, dear reader!
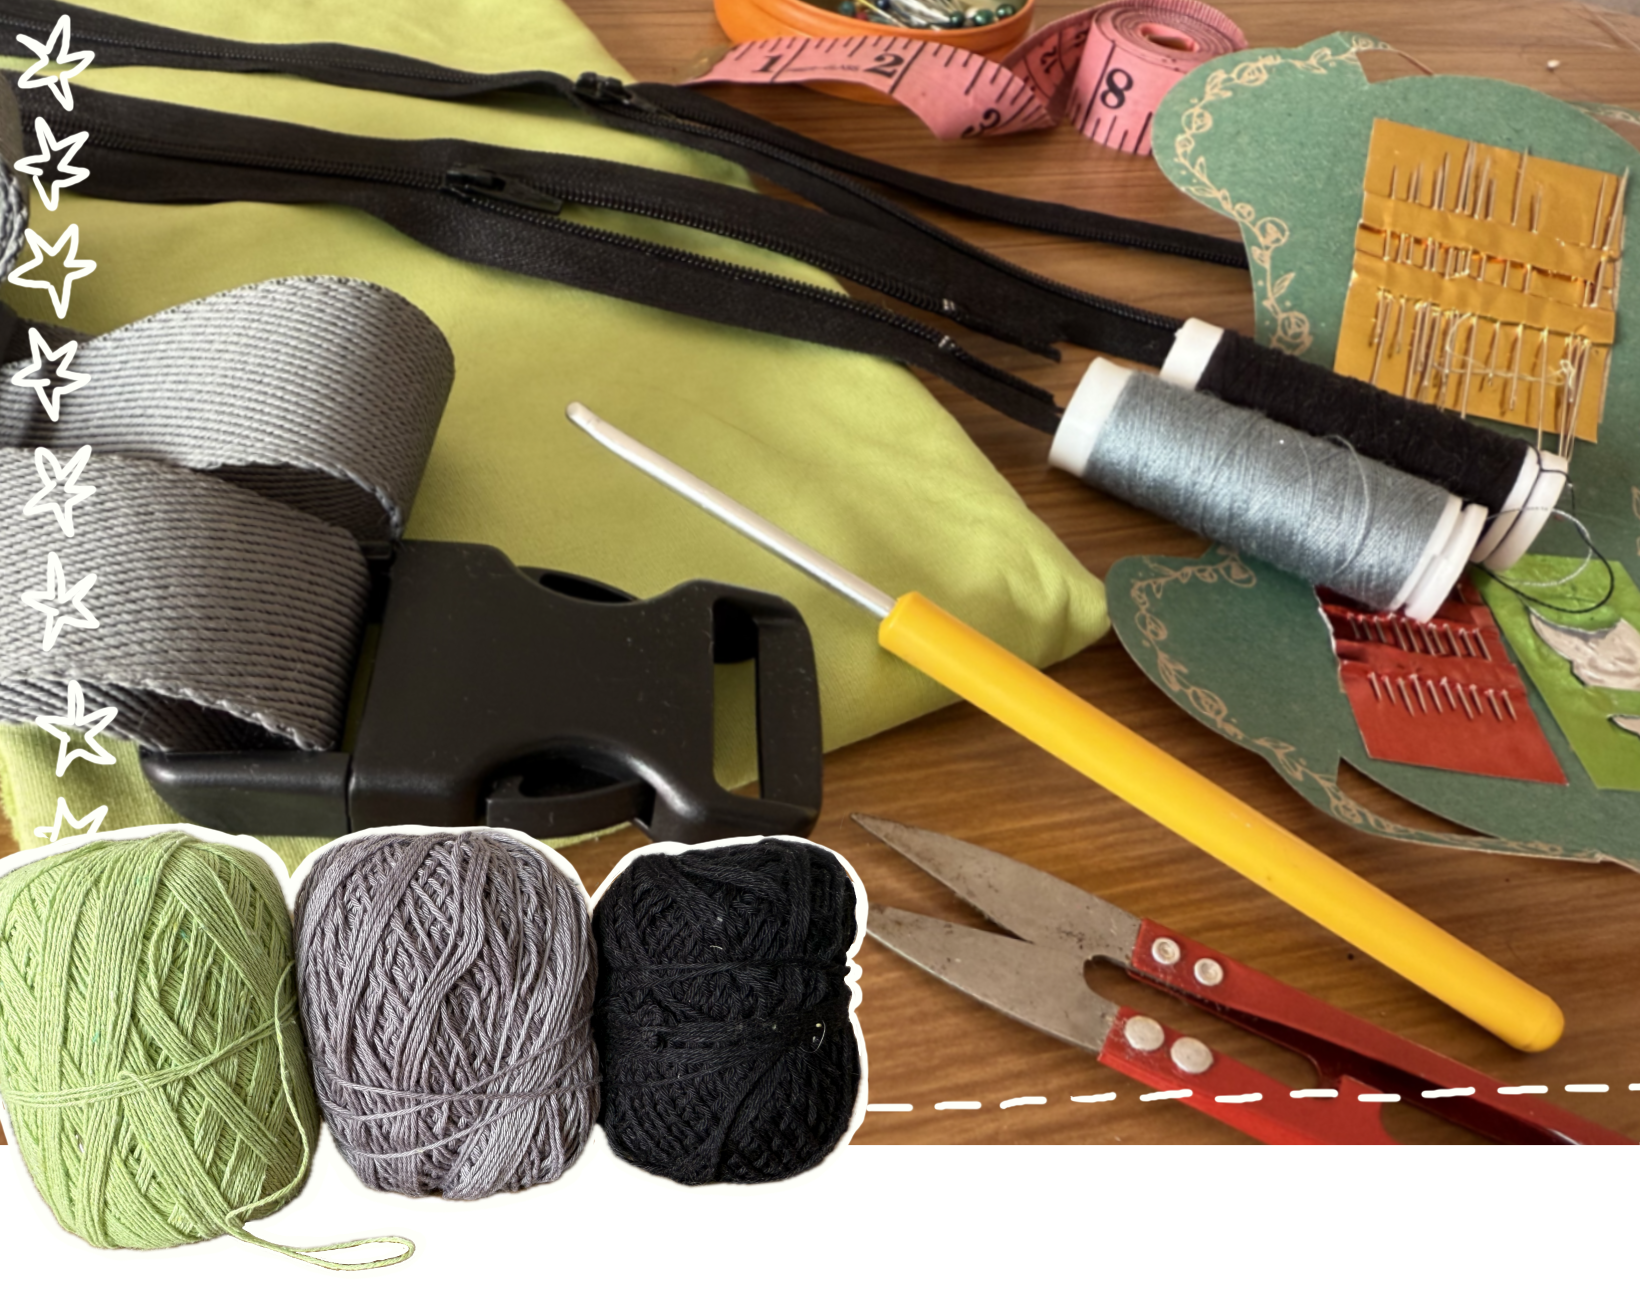
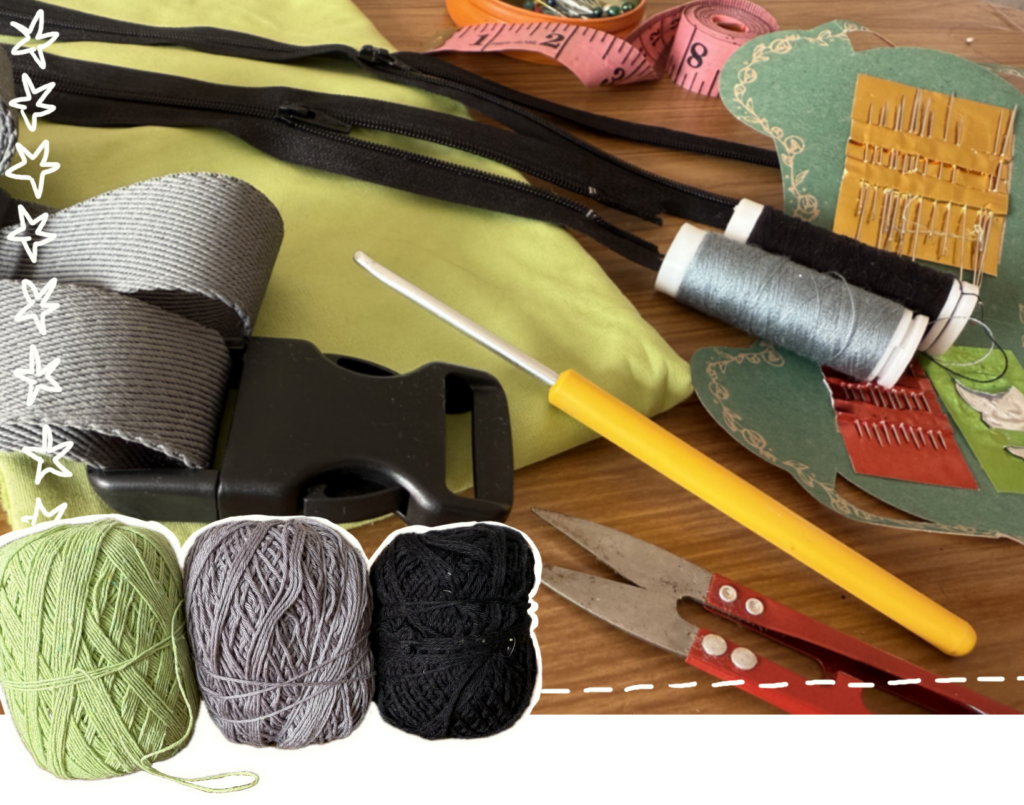
Supplies List
- Crochet threads: I used a Brazilian brand of threads called Círculo, from a series called Charme (TEX 378), pure cotton. The color codes are:
- Black → 8890 Preta
- Purple-Grey → 8336 Cinza Chumbo
- Matcha Green → 5583 Verde Limão
- Hook: 3.50mm
- Sewing supplies: Thin embroidery needle and a cool grey sewing thread (Sorry, I don’t have the specifics for these, but I tried to match the color to the “Purple-Grey” as much as possible – did not quite match though, more blue than purple…)
- Lining fabric: Thin cotton as close to “Matcha Green” as possible.
- Hardware: Polypropylene/Nylon webbing strap material in a color as close to “Purple-Grey“ as possible and matching black, plastic strap-ends and sliders. (I minght end up using something else when we get to this step)
- Assortment of crochet tools like scissors, stitch markers, washi tape, measuring tape, pins, etc…