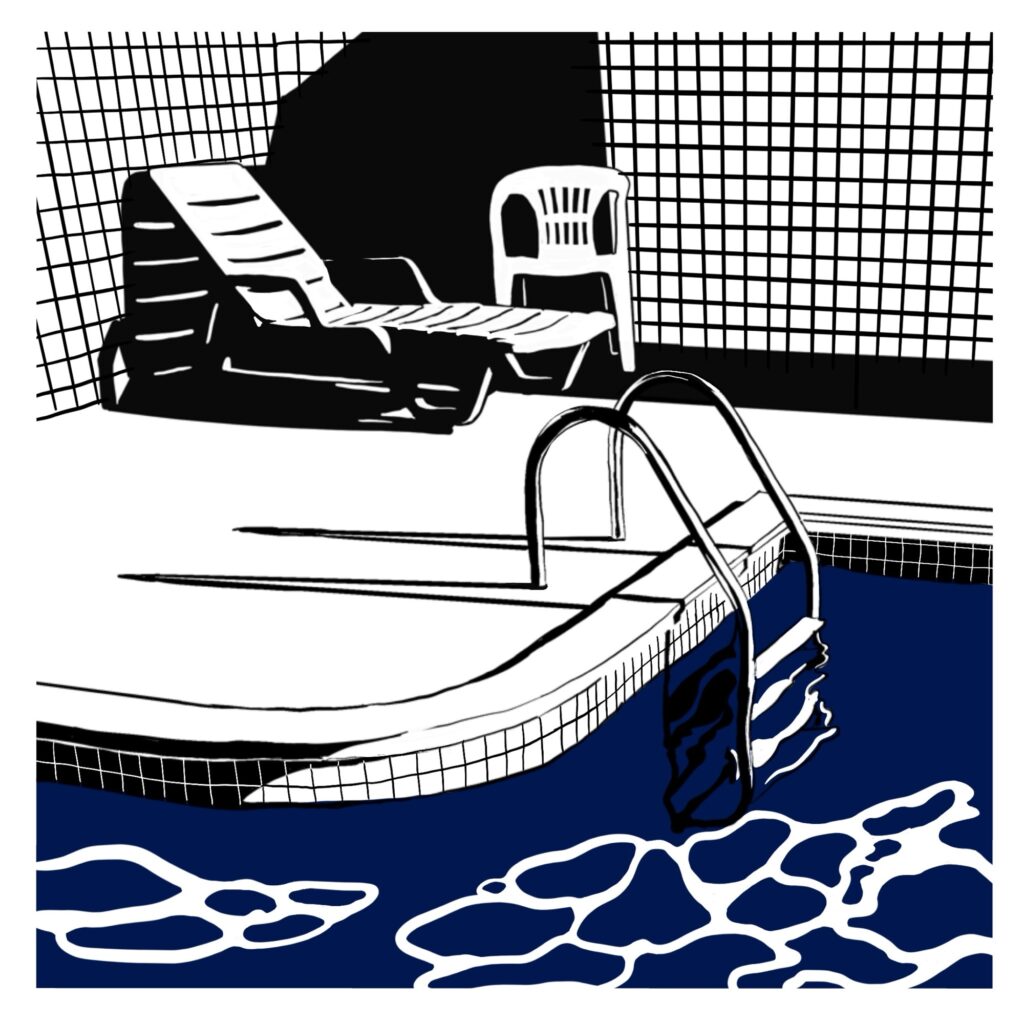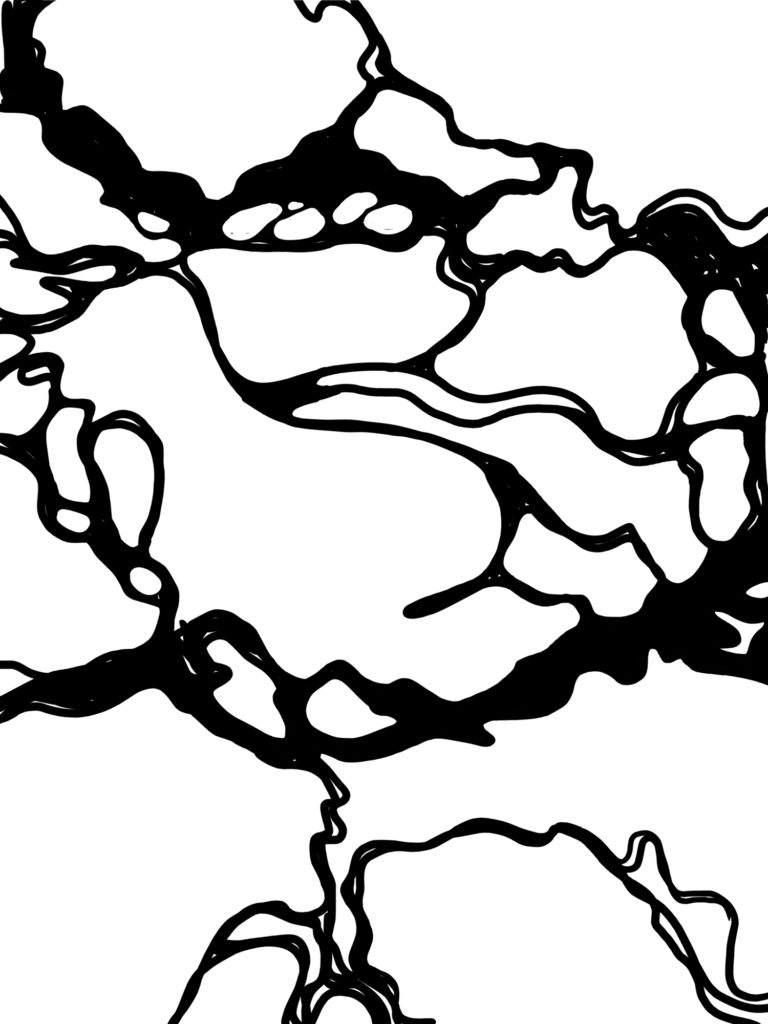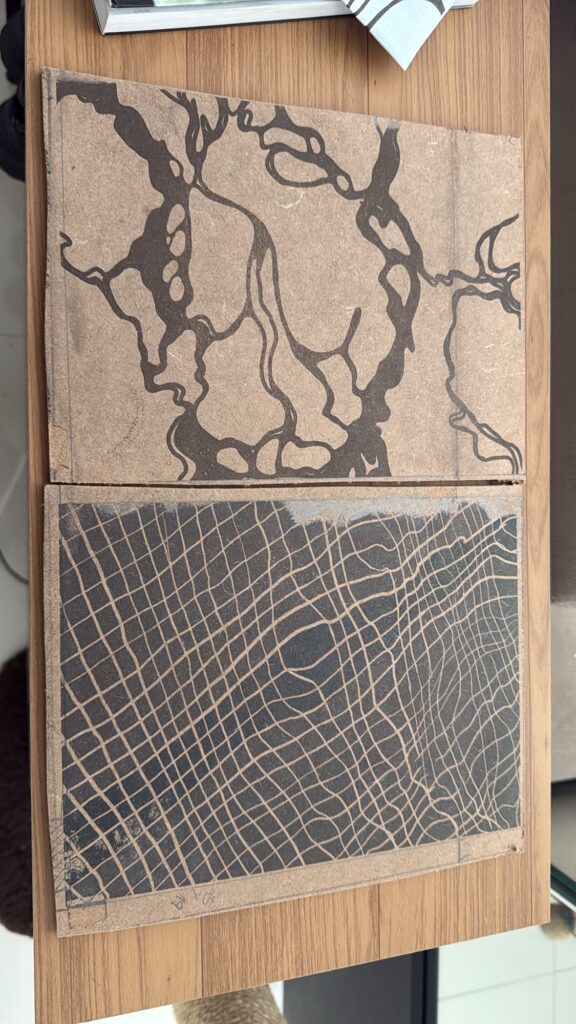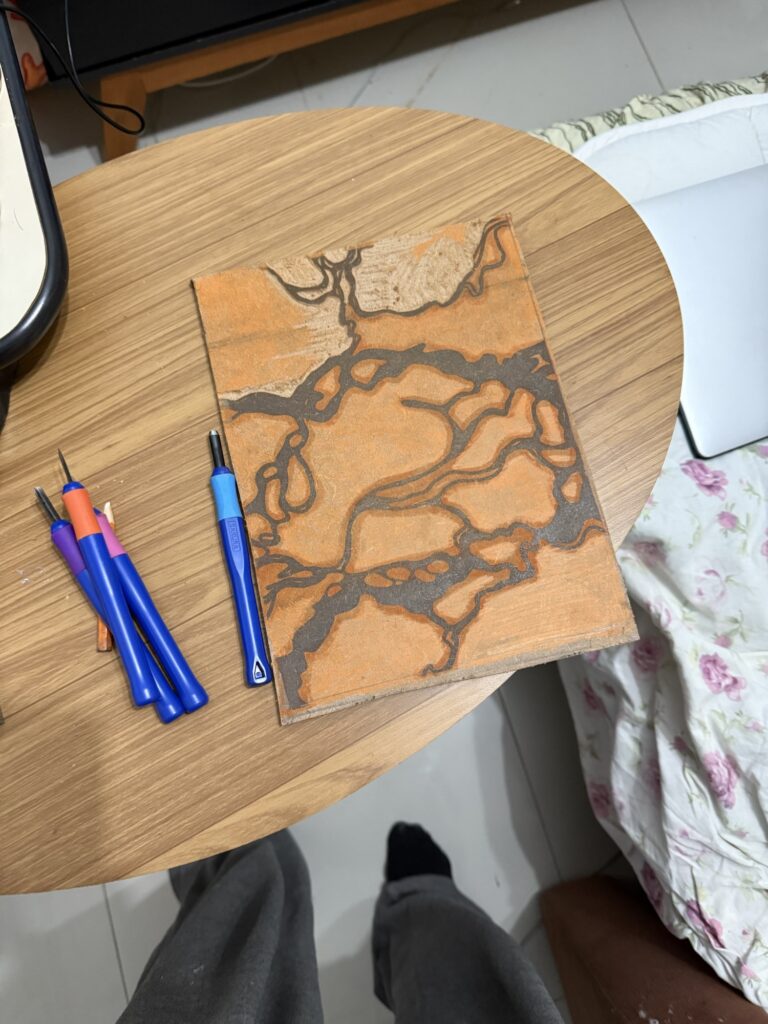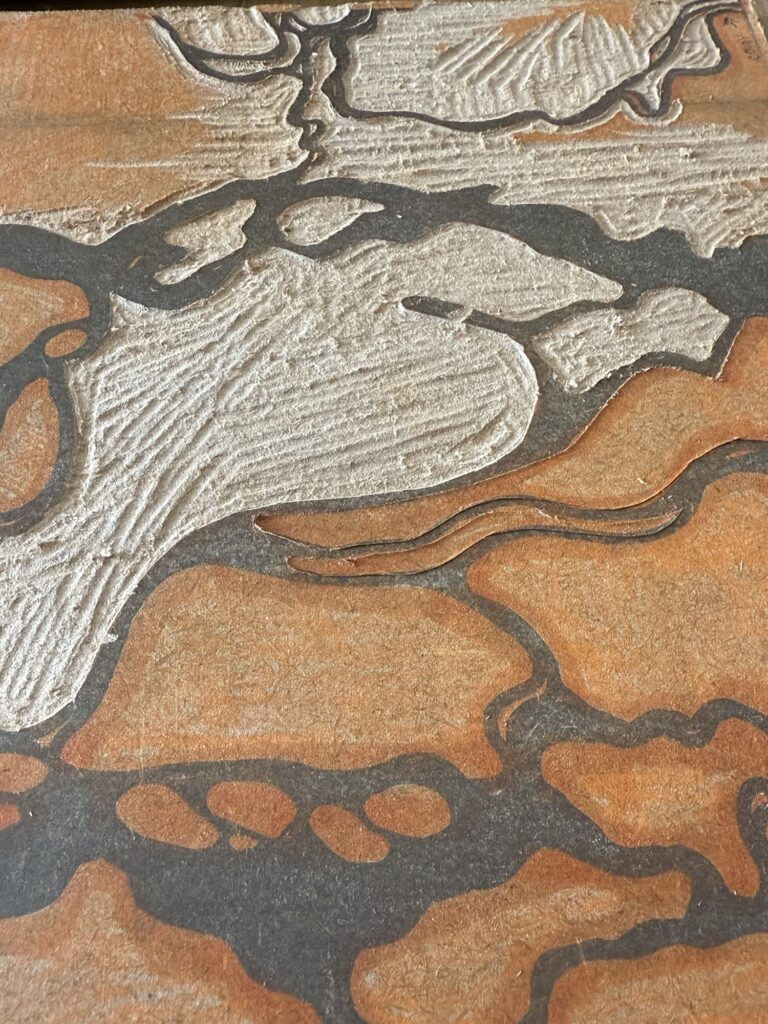
Today I went into the studio to continue working on my pool-themed experimental project.
I had no clear vision for what I wanted to accomplish, but I knew I had to finish carving my boards, and perhaps I could start doing some early prints and color tests.
With the upcoming Good Friday holiday, the studio was crowded this Thursday. I chose one of the few open spots in one of the 4 communal tables. Last year was my introductory year at the studio, and now I’m joining the “experienced” classes with lots of new people, so sitting here was a good opportunity to start mingling with them.
Carving
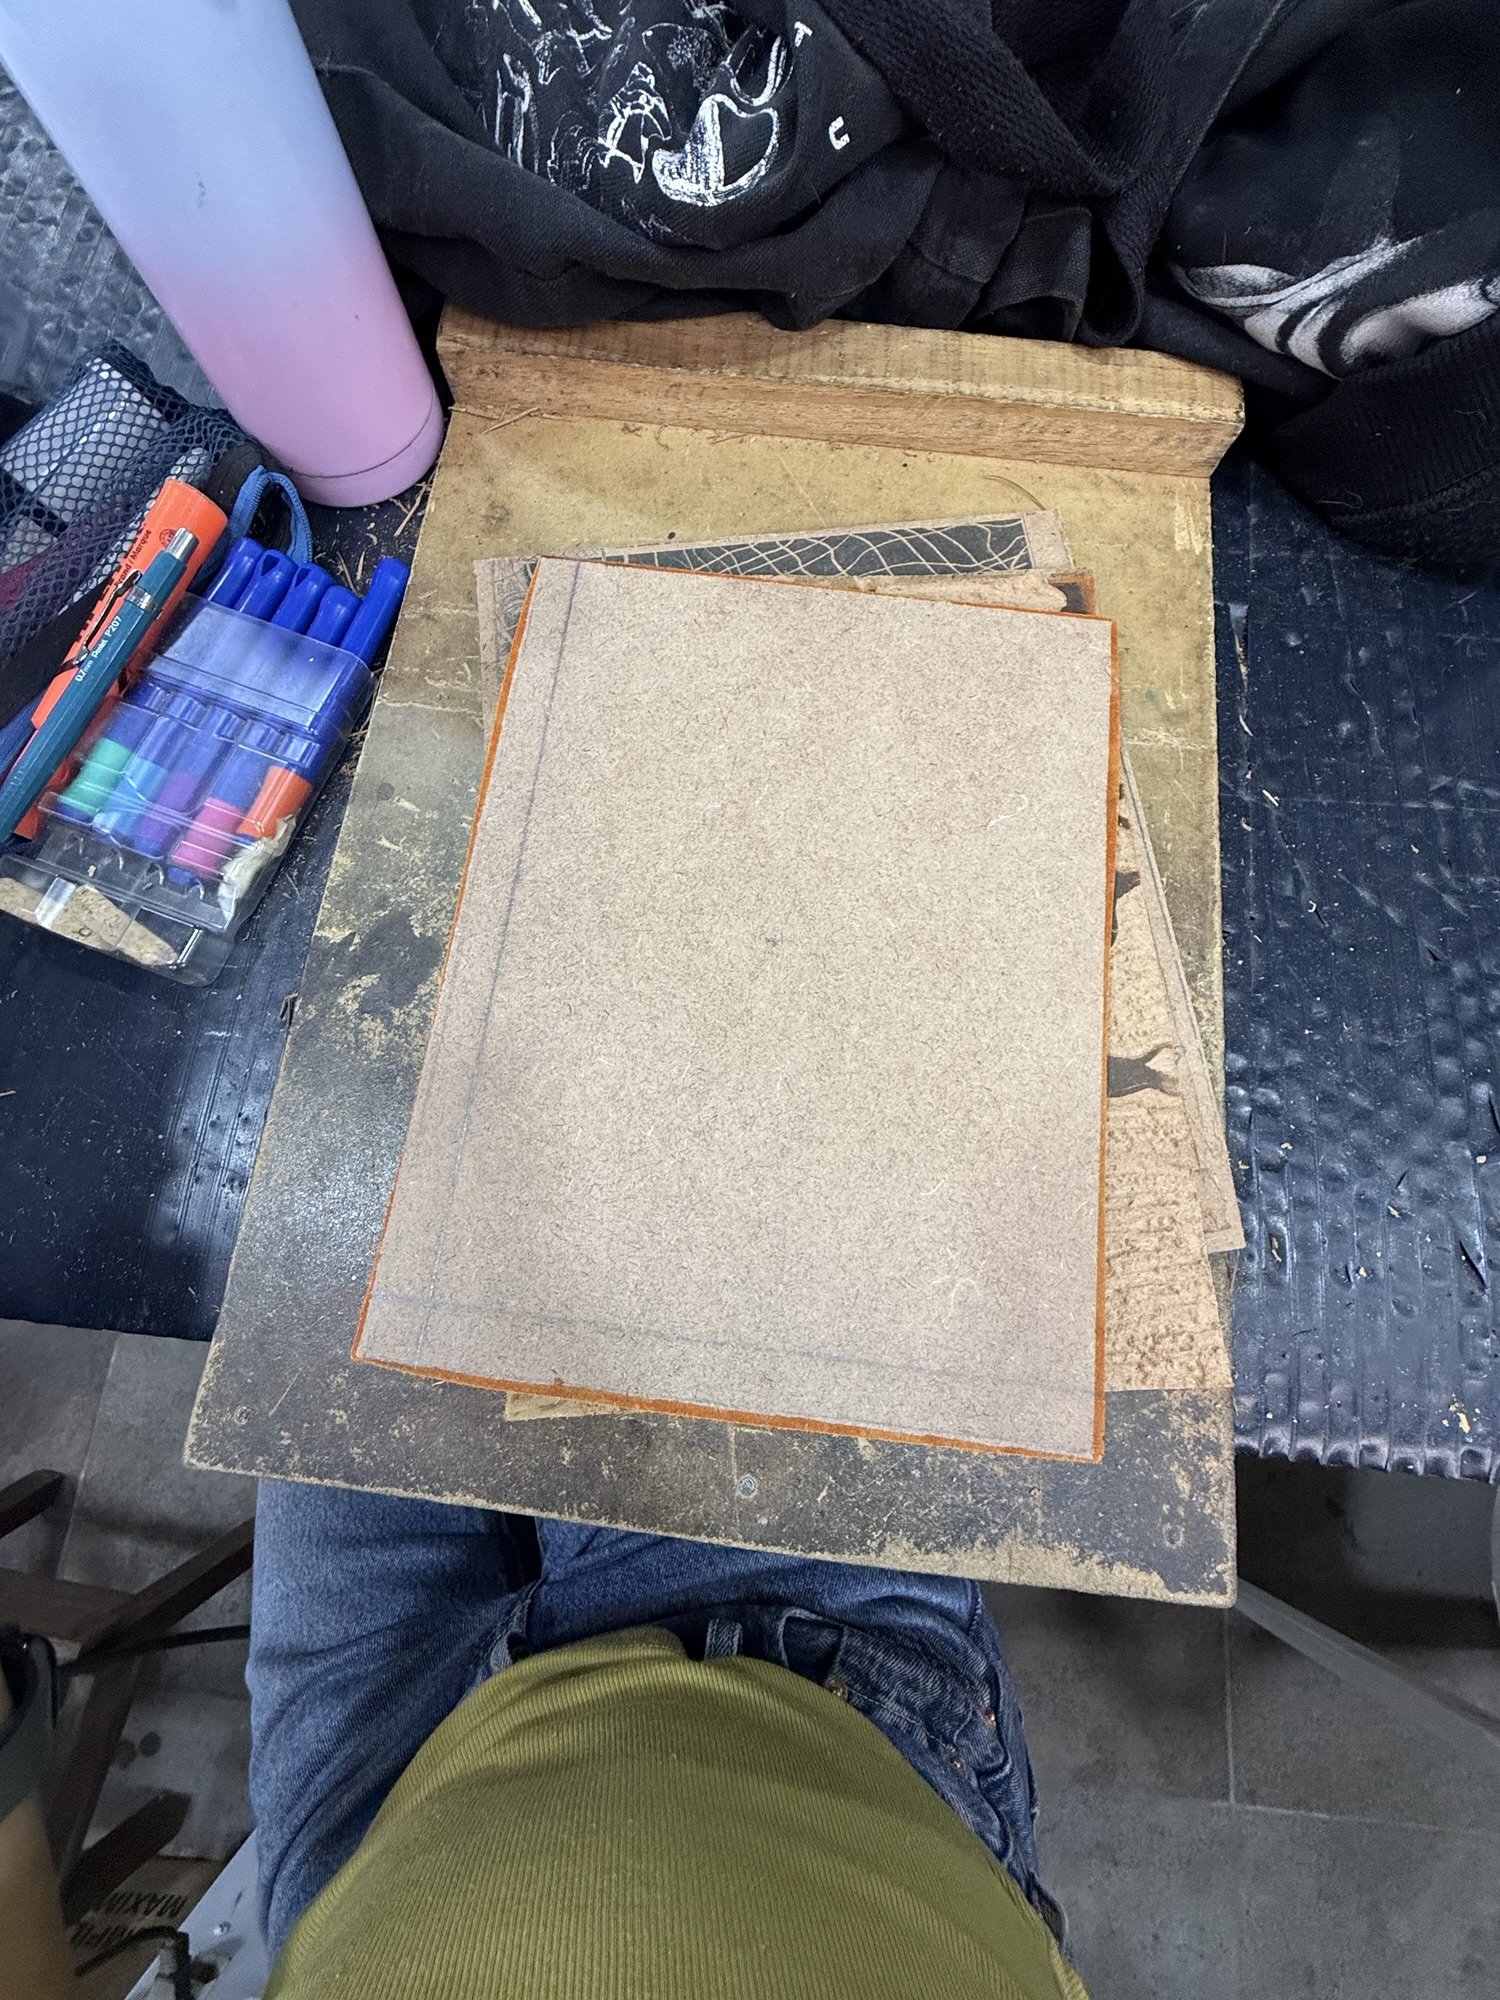
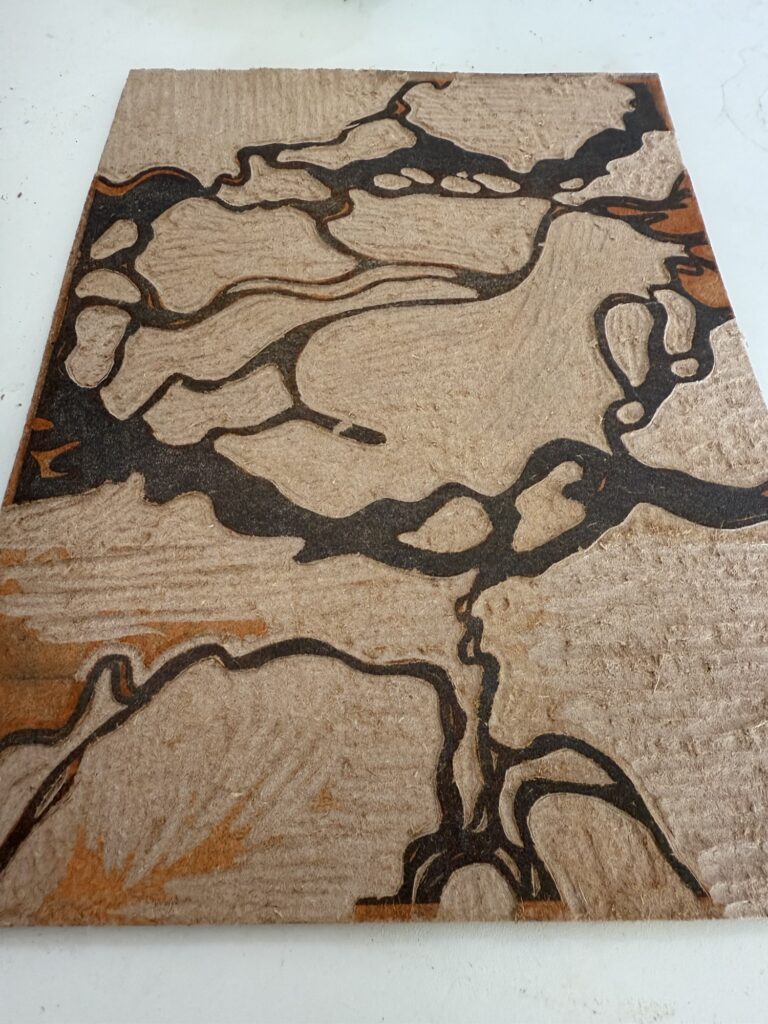
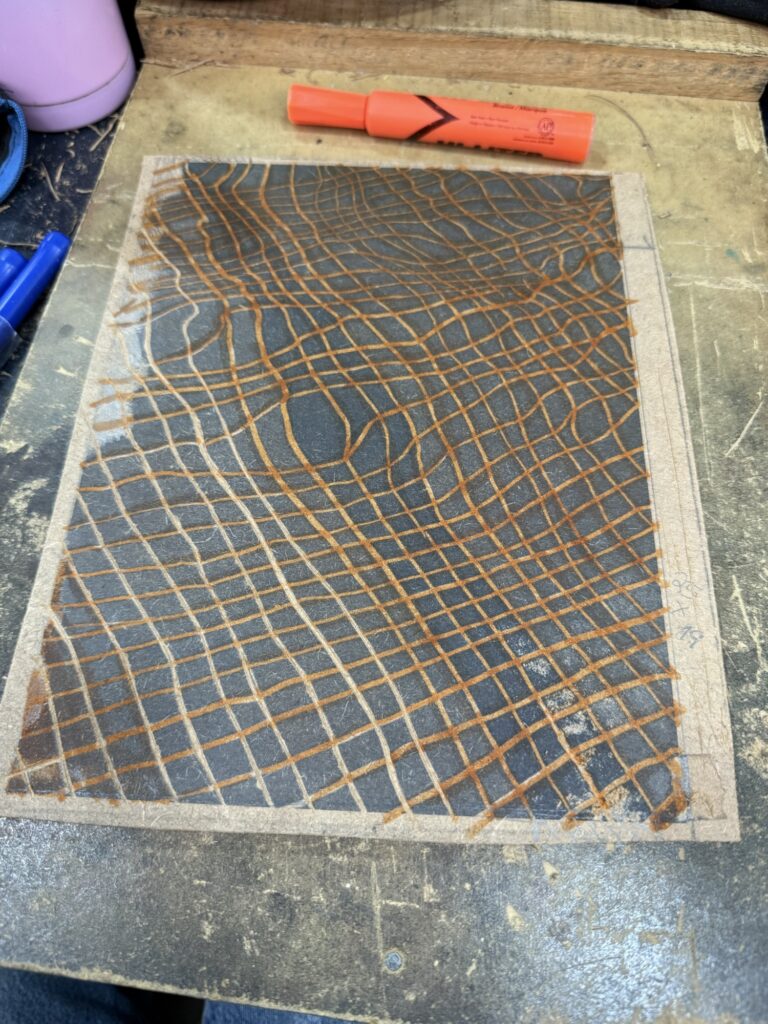
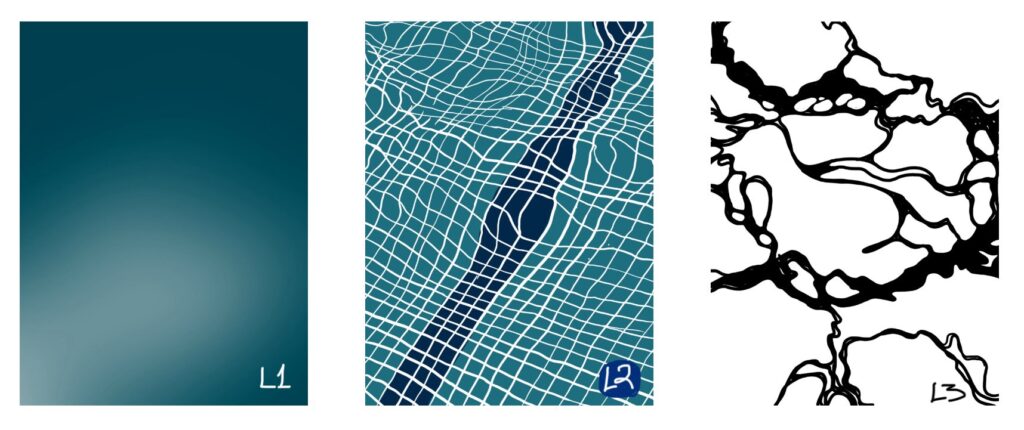
Last week, I used wood putty to fix a few mistakes I’d made when carving Layer 3 up, and so this week I started by cleaning it up: I removed the excess wood putty from the details and the outer edge, squaring it off to dimension. At this point, this layer is ready to be tested. Since this is the last layer to be printed of the piece -and it’s a straightforward, one-color print – I’ll just set it aside until I get to that point of the process!
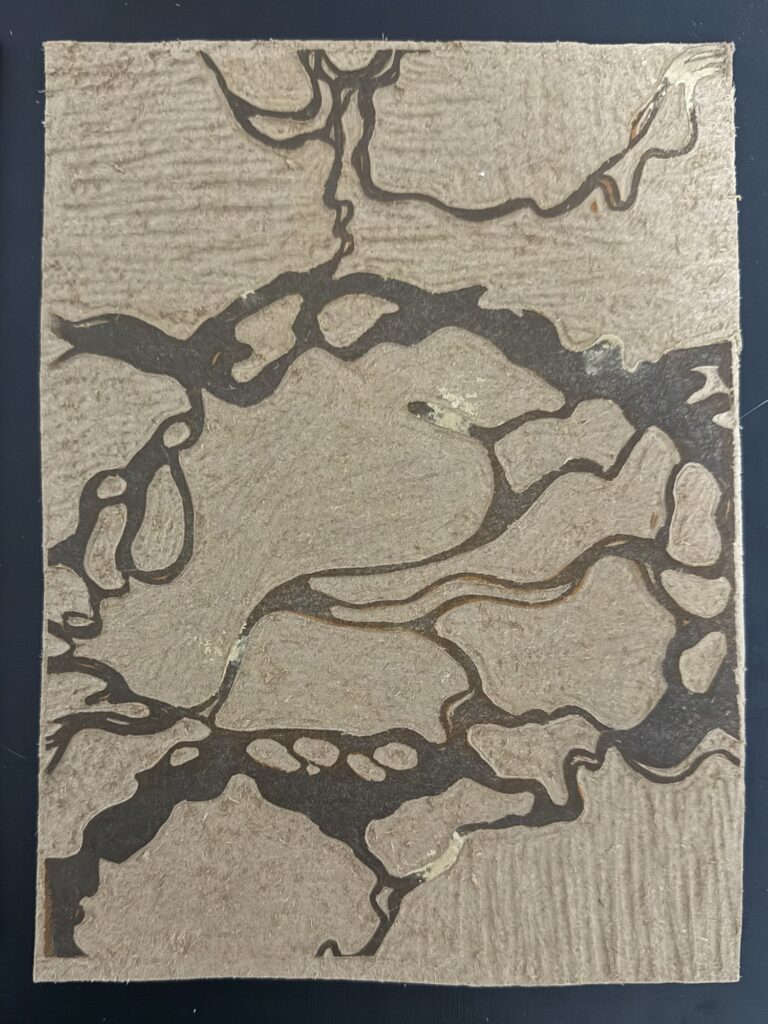
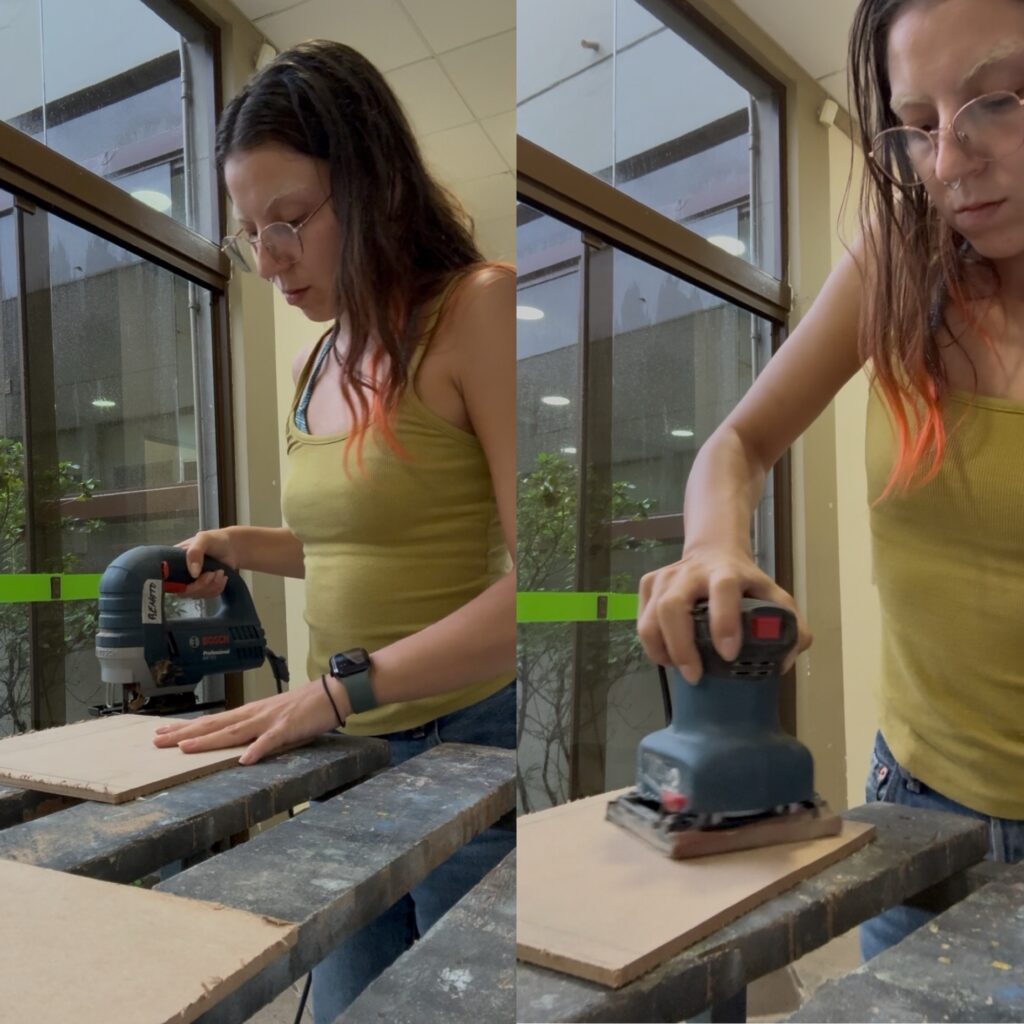
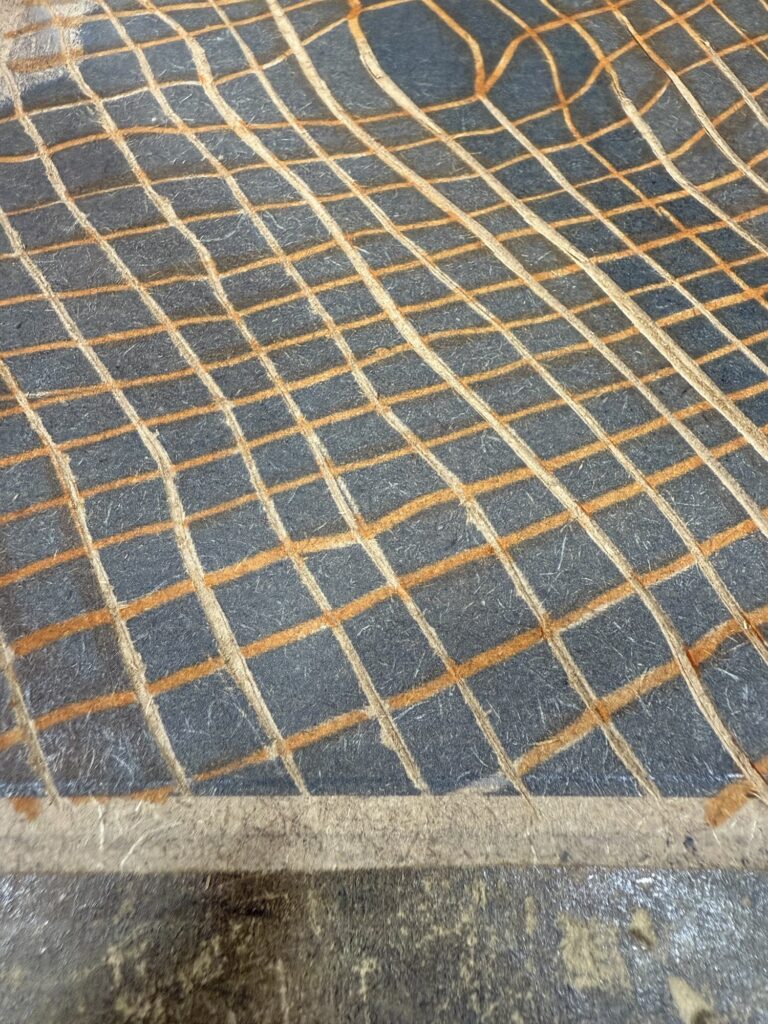
I started to clean up Layer 2, which was about halfway done. I did make some carving progress, but since I’m using the “blade cutter,” I wasn’t able to finish it; the blade puts a lot of pressure on the last articulation of my pointer finger, and since I have some hyper-mobile articulations, the hyper-extension of the finger hurts a lot. That’s why I add this piece of tape (see image) around my fingertip; it gives a bit more structure and stops it from bending so much and forcing it. On top of that, I guide the blade with my fingertip, which I also covered with a bit of tape for grip, but the constant pushing against the metal hurts my skin. I had to take a lot of breaks not to force it… Slowly, I’ll make progress on this.
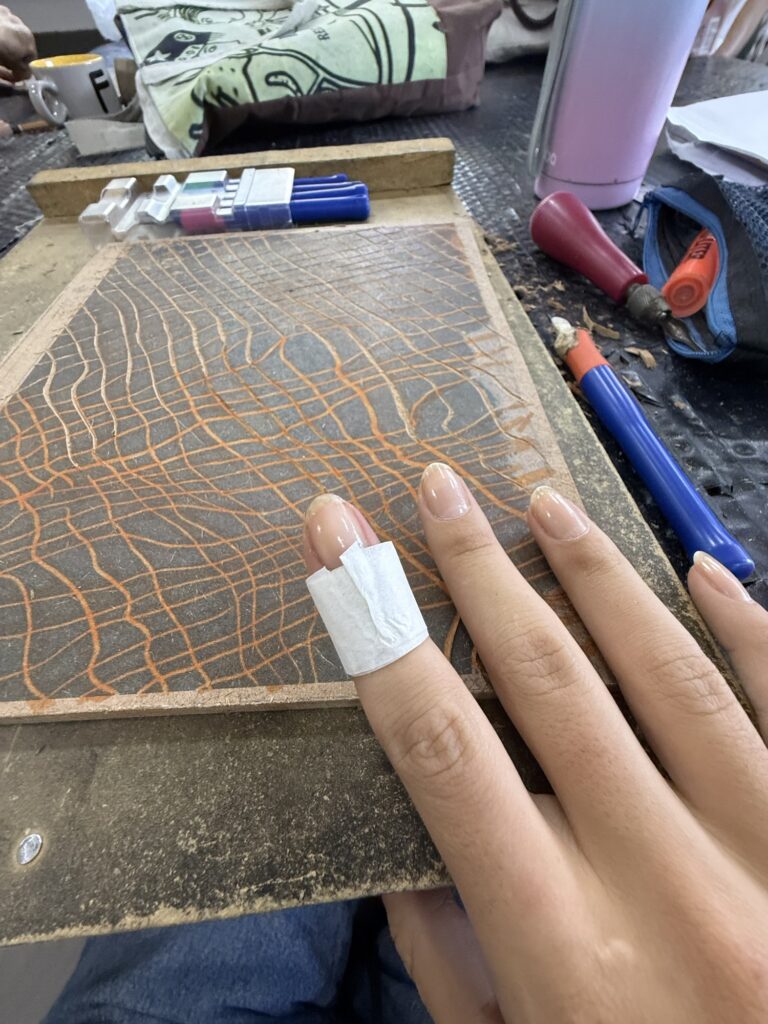
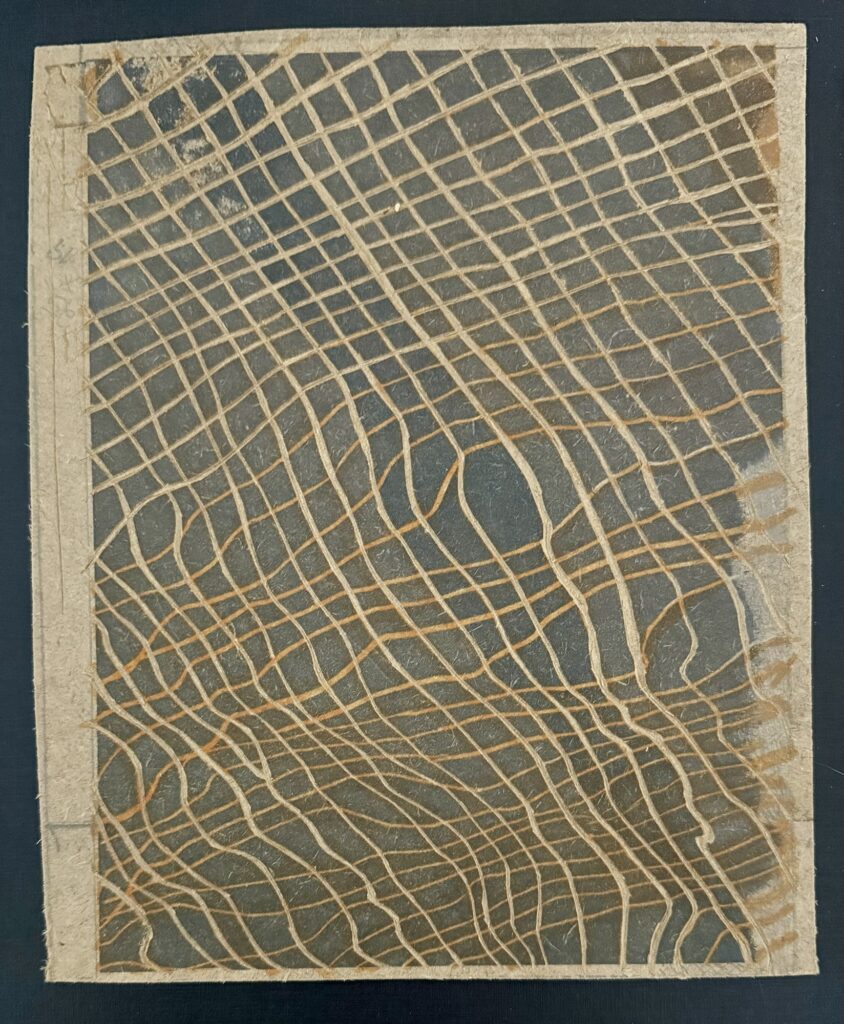
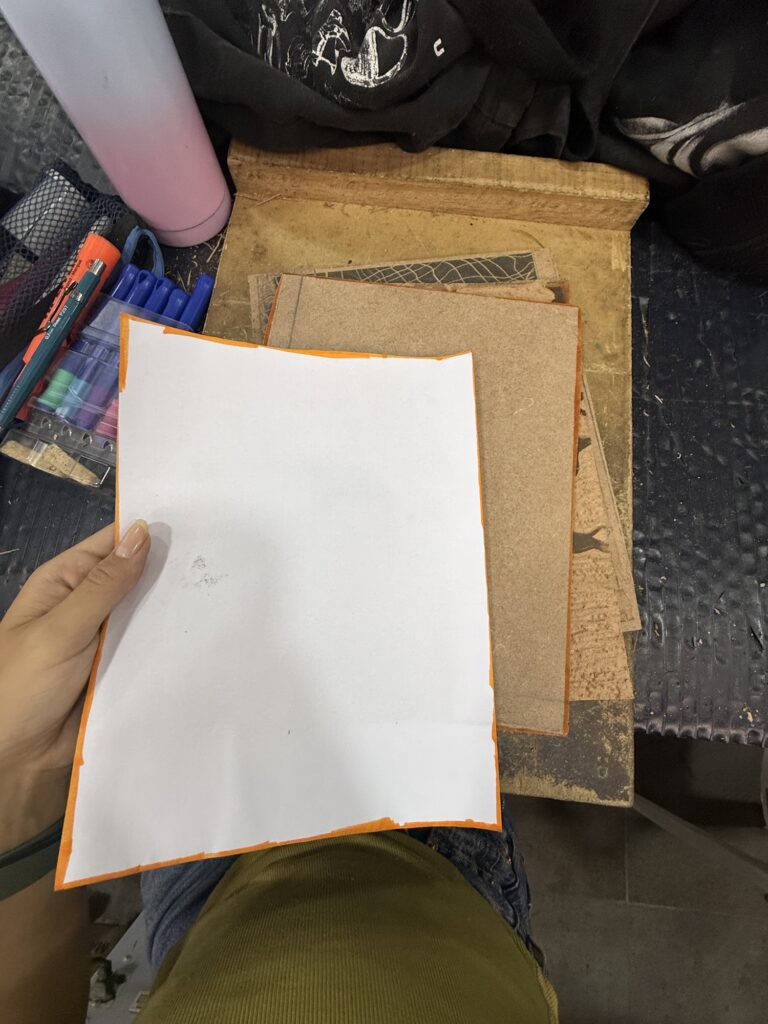
Next, I was thinking about Layer 1. I considered using the back of one of the other layers’ boards to print Layer 1. This would save material, and since it’s a simple design (no carving besides delineating the edges), it would not be risky for the design on the other side of the board. However, when I started thinking about the printing and carving process, it became more of a hindrance than it’s worth it: it would stop me from being able to carve or print two layers on the same day, for example (at least not without wasting some time thoroughly cleaning it.) So I decided to keep Layer 1 on the board I had prepped for it last week.
I worked on cleaning the edges, and unfortunately, I made a mistake or two, but nothing too bad. I had to use the same blade tool for this step, so my hands were already tired. Maybe I should’ve taken even more breaks, and I think I should come up with an improved idea for making the tool more comfortable for me. This was all that I needed to do for this Layer. Now this layer was ready to start testing too! With this, I had 2/3 of the layers ready.
Printing
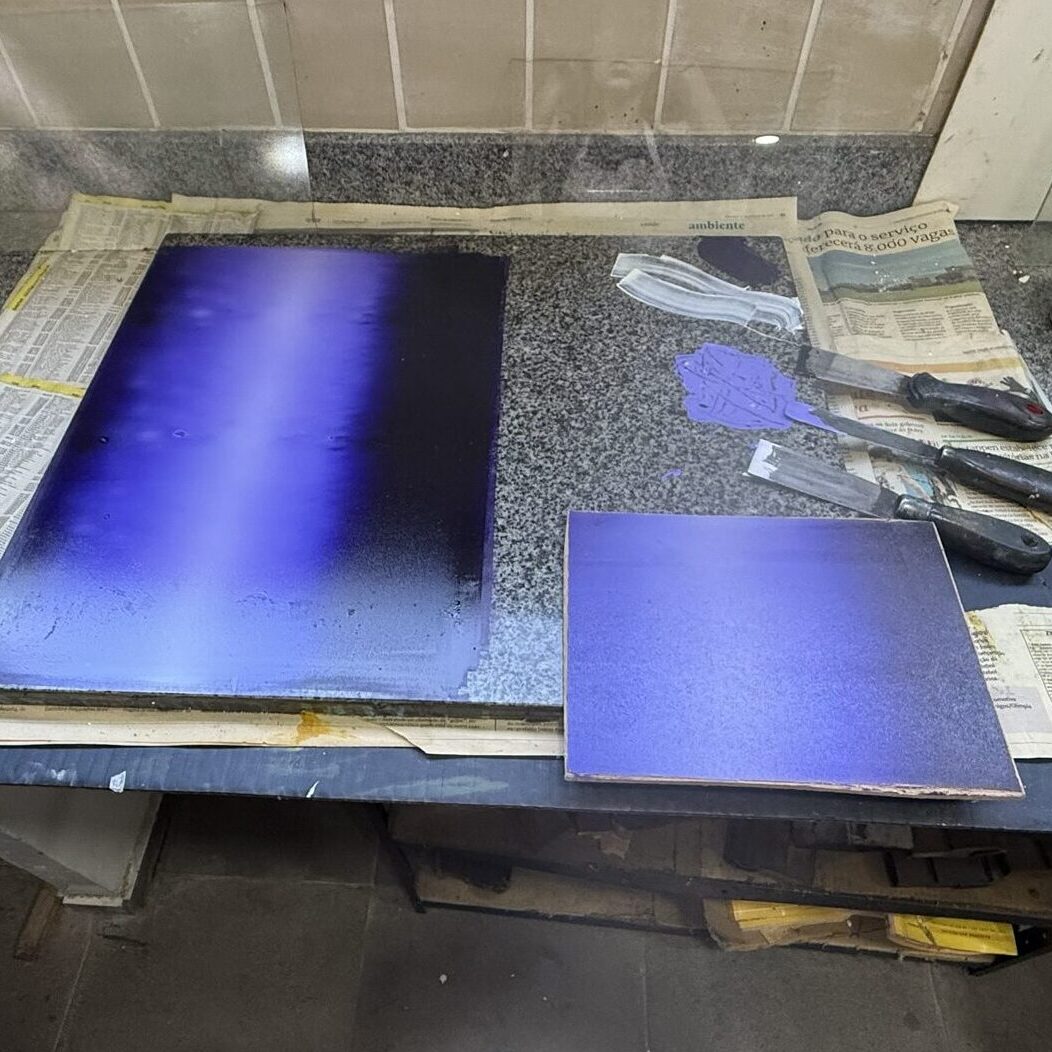
At this point, my hands were aching, and I did not want to carve anymore. I was itching to start doing some prints and so I decided to start doing gradient tests for Layer 1. This practice reminds me again and again that patience is key! Printmaking and rushing really don’t go together. I wasn’t exactly in the correct mind-space for this step.
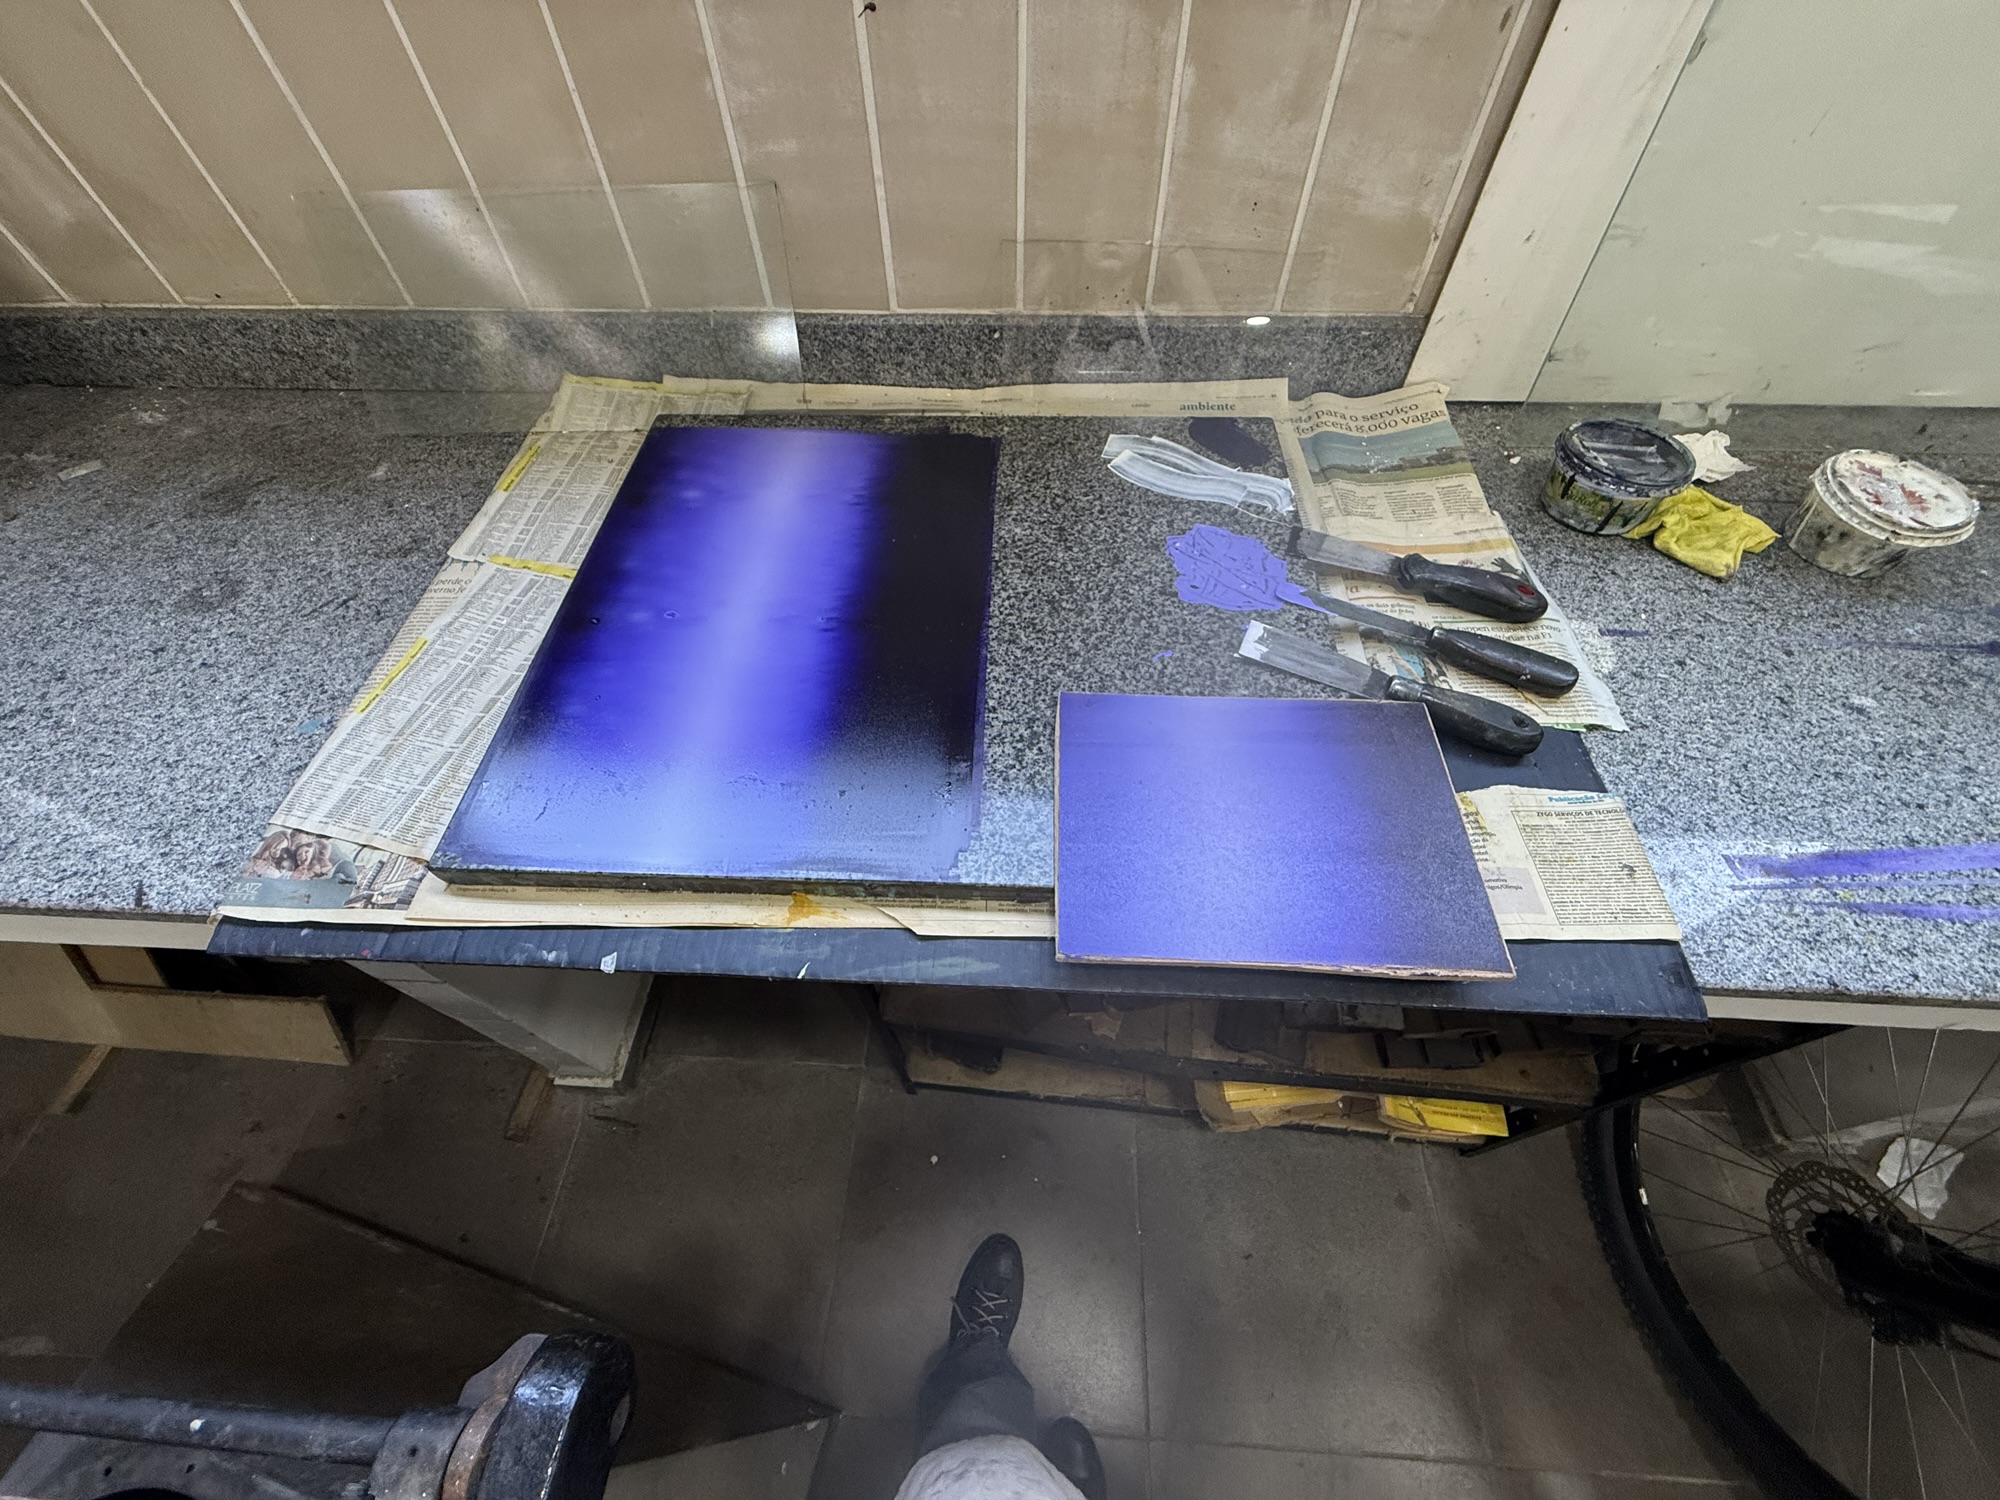
My first mistake was in choosing the colors. I went for what looked like a more purplish-blue, like a Bic pen blue. However, once I started blending it with white, I noticed how much of a purple this paint was, and very little blue. This is a problem because it’s a pool design, and even though the purple could be used later for a cool “night” version of the print, it’s not what I’m going for. I still used the paint to practice making a gradient and printing it out, of course – I wouldn’t want to waste the materials, even if just for an ugly test. I can always use this as the base for another drawing or something like that.
Another problem with the purple paint was its consistency: it was very thick and mostly dried up, so maybe I could’ve added some flaxseed oil to make it more malleable, or, even better, just asked for Bebeto’s advice on it. I kept adding more and more paint to the gradient, but 1. The gradient was coming out blotchy, and not as smooth as it could be 2. There was not enough paint to transfer to the board, which resulted in a faded and spotty print. I went through adding paint to the gradient and transferring it to the board a few times, but I could tell it was not enough paint… since it was also not the right color, I felt hesitant to keep adding more paint. I ended up pulling a test just to see how it would go, and it went as expected… not enough paint! This print also showed me a third mistake I had made: the board wasn’t smooth enough! There was still quite some grain showing, even though I sanded it last week.
Defeated, I spent the next 20 minutes cleaning up my mess, kinda ashamed for not getting any valid prints but also thinking about how I would fix my mistakes for next time: 1. I need to clean up my board from as much paint as possible and sand it again with a finer-grained sandpaper. 2. I also need to study the desired colors carefully, maybe even make some swatches to match-up when mixing the paints; Two things I could’ve done in this hour or two of studio time instead of doing a rush print job.
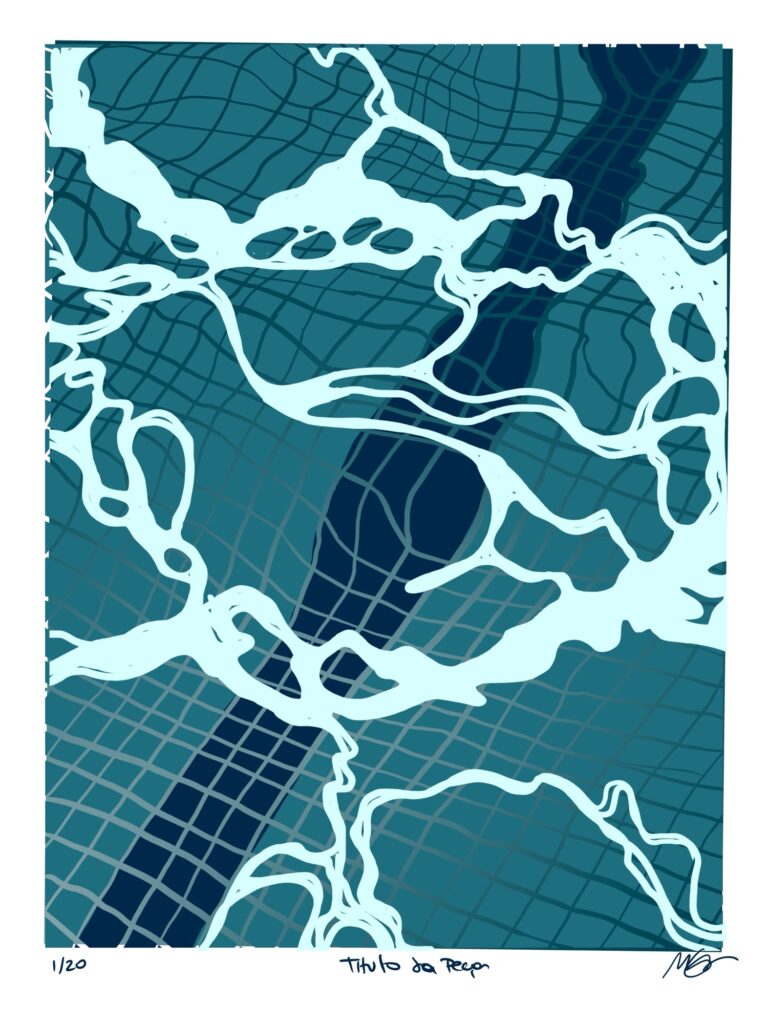
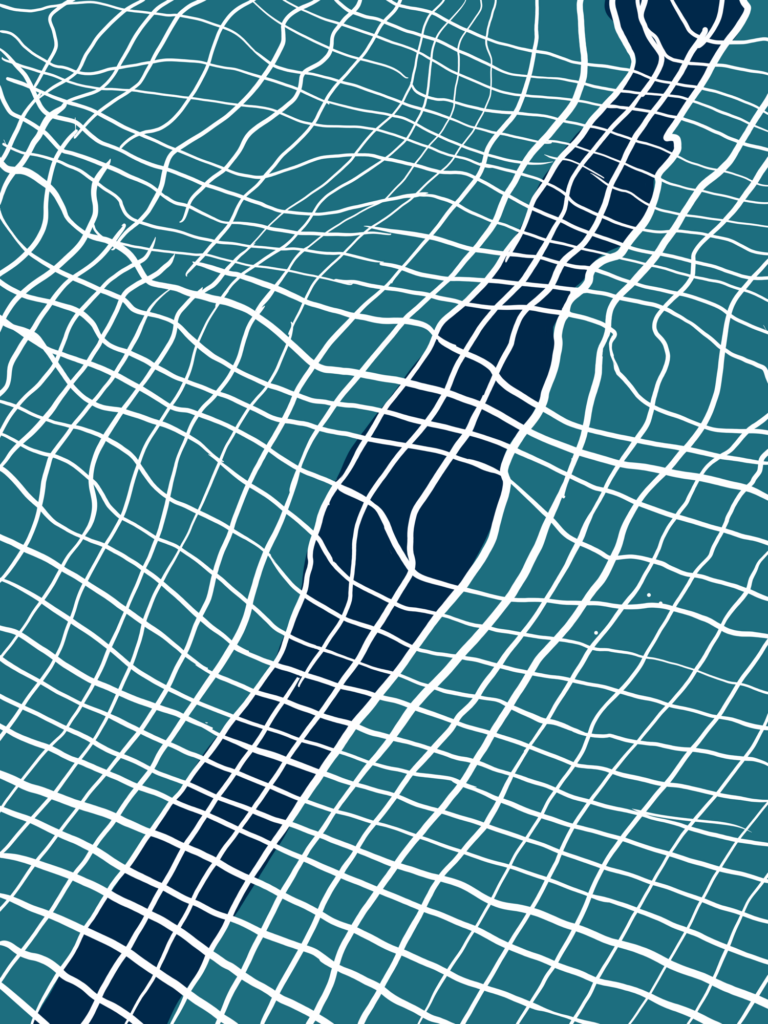
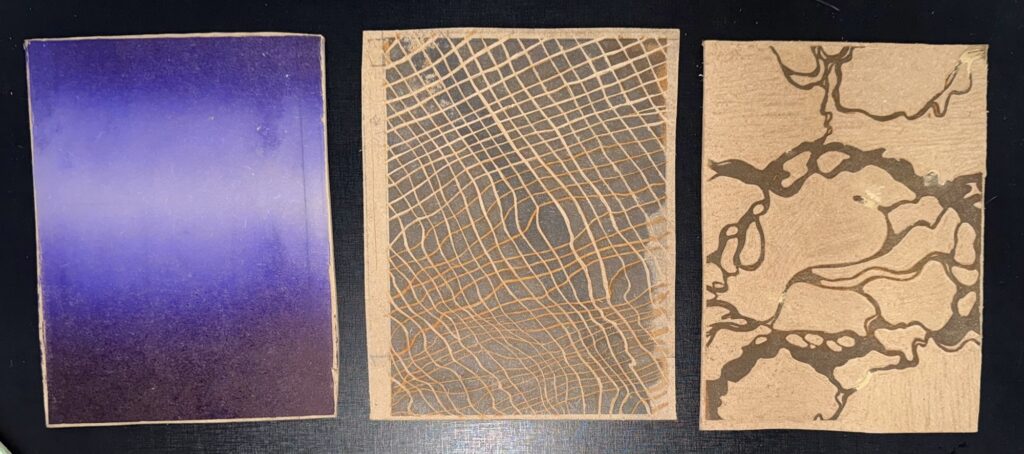
Another lesson to remember the next time I attempt this gradient is to be careful with how bright/light I want it to get. I think the lighter stripe on this test was too wide, and maybe keeping it more concentrated in a smaller area might give off a better result. To figure that out, I need to test it with Layer 2 and see what effect works best. This is the first layer, and this gradient is what’s going to seep through the tiles of the pool I carved on layer 2, giving off the idea of a light source shining on the grout at the bottom of the pool.
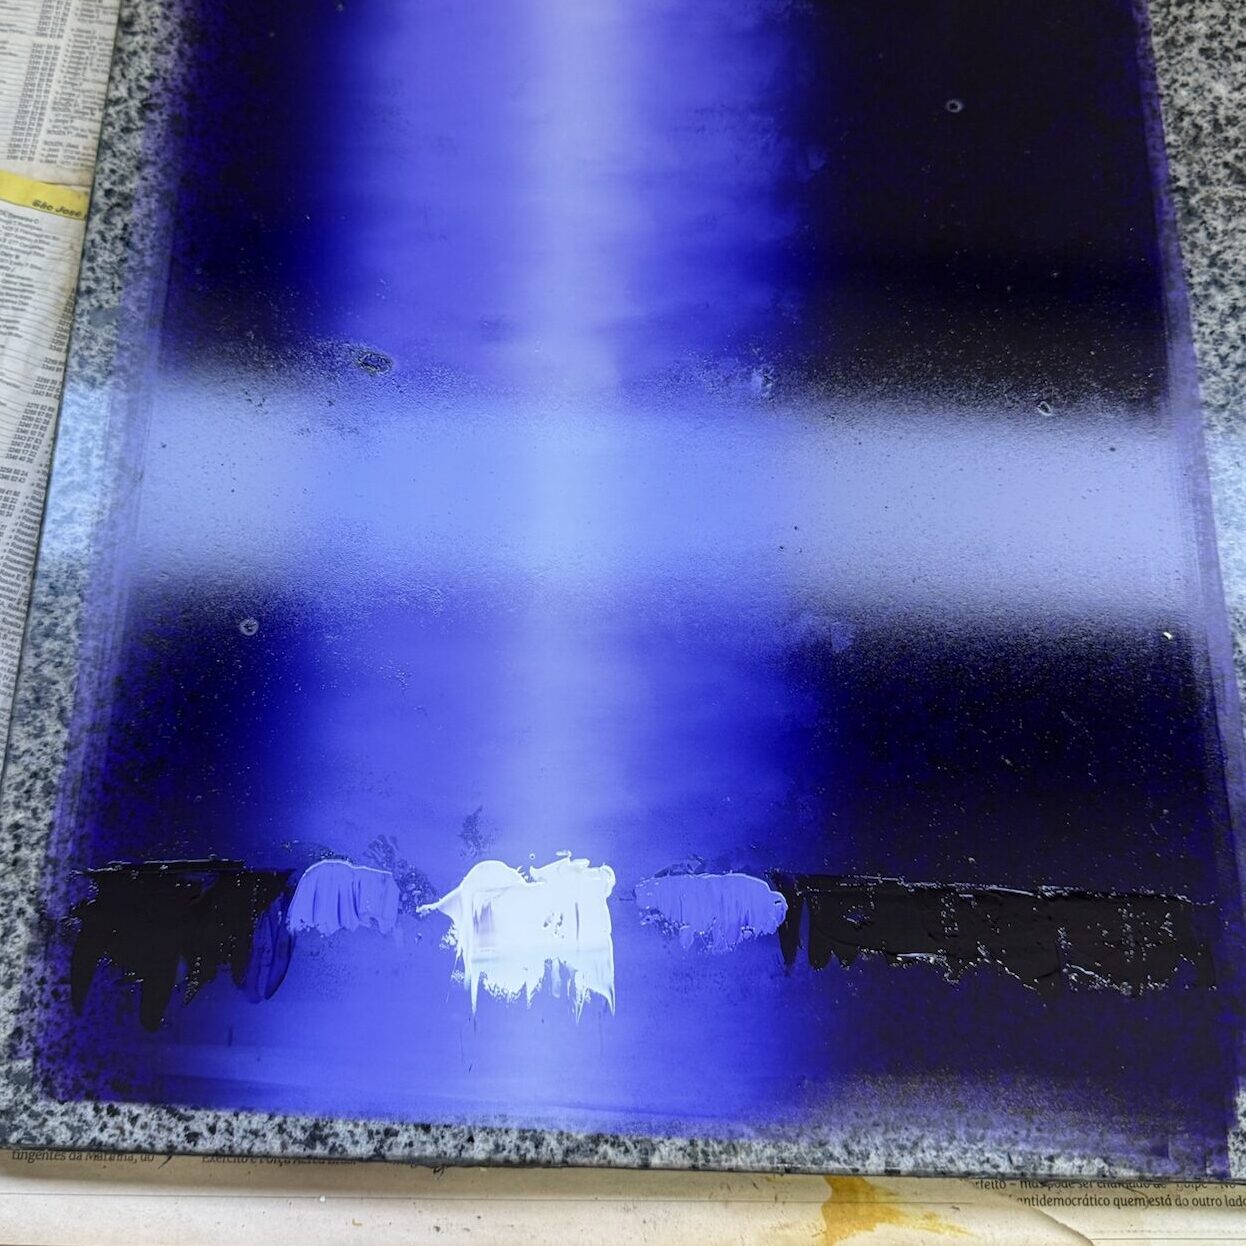
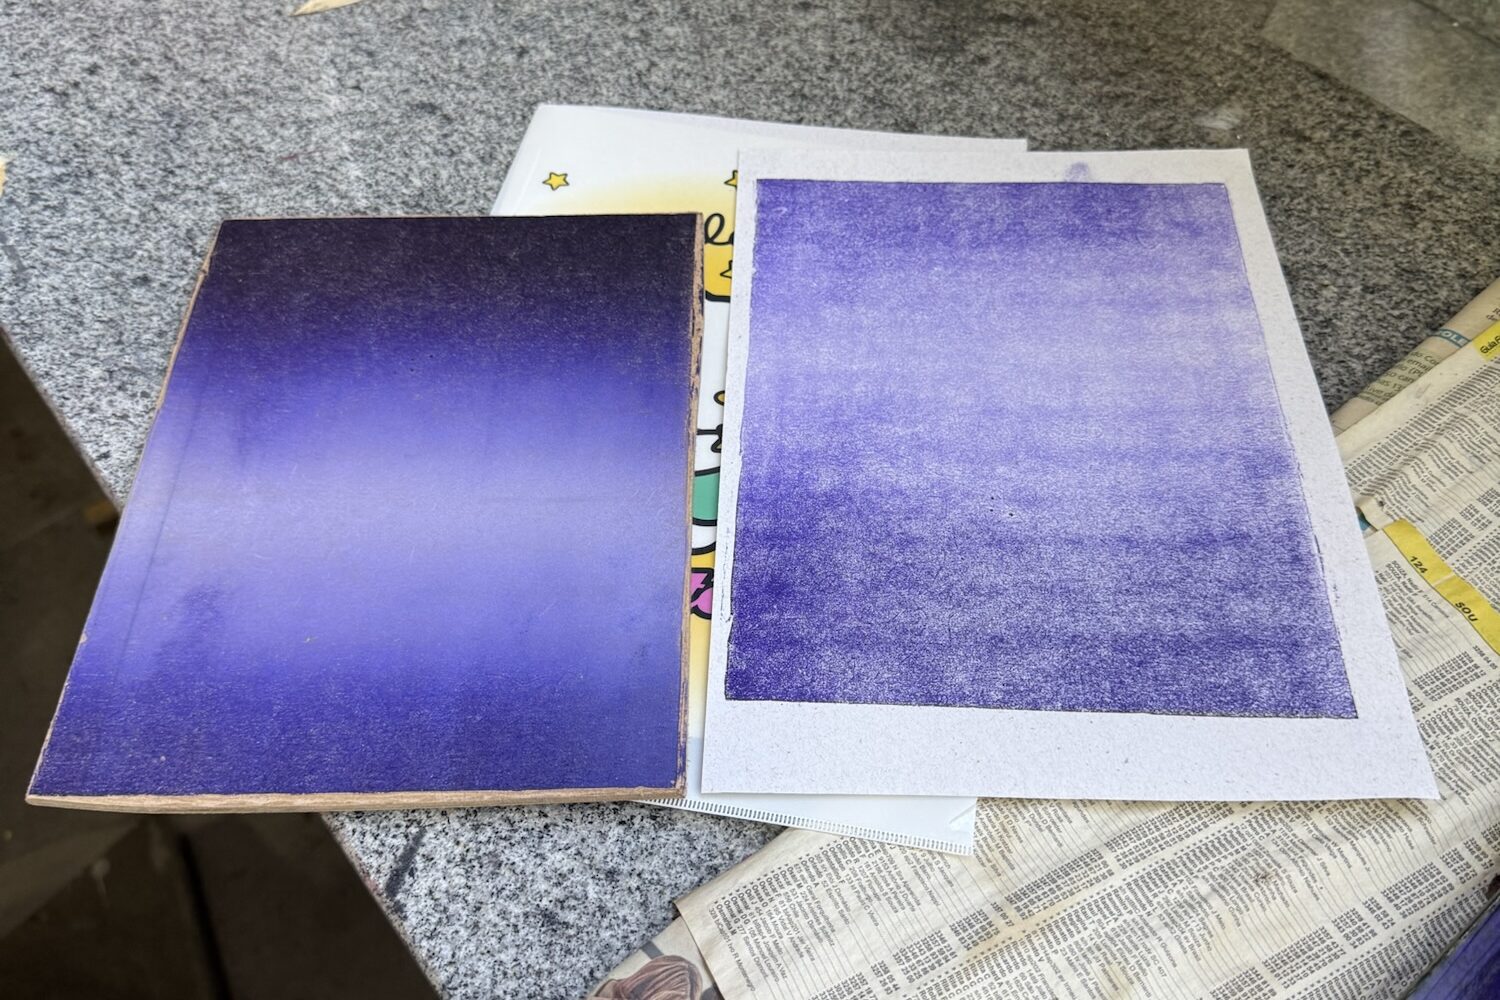
I did not have to start printing today. A couple of hours is not a lot of time to attempt a gradient, especially after taking a months-long break from printing. I ended up making a few silly mistakes along the way, forgetting steps, using the wrong supplies, and methods. It was nothing huge, but it resulted in mediocre results and wasted paint. But it’s all good because making mistakes is how we learn, and it’s all part of the process.
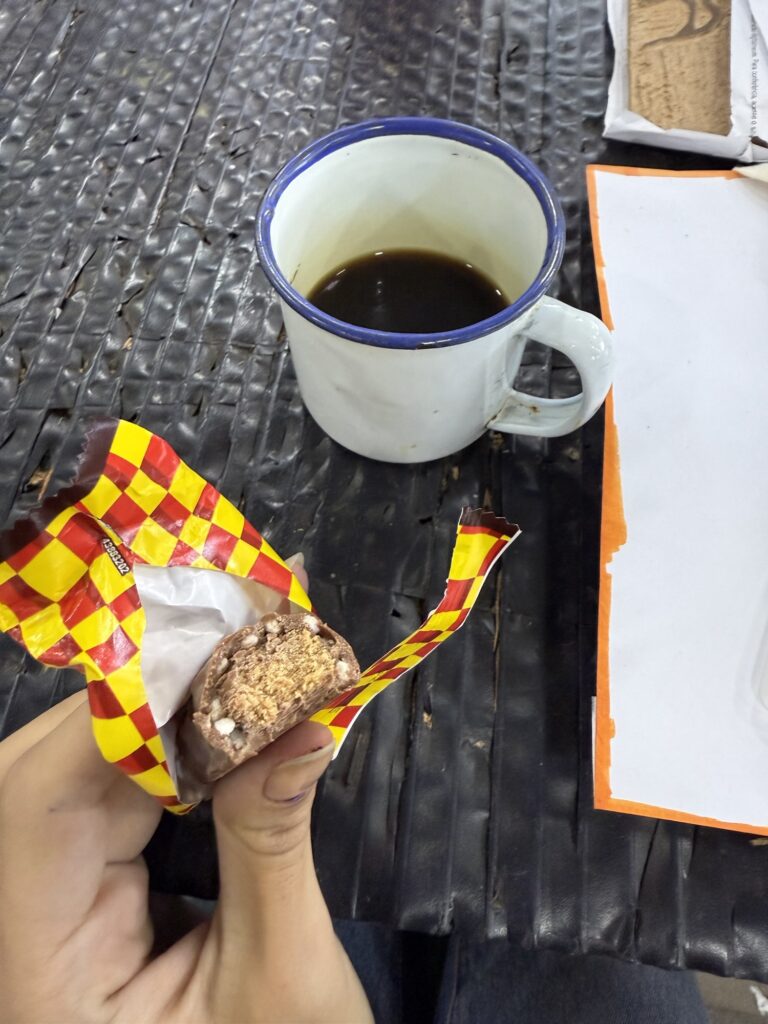
After all that hard work, I needed a little treat! Afternoon tea, or “Afternoon coffee” as we call it here, it’s an important Brazilian tradition. It is upheld in many houses, and also in this studio by the lovely group of elder lady artists who frequent the studio on Thursdays. They always bring cakes, breads, and spreads, and of course brew a nice pot of coffee – drip brewed by tradition.
This week, since it’s easter, there were lots of traditional Brazilian chocolate boxes, filled with an assortment of chocolate candy bars. I was not going to go for it – I’ve been to shy to grab food since I have not been contributed to the spreads these weeks, so I shyly been drinking coffee, but after this long day I treated myself to a chocolate bar and a quick chat with a friend I met at the studio but I had not seen since early last year. It was a good way to wind down.
Check out last week’s studio log:
Context note: “Xilo is a nickname in Portuguese for woodblock printing. It’s a prefix related to wood, and it has Greek roots.“
‘Till next week, crafters!