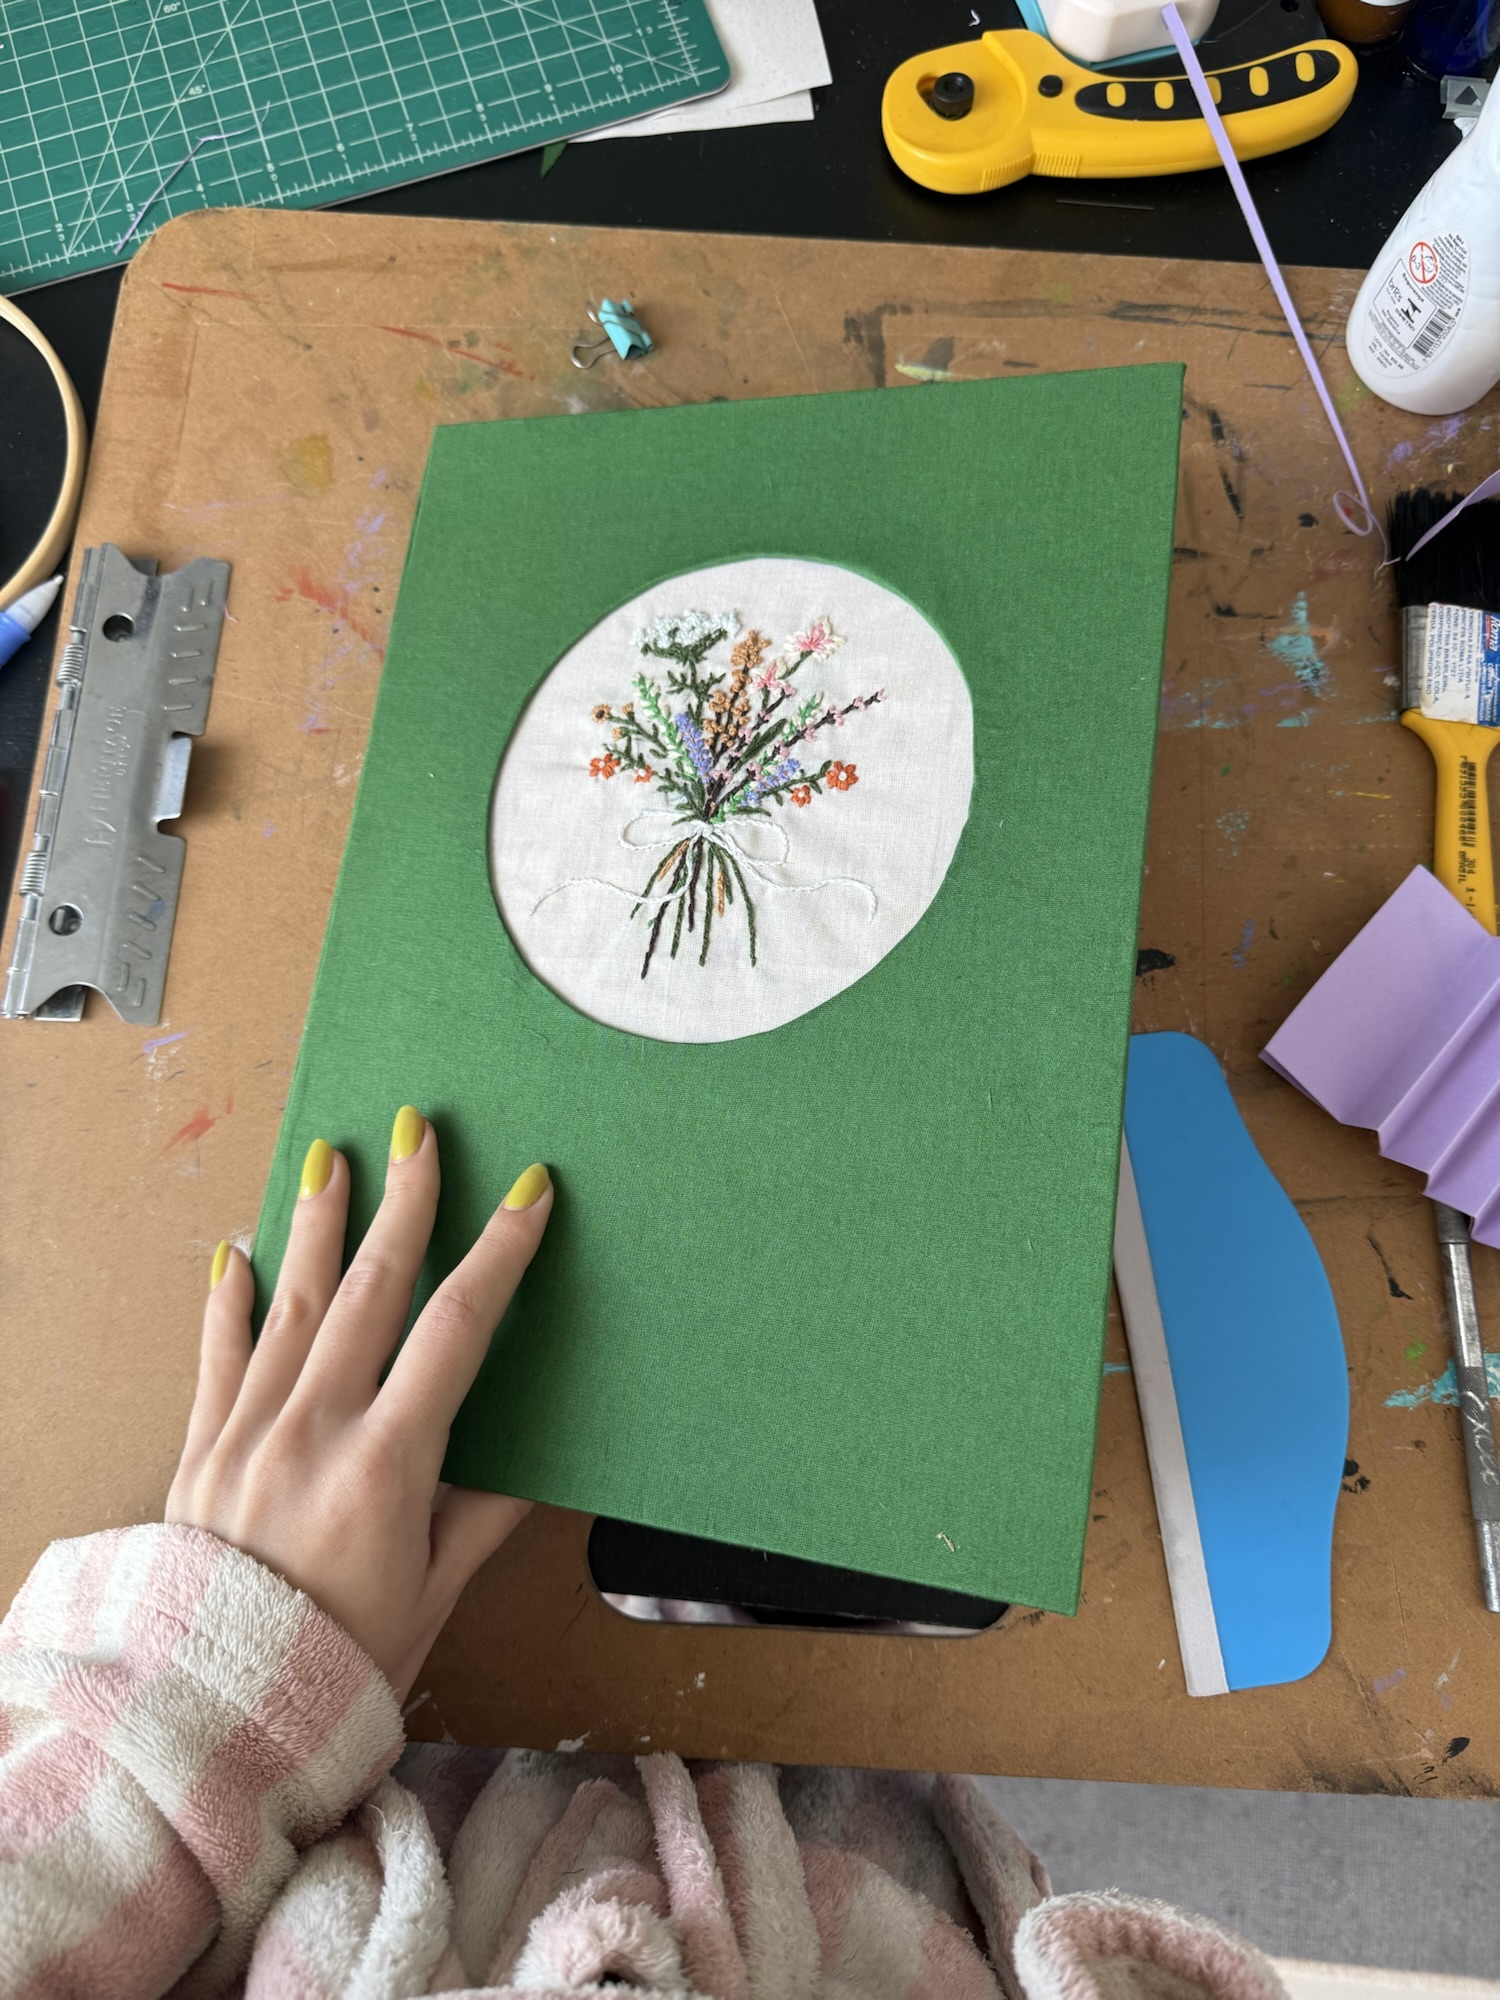
My mom was looking for a notebook for her wedding speeches (she’s a ceremonialist on the side). She always writes a personalized text to read during the ceremonies, and it needs to be presented in a beautiful, fitting folder or notebook.
With that in mind, I thought this style of bookbinding would be the perfect solution — handmade, detailed, and much more personal than a store-bought version. So, I decided to embark on this project with not much prior experience. I’d just recently gotten into embroidery, and out of the dozen notebooks I’ve bound, I had never tried this particular technique.
Materials
- Fabric – large enough to cover the notebook + embroidery base
- Embroidery floss and needles of your choice, as well as any accessories like the hoop/frame I used
- Sturdy cardboard for the cover
- Heavyweight paper for the lining, the binding “accordion” pieces and the strips
- White glue and a wide brush to apply it
- Other tools and materials I used: rulers, pencil and pen, eraser, masking tape, rotary cutter, X-Acto knife, scissors, cutting mat, mini iron, corner rounder, and a bone folder.
I worked mostly with what I had on hand, so consider this an approximate materials list. The essentials are a sturdy piece of cardboard (I used the back of a paper pad) for the cover, and a heavyweight paper for the lining and binding. Everything else can be improvised!
Step 1: Embroidery
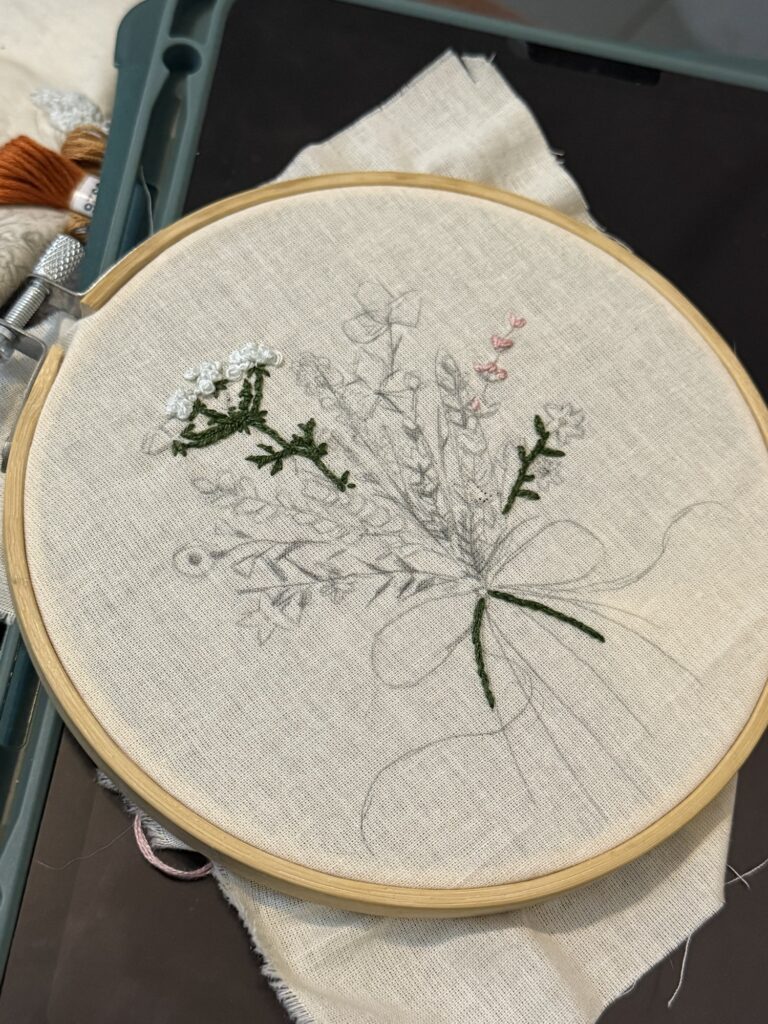
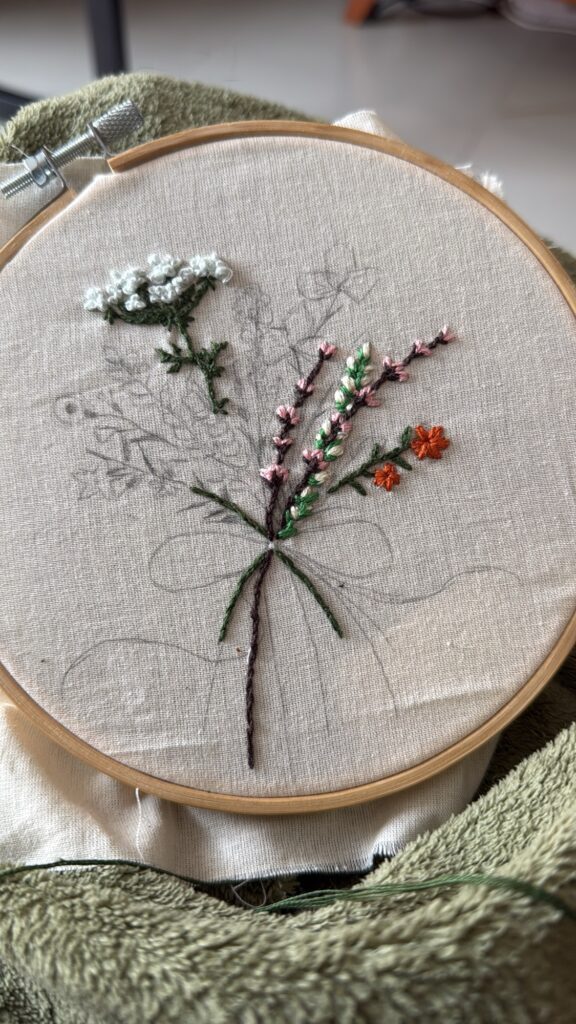
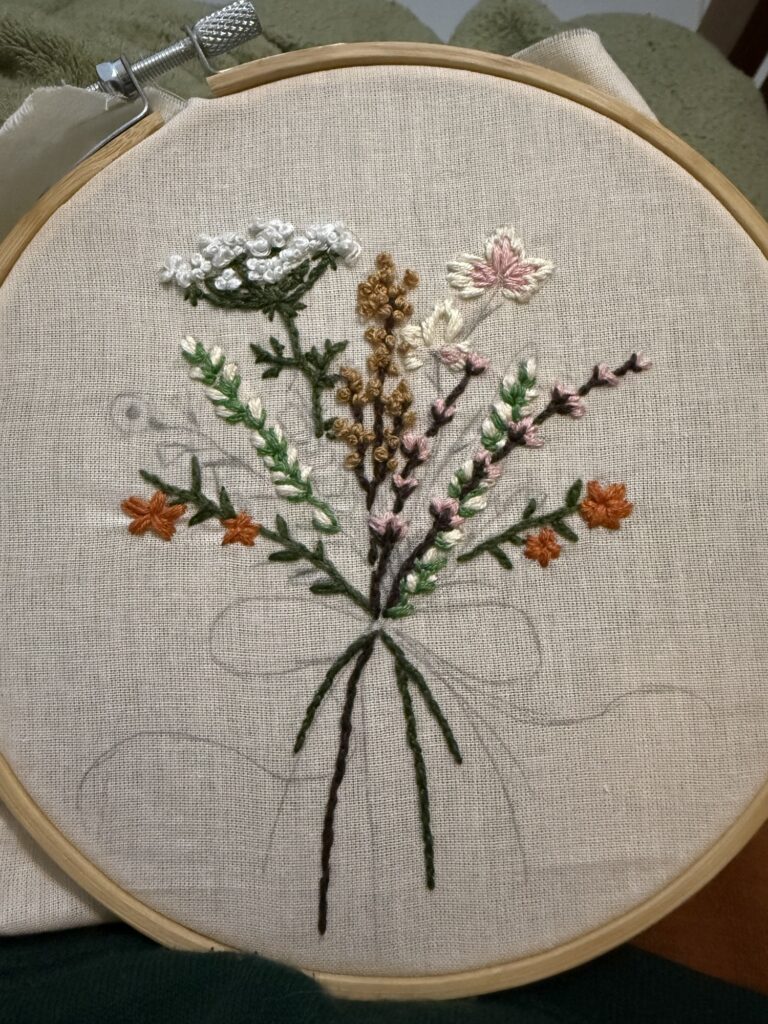
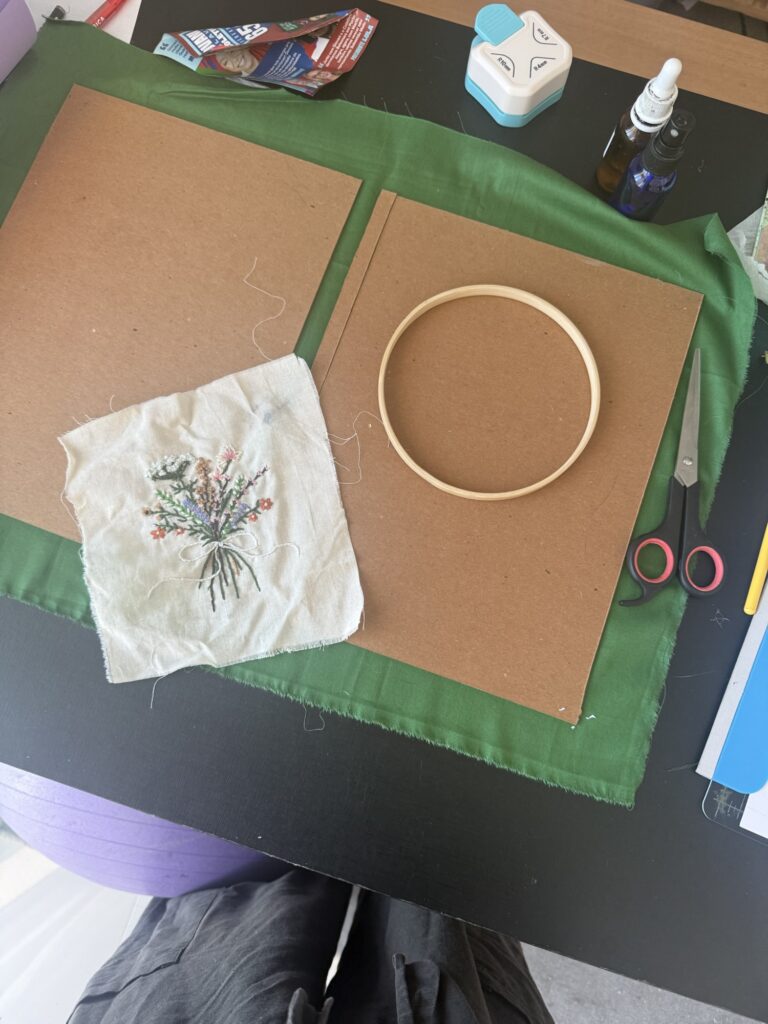
I gathered a few inspiration pictures of floral and bouquet embroidery designs, picked my favorite flower stitches, and collaged them digitally into one composition. Then, I traced and transferred the final design onto my fabric.
I didn’t practice any of these flower stitches beforehand — I just went straight for it and copied them from my reference images, which was risky but worked out surprisingly well. Seems like all the embroidery exercises I’ve done lately paid off!
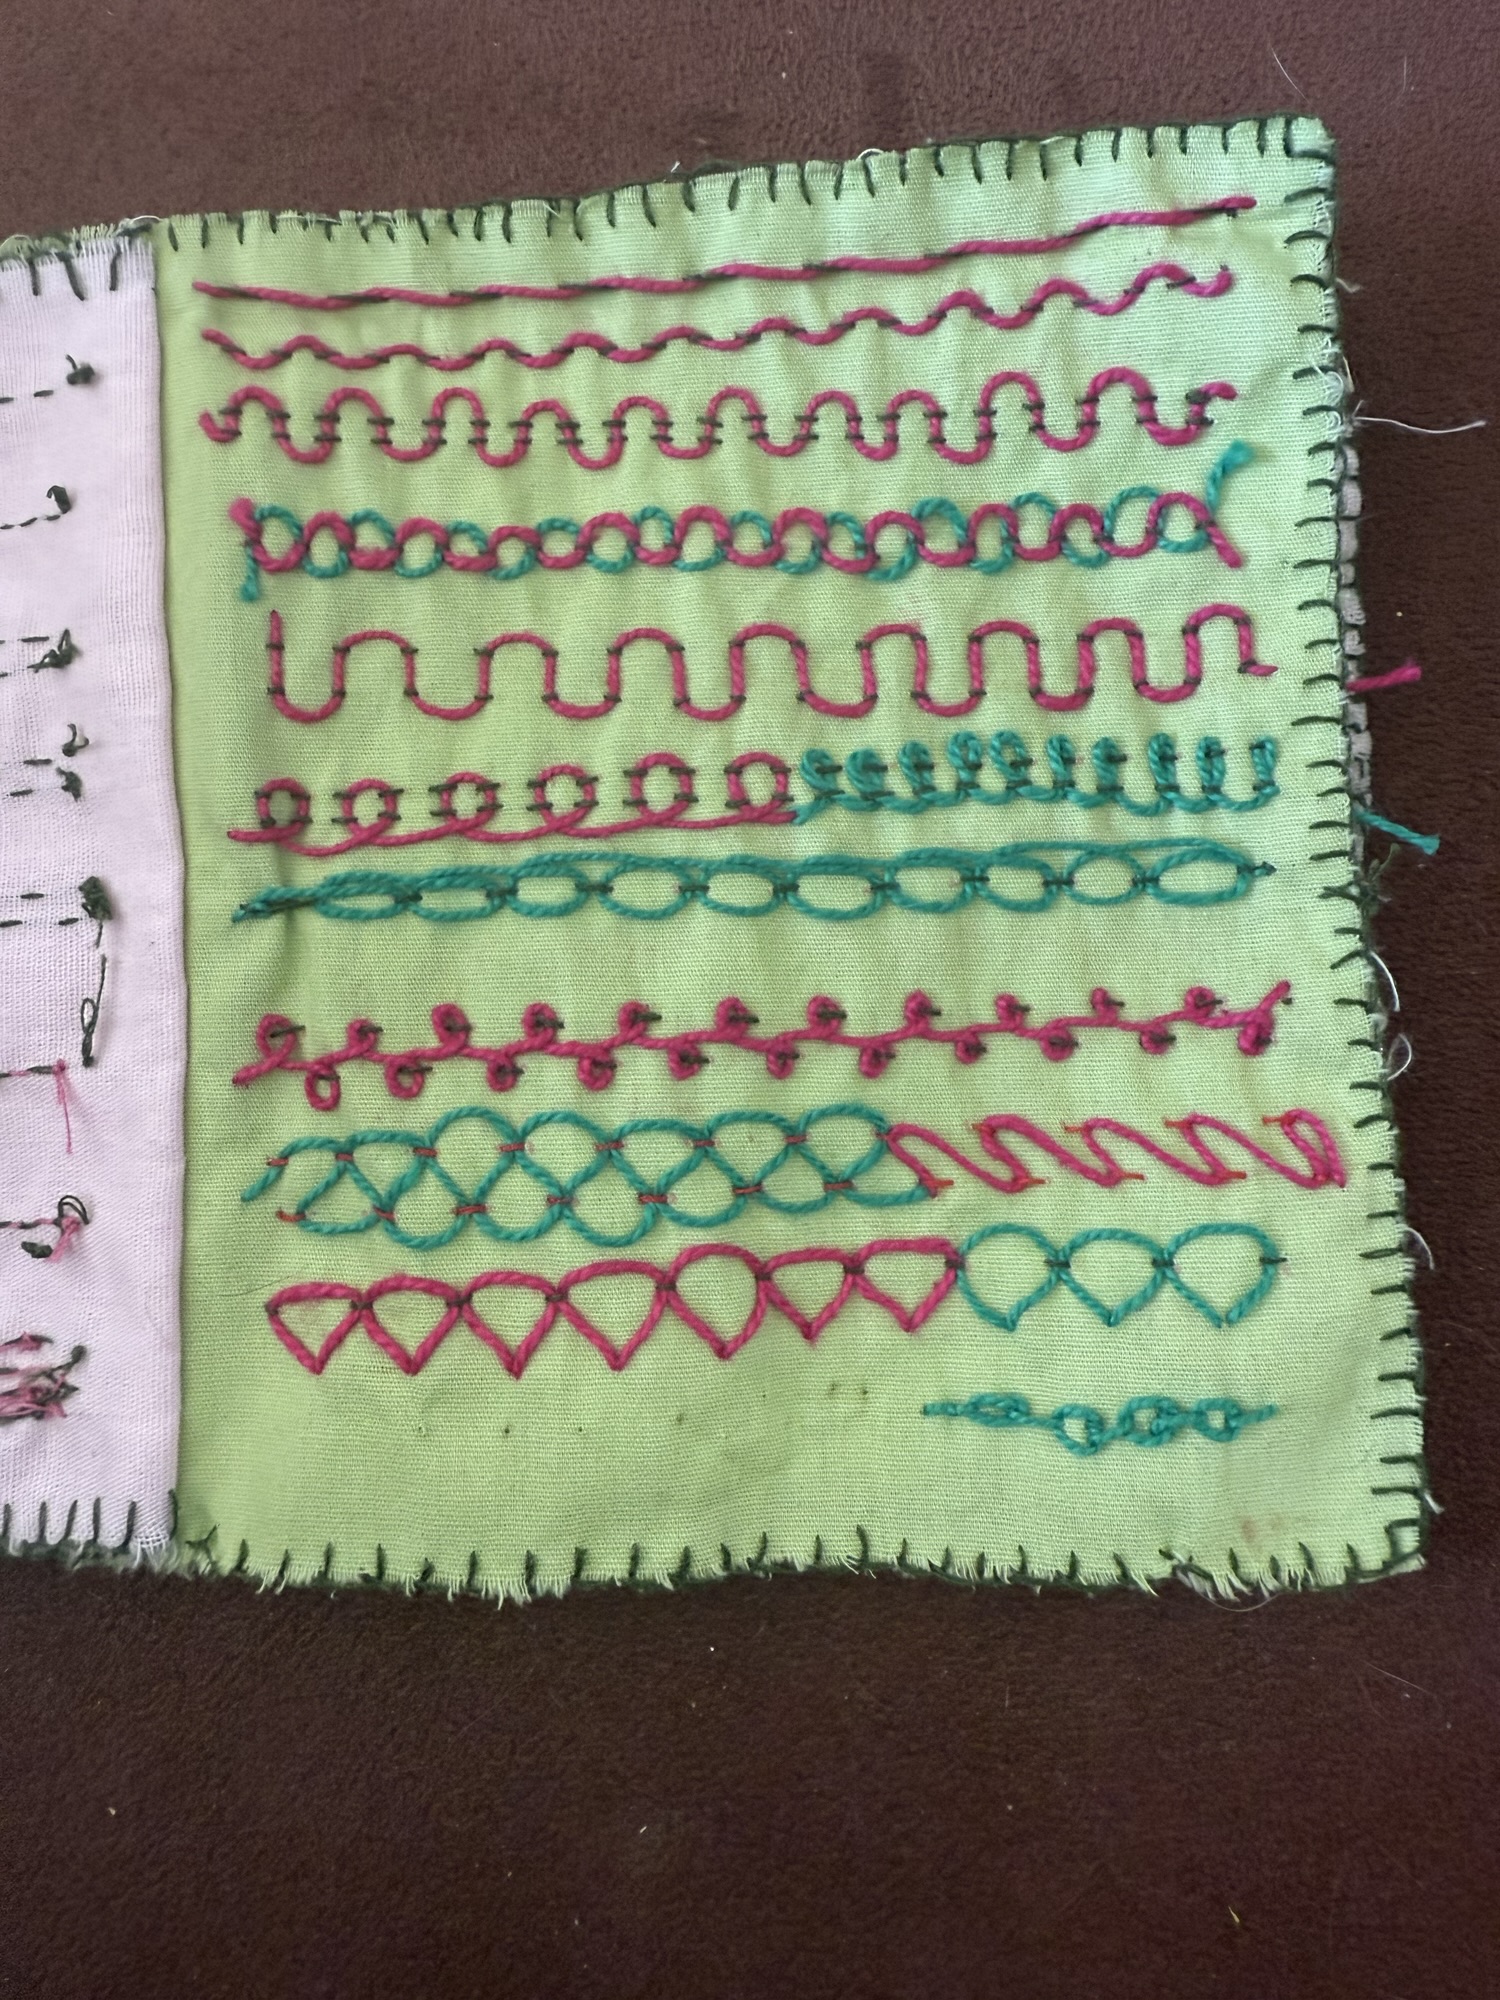
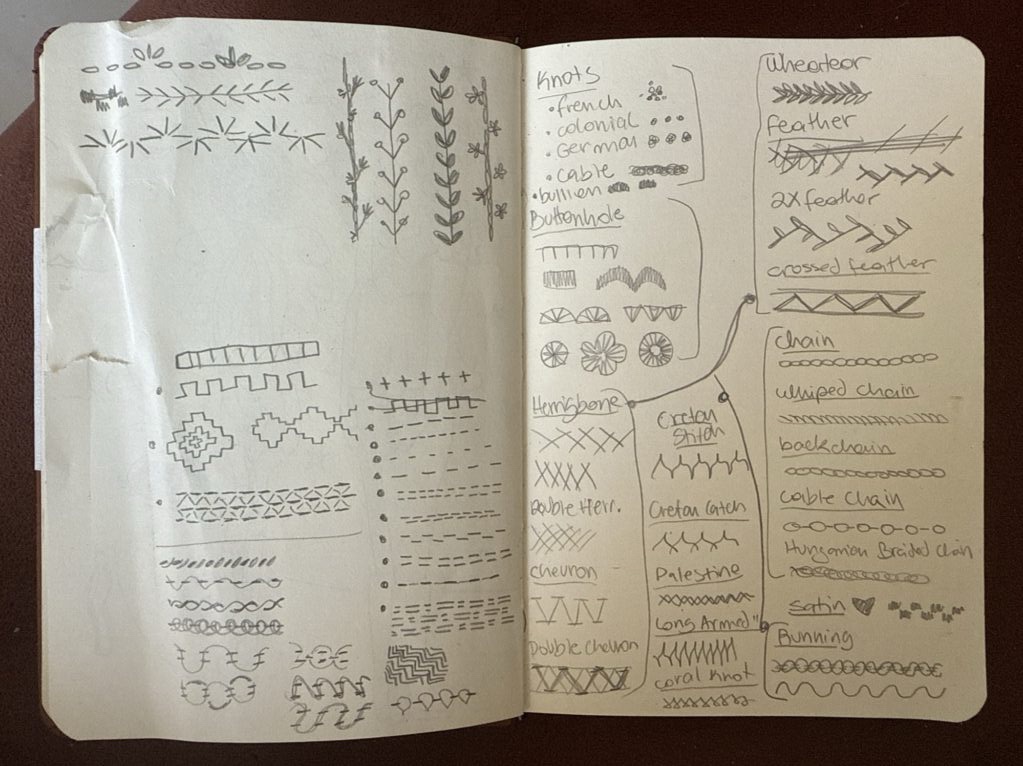
(Here’s a bit more about my embroidery journey.)
Step 2: Prepping the Materials
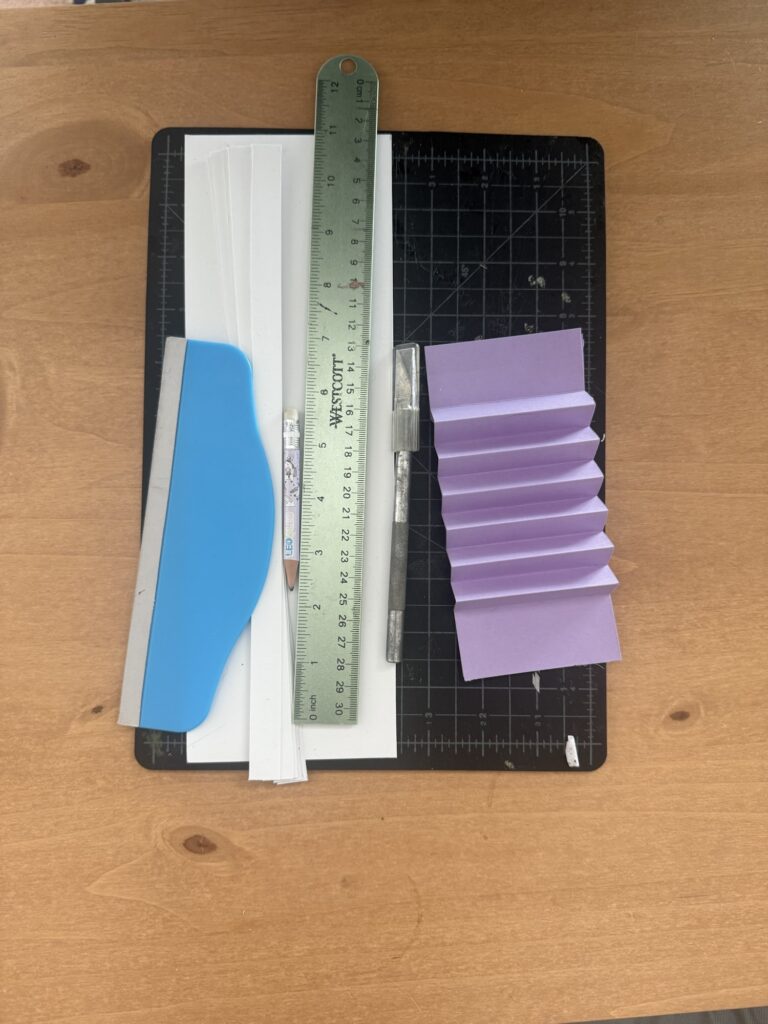
The notebook structure is made of three main parts: the cover, the inner lining, and the binding mechanism. I also needed to create paper strips that slide between the pages and into the cover to hold everything together.
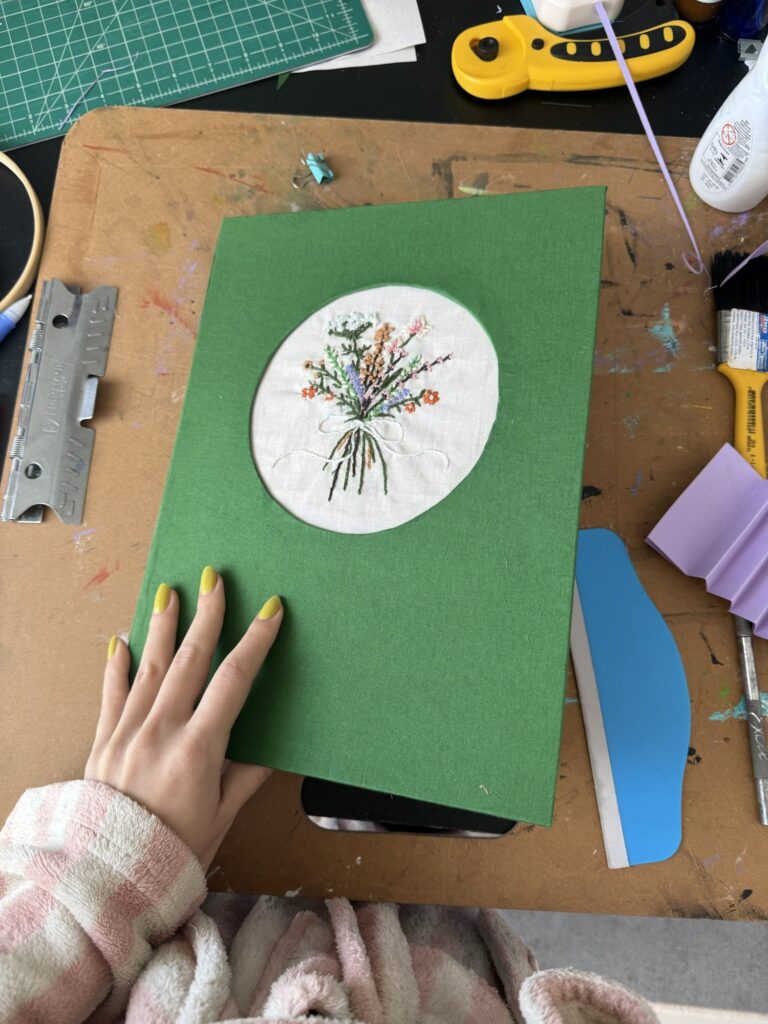
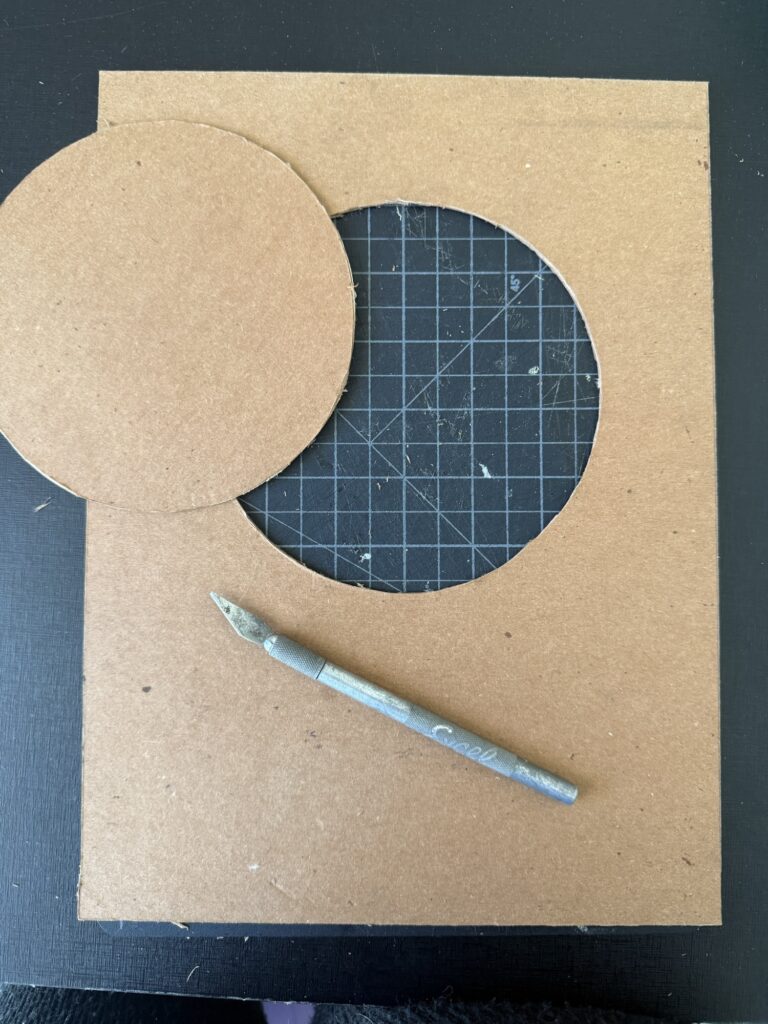
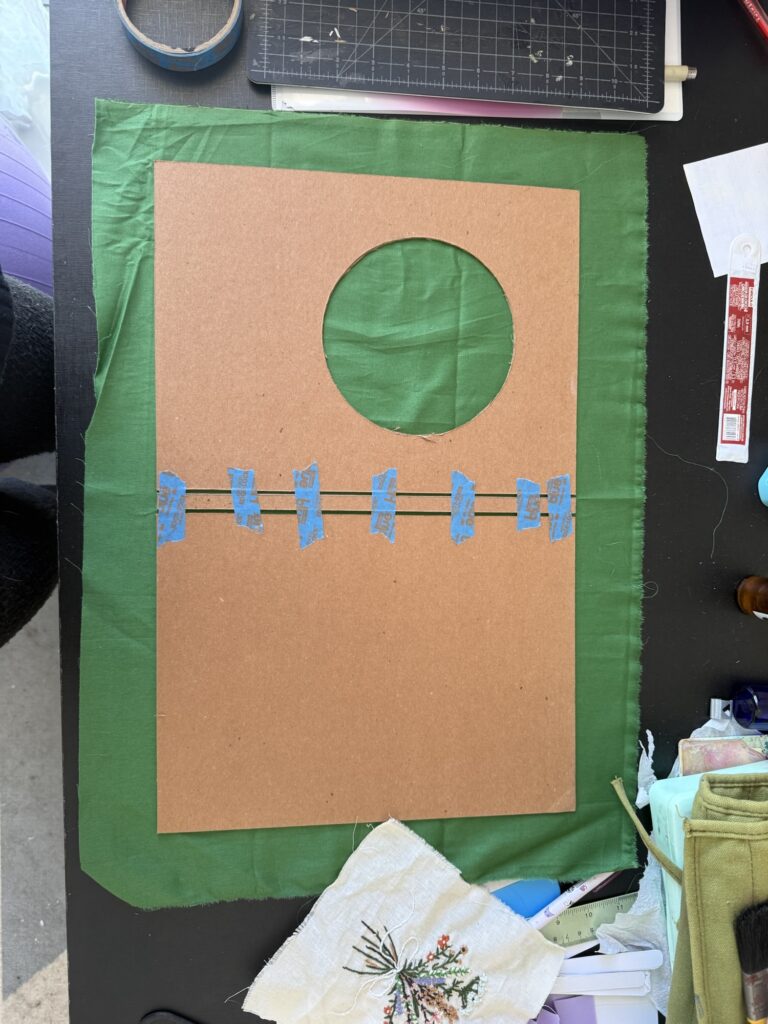
I started by cutting the cover pieces out of heavy cardboard — about one inch larger than an A4 sheet. The spine is quite thin since this notebook will only hold a few pages. I also cut out a circular window on the front cover (using my embroidery hoop as a template).
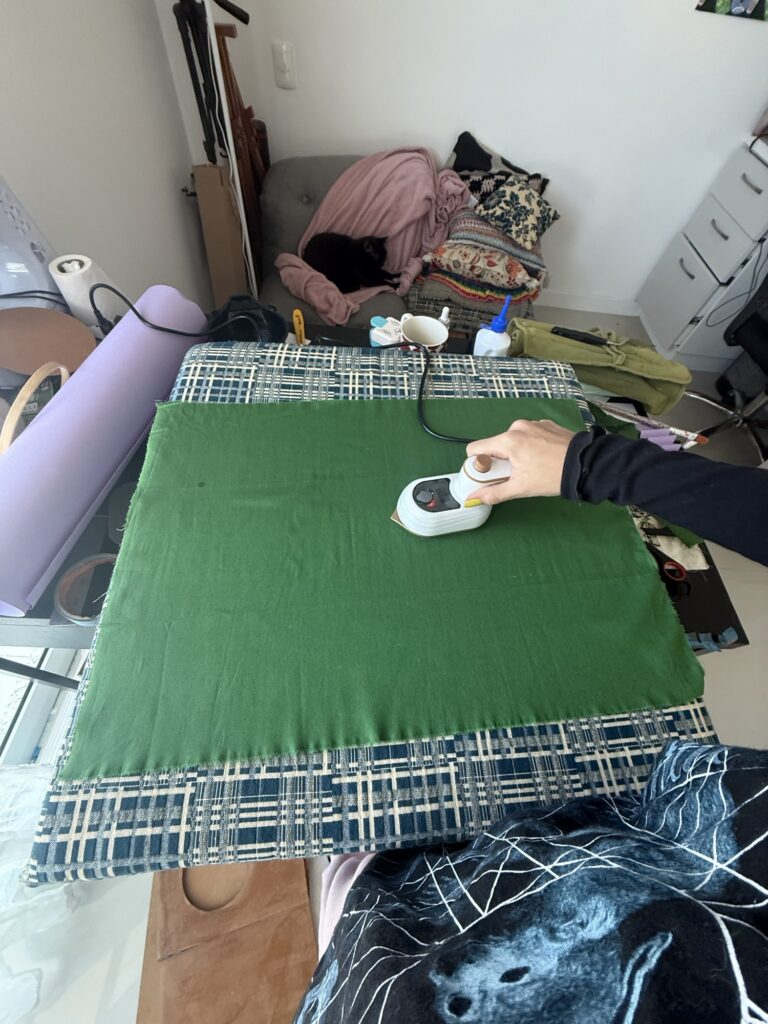
Next, I measured and cut the fabric to wrap around the front, spine, and back covers, leaving a couple of inches to fold over the edges. The fabric was a bit wrinkled from storage, so I ironed it as best I could.
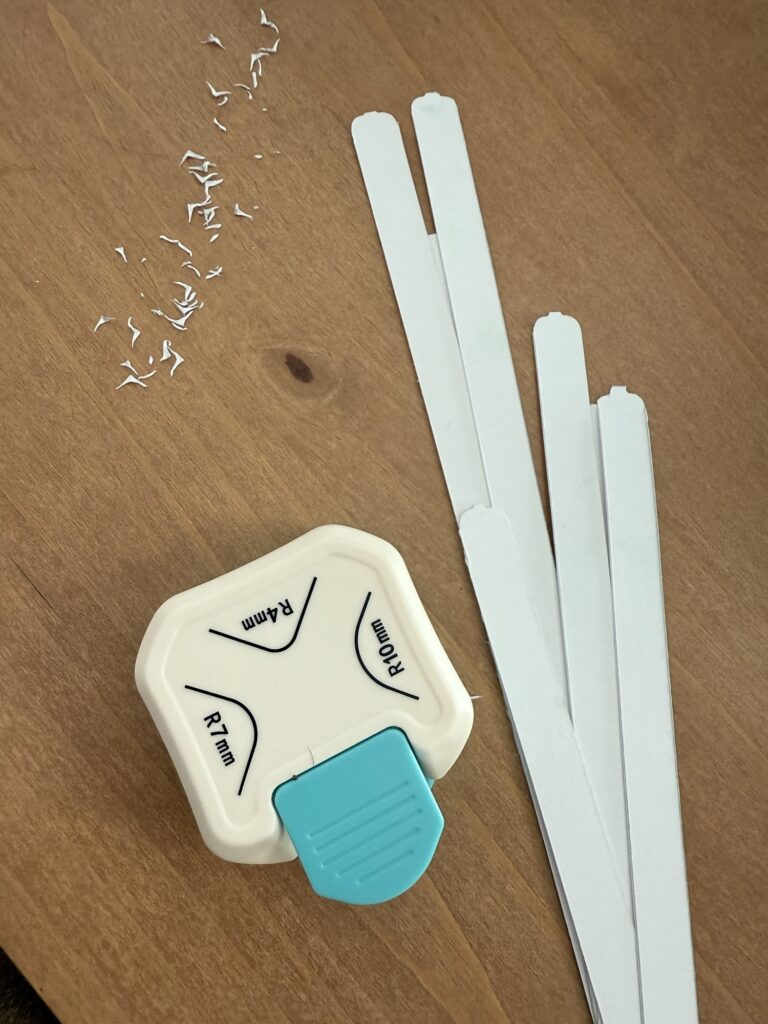
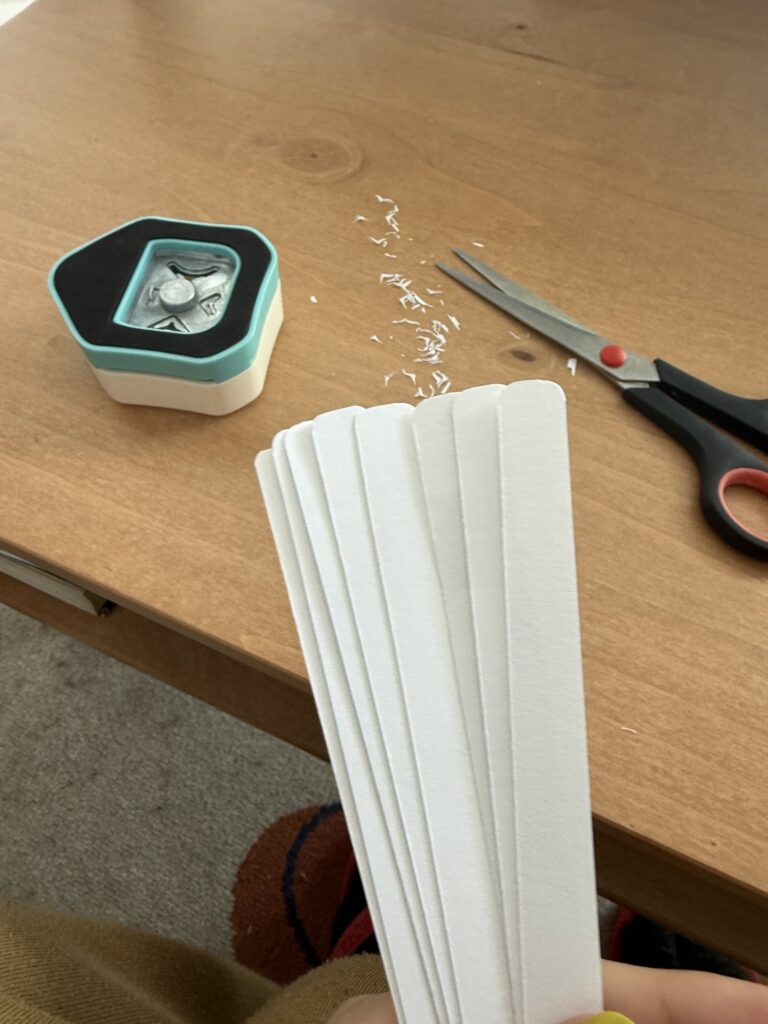
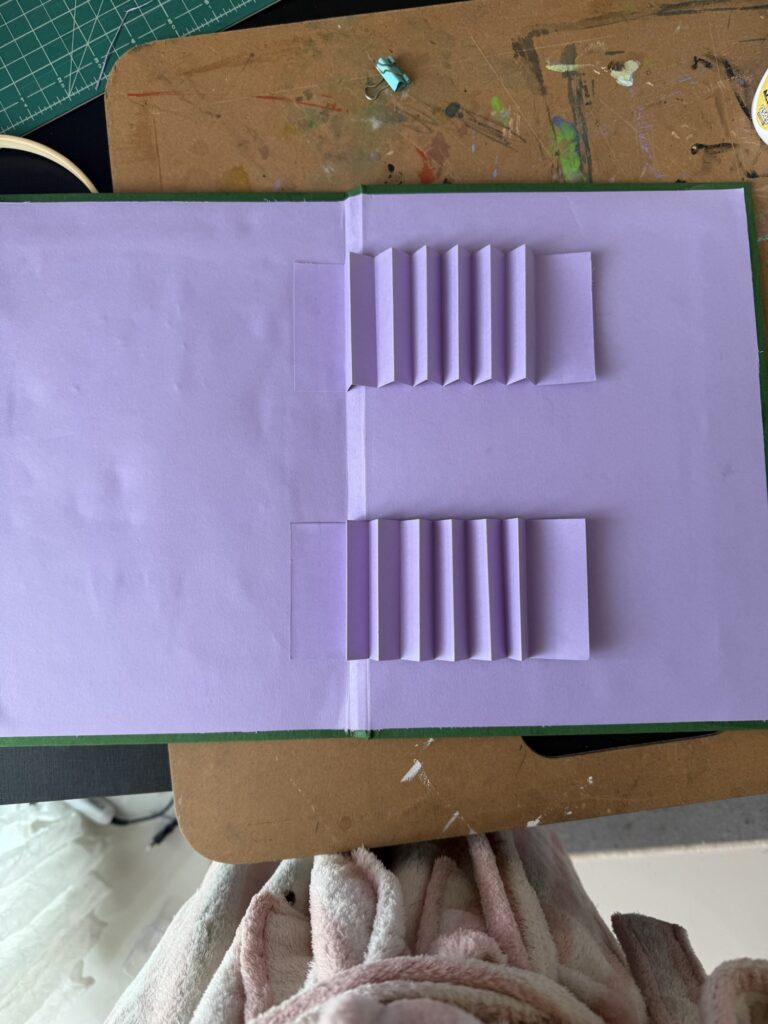
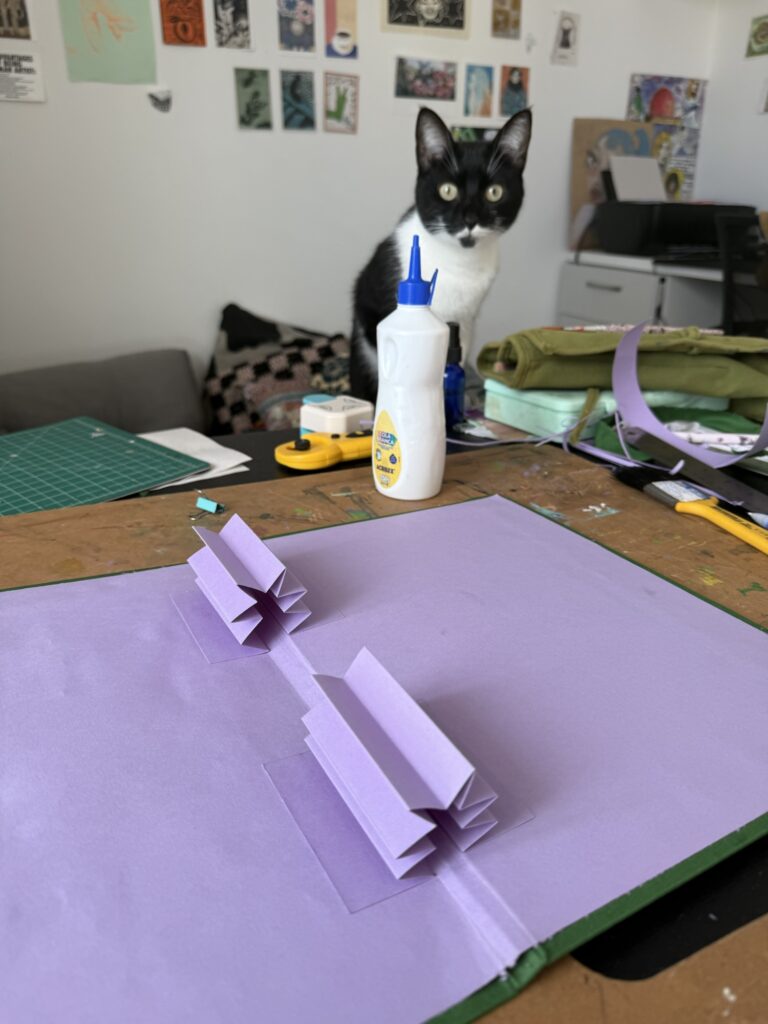
I prepped the lining paper but left it slightly oversized to trim later. Then, I cut out the paper strips that would slide into the spine “accordion” (the little folded pockets that hold the pages in place). I rounded their corners for a neater look and made a few extras, just in case some wore out over time.
Step 3: Creating the Cover
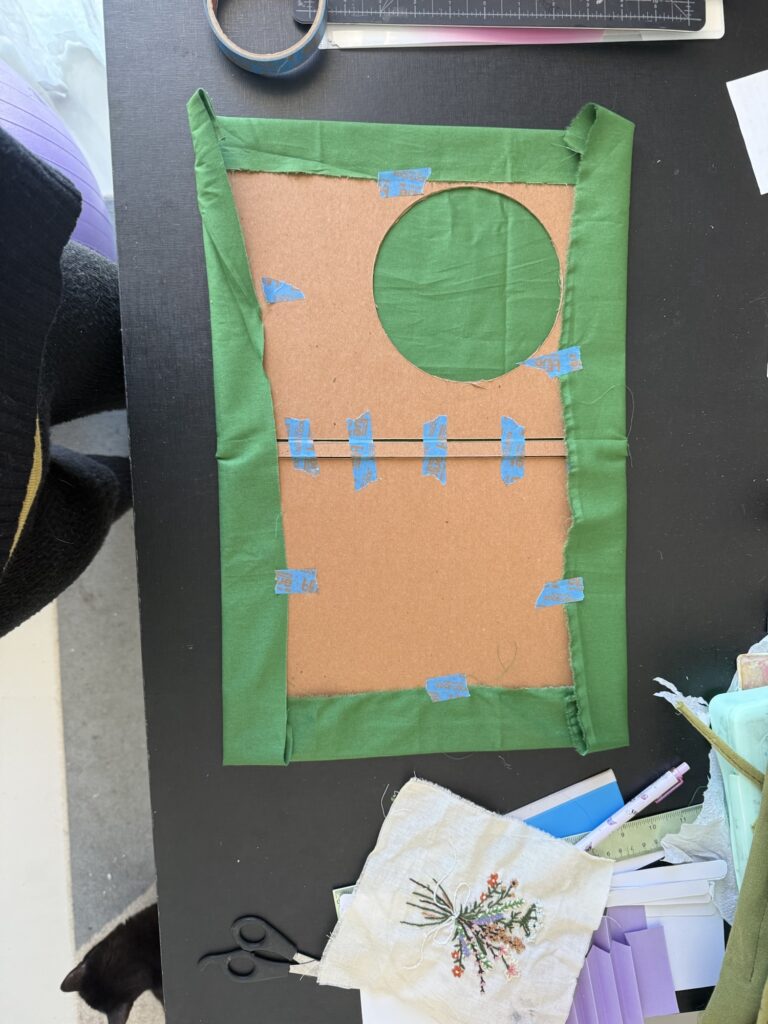
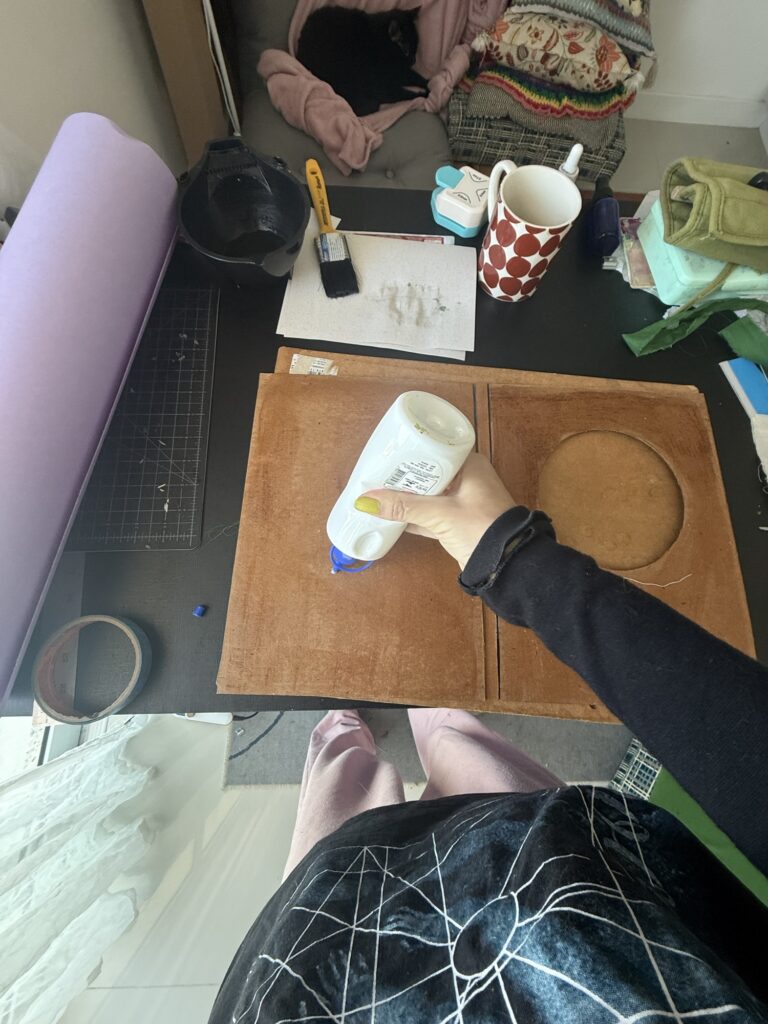
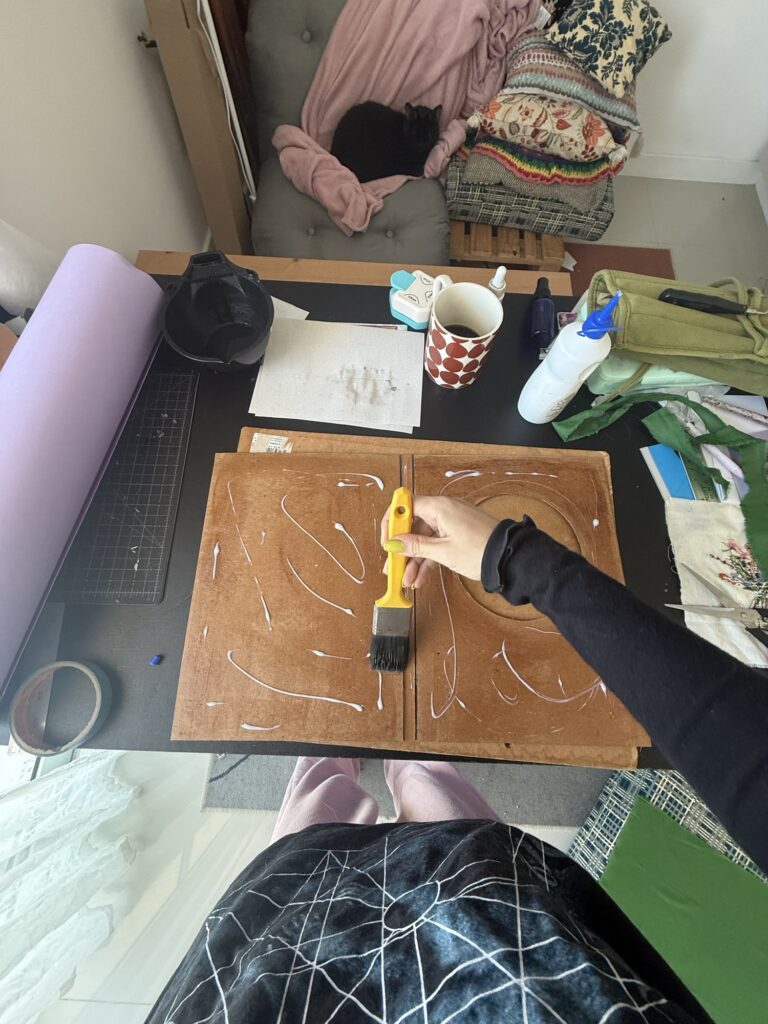
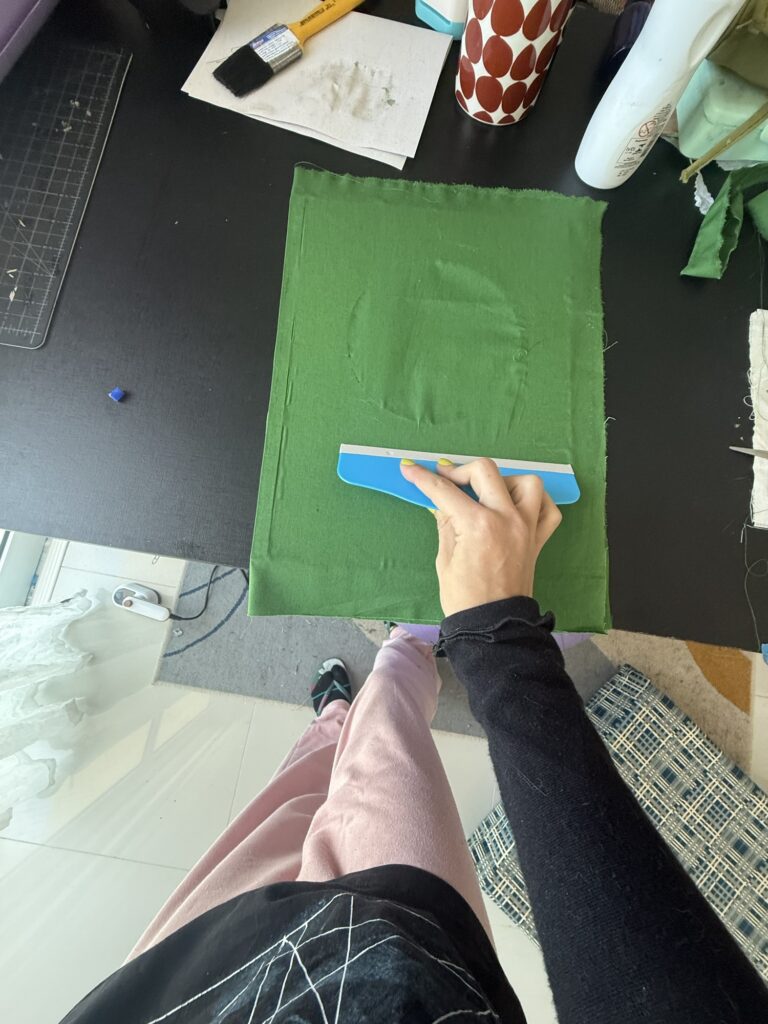
Once everything was prepped, I assembled the cover! I taped the cover pieces together, flipped them over, and brushed on an even coat of glue. Then, I carefully laid the fabric on top and smoothed it out with a flat tool — a tricky step since I needed to keep the fabric taut while still allowing the cover to open and close easily.
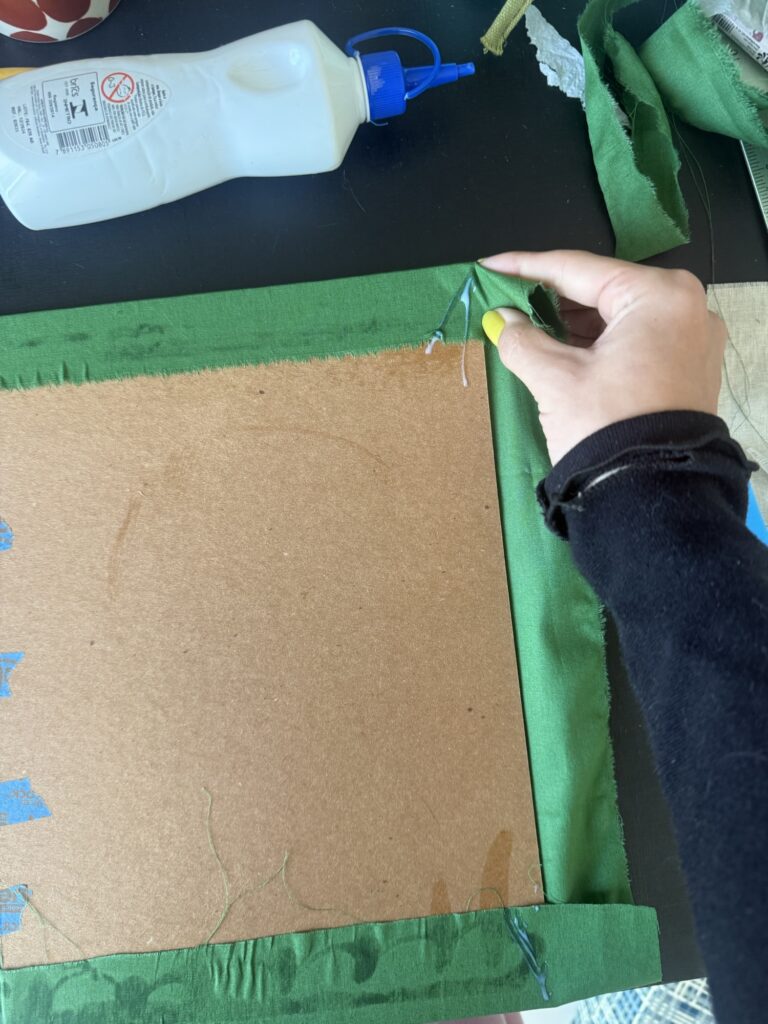
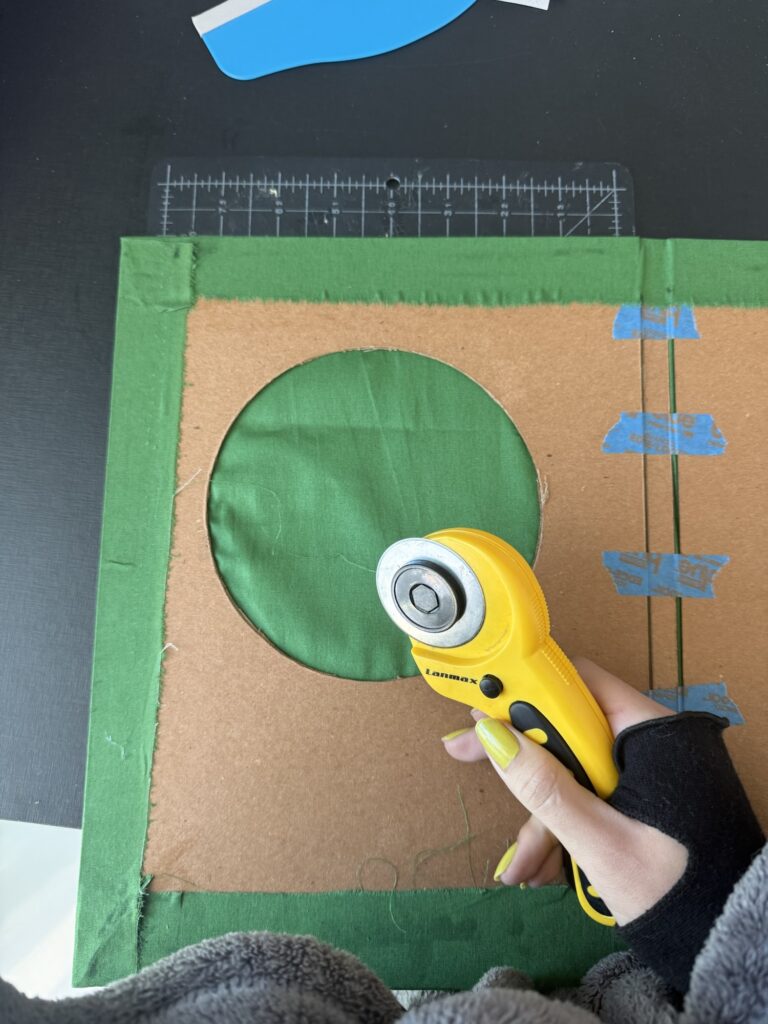
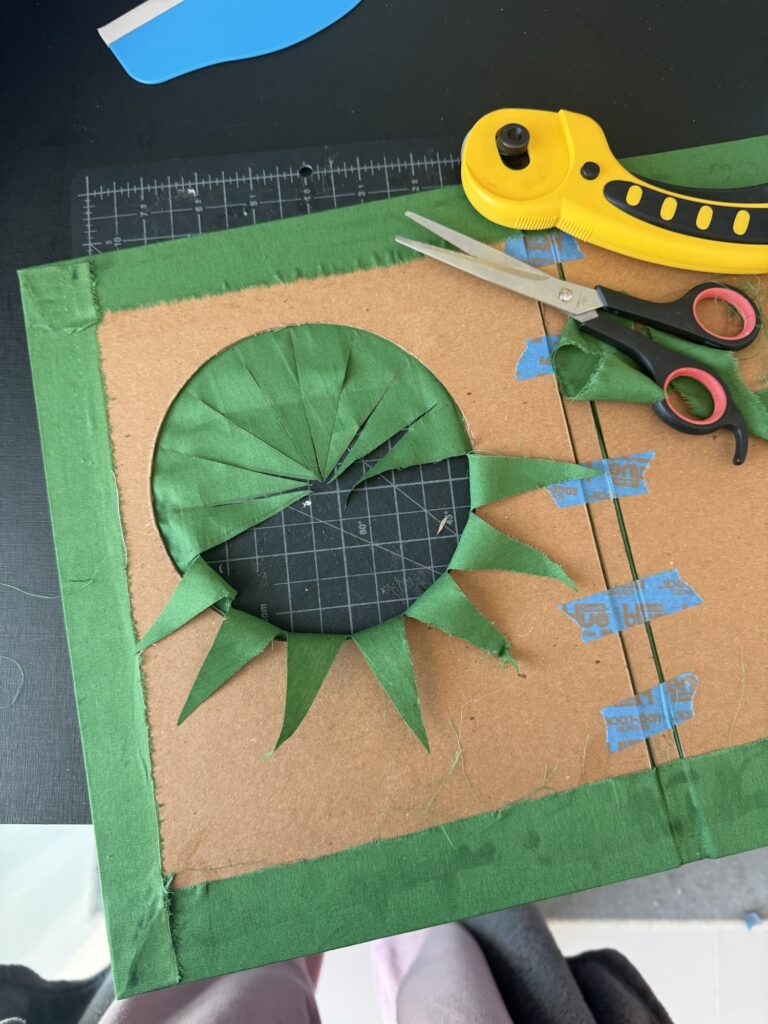
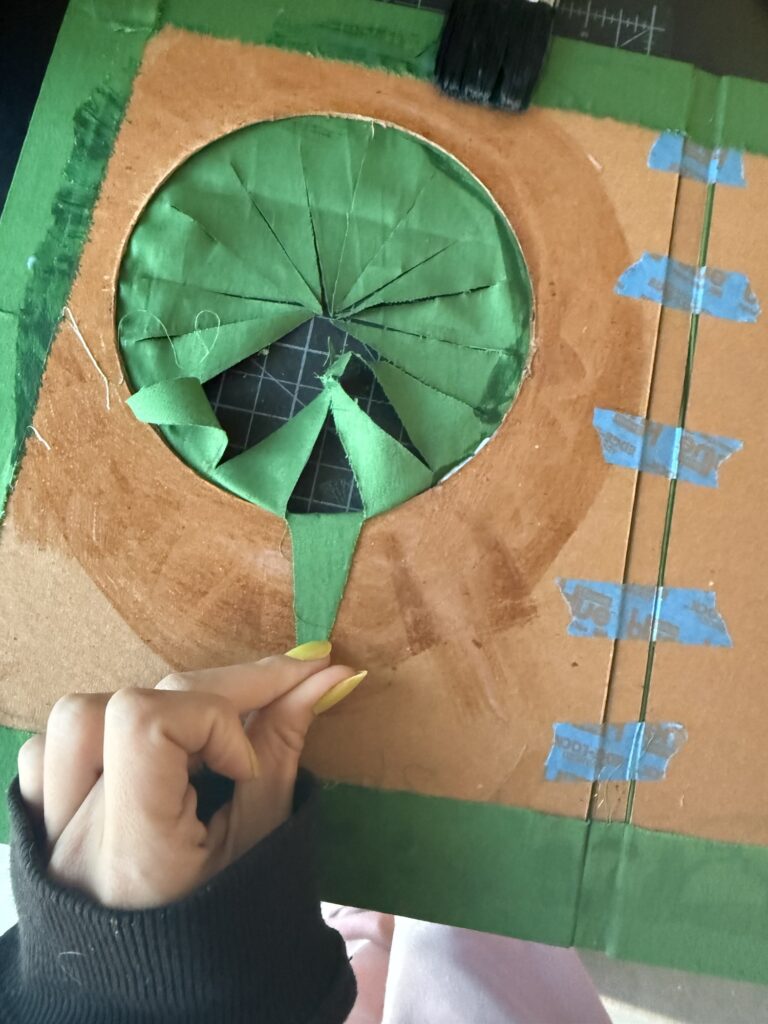
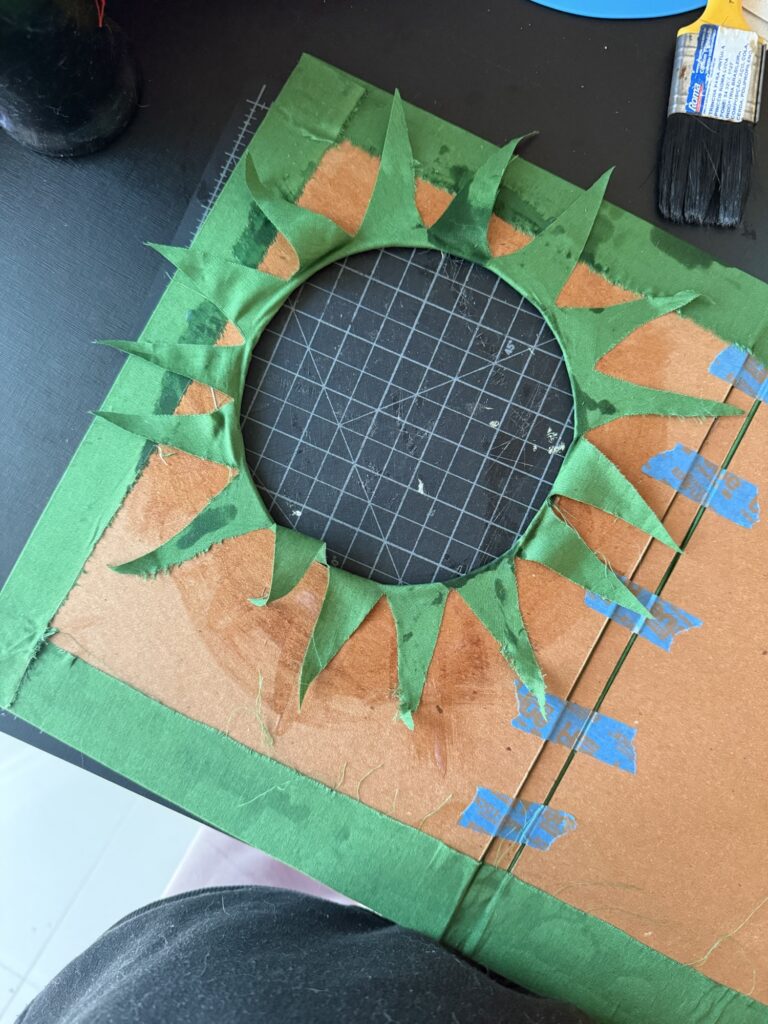
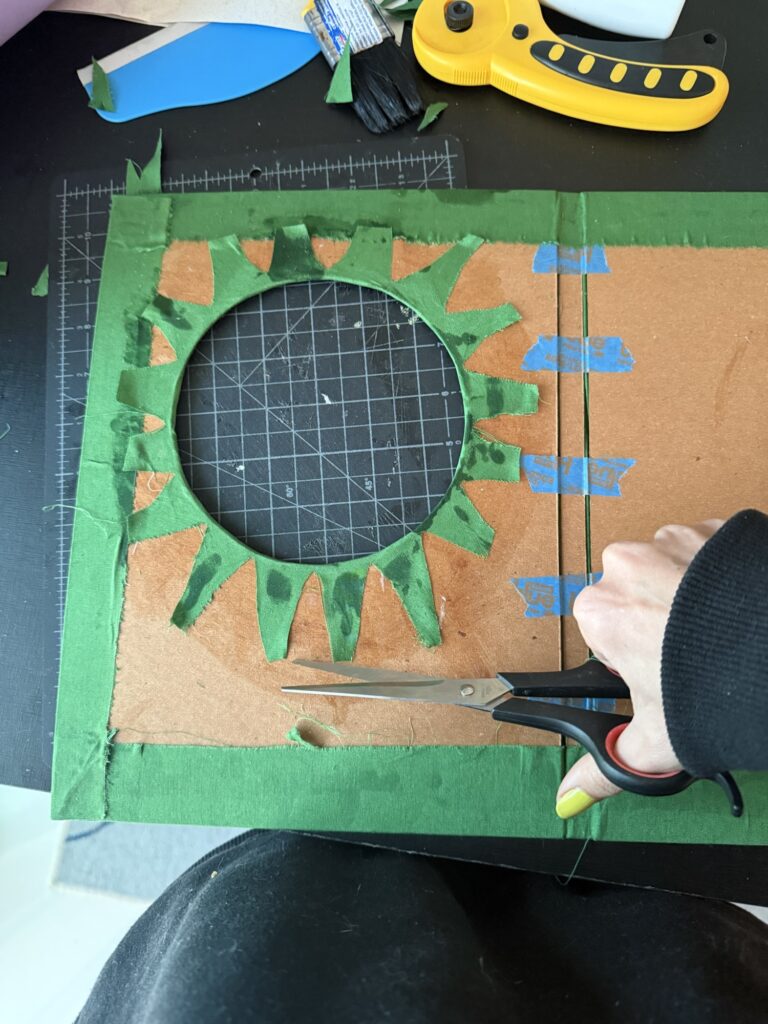
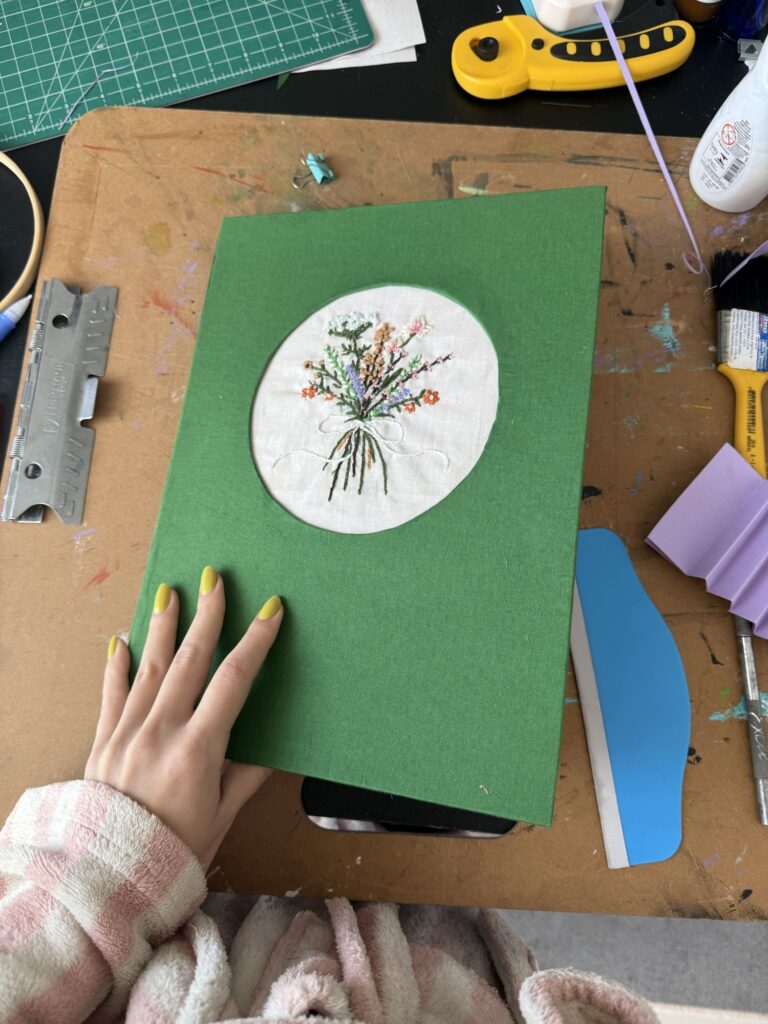
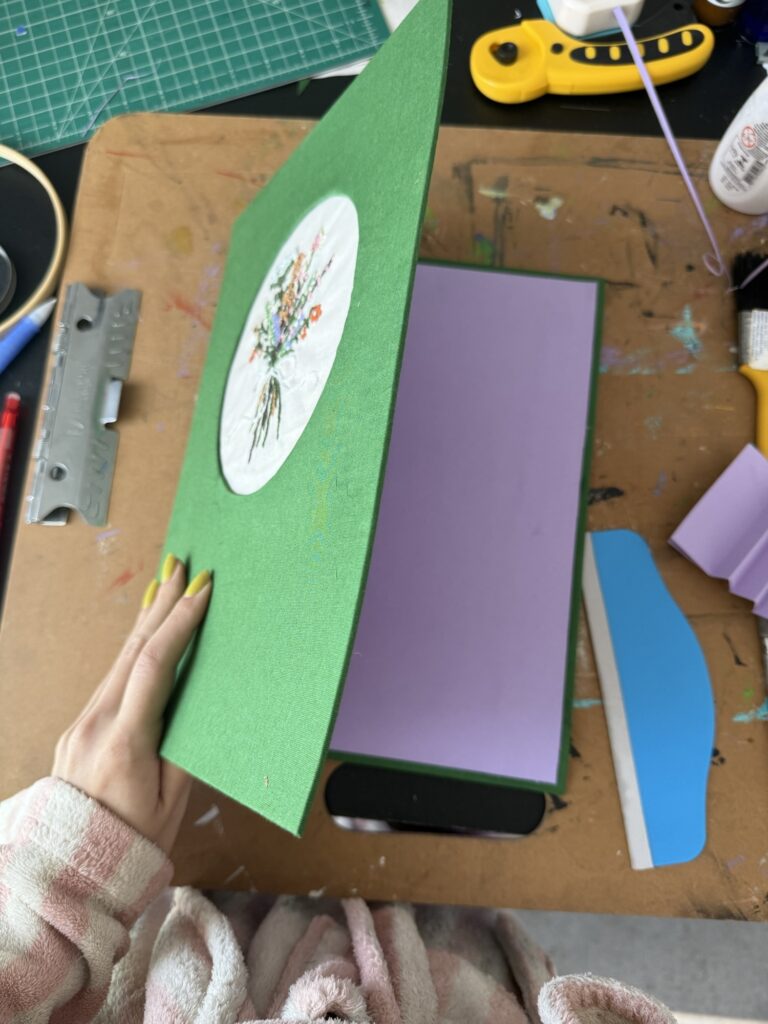
I flipped the piece over to glue down the fabric edges, taking extra care at the corners to avoid thick folds. For the circular window, I cut small slits, folded each one inward, and glued them down one by one — alternating sides to keep the tension balanced and the circle neat.
Step 4: Adding the Embroidery
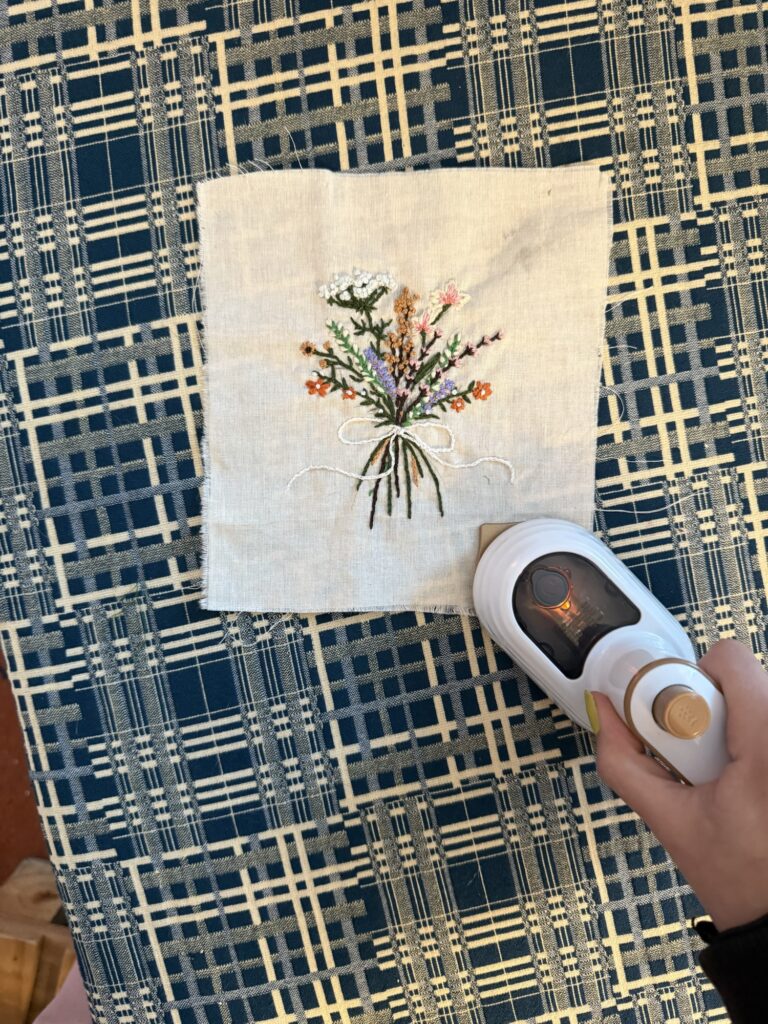
By the time I was ready to attach the embroidered fabric, it had gotten a bit wrinkly from stitching and handling. I used my mini-iron to smooth it out gently, especially around the tight corners.
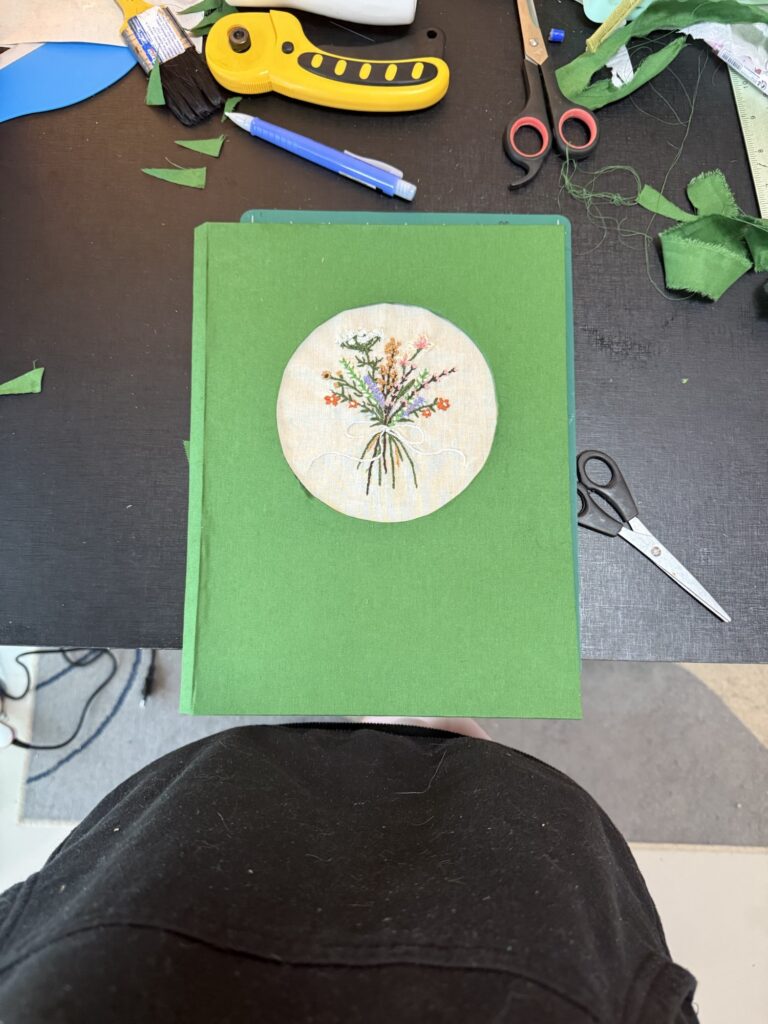
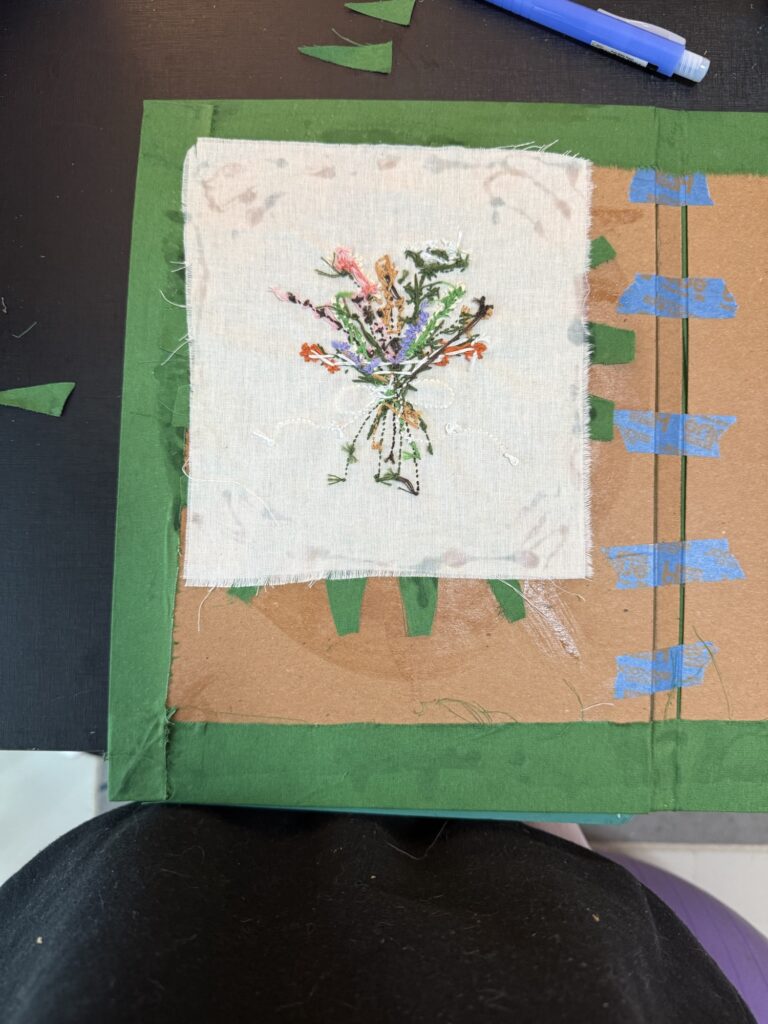
I aligned the embroidery by eye on the front cover, flipped it carefully, and glued one side at a time — pulling just enough to keep it smooth without warping the fabric.
Step 5: Prepping the Inside & Australian Bind
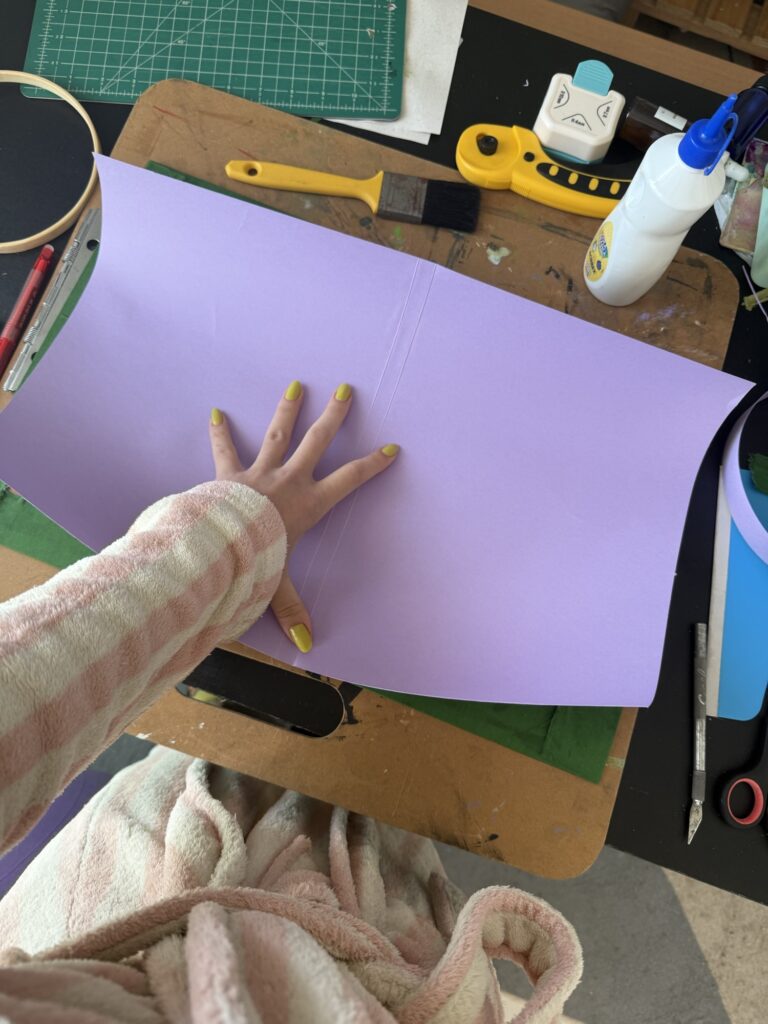
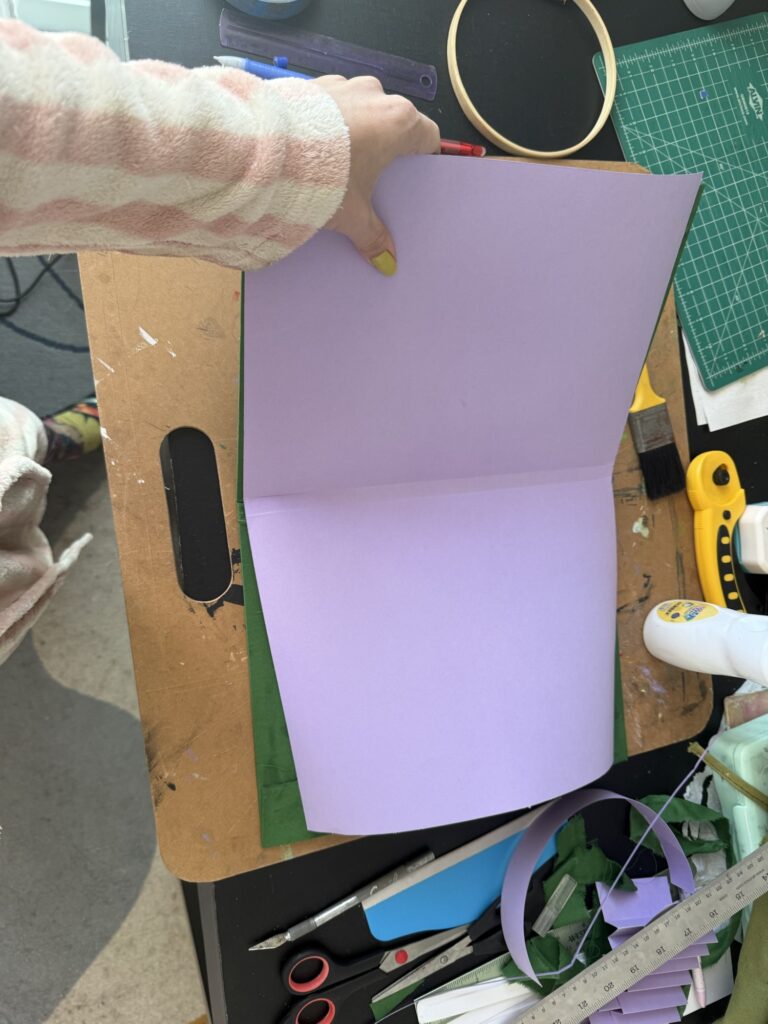
The inner lining was a bit tricky to glue down since the paper was thick and slightly curled. I tried not to overthink the minor imperfections in the cover’s shape (perfection is overrated anyway).
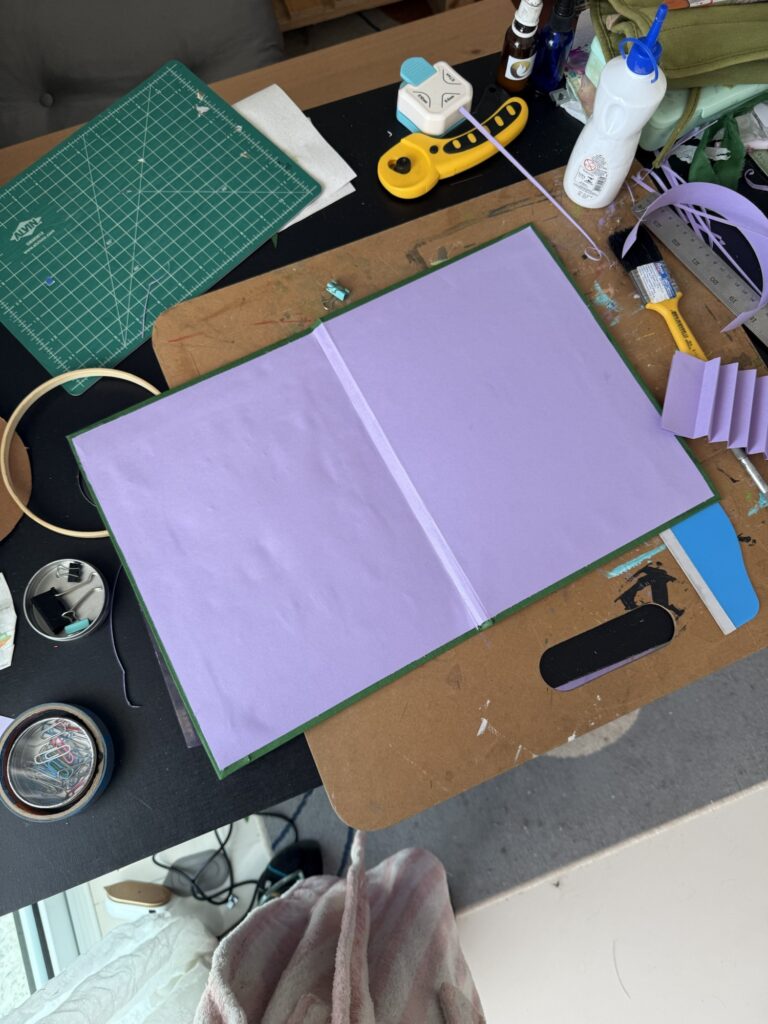
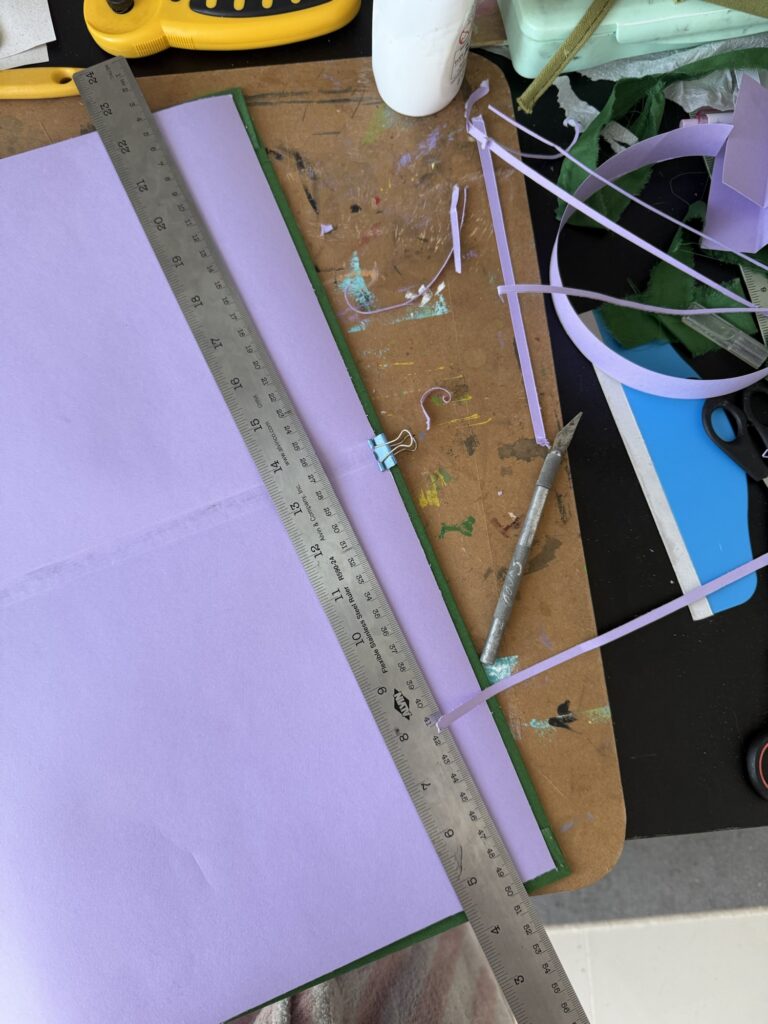
After roughly cutting the paper to size, I folded a center crease and glued it down. Then, I trimmed the edges with an X-Acto knife and ruler, cleaning it up by eye. I used a couple of paper clips to hold things in place while drying.
It’s not a perfect job, but honestly — it looks pretty close to it! I’m proud of how it turned out, and I’d love to make more of these in the future.
Final Touches
The last step was adding the pages! My mom prints her speeches on standard A4 paper, so I just needed to connect every two sheets to fit the binding system. I debated between using washi tape or making my own connector strips out of plain paper to match the paper’s color.
I ended up gifting her the notebook already because I was too excited to keep the surprise to myself. I explained the two options for making her printed pages compatible with the binding (washi tape vs. glued paper “hinges”). Once she starts using it, I’ll update you all on how the notebook looks in its full potential.
I’m really happy with how it turned out — it exceeded my expectations, especially considering the total lack of planning for this project! I’m even happier that my mom loved it too — maybe a little too much, since she says it’s too pretty to use and has kept it on display at her house ever since. 🩷